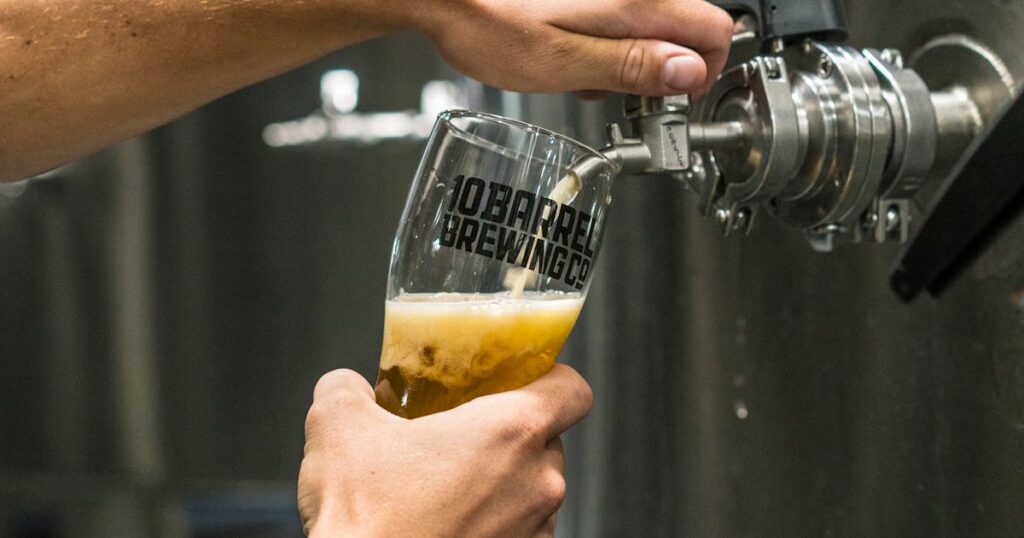
Pressure fermentation might sound like advanced brewery wizardry, but it’s actually one of the most practical innovations for homebrewers in 2026. By fermenting your beer under pressure rather than at atmospheric conditions, you unlock cleaner fermentation, faster turnarounds, and the ability to brew lager-quality ales at ambient temperatures. If you’ve been curious about what professional breweries do differently, this is part of the answer.
What Exactly Is Pressure Fermentation?
Pressure fermentation is simple in concept: you seal your fermenter and allow carbon dioxide to build up inside, creating an internal pressure greater than atmospheric (0 PSI). This pressure fundamentally changes how yeast ferments. Unlike open fermentation where CO₂ escapes freely, a sealed system with a spunding valve (a one-way pressure release valve) allows you to control the exact pressure inside. Most homebrewers operate between 1-3 PSI, though some go higher for specific effects.
Why Pressure Changes Everything
The science is elegant. Under pressure, yeast metabolises differently—it produces fewer esters and off-flavours whilst maintaining clean fermentation profiles. This is why lager yeasts respond so dramatically to pressure; you can ferment them at 20°C and achieve results that usually require temperature-controlled chambers. Even with ale yeasts, the results are noticeably cleaner. As explored in our guide to hybrid fermentation techniques, pressure conditioning is becoming essential for brewers chasing precision. According to the HomeBrewTalk forums, experienced brewers report dramatically faster turnarounds and better consistency when fermenting under pressure.
There’s also the oxygen advantage. A pressurised, sealed system minimises oxygen ingress during fermentation—something oxygen management guides emphasise heavily. With zero headspace and a one-way valve, your finished beer stays fresher longer before packaging.
Equipment You’ll Actually Need
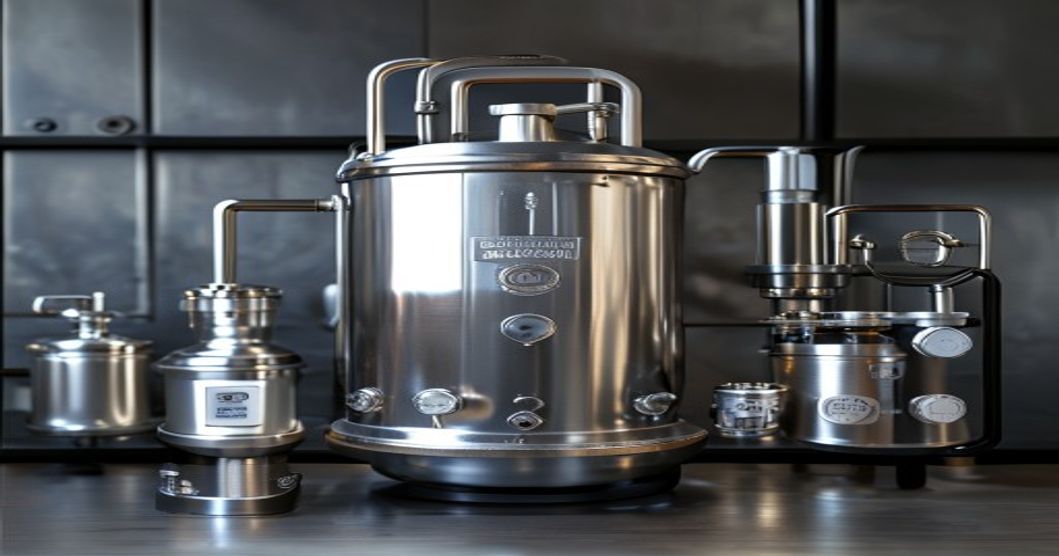
Here’s the good news: you probably have most of it. A corny keg or any sealed fermenter works perfectly. You’ll need a spunding valve (around £15-25), a way to measure pressure (a simple dial gauge or digital meter), and ideally a floating dip tube to avoid picking up trub when packaging. Some brewers use modified kegs with blow-off tubing, whilst others invest in dedicated stainless conical fermenters. The barrier to entry is genuinely low compared to traditional temperature control rigs.
Practical Tips for Your First Batch
Start conservative: set your spunding valve to 1 PSI and monitor closely over the first 48 hours. Fermentation will accelerate, so don’t be alarmed if it takes off faster than you expect. Temperature control still matters—pressure isn’t a substitute, just an amplifier. A 1°C change at 15 PSI is like a 2-3°C shift at atmospheric pressure. The BJCP guidelines emphasise precision in fermentation parameters, and pressure control is one of the best ways to achieve brewery-grade consistency at home.
Consider your yeast choice carefully. Lager strains absolutely sing under pressure. Ale yeasts like US-05 will ferment cleaner, but for maximum impact, explore Kveik strains, which thrive under pressure and can produce lager-like results in days rather than weeks. You can also explore sustainable brewing practices with pressure fermentation by reducing your overall brewing time and energy footprint.
The Reality Check
Pressure fermentation isn’t a magic bullet. It won’t save a poorly-formulated recipe or fix sanitation problems. What it does is remove variables: less ester production, faster conditioning, and genuinely professional-quality results. For brewers chasing repeatability and consistency, it’s worth the modest investment.

Next Steps
Your first batch under pressure will teach you more than any article. Pick a simple ale, set 1.5 PSI, and watch what happens. Most homebrewers never go back once they’ve tasted the difference. The craft beer renaissance of 2026 is being built on techniques like this—accessible, practical, and transformative.