
Mead. Honey wine. The drink of Vikings, medieval monks, and fantasy novels. For centuries, it was relegated to hobbyist brewers and history enthusiasts, but something’s shifted in 2026. The renaissance is real, and it’s time we talked about why—and how to make proper mead at home.
I’ll be honest: when I first tried mead-making, I expected disappointment. The hobby seemed lost in time, overshadowed by craft beer’s explosion. But after my first batch finished, I understood the appeal. There’s something deeply rewarding about taking honey—an ingredient that’s been valued for millennia—and transforming it into something that tastes nothing like the sticky bottle in your kitchen cupboard.
This guide covers everything from honey selection to your first taste. Whether you’re a seasoned brewer exploring beyond beer or a complete novice wanting to learn fermentation from scratch, mead offers a pathway that’s surprisingly accessible and endlessly rewarding.
Why Mead Is Making a Comeback in 2026
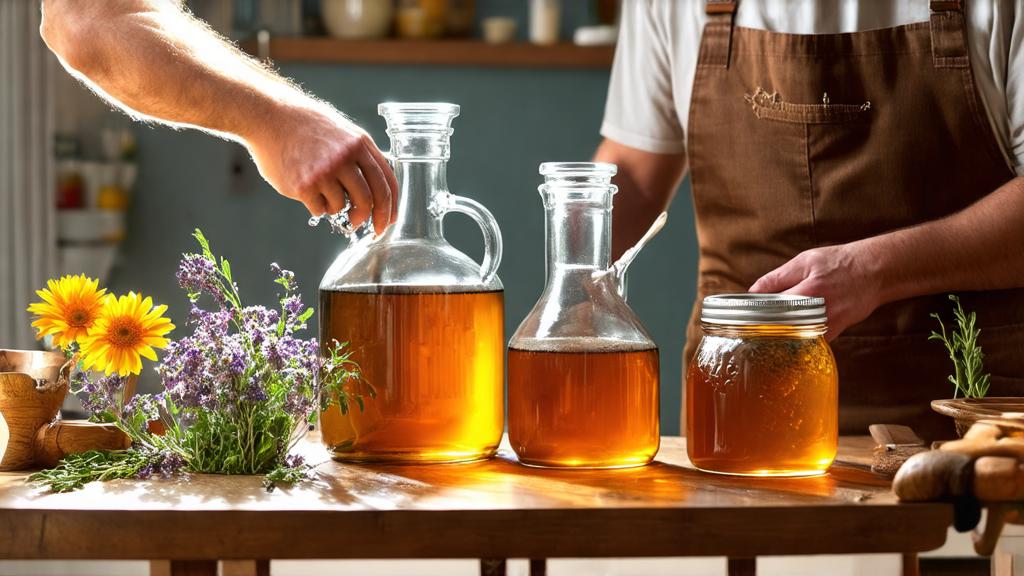
The reasons behind mead’s resurgence are multifaceted. First, there’s fatigue. After years of competitive hop wars and extreme brewing experiments, many brewers are returning to simplicity. Mead forces that simplicity—at its core, it’s just honey, water, yeast, and time. No grain equipment. No complicated grain bills. Just the fundamentals of fermentation.
Second, local sourcing has become fashionable and, frankly, important. UK beekeepers have been struggling, and supporting them through honey purchases feels meaningful. Buying from local apiaries, you’re not just getting better honey—you’re supporting agricultural heritage. This aligns beautifully with the sustainable homebrewing movement that’s been gathering momentum.
Third, the versatility is intoxicating (pun intended). Mead isn’t one thing. A traditional dry mead tastes nothing like a fruit-forward session mead or a spiced metheglin. You can age it for decades or drink it young and fresh. The range of possibilities rivals beer brewing, but without years of mastery required to start.
Market data backs this up. Honey wine is officially trending across Food & Drink categories, with rising interest in fruit-based flavours, sparkling variants, and small-batch production. UK craft beverages are diversifying, and mead—often overlooked—is quietly capturing share.
Choosing Your Honey & Ingredients
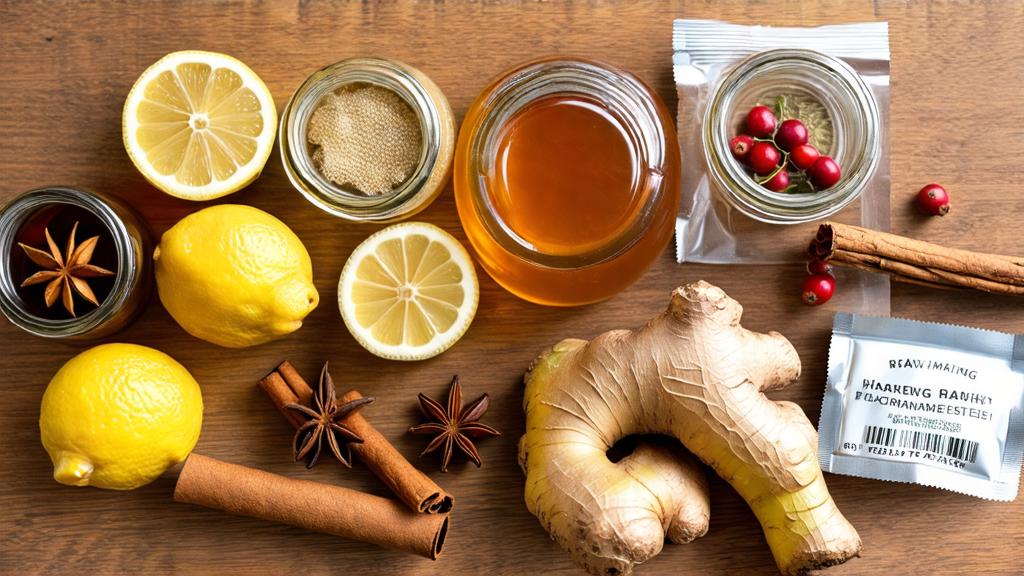
Here’s the truth: your mead is only as good as your honey. I learned this the hard way.
When sourcing honey, skip the supermarket bottles labelled “pure honey”—they’re often blended with syrups and heated beyond recognition. Instead, find a local beekeeper. In the UK, the British Beekeepers Association directory is your friend. Ring them up. Ask about single-varietal honeys: acacia, wildflower, heather, clover. Each has a distinct character that will shine through in your finished mead.
For a 5-litre (1.3 gallon) traditional dry mead, you’ll need approximately 1.5 kg (3.3 lbs) of honey. This gives you an ABV around 12–14%, depending on yeast efficiency. You can adjust higher for dessert meads or lower for session variants.
Beyond honey, keep your ingredient list minimal:
- Water: Use filtered or bottled water if your tap water is heavily chlorinated. Mead ferments slowly, and off-flavours from tap water become obvious.
- Yeast: Champagne yeast (Saccharomyces cerevisiae) is the standard. It’s reliable, ferments relatively dry, and produces clean flavours. For fruit meads, consider wine yeasts like K1V-1116 or specialty yeasts from UK suppliers.
- Nutrients: Honey contains minimal nitrogen. A simple packet of yeast nutrient prevents stuck fermentations—essential.
- Optional spices/botanicals: Ginger, cinnamon, cloves, dried flowers, citrus peel. Less is more. A single 2–3 cm (1–1.5 inch) piece of ginger root can define a batch; a tablespoon can ruin it.
For fruit meads, fresh fruit is superior to frozen, and frozen beats concentrate. Add fruit after the initial fermentation vigor subsides—typically day 5–7—to avoid overwhelming the yeast.
Equipment Essentials for Mead Making
Mead-making requires less equipment than beer brewing, making it ideal for beginners. Here’s what you absolutely need:
- Fermentation vessel: A glass carboy (5–10 litre / 1.3–2.6 gallon) or food-grade plastic bucket. Glass is easier to monitor but less forgiving if you knock it. I use a 5-litre carboy for test batches.
- Airlock and bung: Standard S-shaped or three-piece airlocks work fine. Essential for preventing oxidation and contamination.
- Hydrometer: Measures specific gravity, telling you fermentation progress. Inexpensive and invaluable.
- Large pot: For heating honey and water if making a traditionally heated “must” (fermentation mixture).
- Siphon and tubing: For transferring mead without disturbing sediment during racking (transferring between vessels).
- Bottles: Wine bottles, swing-top bottles, or flip-top beer bottles. Avoid green or clear bottles if ageing long-term—UV degrades mead.
- Sanitiser: Star San or similar no-rinse sanitiser. Critical.
Total investment for a first batch: roughly £40–60 ($50–75 USD), significantly cheaper than beer-making setups. This makes mead an accessible entry point to fermentation.
The Mead Fermentation Process: Step by Step

Day 1: Preparation
Dissolve your honey in warm (not hot—temperatures above 60°C destroy beneficial compounds) water in a large pot. Stir gently for several minutes. If using whole spices or botanicals, add them now. Let the must cool to room temperature.
Sanitise all equipment thoroughly. Transfer the cooled must into your fermentation vessel. Add yeast nutrient according to packet instructions. Pitch your yeast—sprinkle it on the surface or rehydrate it in a small amount of room-temperature must first (this method, called “rehydration,” improves viability).
Fit your airlock and place the vessel in a location with stable temperature (ideally 15–20°C / 59–68°F). Cooler fermentations produce cleaner, more refined meads. Warmer fermentations are faster but risk off-flavours.
Days 2–10: Vigorous Fermentation
You’ll notice vigorous bubbling within 24–48 hours. This is normal and beautiful. Yeast is consuming sugars and producing alcohol and CO₂. After 5–7 days, when fermentation visibly slows, if making a fruit mead, add your prepared fruit through the carboy opening (use a funnel).
Do not stir or disturb the carboy. Oxygen helps yeast initially, but once fermentation’s underway, oxidation damages mead’s delicate flavours.
Days 10–30: Secondary Fermentation
Bubbling slows dramatically. This doesn’t mean fermentation has stopped—it’s just progressed to slower, cooler stages. The yeast is still working, converting remaining sugars. Hybrid fermentation techniques can accelerate this phase, but patience is often the better option for mead.
After 3–4 weeks, take a gravity reading with your hydrometer. If it’s stable over 2–3 days (same reading twice), fermentation is complete. You might be looking at an ABV of 12–15%.
Day 30+: Racking
Transfer the mead off the yeast sediment (called “racking”) into a clean, sanitised vessel. Use a siphon to avoid disturbing the sediment. This clarity and separation from dead yeast cells improves final flavour. You can rack immediately or leave it on the sediment for a few weeks—traditionalists argue the autolysis adds complexity, and they’re not entirely wrong.
Conditioning, Ageing & Carbonation
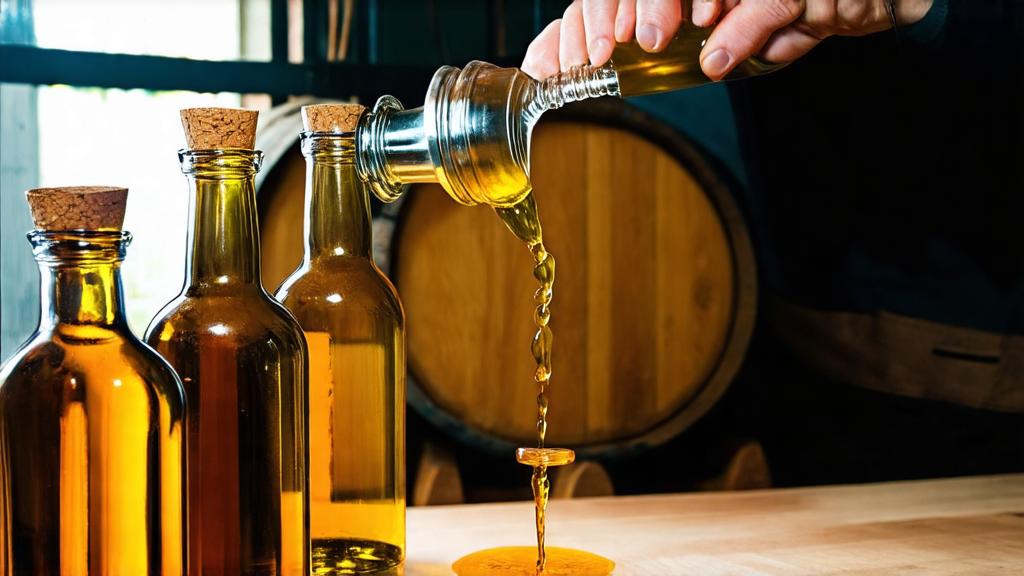
Here’s where mead differs most dramatically from beer. Beer is often ready to drink weeks after packaging. Mead demands patience—or at least rewards it.
Freshly fermented mead tastes harsh. Sharp acidity, yeasty notes, and thin mouthfeel are common. But given time, mead undergoes chemical transformation. A 2–3 month rest period allows rough edges to soften. A 6-month rest produces noticeably smoother character. A year-old mead tastes fundamentally different from the same batch at 3 months.
Bottle Conditioning
For still mead, bottle and age in a cool, dark location. Wine bottles work beautifully—cork or screw cap, whatever suits you. No secondary fermentation needed for dry meads, though you can add a small amount of honey (1 teaspoon per 750 ml) and a fresh pinch of yeast if you prefer carbonation.
For sparkling mead (currently trending), add priming sugar before bottling, just as you would with beer. Use swing-top bottles or champagne bottles; standard beer bottles risk over-carbonation and breakage.
Ageing Guidelines
- Dry meads (traditional): 6–12 months minimum for decent smoothness, 2–3 years for excellent complexity.
- Fruit meads: 3–6 months. The fruit flavours fade over time, so don’t age too long.
- Spiced meads: 4–8 months. Spices can become cloying if aged excessively.
- Sparkling meads: 1–2 months for carbonation development.
Store bottles horizontally (like wine) to keep cork hydrated, or upright if using screw caps. Temperature stability matters more than cold—a cool cellar at 10–15°C (50–59°F) is ideal.
Tasting Notes & Flavour Profiles
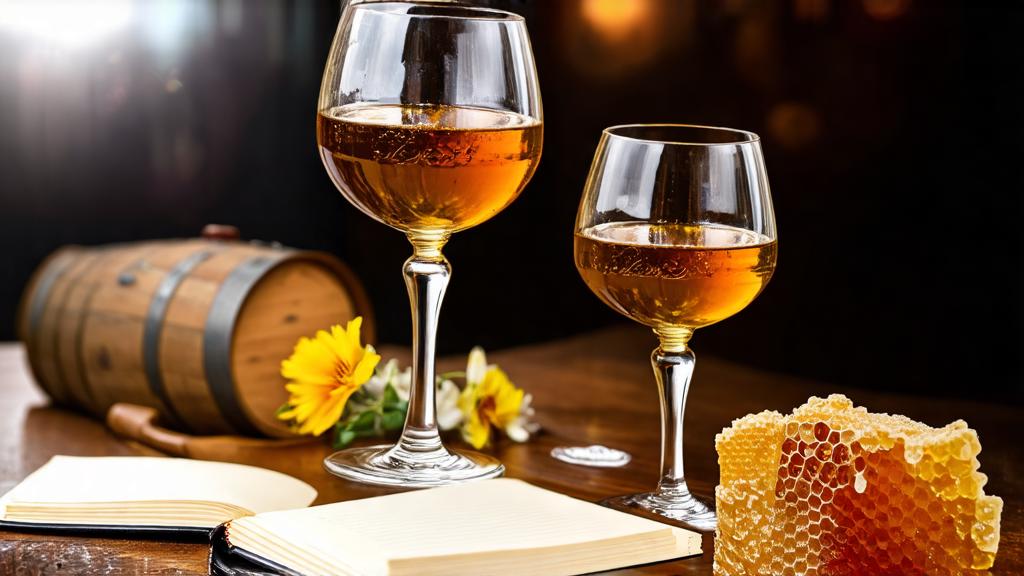
A year into my mead hobby, I started keeping detailed tasting notes. What surprised me was how distinct each batch became—even batches made with the same honey but different ageing times.
Traditional dry mead, properly aged, develops notes of honey (obviously), dried fruit, subtle spice, and a wine-like character. The best ones have a refined elegance that beer rarely achieves. Acidity is typically bright; tannins are gentle if present at all. Mouthfeel ranges from light to silky, depending on the honey and fermentation path.
A quality mead tastes nothing like sweet mead from supermarkets. It’s bone-dry, complex, and cerebral. Pour a glass, warm it slightly in your hand, inhale deeply. You should detect floral notes, subtle stone fruit, maybe honey still present but transformed.
Wild fermentation with natural yeasts can produce deeply unique meads, though the risk of infection is higher. For beginners, cultured yeasts are safer and more reliable.
Common Mistakes & How to Avoid Them
Using poor-quality honey: This ruins everything. Non-negotiable: source local, single-varietal honey from a beekeeper.
Insufficient yeast nutrient: Honey lacks nitrogen. Without nutrient addition, yeast becomes sluggish, fermentation stalls, and residual sweetness becomes cloying. Don’t skip this step.
Fermentation too warm: Mead fermented above 20°C (68°F) often develops harsh solvent-like notes. Patience with temperature control is worth the investment.
Over-spicing: A common trap. A light hand produces elegance; enthusiasm produces cough syrup. Start conservatively. You can always add more (though you can’t remove what you’ve added).
Bottling too early: Rushing to bottle before fermentation completes risks bottle bombs or re-fermentation. Verify gravity stability before packaging.
Oxidation during racking: Splashing and excessive air exposure oxidises mead. Siphon gently, minimise surface area exposure, and work methodically.
Taking It Further: Metheglin, Braggot & Fruit Meads
Once you’ve mastered traditional dry mead, the experimentation begins. This is where mead becomes genuinely exciting.
Metheglin is mead with added herbs and spices. A classic example: metheglin with ginger, clove, and black pepper mimics medieval warming wines. The challenge is restraint—three spices maximum, used sparingly. For official style guidelines, check BJCP mead categories—understanding the styles will sharpen your palate and your recipe design.
Braggot blends mead and beer, using grain and hops alongside honey. It’s an underexplored middle ground, often overlooked by both brewers and meadmakers. HomeBrewTalk forums have excellent braggot threads if you’re curious.
Fruit meads use fresh fruit to add complexity and tartness. Berries, stone fruits, and orchard fruits all work beautifully. Avoid tropical fruits initially—they can clash with mead’s wine-like character.
The joy here is permission to explore. You’re not bound by beer’s conventions or wine’s traditions. Mead is genuinely flexible, and that freedom is intoxicating.
Why Mead Mastery Matters in 2026
Mead-making isn’t just a hobby trend. It connects you to centuries of fermentation tradition while remaining thoroughly modern in execution. You’re supporting local beekeepers, experimenting with ancient techniques, and creating something genuinely personal.
Whether you’re a seasoned brewer looking for a new challenge or someone entirely new to fermentation, mead offers an elegant entry point. The equipment’s affordable, the process is forgiving, and the reward—a bottle of honey wine that’s uniquely yours—is deeply satisfying.
Start simple. Honey, water, yeast, patience. From there, the path unfolds naturally. By this time next year, you could have several batches ageing quietly in a corner, each telling a different story.
🍺 Join the Brotherhood — Monthly brews, stories & monk wisdom
Subscribe for exclusive recipes, early brew logs, and behind-the-scenes updates straight to your inbox.

