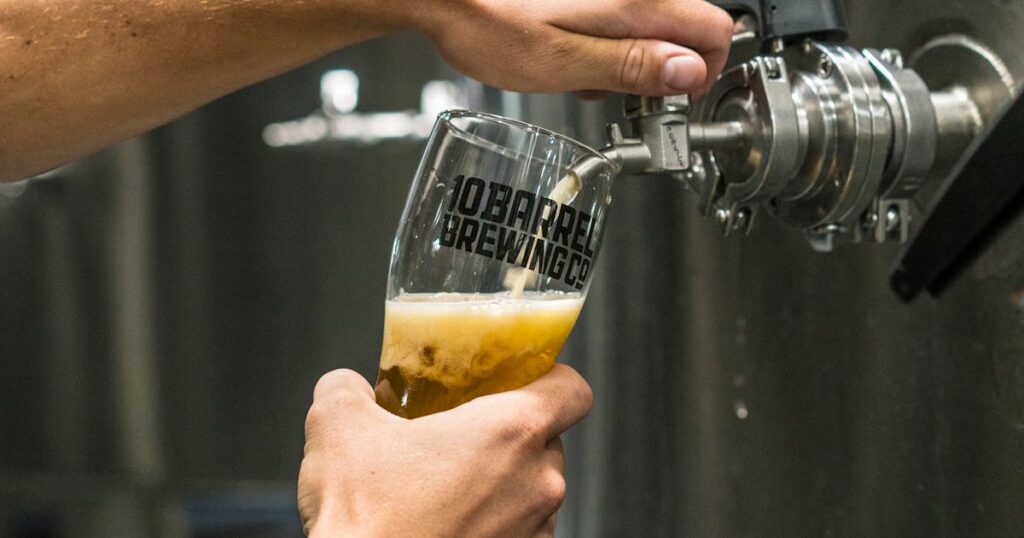
If you’ve moved to kegging but still want bottled beer for competitions, gifts, or transport, counterpressure bottling is your answer. It’s the technique that keeps your precious CO₂ locked in while preventing oxygen ingress—a game-changer for serious homebrewers who refuse to compromise on freshness.
The beauty of counterpressure bottling lies in its elegance. Rather than accepting the oxygen pickup from traditional gravity-fed bottling, this method uses CO₂ gas to maintain pressure inside the bottle, displacing air as beer flows in. Professional breweries have used this for decades, and now it’s become accessible to homebrewers with affordable equipment.
Why Counterpressure Matters
Traditional bottling—where you siphon carbonated beer from a keg into bottles—introduces dissolved oxygen at every splash. Those tiny foams seem harmless, but they’re the enemy of beer stability. Over time, oxidation creates stale cardboard flavours and dulls hop character. Counterpressure eliminates this risk by keeping oxygen out entirely.
For competition beers or special brews destined for storage, this difference is profound. A carefully crafted Imperial Stout that might taste flat and oxidised in eight months can remain fresh for a year or more when bottled under pressure. You’re also protecting delicate aromatic beers, where proper carbonation techniques matter as much as the recipe itself.
The Equipment You’ll Need
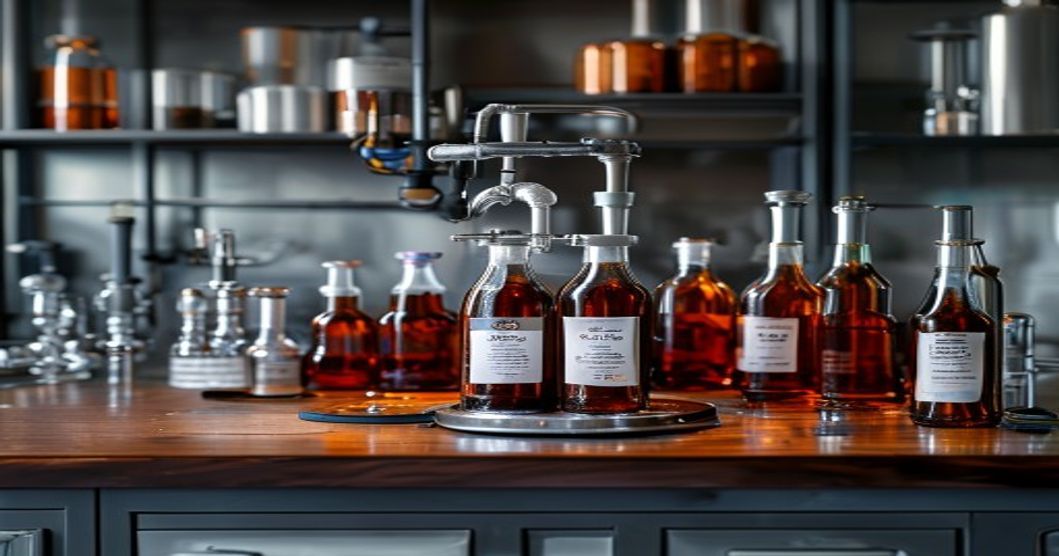
A basic counterpressure bottler consists of three components: an inlet dip tube (which attaches to your keg’s gas line), a depressurisation valve, and an outlet nozzle. You’re pushing CO₂ into the bottle while beer flows out, maintaining equilibrium pressure throughout.
The entry-level rigs cost £30–60 and work surprisingly well. Professional-grade fillers run hundreds, but they’re overkill for home use. What matters is consistency: a steady hand and clean equipment. According to HomeBrewTalk’s community guides, the most common mistake is rushing the fill—slow and steady wins.

The Process: Step by Step
First, use CO₂ to purge each bottle before filling. Seal the bottle, attach the filler, and dial in your gas pressure to match your keg’s carbonation level (usually 10–15 PSI for ales). The key insight here is that you’re creating an air/CO₂ blend inside the bottle, then displacing it one-for-one as beer enters.
Open the inlet valve slowly. Beer should flow gently, not gush. This is where patience becomes your best ally—fast fills reintroduce the turbulence and oxygen you’re trying to avoid. Each bottle typically takes 30–60 seconds. Once full, close the inlet, depressurise by opening the outlet valve, and remove the bottle.
Temperature matters too. Fill straight from a cold keg or chiller line. Warm beer foams excessively, introducing air pockets. As Brew Your Own’s recent technical guide explains, many brewers slightly overcarbonate beforehand (2–3 PSI higher) to compensate for minor CO₂ loss during the fill.
Troubleshooting Common Issues
If foam erupts when you open the outlet valve, your keg pressure is too high—dial it down by 2 PSI. If beer dribbles rather than flows, the inlet tube might be blocked or your keg’s internal pressure is too low. A slow trickle is normal; a gusher is not.
Leaks around the bottle neck? Your bottle may not be seated properly, or you’re using bottles with tiny mouth openings that don’t fit the nozzle well. Standard 12-oz bottles work best; swing-tops require adapters.
For quality control, employ sensory analysis techniques on your first few batches. Compare a counterpressure-bottled sample against a traditionally bottled control after 4–6 weeks. You’ll notice the difference immediately.
When Counterpressure Bottling Shines
Use it for competition beers, long-term aging, and anything you’re genuinely proud of. For everyday drinking or small quantities, traditional bottling is perfectly fine. But if you’re entering a beer into the BJCP National Homebrewing Competition, counterpressure filling is insurance against oxidation stealing points.
It also transforms your keg system from a “drink fresh” device into a true production platform. You can bottle off your latest batch whilst brewing the next one, creating a continuous cycle of fresh, shelf-stable homebrew.
The Bottom Line
Counterpressure bottling isn’t magic—it’s just physics and discipline. Remove oxygen, maintain pressure, fill gently, and respect the details. Your bottled beers will taste noticeably better, age more gracefully, and make you look like a pro. For serious homebrewers, it’s the missing piece that unlocks genuine brewery-quality results at home.
Ready to bottle like a pro? Start with a budget counterpressure filler, invest in a good regulator, and dial in your technique with a test batch. Your future competition entries will thank you.