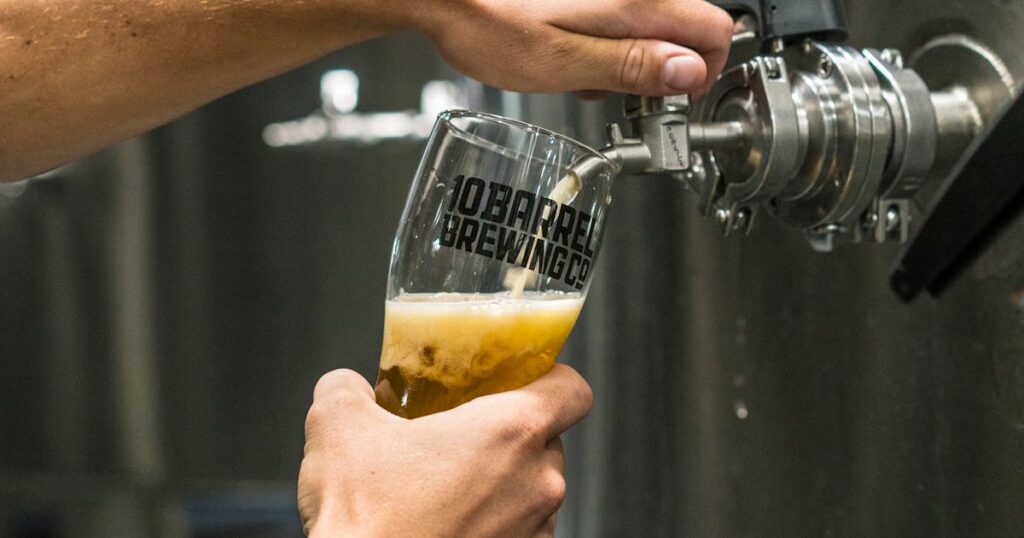
Nitro beer — that creamy, velvety cascade of microbubbles and dense foam head — has dominated craft bars and gastropubs for years. But here’s the thing: you don’t need to be a commercial brewery to pour nitro at home. The technology has evolved, the equipment is now accessible, and homebrewers are finally catching up.
Whether you’re brewing a silky Irish stout or a smooth cold brew coffee beer, nitrogen infusion transforms not just the texture but the entire drinking experience. Let me walk you through how to bring this cafe-quality magic to your own taproom.
Why Nitrogen, Not Just CO₂?
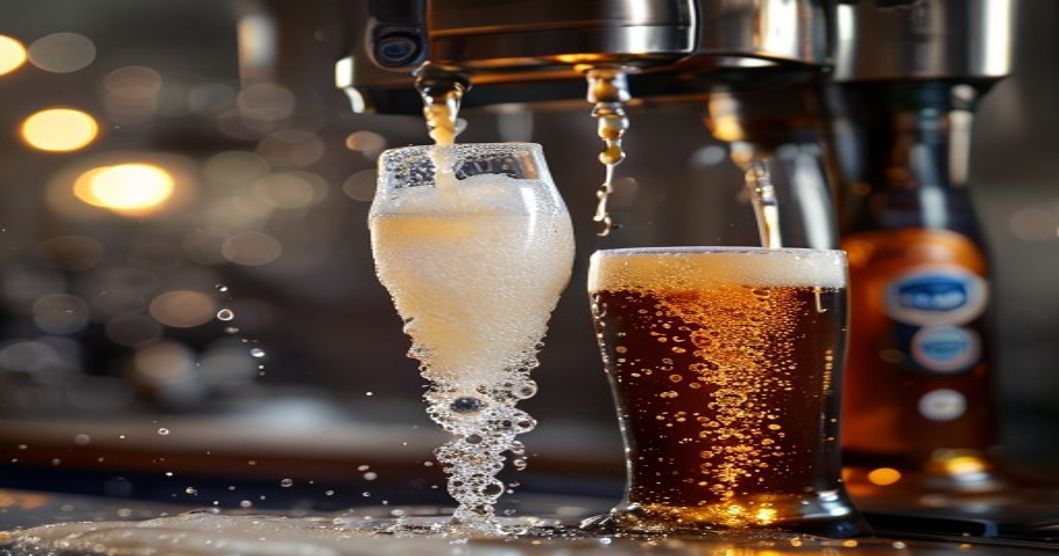
Carbon dioxide — the traditional go-to for carbonation — creates large bubbles and a sharp, crisp mouthfeel. Nitrogen is different. Because nitrogen is less soluble in liquid, it creates smaller, finer bubbles that persist longer in the glass, generating that signature creamy texture and thick, stable head. Beer gas systems (typically 75% nitrogen, 25% CO₂) combine both for balance — smooth mouthfeel with just enough carbonation for liveliness.
The result? A mouthfeel that’s closer to nitro stouts on tap at your local pub, a visual cascade that’s genuinely stunning, and a beer that tastes different depending on how you pour it.
Getting Started: The Equipment You Need
Unlike kegging with CO₂ alone, nitrogen infusion does require a bit more setup. You’ll need a nitrogen gas source, a regulator capable of handling higher pressures (nitrogen typically requires 30–40 PSI for proper infusion), and ideally a nitro tap or restrictor plate to control the pour and create the cascade.

The NitroBrew Home Kit and similar emerging products have made this more accessible for homebrewers. HomeBrewTalk forums are buzzing with budget-friendly builds — some folks are repurposing paintball tanks or acquiring small nitrogen cylinders locally at far lower cost than commercial systems. Check your local brewing supply shops; many now stock nitrogen regulators specifically for homebrewing.
The Infusion Process: Temperature and Pressure Matter
Nitrogen doesn’t just dissolve into beer the way CO₂ does. You need cold beer (ideally 38–40°F), a keg under pressure, and patience. The general method: force nitrogen into solution at 30–40 PSI for 12–24 hours, allowing time for the microbubbles to stabilize throughout the liquid. Some brewers use a rocking technique (tilting the keg back and forth) to accelerate infusion, mimicking what larger breweries do.
Temperature control is critical. Warmer beer releases dissolved nitrogen faster, undoing your work. Keep your keg cold and consistent throughout the process, and you’ll get reliable, repeatable results.
Interested in the science? CAMRA’s brewing guides and academic resources dive deeper into gas solubility and bubble nucleation, but for home purposes: cold + pressure + time = success.
Best Beers for Nitrogen Infusion
Not every beer benefits equally from nitrogen. Stouts and porters are the classics — their rich, roasted character pairs beautifully with the creamy texture. Cream ales, nitro cold brews, and even some lighter lagers work wonderfully. The key is choosing styles where smoothness and mouthfeel are valued over hop bite or crisp carbonation.
If you’ve crafted coffee-infused homebrews, nitrogen is a game-changer — it transforms them into velvety, cafe-like experiences that rivals any commercial nitro cold brew.
The Pour: Making It Count
A nitro tap isn’t just aesthetic; it’s functional. The restrictor plate inside a nitro tap controls flow, forcing the beer to aerate and create the cascade as it pours. A standard flat-tap pours a smooth, even stream without the cascade effect.

Pro tip: hold your glass at a 45-degree angle initially, then straighten it toward the end of the pour. This maximizes the cascade effect and fills the head slightly proud of the rim — classic Guinness style. Let it settle for 30 seconds before serving; the bubbles will compact, creating that perfect creamy layer on top.
Troubleshooting Common Issues
If your nitrogen beer tastes flat or over-carbonated, it’s likely a pressure or infusion time issue. Insufficient infusion (less than 12 hours under pressure) means fewer dissolved microbubbles. Too much pressure or aggressive pouring can over-carbonate, leading to excessive foam. Homemade nitro faucet guides often cover these adjustments in detail.
Starting with lower pressures (25 PSI) and gradual increases helps you dial in your setup without disasters.
Wrapping Up: Bring the Pub Home
Nitro beer at home isn’t just a gimmick — it’s a genuine shift in how your homebrew tastes and feels. The investment in equipment is modest compared to the experience gain. Whether you’re hosting a tasting with friends or simply enjoying your stout the way it’s meant to be savoured, nitrogen infusion elevates homebrewing to the next level.
Ready to make the leap? Start with research, grab a nitrogen cylinder and regulator, and let your next batch shine. Your taproom — and your guests — will thank you.