Pressure fermentation is the technique that separates casual homebrewers from serious enthusiasts. By fermenting beer under a pressure higher than atmospheric, you unlock benefits that traditional open fermentation simply cannot achieve. In 2026, this technique is gaining real traction among UK homebrewers — and for good reason.
Whether you’re looking to improve carbonation, reduce oxidation, or achieve faster turnaround times, pressure fermentation might be exactly what your brewing setup needs.
What is Pressure Fermentation?
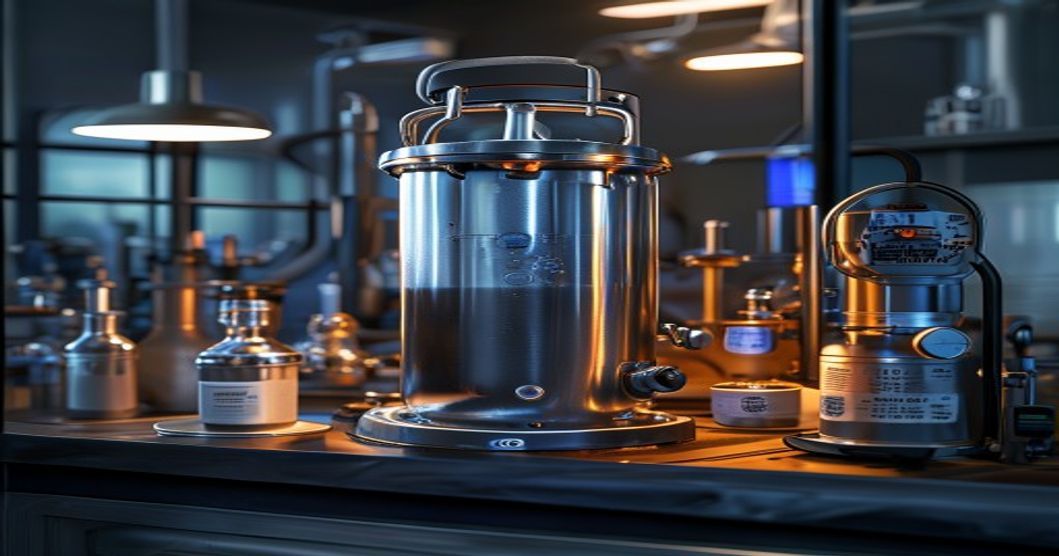
Pressure fermentation happens when you seal your fermenter completely and allow the CO₂ produced during fermentation to build pressure inside the vessel. Rather than using an airlock that lets gas escape, a spunding valve regulates how much pressure accumulates. This simple change creates profound effects on your beer.
Most homebrewers achieve this using corny kegs (Cornelius kegs) fitted with pressure fermentation equipment like spunding valves, which are readily available from homebrew suppliers. The beauty is that if you already have a kegging system, you’re halfway there.
The Science Behind Pressure Benefits
Fermenting under pressure significantly reduces oxygen pickup during the critical early stages. Oxygen is one of your biggest enemies in beer — it causes staling, off-flavours, and degrades colour stability. By keeping everything sealed, you preserve flavour integrity far better than traditional carboy methods.
Additionally, pressure fermentation allows yeast to work more efficiently. Some studies suggest that elevated pressure can slightly increase ester production in ale fermentations, creating more complex flavour profiles. For lager brewers, pressure fermentation paired with proper temperature control creates the crisp, clean characteristics that define premium lagers.

Practical Setup and Best Practices
Starting pressure fermentation doesn’t require exotic equipment. You’ll need: a sealed fermenter (ideally a corny keg rated for pressure), a spunding valve (typically 0-15 PSI range), a pressure gauge, and appropriate tubing. The spunding valve is the critical piece — it automatically vents excess pressure whilst maintaining your target PSI.
Most brewers ferment ales at 2-5 PSI and lagers at 1-3 PSI. Higher pressures aren’t necessarily better; experimentation with your recipes is key. The Home Brew Talk forums contain excellent threads documenting real-world results from hundreds of brewers using various pressure settings.
One huge advantage: you can harvest yeast without breaking the seal. Use closed-loop transfer techniques to move beer to serving kegs with minimal oxidation. This workflow creates remarkably consistent batches.
Common Mistakes to Avoid
Don’t exceed your fermenter’s pressure rating — this is a safety issue. Always use pressure-rated equipment. Some homebrewers get enthusiastic and push 10+ PSI, but you’ll see diminishing returns and risk equipment failure.
Another mistake is forgetting to account for fermentation temperature. Cold ferments produce less CO₂, so you might not hit your target pressure naturally. Conversely, warm ferments produce excessive gas, so your spunding valve will be venting constantly. Temperature stability is just as critical in pressure fermentation as in traditional methods.

Why 2026 is the Year of Pressure
Equipment costs have dropped considerably — good spunding valves now cost under £30. The homebrew community has extensive documentation and shared results. Organisations like CAMRA are publishing guides on modern techniques, legitimising previously niche methods.
If you’re serious about improving your beer’s shelf stability, consistency, and flavour, pressure fermentation is no longer experimental — it’s mainstream. Start with a modest setup, document your results, and adjust. Your future batches will thank you.
Ready to try pressure fermentation? Start with a single batch, keep notes, and join the brewing community online. The learning curve is gentle, but the rewards are significant.