
Extra Pale Ale Mastery: Brewing XPA’s Dry, Hop-Forward Revolution at Home in 2026
I’d heard the whispers at homebrew clubs and brewing forums for months — XPA this, extra pale ale that. But honestly, it sounded like another marketing gimmick, a trendy rebrand of something we already knew. Then I tasted a proper XPA from Craft Coast, and I understood immediately why this style is having such a moment in 2026. It’s not just pale and hoppy. It’s the perfect marriage of restraint and boldness, of dryness and flavour, and it’s absolutely achievable at home.
XPA stands for Extra Pale Ale, and it represents a fascinating evolution in modern brewing philosophy. Unlike traditional pale ales that prioritise malt balance, or IPAs that chase maximum bitterness, an XPA is engineered for something harder to achieve: high attenuation (very dry finish), pure hop expression, and a light body that invites you to drink it all evening. The style has Australian roots — think session ale ambitions married to West Coast hop intensity — but it’s being reinvented globally as brewers discover how elegantly simple it is to brew.
This guide walks you through brewing a genuinely excellent XPA at home, covering ingredient selection, the subtle fermentation work that makes it sing, and the honest tasting notes from my own test batches. If you’ve ever wanted to understand why big breweries are quietly shifting investment toward hoppy, dry ales, this post is your answer.
Understanding XPA: Why This Style Matters
XPA sits in a unique sweet spot. It’s pale (think Pilsner colour, golden and bright), aggressively hopped (comparable to West Coast IPA levels), but fermented and conditioned in a way that creates something genuinely different from both ales and lagers.
The defining characteristics are:
- Attenuation: 75–85% final gravity (very dry finish)
- ABV: 5.5–6.5%, high enough for character but low enough to remain sessionable
- Hop Profile: 40–60 IBU with emphasis on late-addition and dry-hop bittering and aroma
- Body: Light, crisp, almost lager-like clarity despite being an ale
- Colour: 2–5 SRM (pale straw to pale gold)
What makes XPA so appealing to modern brewers is that it bridges ale tradition and lager precision. You don’t need to lager for weeks at cold temperatures, but you get that clean, dry finish lager drinkers crave. The hop character stays vibrant and detailed rather than blending into background bittering. And crucially, it’s forgiving to brew at home — no complicated temperature management or extended conditioning.
Ingredients & Equipment
Malt Selection
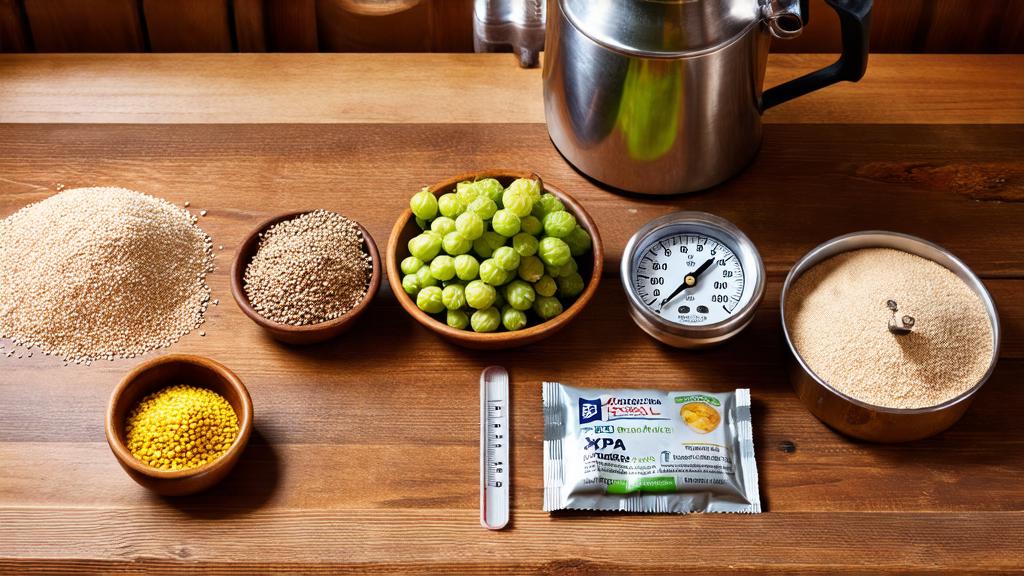
The malt foundation is everything in XPA. You want pale base malts with enough enzymatic power (diastatic power) to convert fully and leave the beer bone-dry. Australian pale malts are ideal — they typically have higher enzyme activity than North American or European varieties, which translates to higher attenuation and that signature dry finish. I’ve had excellent results with Barrett Burston pale malt from The Malt Miller (based in Basingstoke, UK), which gives exceptional clean fermentation.
For a standard 5-gallon (19-litre) batch:
- 4.5 kg (10 lbs) Australian pale malt or pale ale malt
- 0.5 kg (1.1 lbs) Munich malt (10L) for subtle depth — without this, the beer can feel hollow
- 0.25 kg (0.55 lbs) Melanoiden or Vienna malt (optional, for golden complexity)
The goal is 60–65% apparent attenuation, which requires mashing at 62–64°C (144–147°F) for a thin, fermentable wort. Don’t overshoot temperature; every degree adds body.
Hops
XPA is hop-forward, but not brutally bitter. The magic is in layering:
- Bittering: 12 g Magnum at 60 minutes (clean, neutral bittering)
- Aroma: 15 g Cascade at 5 minutes, 15 g Amarillo at 5 minutes (citrus and floral notes)
- Dry hop: 20 g Cascade + 20 g Amarillo (or substitute Nelson Sauvin, Vic Secret, or Huell Melon for different character)
Total IBU: ~45–50, which sounds low but feels perfectly balanced in the finished beer because of the high attenuation and clean malt base.
Yeast
Use a neutral, clean ale yeast that attenuates well. Wyeast 1056 California Lager is a cliché, but there’s a reason — it ferments cleanly at 18–20°C (64–68°F) and hits 75% attenuation reliably. Alternatively, SafAle S-04 or Lallemand Nottingham work brilliantly. The key is pitching temperature: start cool (18°C) and let it rise to 20°C naturally as fermentation takes off.
Step-by-Step Brew Day
Water & Mashing
This is where XPA separates from casual brewing. Water chemistry matters. You want a profile biased toward sulphate (which accentuates hop bitterness and cleanness) and lower sodium. Aim for:
- Calcium: 80–100 ppm
- Sulphate: 100–150 ppm
- Chloride: 50–75 ppm
- Mash pH: 5.3–5.5
If you’re brewing with tap water, test it or use a simple water calculator like Bru’n Water to adjust. A single Campden tablet removes chlorine if needed.
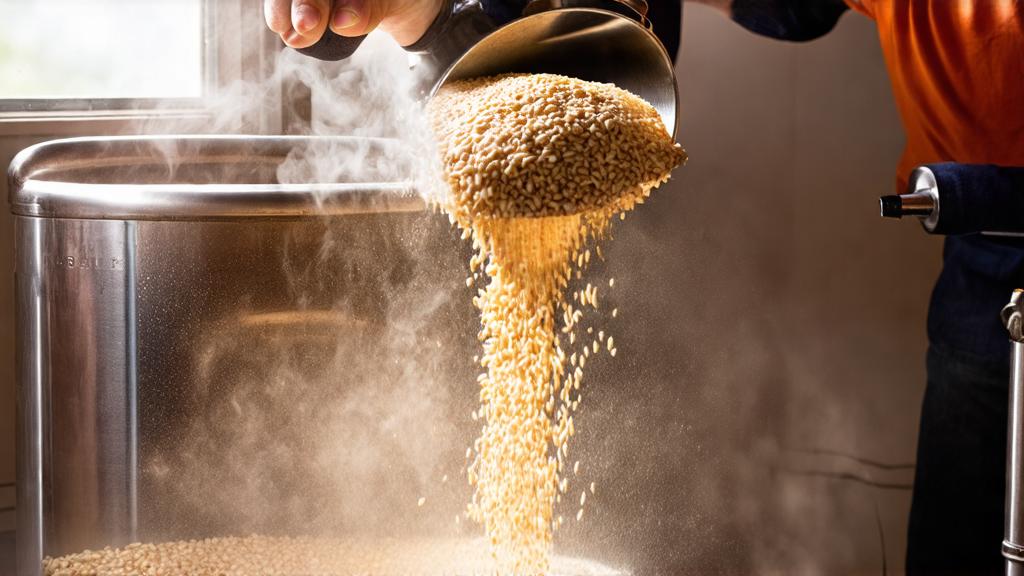
Mash at 63°C (145°F) for 60 minutes with a mash ratio of 2.5:1 (water to grain by weight). This thin mash combined with high enzymatic power gives you a wort with high fermentability but still enough body to support the hop character. After mashing, sparge with 74°C (165°F) water to collect ~21 litres (5.5 gallons) pre-boil.
Boil
Keep the boil vigorous and full 60 minutes. Bittering addition only at the start. The 5-minute additions are crucial — they contribute both flavour and a soft bitterness that integrates beautifully. I often take notes during this phase, jotting down original gravity target (aim for 1.055–1.060) and water loss rate. Chill rapidly to 18°C, which is crucial for a clean pitch.
Fermentation & Conditioning
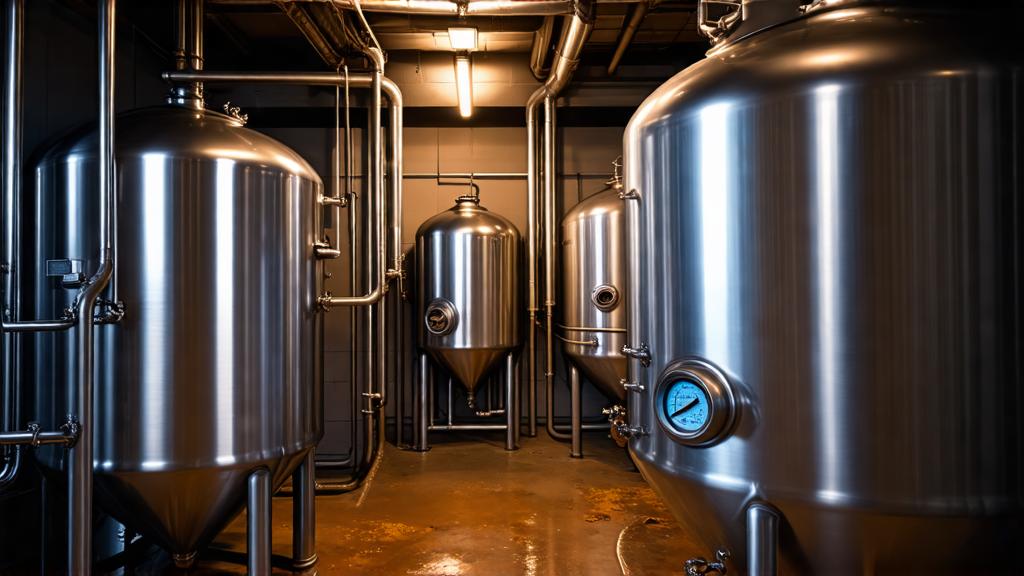
XPA ferments like a traditional ale but benefits from lager-like temperature discipline. Pitch yeast at 18°C and let the fermentation naturally rise to 20°C over 24–36 hours. Hold it there. Don’t let it spike above 21°C, or you’ll get unwanted fruity esters that muddy the hop clarity.
Active fermentation should be complete by day 6–7 (check with a hydrometer: if gravity is stable over two consecutive days, you’re finished). At this point, taste a sample. A proper XPA at terminal gravity (1.010–1.012) should taste extraordinarily dry, almost crisp, with hop bitterness but no harsh edge.
Here’s where most homebrewers make a mistake: they bottle too soon. Dry-hop after primary fermentation is complete. Add your 40 g dry-hop charge (20 g Cascade, 20 g Amarillo) directly into the fermentation vessel or a secondary. Let it sit for 5–7 days at 18°C. This isn’t a wild fermentation like you’d do in a wild fermentation project — it’s a controlled infusion that locks in aroma without introducing oxidation or new microbes.
After dry-hopping, bottle immediately. Exposure to oxygen is your enemy. Use priming sugar or a bottling wand that minimises aeration. Target 2.2–2.5 volumes of CO₂ for a lightly carbonated, crisp finish. Condition at 18–20°C for 2 weeks.
Tasting Notes & My Honest Review
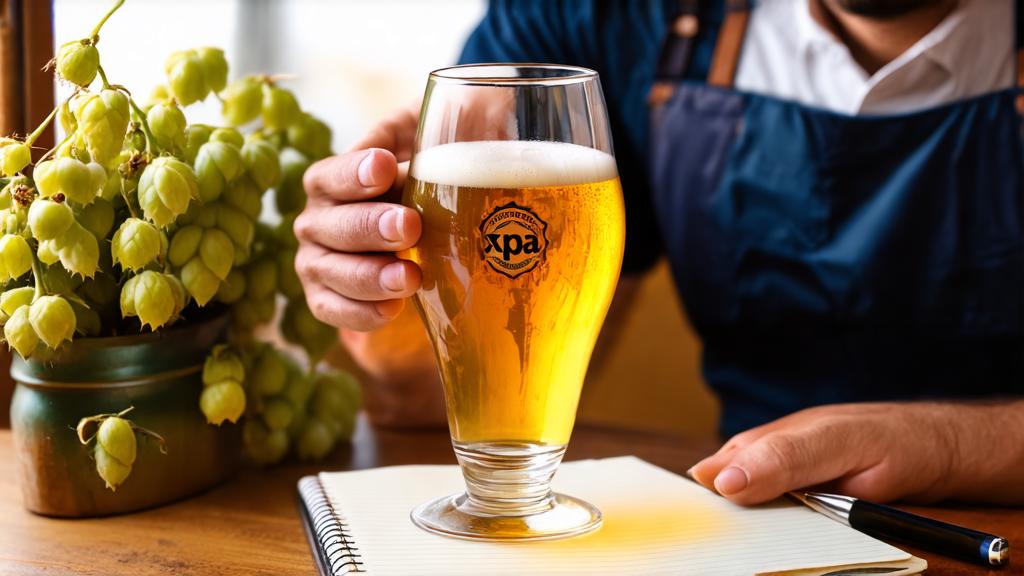
My third batch of XPA hit everything right. It poured a vivid pale gold with a tight, creamy head that lasted ten minutes. The aroma was classic Cascade and Amarillo: citrus, flowers, a hint of pine. On the palate, I got what I was chasing: a beer that feels like it has 5.5% ABV but drinks like 4%, because the dryness and hop clarity make it so remarkably easy to drink. There’s a subtle bitterness in the finish — not harsh, but assertive enough to remind you this is a serious beer, not a light lager.
Flavour notes (from my tasting log):
- Body: Very light, crisp, clean
- Malt: Barely perceptible sweetness; the Munich malt adds a golden undertone but never dominates
- Hops: Citrus (grapefruit zest), floral (herbal notes from Cascade), a touch of white pepper
- Finish: Dry, almost wine-like, with persistent hop character that softens over 10 seconds
- Overall: Sessionable, refreshing, genuinely crave-worthy. I drank 5 bottles in one sitting without regret.
Pro Tips & Common Mistakes
- Don’t skip water chemistry. The sulphate-biased profile isn’t optional for XPA; it’s foundational. Your local water might already be ideal. Resources like CAMRA and Geterbrewed offer water profiles and regional brewing guidance for UK brewers.
- Underpitch rather than overpitch. One packet of liquid yeast or 5 g of dry yeast is enough. Overpitching suppresses esters but also reduces attenuation. XPA demands full yeast character.
- Temperature control is non-negotiable. If you can only maintain 21–22°C, brew a different style. XPA’s dry profile relies on clean fermentation.
- Dry-hop cold. Some brewers add hops to the boil kettle while cooling — resist this. Cold-hop in the fermenter at terminal gravity. You’ll preserve volatile hop compounds that hot infusion destroys.
- Bottle fast. Once dry-hopping is done, package within a day. Oxidation stales hop aroma in hours.
- Don’t expect a massive head. XPA’s light body and moderate carbonation produce a modest head. That’s correct. If yours looks like a stout, your carbonation level is too high or your technique added excess nucleation.
Variations & Next-Level Experiments
Once you nail the base recipe, the fun starts. I’ve brewed versions with different hops — Vic Secret (blackberry, spice), Nelson Sauvin (white wine, stone fruit), Huell Melon (exactly what the name says) — and each completely transforms the character while maintaining XPA’s signature dryness. The base recipe is so clean and neutral that it’s a perfect canvas for hop experimentation. For detailed hop characteristics and brewing science, the BJCP Style Guidelines and HomeBrewTalk forum are invaluable resources for experimenting with new varieties.
For a British twist on XPA, swap Amarillo for Goldings or Progress (UK hops). You get more earthy, herbal character instead of citrus — it’s still XPA, just with a Somerset accent. This pairs brilliantly with our seasonal brewing calendar and aligns with British hop traditions.
Why XPA Matters in 2026
XPA isn’t just another trendy style. It represents a fundamental shift in craft beer philosophy: away from maximalism (bigger ABV, more bitterness, more everything) toward precision and elegance. It’s what happens when breweries stop asking “how extreme can we go?” and start asking “how perfectly balanced can we be?”
For homebrewers, it’s liberating. You don’t need a second fermentation chamber or months of patience. You don’t need expensive ingredients or exotic equipment. A small investment in temperature control and clean technique unlocks a style that commercial breweries are charging premium prices for, and you’ll do it at £0.30 per litre.
I’ve shared bottles with friends who claim they don’t like IPAs, and they’ve come back asking for more. That’s the power of a well-executed XPA — it’s approachable without being boring, challenging without being aggressive. It’s honest beer, and it’s absolutely achievable at home.
Start with the base recipe, nail the fundamentals (water, temperature, fermentation discipline), and trust the process. Your XPA will be worth the care.
🍺 Join the Brotherhood — Monthly brews, stories & monk wisdom
Subscribe for exclusive recipes, early brew logs, and behind-the-scenes updates straight to your inbox.

