
Session Ale Mastery: Brew Perfect Low-Alcohol Hoppy Ales for Summer 2026
It’s late June in the UK, and the garden is calling. The last thing you want is a heavy 7% IPA sitting in your hand on a warm afternoon — you want something crisp, drinkable, and genuinely refreshing. This is the season for session ales, and if I’m honest, I’ve been brewing more of them this summer than anything else.
Session ales are surging right now. Market data shows that low-alcohol beer accounts for 40% of product demand in 2026, and session ales lead the charge. They’re characterised by bold hop flavour at 4.0-5.5% ABV — meaning you can drink two or three without losing focus or energy. It’s honest brewing: maximum flavour with genuine restraint.
The Benedictine monks understood this principle centuries ago — make something worth savouring, but not something that overwhelms. That’s a session ale. Let me walk you through everything I’ve learned brewing them at home, from water chemistry to dry-hopping strategies that work in British heat.
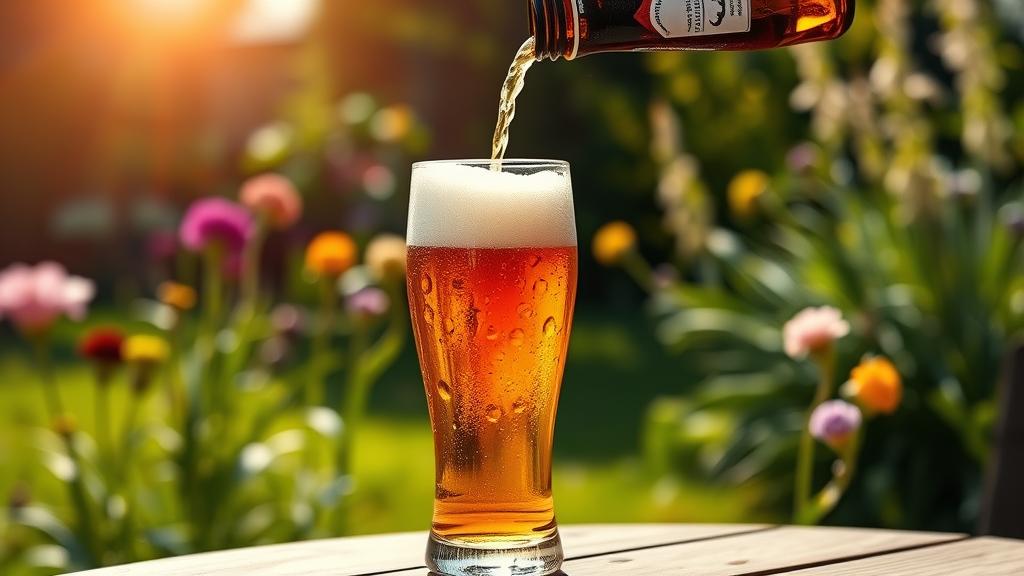
Why Session Ales Are the 2026 Homebrewing Trend
For years, we chased bigger. Imperial IPAs. Imperial stouts. Double this, triple that. But in 2026, the pendulum swung — and honestly, it’s a relief.
Session ales tap into something primal: thirst-quenching refreshment paired with genuine complexity. You’re not sacrificing flavour for lower alcohol; you’re optimising it. The best session ales I’ve tasted — and brewed — punch above their weight. The hop character is present and vivid. The malt backbone is clean but substantial. The finish is dry, crisp, and makes you reach for the next sip.
The broader trend toward low-ABV brewing isn’t just a fad. It’s a genuine shift in how people drink. Warm weather. Afternoon gatherings. Multiple rounds without regret. Session ales solve a real problem, and homebrewers have noticed. Unlike heavier styles like premium lagers, which demand precision and patience, session ales are accessible to beginners and rewarding for experienced brewers.
From a brewing perspective, session ales are also forgiving. You’re working at lower gravities (1.040-1.055 OG), which means cleaner fermentations, faster turnaround, and fewer variables to manage. It’s accessible craft brewing.
Ingredients & Recipe Foundation for Session Ale Success

The Grain Bill (for a 20-litre / 5.3-gallon batch, 4.8% ABV):
- 3.5 kg (7.7 lbs) pale ale malt — the backbone
- 0.5 kg (1.1 lbs) Munich malt — adds subtle depth without sweetness
- 0.3 kg (0.7 lbs) carapils — enhances head retention and body
This grain bill is deliberately restrained. You’re targeting an original gravity of 1.048 (roughly), which ferments clean and fast. Too much specialty malt and you lose the crisp, dry character that makes a session ale sing.
Hops — The Star of the Show:
- 28g Hallertau Mittelfrueh @ 60 minutes (bittering, ~22 IBU)
- 15g Citra @ 10 minutes (aroma)
- 20g Cascade @ 5 minutes (aroma & flavour)
- 25g fresh Citra dry-hop (5 days in fermenter)
- 20g Cascade dry-hop (5 days)
Hop selection is critical. Modern brewers often reach for trendy varieties, but classic session ales thrive on clean, proven performers like Citra (citrus, grapefruit) and Cascade (floral, spice). These work with the malt, not against it. You’re targeting 35-40 IBU total — enough bite to balance the malt, not so much that you lose drinkability.
Yeast & Fermentation:
Use a clean ale yeast. I favour US-05 (Safale) for its reliability, or WLP001 (White Labs California Ale) for slightly more fruitiness. Pitch at 1.5-2 million cells per millilitre of wort. Cold pitching (around 15°C / 59°F) followed by a slow ramp to 19°C (66°F) produces clean results.
Water:
For a hoppy session ale, aim for a water profile with higher sulphate than chloride — roughly 100-120 ppm SO4 and 50-80 ppm Cl. Sulphate enhances hop bitterness and dryness; chloride softens it. If your tap water is hard, consider consulting water chemistry guides or using a simple dilution with distilled water. GeterBrewed’s water calculator is invaluable for precise adjustments.
Brew Day: The Session Ale Method
Step 1: Mash — Heat 15 litres of water to 66°C (150°F). Add your crushed grain and hold at 65°C (149°F) for 60 minutes. The slightly lower mash temperature produces more fermentable sugars, driving a dry finish. Stir gently after 10 minutes to ensure even saturation.
Step 2: Sparge — Slowly rinse the grain bed with water at 77°C (170°F). Aim for a total of 25 litres of wort. Avoid rushing; a leisurely sparge prevents channelling and stuck mashes. Don’t squeeze the grain; you want clarity and clean flavour, not tannin extraction.
Step 3: Boil — Conduct a 60-minute rolling boil. Add Hallertau at the start (bittering). At 10 minutes remaining, add Citra. At 5 minutes, add Cascade. No late-stage aroma additions beyond 5 minutes; you want subtle, integrated hop character, not a fresh-squeezed juice bomb. Boil hard to drive off dimethyl sulphide (DMS) precursors — critical for clean lager-like character.
Step 4: Cool & Pitch — Cool to 15°C (59°F) using an immersion chiller. Transfer to your fermenter, aerate well (oxygen is essential for clean fermentation), and pitch your yeast starter.
Fermentation & Dry-Hopping Strategy
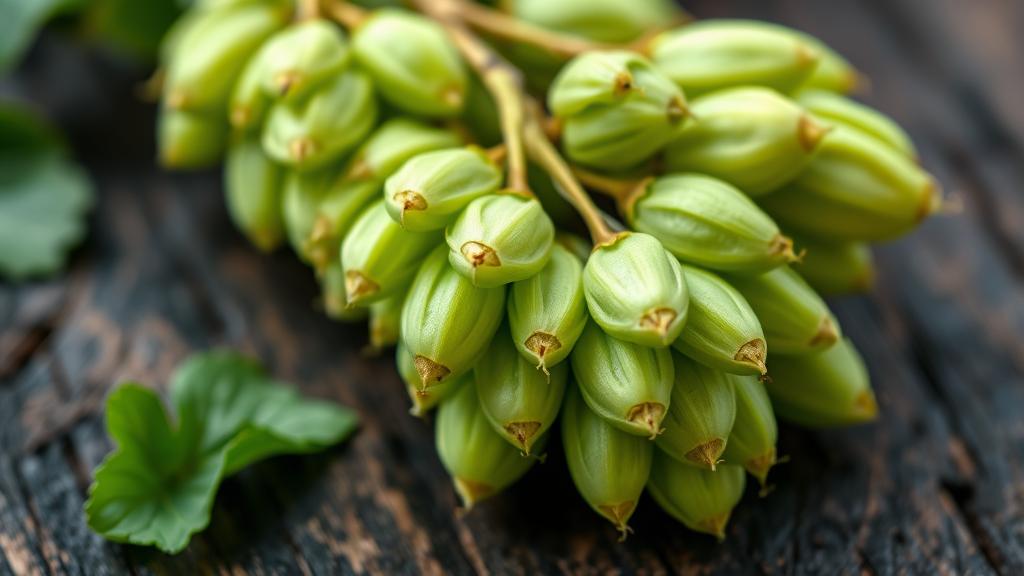
Days 1-3: Fermentation kicks off rapidly. Keep the fermenter at 18-20°C (64-68°F). You’ll see vigorous krausen (foam head) within 24 hours. Don’t panic or interfere; this is normal.
Days 4-7: The fermentation rate slows. By day 7, take a hydrometer reading. You’re aiming for a final gravity of 1.008-1.012 (roughly 4.8-5.2% ABV). Once you hit this point, add your dry hops. Place them in a sanitised mesh bag and drop them into the fermenter via the top (if using a carboy) or airlock hole.
Days 8-12: Leave the dry hops in contact for 5 days maximum. Longer contact risks grassy, vegetal notes. Taste a sample on day 4 and 5 of dry-hopping to find your sweet spot. The hop character should be bright, citrusy, and integrated — not sharp or bitter.
Day 12-13: Cold-crash your fermenter to 5°C (41°F) for 48 hours. This drops yeast and hops to the bottom, clarifying your beer. It’s optional, but worthwhile for a clean, bright appearance.
Days 13-14: Bottle or keg. If bottling, use 2.5g priming sugar per litre (about 50g for a 20-litre batch). If kegging, carbonate to 2.3-2.5 volumes of CO2.
Conditioning & Serving: Reaching Peak Freshness

Bottle-conditioned session ales reach peak carbonation and flavour after 2-3 weeks at room temperature (18-20°C). Keep them in darkness; light degrades hop character and promotes oxidation (tastes like cardboard).
Here’s the truth I’ve learned: session ales are best fresh. Within 6-8 weeks of packaging, the hop character is vibrant and the beer feels alive. After 12 weeks, you’ll notice the citrus notes fading and the beer taking on a slightly stale, papery tone. This is fine for a storage ale, but it defeats the purpose of a session ale. Brew them frequently; drink them young.
Serve at 10-12°C (50-54°F) — cold enough to be refreshing, warm enough to express hop and malt character. The carbonation should be lively (2.3+ volumes), producing a tight, white head.
Tasting Notes & Honest Appraisal
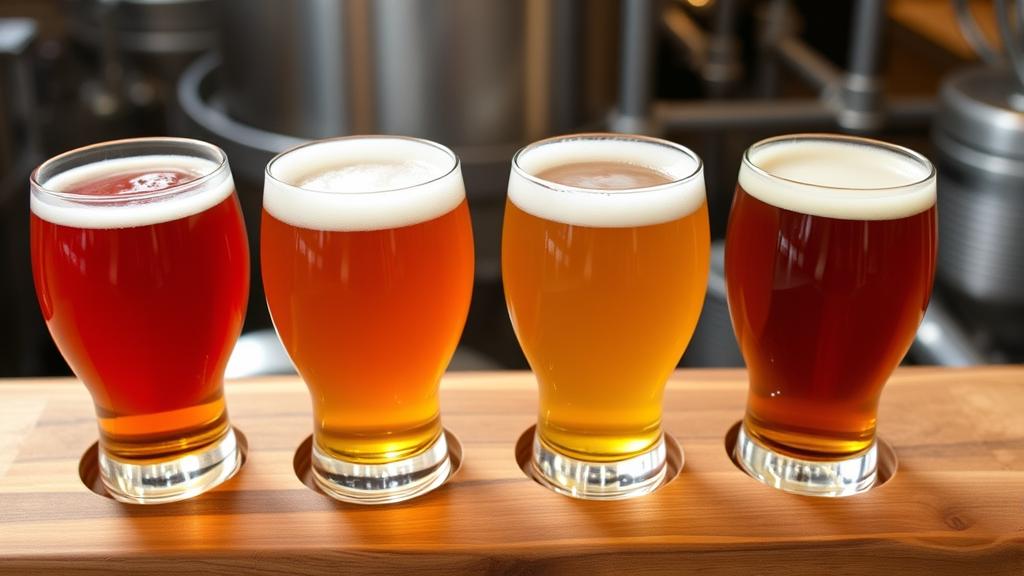
I brewed a Citra-Cascade session ale in May, and I can honestly say it’s one of the best beers I’ve made. Here’s what I get:
Aroma: Bright citrus (lemon zest, grapefruit) hits first. Under that, subtle floral notes from Cascade. No harsh graininess or sulphur. Clean, inviting, summer-ready.
Appearance: Golden to pale amber, crystal-clear (thanks to cold-crashing), with a tight white head that persists through the glass.
Flavour: Crisp citrus mid-palate, transitioning to a bone-dry finish with a lingering herbal bite. The malt is present but restrained — it’s bread-like sweetness, not caramel or toffee. The bitterness is clean and integrated; nothing harsh or astringent. At 4.8% ABV, the alcohol is completely hidden.
Mouthfeel: Medium-light body, lively carbonation, clean and crisp. No slickness or cloying sweetness. It’s a beer you can drink in quantity without fatigue.
Honestly, this is the beer I’ve been reaching for all summer. It’s what I serve to friends who “don’t usually like hoppy beers” — and they always surprise themselves. It’s approachable, flavourful, and genuinely drinkable.
Common Mistakes & Pro Tips for Session Ale Success
Mistake 1: Over-bittering. A session ale isn’t a bitter bomb. Resist the urge to add extra bittering hops. 22-30 IBU is the sweet spot. More than that and you’ll create an astringent, exhausting beer.
Mistake 2: Using old hops. Hop freshness is critical in session ales. Stale hops (over 6 months old) lose their bright character and taste grassy. Buy hops fresh from a supplier with high turnover, like The Malt Miller, and store them in a freezer if you’re not using them immediately.
Mistake 3: Fermenting too warm. If your fermentation temperature exceeds 22°C (72°F), you’ll develop fruity esters and off-flavours. Invest in a simple temperature controller if you’re brewing in summer; it’s one of the best purchases you can make.
Mistake 4: Over-dry-hopping. More hops doesn’t equal better. I’ve made beers with 50g dry hops in a 20-litre batch — they tasted vegetal and one-dimensional. 35-45g total is plenty.
Pro Tip 1: Fresh is best. Drink your session ales within 6-8 weeks. Brew monthly if you can; the freshness makes all the difference. A 2-week-old session ale tastes noticeably brighter than an 8-week-old one.
Pro Tip 2: Experiment with hop combinations. Citra-Cascade is a classic pairing, but try Amarillo-Hallertau, or Nelson Sauvin-Saaz. Each pairing creates a distinct flavour profile. Brewer’s Friend’s hop database is invaluable for exploring combinations.
Pro Tip 3: Consider a water adjustment. Hard tap water (especially high in chloride) softens the bitterness and makes session ales taste less crisp. A simple carbon filter or dilution with distilled water can make a surprising difference.
Variations & Next-Level Experiments

Dry-Hopped Pale Ale (4.5% ABV): Reduce grain slightly (3.2 kg pale ale, 0.5 kg Munich). Increase dry hopping to 50g. You’ll get a more aggressive hop profile with restrained alcohol — perfect for American-style drinking.
Herbal Session Ale: Add 5g of dried chamomile flowers at day 3 of fermentation. The floral character pairs beautifully with Citra and Cascade. It’s subtle but present — not medicinal.
Session IPA (5.5% ABV): Increase bittering to 35-40 IBU and dry-hop more aggressively (60g total). You’re walking the line between session ale and true IPA — drinkable but with real bite. This works best with US-05 yeast, which produces a clean, neutral base for hop expression.
Hybrid Lager Session (4.0% ABV): If you have temperature control, try a hybrid fermentation — start with lager yeast at cool temperatures (12°C), then ramp to 18°C after day 4. You’ll get lager crispness with ale esters. This is genuinely different and worth experimenting with.
Conclusion: The Art of Restraint
Session ales taught me something I didn’t expect: complexity doesn’t require power. The best session ales I’ve drunk — and brewed — are perfect examples of restraint mastering excess. Everything is present: hoppy, malty, bitter, dry. But nothing dominates. It’s balanced, sophisticated, and endlessly drinkable.
The monastic principle applies here. Make something of genuine quality, but make it in a form that invites repetition, moderation, and genuine pleasure. That’s what a session ale is.
Brew one this summer. Or brew three. The ingredients are cheap, the process is straightforward, and the reward — a beer that tastes like summer itself — is worth every moment of attention.
Cheers,
Chris
🍺 Join the Brotherhood — Monthly brews, stories & monk wisdom
Subscribe for exclusive recipes, early brew logs, and behind-the-scenes updates straight to your inbox.

