
Kombucha Mastery: Brew Your Own Probiotic Tea at Home
For years, I dismissed kombucha as a wellness fad. Overpriced bottles gathering dust on health-food shelves. But somewhere between experimenting with wild fermentation techniques and exploring beyond beer, I realised something: kombucha and homebrewing share the same DNA—patience, care, a living organism, and the profound satisfaction of transforming simple ingredients into something complex and alive.
In 2026, kombucha has moved from niche curiosity to mainstream fermentation hobby. UK producers are embracing it, home fermenters are experimenting with it, and there’s a genuine community forming around the craft. If you’ve mastered beer fermentation, kombucha is the next natural frontier. And if you’re new to fermentation entirely, kombucha is actually more forgiving than many realise.
Let me walk you through everything I’ve learned—from sourcing your first SCOBY to developing signature flavour profiles.
Why Kombucha? Why Now?
The appeal is multifaceted. Unlike beer, kombucha requires no special licensing, minimal equipment, and genuinely quick turnaround times. A batch ferments in 7–14 days (compared to weeks or months for beer). The flavour chemistry is endlessly customisable. And the health angle—probiotics, organic acids, B vitamins—resonates with the wellness-conscious homebrewer who’s tired of purely alcohol-driven projects.
More importantly, it’s alive. Your SCOBY (Symbiotic Culture of Bacteria and Yeast) is a living symbiosis that grows, adapts, and develops character. Sounds like fermentation? That’s because it is. Whether you’re drawn to kombucha for health, curiosity, or just wanting another fermented string to your bow, there’s no better time to start than now.
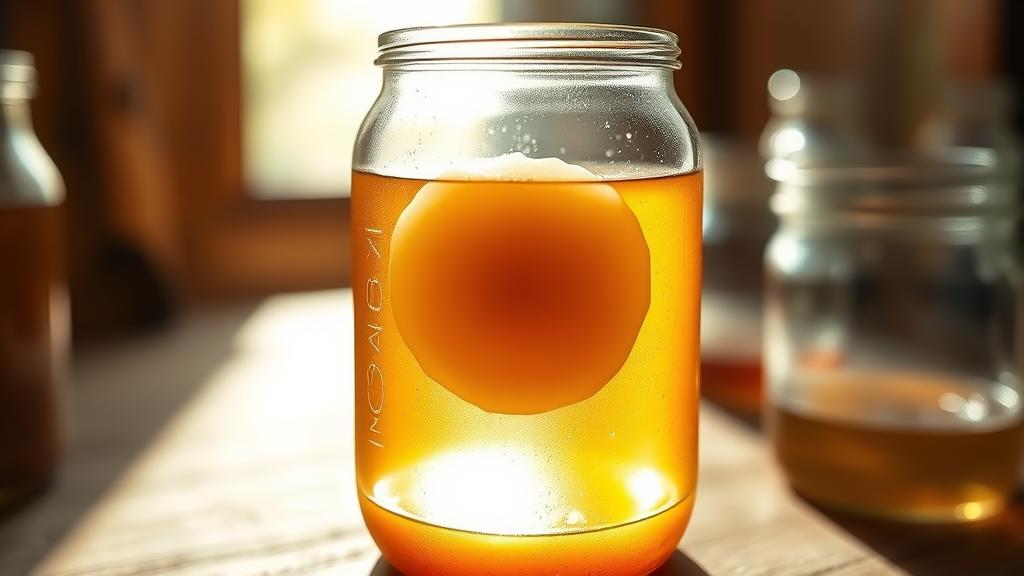
What You’ll Need: Ingredients & Equipment
The beauty of kombucha is that setup costs almost nothing. No airlocks, no thermometers, no pressure gauges. Here’s what actually matters:
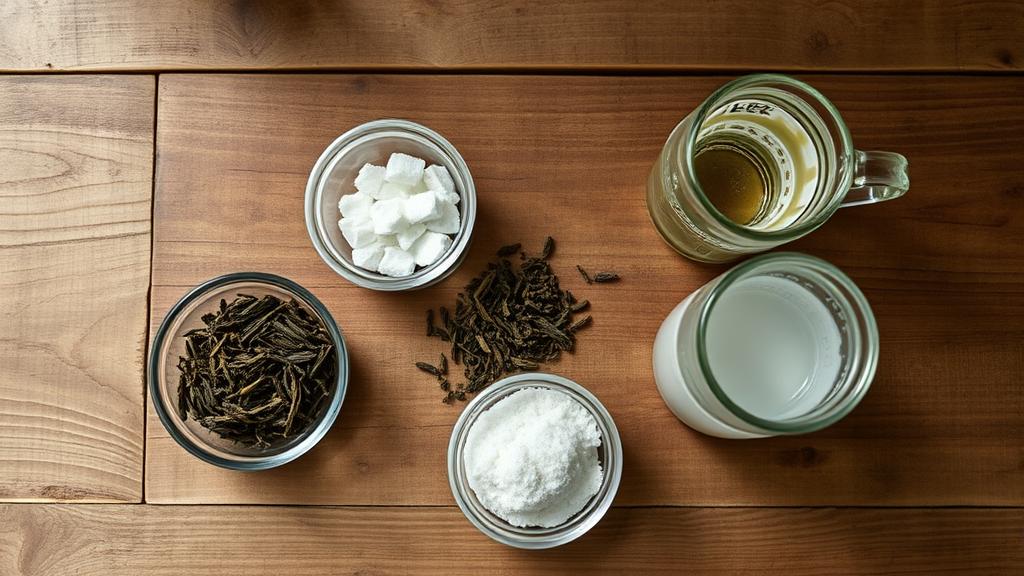
Ingredients (per 1-litre / 1.75 pint batch):
- Filtered water: 1 litre (tap water works, but filtering removes chlorine that can stress your SCOBY)
- Organic black or green tea: 4–6 tea bags or 2 teaspoons loose leaf (quality matters—stale tea = weak fermentation)
- Organic cane sugar: 80–100g (about 3.5–4.5 oz). The SCOBY eats this; it’s fuel, not your final drink
- Active SCOBY: 1 disc, roughly 5mm–1cm thick (about 2–4 inches diameter). Thicker SCOBYs are more robust
- Starter tea (kombucha liquid): 250ml (about 8.5 fl oz) from a previous batch or a trusted source
Equipment (total spend: £25–50):
- Glass brewing vessel (1–2 litre capacity, wide-mouth ceramic or glass jar)
- Clean cloth or coffee filter + rubber band (lets air in, keeps dust out)
- Wooden spoon (avoid metal; it can react with the acidic ferment)
- Glass measuring jug and bottles for storage
- pH strips or a basic pH meter (optional but useful—final kombucha should sit around pH 2.5–3.5)
One tip: if you’re serious, order from The Malt Miller or Geterbrewed for high-quality tea and equipment. You’ll also find SCOBY starter cultures online, though many UK homebrewers now just ask locally—the community is generous about sharing mothers.
Your First Batch: Step-by-Step Brew Day
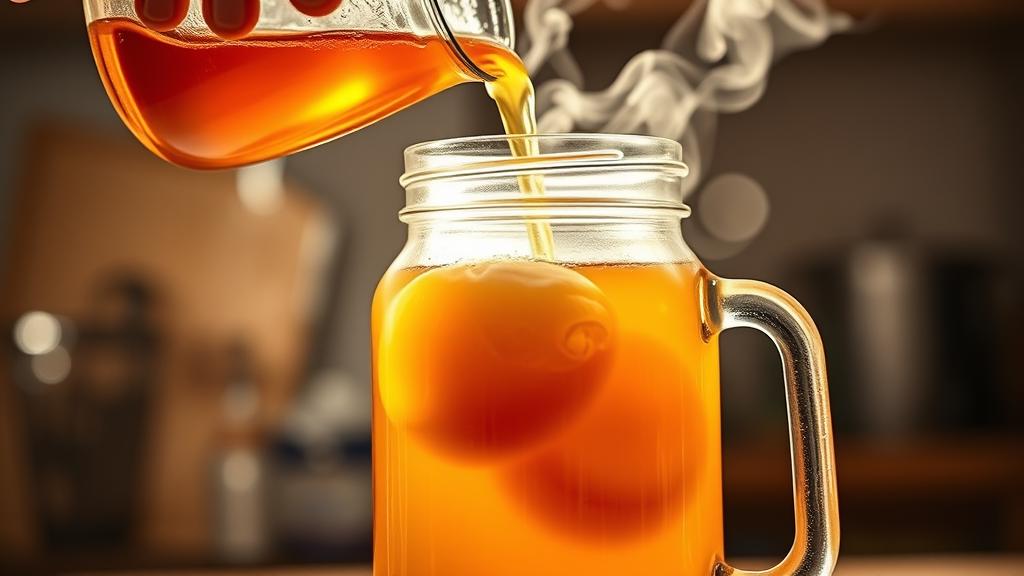
- Brew the tea: Heat 1 litre of filtered water to 80–90°C (176–194°F). Steep your tea bags for 5–10 minutes. Strength matters—weak tea ferments slowly and unpredictably.
- Dissolve the sugar: While the tea is hot, stir in 80–100g of sugar until fully dissolved. Sugar feeds the fermentation; use less and you’ll get vinegary results quickly. Use too much and fermentation stalls.
- Cool completely: Let the sweetened tea cool to room temperature (this is critical—hot liquid kills your SCOBY). This takes 2–3 hours. Don’t rush it.
- Add starter tea: Pour 250ml of your starter liquid into the cooled tea. This acidifies the environment and prevents contamination.
- Transfer to your brewing vessel: Pour everything into your glass jar. Place your SCOBY on top (it’ll often float, sometimes sink—both are fine).
- Cover with cloth: Place a clean cloth or coffee filter over the jar opening, secured with a rubber band. This lets CO₂ escape and allows air exchange without inviting dust or insects.
- Find a quiet spot: Leave in a warm (68–85°F / 20–29°C), dark place. Avoid direct sunlight (it breaks down beneficial compounds). A kitchen cupboard or covered corner works perfectly.
- Wait and taste: After 7 days, taste a small sample using a straw (don’t open the jar fully). You’re looking for a balance: sweet with a tangy edge, not fully vinegary. Days 8–14, taste every other day until you hit your sweet spot.
- Harvest: Once happy with the taste, carefully remove the SCOBY and about 250ml of liquid (this becomes your starter tea for the next batch). Bottle the remaining kombucha for drinking or flavouring.
The Fermentation Window: Understanding the Sweet Spot
This is where kombucha diverges from beer. You’re not aiming for “dry” or “sweet finished product.” You’re creating an intermediate state—lightly fermented, still slightly sweet, with emerging acidity. Think of it like a wine at partial fermentation, ready for secondary flavouring.
Days 1–3: The SCOBY settles, fermentation begins quietly. You might see tiny bubbles. Taste: still very sweet, maybe a hint of tang.
Days 4–7: Real fermentation kicks in. The liquid darkens, develops a fruity-vinegary nose. Taste: increasingly tart, sweetness fading. A new SCOBY layer might form on the surface—totally normal and brilliant.
Days 8–14: The critical tasting window. This is where your palate becomes the arbiter. Some prefer day 7 (sweeter, still lots of sugar); others wait until day 12–14 (drier, more probiotic development, more complex acid profile). The longer you go, the less sugar remains, but also the more aggressive the fermentation becomes.
Temperature matters hugely. Cold environments (below 68°F / 20°C) slow fermentation dramatically. Warm kitchens (above 82°F / 28°C) can rush it. Find a stable spot and stick with it.
Second Fermentation: Flavour & Carbonation
Once you’ve harvested your first batch, you’ve got an important choice: drink it flat and mellow, or let it carbonate and flavour in bottles.
Second fermentation is where kombucha gets playful. Transfer your bottled kombucha (with a small amount of flavouring—fruit juice, ginger, berries, herbs) to sealed bottles. Over 3–5 days at room temperature, residual yeast and bacteria continue fermenting the remaining sugar, producing natural carbonation and deepening flavours.
Flavouring ideas from my experiments:
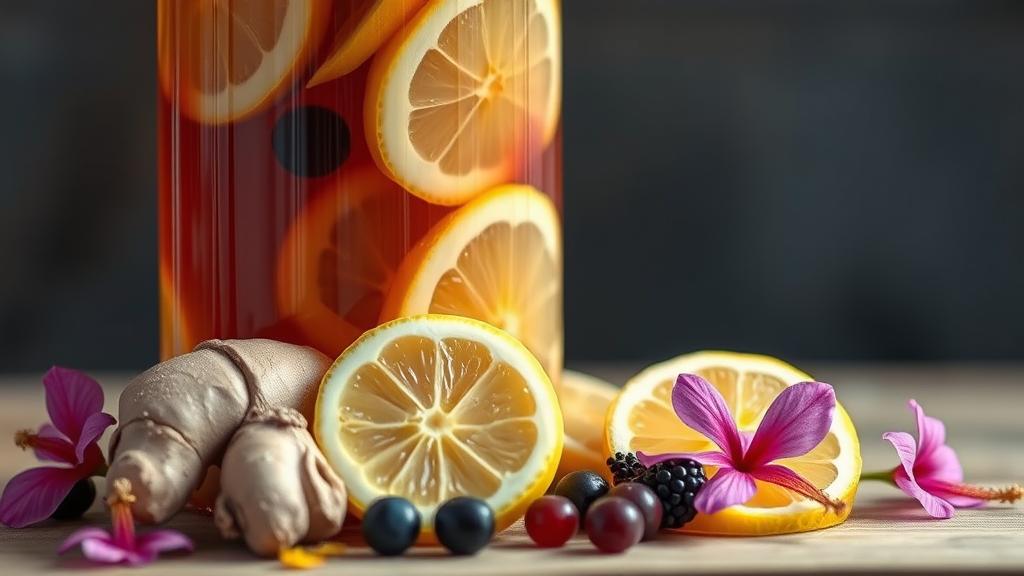
- Ginger & lemon: Ginger slices, fresh lemon juice. Warming, zingy, perfect for winter.
- Hibiscus & rose: Dried hibiscus flowers, rose petals. Floral, tart, visually stunning.
- Berry blend: Frozen raspberries, blueberries, blackcurrants. Sweet-tart, probiotic powerhouse.
- Turmeric & black pepper: Golden milk kombucha. Earthy, warming, anti-inflammatory angle appeals to wellness-focused friends.
- Apple & cinnamon: Seasonal favourite. Sweet, spiced, autumnal.
The key: use whole ingredients or properly filtered juices. Pulpy additions can cause mould. A HomeBrewersAssociation forum tip that’s gold: freeze fruit first, then thaw in your kombucha. The ice crystals burst cell walls, maximising flavour release whilst minimising contamination risk.
Bottling, Storage & Your Kombucha Collection
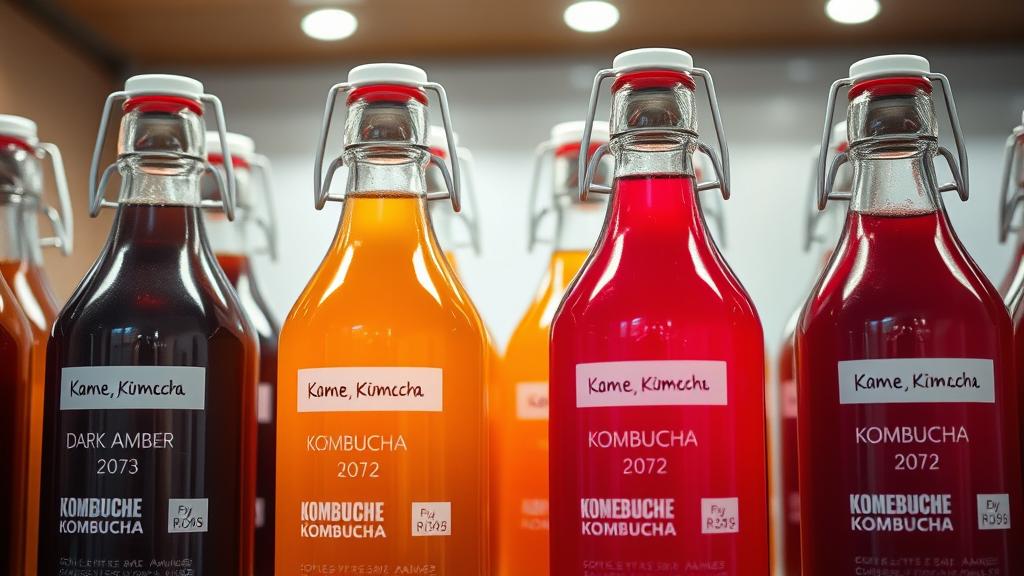
Once second fermentation is done (or if you’re skipping it), bottle your kombucha in clean glass bottles with swing-top lids or flip-caps. Fill to about 1 inch (2.5cm) from the top—this gives carbonation room if you continue fermenting in the bottle.
Storage: Cool, dark, away from direct sunlight. A cupboard or wine rack works brilliantly. Kombucha keeps for months, though it continues to slowly ferment in the bottle. Over time, it becomes increasingly sour—some prefer this aged profile, others find it too vinegary. Experiment and find your preference.
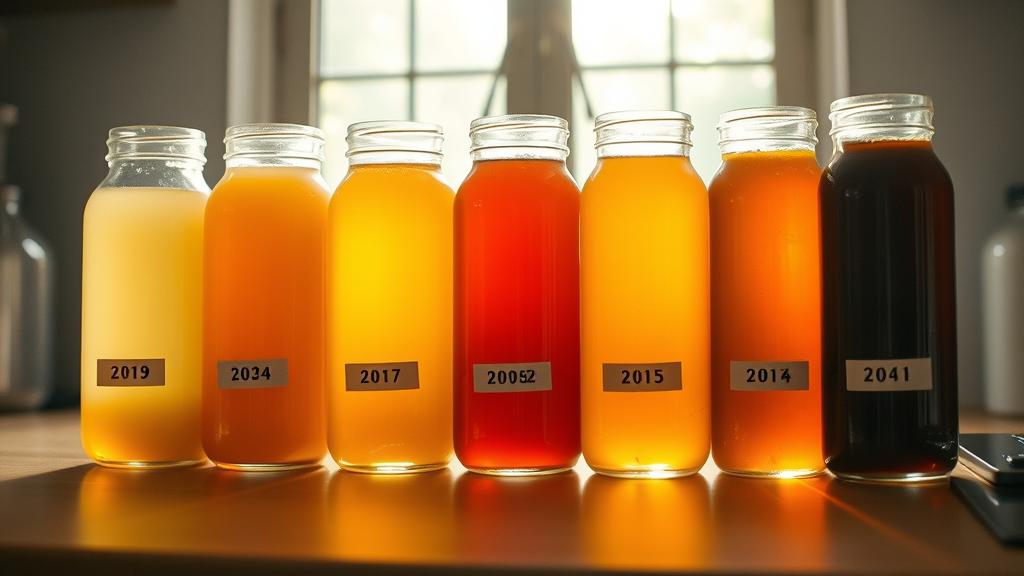
Pro tip from the CAMRA community: if you’re experimenting with bottles, label them with fermentation date and flavour. After a few batches, you’ll start recognising patterns—which flavours work best at which fermentation lengths, how temperature shifts your results. This is the documentation that separates casual brewing from craft.
Common Mistakes & How I Fixed Them
Mould. If you see fuzzy growth on your SCOBY, your batch is compromised. Mould is rare if you’re careful with cleanliness, but it happens. Lesson: always use fresh cloth covers, never reuse without washing, and keep your fermentation vessel sealed (except for air exchange through cloth).
Vinegar bombs. Left your kombucha too long and it’s aggressively sour? You’ve pushed past the sweet spot. Solution: use it as a starter tea for the next batch (the acidity is actually beneficial), or dilute it with juice for a tart drink. Nothing’s wasted.
Flat, lifeless fermentation. If your kombucha tastes like weak tea after two weeks, your starter culture is weak or your fermentation environment is too cold. Always use room-temperature tea, source a vigorous SCOBY from an active brewer, and ensure your fermentation spot stays above 68°F (20°C).
SCOBY not growing. New fermenters expect a thick, solid cellulose layer to form every batch. Reality: sometimes a thin pellicle forms, sometimes nothing visible develops. As long as you’ve got your original SCOBY and starter liquid, fermentation is happening. The cellulose layer is just the byproduct—beautiful, but not essential.
The broader lesson: sustainable, patient fermentation beats rushing. Kombucha rewards observation and small adjustments far more than precise recipes.
Variations & Next-Level Experiments
Once you’ve nailed basic kombucha, the horizon expands:
- Botanical blends: Research traditional herbal combinations. Japanese kuzu root, Indonesian galangal, British nettles—each brings complexity.
- Jun tea: Kombucha’s fancy cousin, brewed with white tea and honey instead of black tea and sugar. Lighter, more delicate, requires a separate SCOBY culture.
- Continuous brew systems: Keep your SCOBY mother in a large vessel, drain off finished kombucha periodically, and top up with fresh sweet tea. More efficient once you’ve mastered batch brewing.
- Layered fermentation: First ferment 10 days, flavour, bottle, then open and re-ferment. Each stage develops different organic acids and microbial profiles.
This is where homebrewing ethos shines through. You’re not following a recipe—you’re building intuition about fermentation itself. The Brewers Association resources on fermentation science apply equally to kombucha as to beer.
Why This Matters in 2026
Kombucha isn’t just a trend. It’s part of a broader fermentation renaissance—people are rediscovering that living food and drink cultures matter, that patience and observation yield better results than industrial shortcuts, and that there’s genuine joy in nurturing a living organism toward complexity.
For homebrewers, it’s an invitation. If you’ve spent months perfecting a lager, if you’ve wrestled with water chemistry and yeast management, kombucha is an elegant counterpoint: faster feedback, lower stakes, endless customisation. It keeps your fermentation skills sharp between brewing seasons and feeds the part of you that just loves watching biology unfold.
Start simple. Source a good SCOBY, brew one clean batch, taste it daily, adjust. Within a month, you’ll have produced something far superior to anything you can buy. Within three months, you’ll be experimenting with flavours and fermentation windows that the commercial brands haven’t even explored.
That’s the point of homebrewing—whether it’s beer or kombucha. You’re not just making a drink. You’re learning patience, observation, and respect for the organisms that do the actual work.
🍺 Join the Brotherhood — Monthly brews, stories & monk wisdom
Subscribe for exclusive recipes, early brew logs, and behind-the-scenes updates straight to your inbox.

