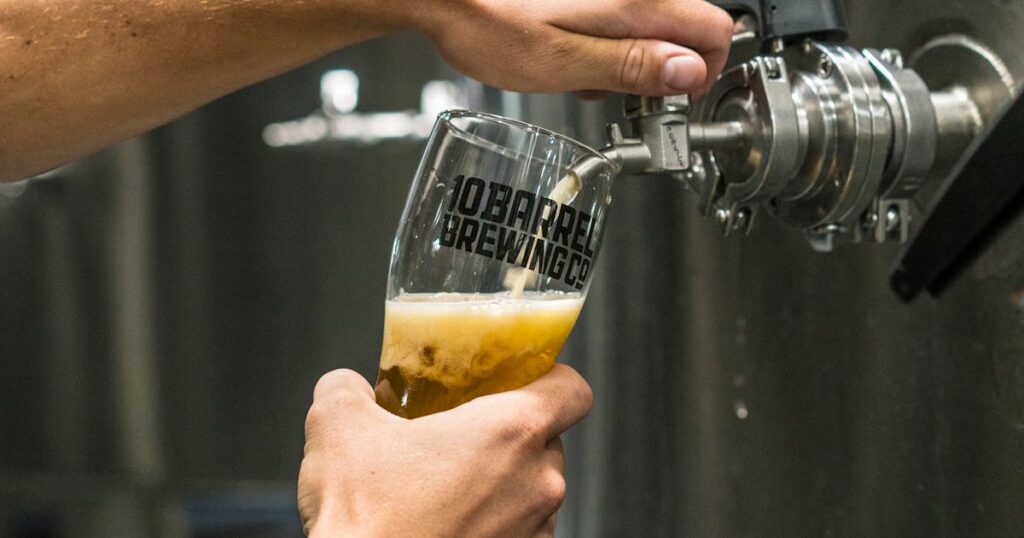
Summer Fermentation Mastery: Keeping Your Homebrew Cool During UK Heatwaves
July 2026 has brought the third significant heatwave to the UK this year—and if you’re a homebrewer, you’ve likely noticed the panic creeping in. Ambient temperatures soaring past 28°C (82°F) don’t just make your garage uncomfortable; they can sabotage months of planning and ingredient investment in a single fermentation. This is no longer a niche problem for a handful of enthusiasts. Across UK forums and CAMRA groups, brewers are asking the same question: how do I keep my beer cool when the grid itself is struggling?
Here’s the reality: temperature control during fermentation isn’t optional if you want consistent results. Your yeast doesn’t care about your summer plans. It’s a living organism, and when it gets too warm, it becomes stressed, produces off-flavours (fusels, acetaldehyde, esters), and ferments too fast—rushing through important stages of flavour development. The good news? You don’t need a £2,000 glycol chiller to solve this. I’ve spent the last three summers experimenting with low-cost cooling methods, and I’m going to walk you through what actually works.
Why Summer Fermentation is Different
Most homebrewers learn the basics on cooling autumn and spring brews. Fermentation happens best between 16–22°C (61–72°F) for ales and 8–15°C (46–59°F) for lagers. But when the summer heatwave hits and your garage becomes a sauna, those targets become genuinely difficult. Unlike a brewery with temperature-controlled fermentation chambers, home setups are vulnerable to ambient swings.
The problem compounds because fermentation is exothermic—the yeast itself generates heat as it consumes sugars. A vigorous fermentation on day 2–3 can raise the temperature inside your fermenter by 2–3°C above the room temperature. In a 26°C garage, that puts you at 28–29°C inside the fermenter, which is well into stress territory for most ale yeasts and catastrophic for lagers.
I learned this the hard way in summer 2024. I brewed a classic West Country Bitter during a heat spike and didn’t think to manage temperature—I’d always relied on ambient conditions. By day three, the fermentation was racing at 28°C, and I could smell the problem before I saw it: fusty, apple-like esters that would have been unpleasant even in a dry cider. The lesson was hard but invaluable.

DIY Cooling Methods That Actually Work
Let me be direct: the cheapest solution isn’t always the best one, but it’s worth understanding the spectrum. Here are the methods I’ve tested and can recommend:
1. The Water Bath (Simple & Effective)
Fill a large plastic tub or old fermenting vessel with water, submerge your fermenter, and add frozen water bottles or ice packs. Cost? Under £30 for the tub and ice packs. This drops ambient temperature by 5–8°C and requires minimal equipment. Refresh the ice bottles every 12–24 hours depending on how hot it is outside.
Pros: Dead simple, no electricity, very cheap, surprisingly effective.
Cons: Labour-intensive (you’ll be refreezing bottles daily), and your water bills might spike from the freezer duty.
2. Wet Towel & Fan Method
Drape a damp towel over your fermenter and aim a cheap fan at it. Evaporative cooling works. In the UK’s occasionally humid climate, this is less effective than in Arizona, but a 3–5°C drop is realistic on a hot day. I’ve seen brewers combine this with a pressure fermentation setup for even better control.
Pros: Passive after initial setup, minimal cost.
Cons: Effectiveness depends on humidity, may create condensation issues, towel needs regular rewetting.
3. Swamp Cooler (DIY Evaporative)
A step up: place your fermenter in a large box lined with damp cardboard or towels, and position a fan to blow across the wet surface. The air passing over the wet material cools before hitting your fermenter. This is essentially a DIY evaporative cooler and can drop temps 6–10°C on dry days.
Pros: More effective than towels alone, still cheap, good engineering lesson.
Cons: Bulky, requires airflow and lower humidity to work well.
4. Temperature Controller + Heat Belt (The Goldilocks Zone)
I’m going to advocate for this as the sweet spot for serious UK home brewers. Buy a temperature controller (£40–80) and a heat belt or immersion heater. The beauty here is that the controller works in both directions—in summer, it manages *passive* cooling by allowing you to switch the heat source off when temperature rises above setpoint. You then use a water bath or other passive cooling to stay below your target, and the controller prevents overshoot.
Pros: Most reliable, works year-round, minimal active cooling if you pair it with a water bath.
Cons: Requires mains power, slightly more complex setup.
Step-by-Step: Setting Up a Water Bath Cooling System
Since most UK home brewers are budget-conscious, here’s how to set up the water bath method I rely on:
- Gather materials: A large storage tub or old 20-litre fermenting bucket, a thermometer (digital is better), and an insulated cooler or bag large enough to hold 10–15 ice packs.
- Prepare the bath: Fill the tub with tap water to a level that submerges your fermenter about two-thirds up. Add a floating thermometer so you can monitor water temperature without opening the tub.
- Initial cooling: If outside temperature is below your target (18–20°C), simply let evaporation and night-time cooling bring the water down naturally. If it’s already hot, add a few frozen water bottles to drop the temperature quickly.
- Maintenance schedule: Check the water temperature twice daily (morning and evening). If it’s climbing above your setpoint, add fresh ice packs. Remove old ones to a freezer for reuse. Rotate every 6–12 hours depending on ambient heat.
- Monitor the fermenter: Place a stick-on thermometer on the side of your fermenter (not in direct sunlight) so you can see the actual beer temperature at a glance. This is your primary feedback loop.
Ingredient Selection for Summer Fermentations
The truth is that some beer styles are more forgiving in summer heat than others. If you’re brewing during a heatwave and can’t guarantee precise temperature control, make strategic choices:
Summer-Friendly Styles: British bitters and milds actually benefit from slightly warmer fermentation (20–24°C), which develops their fruity esters and complexity. Session beers are similarly forgiving. Wheat beers and Belgian styles (Wit, Blonde) ferment well at 20–22°C and produce the banana and clove notes the style expects.
Avoid in Peak Heat: Lagers and IPA-style beers need tight temperature control (10–16°C for lagers, 18–20°C for IPAs) and will suffer if you can’t hold it. Pilsners are especially demanding—I wouldn’t brew one in July without proper cooling.
Consider sourcing fresh yeast from suppliers like The Malt Miller or Geterbrewed, who stock cold-tolerant strains designed for challenging fermentations.
Pro Tips & Troubleshooting
Fermentation Temperature Spikes: If you see your beer spiking above target despite cooling efforts, don’t panic immediately. A brief spike to 25°C won’t ruin an ale—consistency matters more than perfection. However, sustained temps above 26°C will cause problems. Add more ice packs immediately.
Condensation and Contamination: A water bath creates humid conditions around your fermenter. Make sure your airlock and carboy cap are sealed properly. If you’re using an open-top fermenting bucket, keep a clean cloth nearby to wipe the rim periodically. Mould and wild yeast love moisture.
Timing Your Brew Days: The single best decision you can make is to brew in the evening or early morning in summer, not midday. Water will be cooler, and you’ll have the full night to chill your wort before fermentation begins. A chilled wort (ideally 18–20°C at pitch) gives you a 24-hour buffer before active fermentation heat ramps up.
Nighttime Cooling: UK summer nights still cool down to 14–16°C. Use this. Some brewers move their fermenters outside or into shadier locations at night, then back to a more controlled spot during the day. It’s extra effort, but it works.
Monitor Gravity and Taste: High fermentation temperatures accelerate yeast activity. Your beer might finish faster than expected—take a gravity reading by day 5 instead of day 7. Early finishing can suggest thermal stress, not completion.
Variations & Advanced Techniques
Once you’ve mastered the basics, there are deeper rabbit holes to explore. Hybrid fermentation—using both ale and lager techniques in a single brew—can yield surprising results and is less demanding of temperature precision than traditional lagers. Some commercial breweries are experimenting with these methods.
You can also layer cooling methods. A water bath + wet towel + fan combination is overkill for most brews, but it’s the setup I use for stress-testing recipes. The redundancy means if one system fails, you’ve got backups.
For the technically curious, research HomeBrewTalk’s temperature control forums where UK brewers share advanced builds using aquarium thermostats and glycol chillers. It’s a community actively solving this problem.
The Bottom Line: Plan Now, Brew Well in Summer
The heatwaves of 2026 aren’t anomalies—they’re part of UK brewing’s new normal. Having a plan for temperature control before July arrives isn’t over-engineering; it’s respect for your yeast and your ingredients. Start simple with a water bath and thermometer. Graduate to a temperature controller if you’re brewing regularly. And always remember: your beer doesn’t know how much you spent on cooling equipment. It only knows whether you kept it in the temperature sweet spot.
The monks who inspired Bennett’s Brew understood seasonal rhythms. Summer brewing in a monastery was planned around the seasons—brewing lighter, more session-focused beers when heat was inevitable. That wisdom still applies. Work with the weather, cool smartly, and you’ll keep making excellent beer even when the thermometer climbs.
🍺 Join the Brotherhood — Monthly brews, stories & monk wisdom
Subscribe for exclusive recipes, early brew logs, and behind-the-scenes updates straight to your inbox.