
Coffee and beer. Two of humanity’s most beloved beverages, each with centuries of craft tradition behind them. But what happens when you bring them together in the same glass?
After years of brewing fairly traditional styles—pale ales, porters, the occasional lager—I found myself staring at a bag of single-origin Ethiopian coffee beans and thinking: what if? Not in a gimmicky way. I mean genuinely wondering if coffee could add real complexity to a rich stout without turning it into a dessert beer.
That curiosity led me down a rabbit hole that’s still paying dividends. And now, in 2026, dark coffee beers are winning major competitions—the recently announced U.S. Open Beer Championship crowned “Nightmare Fuel,” a dark coffee beer from River North Brewery, as a gold medal winner. The timing couldn’t be better. This is the moment to brew your own.
Why Coffee Stout Is Having Its Moment (Summer 2026)
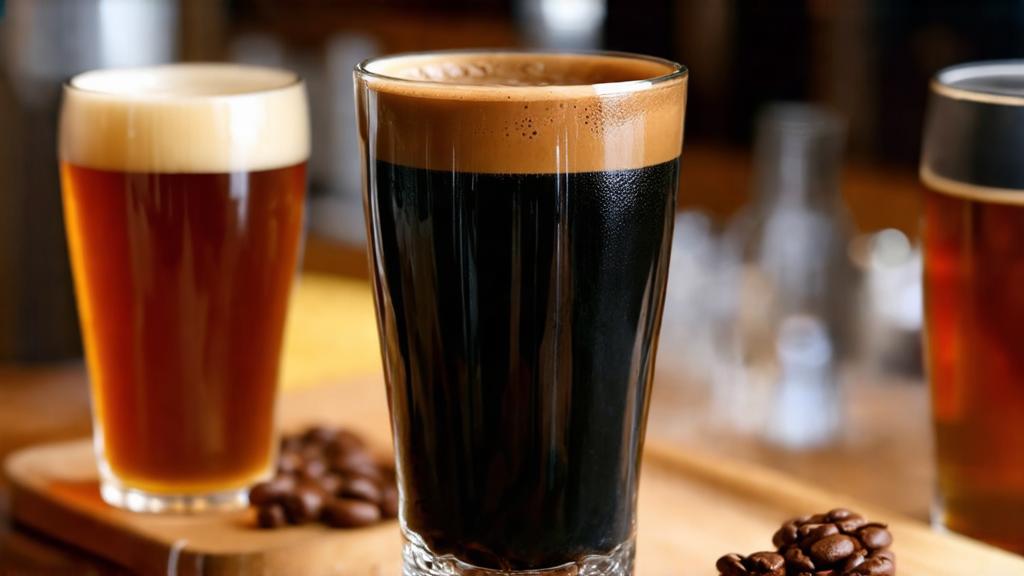
There’s a definite pattern happening in craft beer right now. After years of chasing extreme flavour combinations and ingredient madness, brewers—both professional and home—are circling back to solid, flavourful base beers with thoughtful ingredient choices. Coffee stout fits that perfectly: it’s not a gimmick, it’s an enhancement. The BJCP style guidelines recognise stout variations precisely for this reason—they acknowledge that a well-crafted adjunct can elevate rather than dilute the style. A well-executed coffee stout deepens the existing chocolate and roasted malt notes already present in the stout base.
The UK brewing community is particularly well-positioned for this. We’ve got access to brilliant speciality coffee roasters—far better than a decade ago—and homebrewing culture here values technique and restraint. It’s a marriage made for British craft brewing sensibilities.
Choosing Your Coffee (The Make-or-Break Decision)
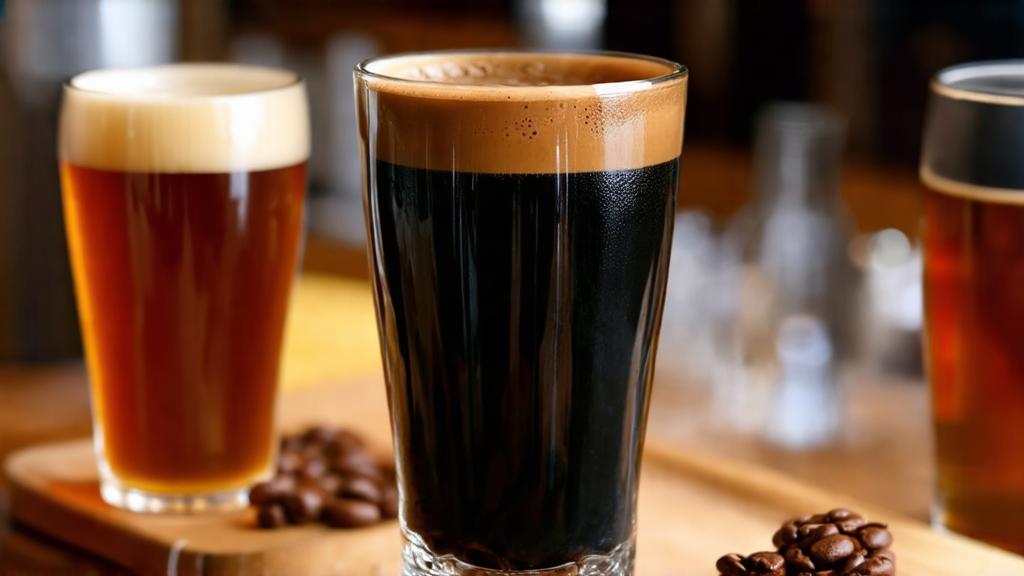
This is where most home brewers stumble. They grab whatever coffee is on offer at the supermarket and toss it in, then wonder why their beer tastes like burnt rubber and ash.
Start with a medium-roast, single-origin coffee. UK brewers often source speciality coffee from roasters like those featured on The Malt Miller, which occasionally stock brewing-grade coffee adjuncts. I use Ethiopian Yirgacheffe or Brazilian Cerrado—both have natural sweetness and a bit of acidity that plays beautifully against the roasted grain of a stout. Avoid dark roasts (they’re often over-roasted to mask poor-quality beans) and definitely avoid instant or pre-ground coffee (it oxidises quickly and loses all nuance).
Buy whole beans. A few days before secondary fermentation, and if you’re uncertain about grind size, HomeBrewTalk forums have decades of collective wisdom on extraction—definitely worth a browse. grind them coarsely—think French press consistency. This matters because surface area affects extraction. Too fine and you’ll over-extract, pulling harsh tannins and bitterness. Too coarse and you’ll under-extract, ending up with a coffee beer that tastes like you forgot the coffee.
Quantities: I typically use 113–170 grams (4–6 oz) of ground coffee per 18.9-litre (5-gallon) batch. Start at 113g and dial it up from there if you want more coffee flavour in future brews. Document it.
Your Recipe: A Bold, Robust Base
The stout itself needs to be rich but not overwrought. Here’s what I’ve found works best:
A 18.9-litre batch (5 gallons):
- 2.27 kg (5 lbs) Pale Malt (2-row or Maris Otter)
- 680 g (1.5 lbs) Munich Malt (adds body and sweetness)
- 340 g (0.75 lbs) Chocolate Malt (not cocoa—this is roasted malt, don’t confuse the two)
- 227 g (0.5 lbs) Black Malt (provides colour and subtle roasted edge)
- 57 g (0.25 lbs) Roasted Barley (the deeper notes)
- 28 g (1 oz) Cascade hops @ 60 minutes (18 IBU)
- Irish Moss or Whirlfloc tablet @ 15 minutes
- Wyeast 1056 American Ale or White Labs WLP001 (or similar clean, neutral ale yeast)
- 113–170 g coarsely ground Ethiopian or Brazilian coffee (added to secondary)
Mash: 66°C (150°F) for 60 minutes. This produces a beer with good body and residual sweetness—about 1.055–1.065 OG.
Brew Day and Fermentation
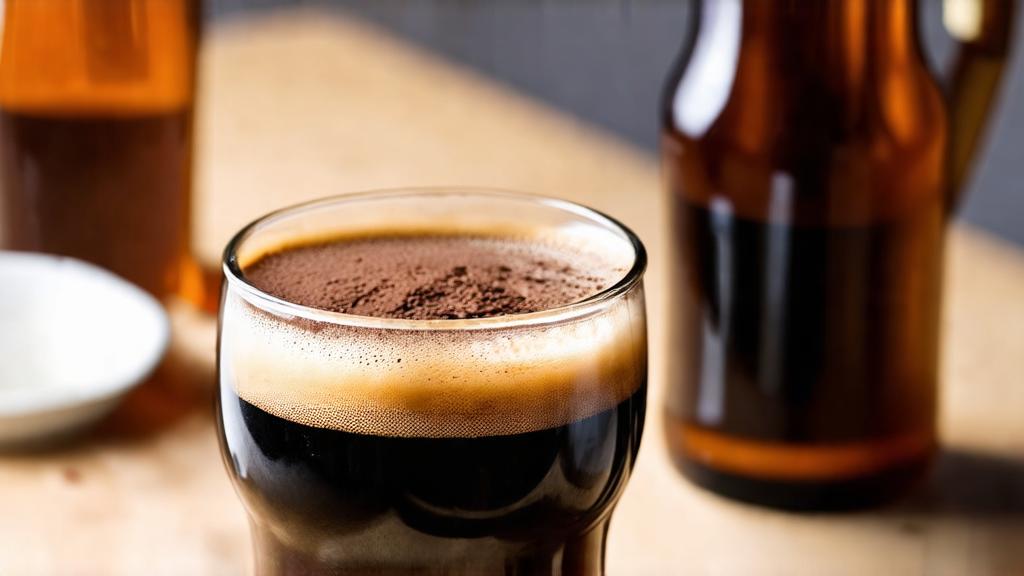
Brew day is standard. Mash in, run off, boil for 90 minutes (the longer boil helps meld the coffee when added later). Chill to 19°C (66°F) and pitch a healthy yeast starter if possible—roughly 200 billion cells. American Ale yeast is forgiving and will give you clean fermentation without unwanted esters.
Primary fermentation: 5–7 days at 19°C. Once gravity has dropped below 1.020, you’re ready for the coffee addition.
Secondary (the critical step): Rack your stout to a secondary fermentor. Add your ground coffee. Steep it for 48–72 hours. Yes, you can cold-brew coffee with beer just like you do with water. The alcohol actually extracts flavour slightly differently than water would, and the lower temperature prevents over-extraction.
After 48–72 hours, taste a small sample. The coffee flavour should be noticeable but not aggressive. If it’s still mild after 48 hours, leave it another 24. When it’s where you want it, rack off the coffee grounds (they’ll settle to the bottom) and proceed to bottling or kegging.
Fermentation Variables That Matter
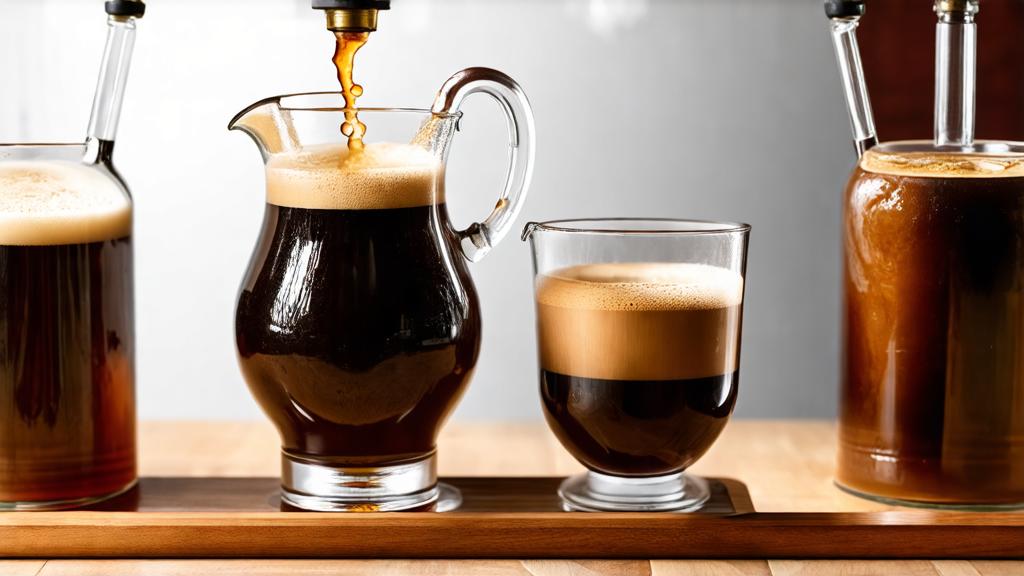
Temperature control: Keep your primary between 18–20°C (64–68°F). American Ale yeast tolerates this well and produces minimal esters. If your fermentation room is warmer, your beer will be fruity and thin—the coffee won’t save it.
Oxygen exposure: This is the one place where you should genuinely fuss. When you rack to secondary for the coffee steep, try to minimise splashing and aeration. You don’t want oxidation flavours muddying the clean coffee notes you’re about to add.
Why secondary matters: Some brewers skip it and add coffee directly to primary. Fine, if you want. But I prefer secondary because it lets me remove the sediment from primary fermentation before the coffee addition. Cleaner beer, cleaner coffee flavour.
Tasting and Honest Reflection
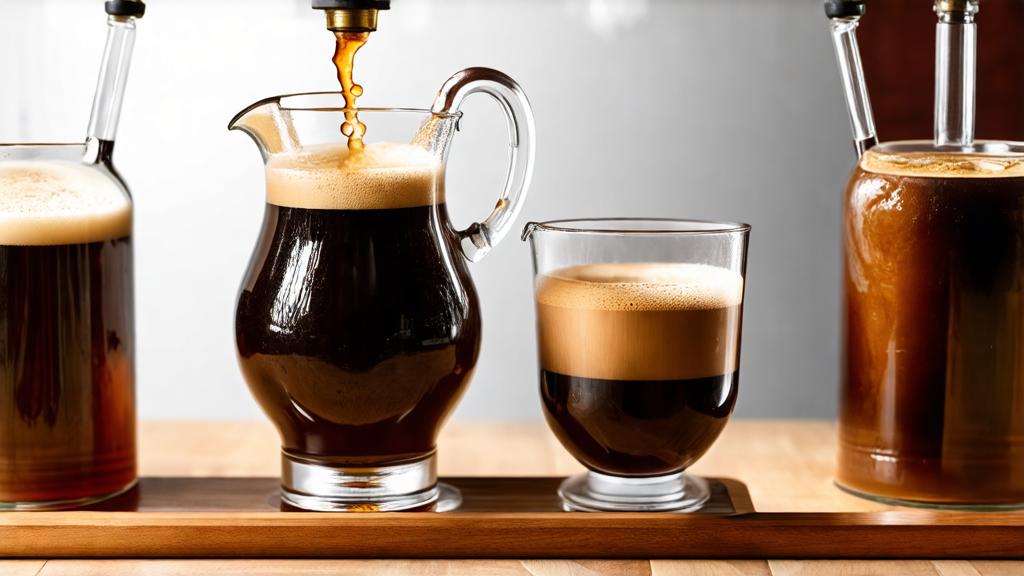
Here’s what a well-executed coffee stout should taste like when freshly carbonated:
- Nose: Coffee foremost—you should smell it immediately—with notes of dark chocolate and subtle roasted grain underneath
- Taste: Smooth, creamy mouthfeel. The coffee is integrated, not sharp or astringent. Chocolate notes from the malt. Slight bitterness from the roasted barley, balanced by residual sweetness
- Finish: Drying but not harsh. Coffee lingers slightly, fading into a subtle cocoa note
If your beer is thin, watery, or the coffee tastes burnt, you’ve either under-mashed (low mash temperature), over-extracted the coffee (too long or too fine a grind), or both.
I brewed this exact recipe last autumn, and honestly, the first bottle was overly coffee-forward. I’d steeped for 96 hours instead of my usual 72. But I documented it and adjusted on the next batch. The second brew hit perfectly: integrated coffee, smooth body, that deep brown colour you want. Worth repeating. Worth sharing with other brewers.
Common Mistakes (And How I Made Them)
1. Using old or stale coffee beans: Coffee has a shelf life. Once roasted, beans stay fresh for about 2–3 weeks. After that, they’re oxidising and losing aromatics. I once used a bag of beans that had been sitting in my pantry for two months. The result was a flat, lifeless coffee beer. Don’t be like 2024 me.
2. Not accounting for bitter overlap: Hops bitterness + coffee bitterness can stack up quickly. I keep the hop bittering very conservative—just enough to balance the sweetness. If you’re used to hop-forward beers, you might underbitter and end up with a cloying mess.
3. Skipping the secondary: As I mentioned, possible but suboptimal. You’re asking the coffee to steep alongside yeast sediment, which adds earthiness and cloudiness. Secondary takes an extra week or two but gives you a cleaner, more professional result. Advanced brewers using pressure fermentation can collapse timelines, but for traditional methods, secondary is worth the patience.
Variations Worth Exploring
Once you’ve nailed the base recipe, here are directions to take it:
- Vanilla stout: Add 1–2 vanilla beans (split lengthwise) alongside the coffee in secondary. Steeps alongside it, creates a mocha profile
- Coconut coffee: Toasted coconut flakes added in secondary (about 57 g / 2 oz) alongside the coffee. Steeps for just 48 hours
- Barrel-aged coffee stout: If you have access to a bourbon barrel or smaller oak cubes, this scales beautifully. Oak + coffee + stout = serious, contemplative beer. Requires longer conditioning time (3–4 months)
- Cold-brew concentrate: Some brewers prepare cold-brew coffee separately, let it age a few days, then add the concentrate to secondary instead of whole beans. Gives you more control over extraction. Worth trying once
Closing Thoughts
Brewing coffee stout feels like the natural evolution of a homebrewer’s journey. You’ve done your pale ales, your IPAs, your traditional styles. You understand fermentation and temperature control. So why not push into something that requires real precision—real understanding of how ingredients interact—without relying on gimmick?
That’s what coffee stout is, to me. It’s monks brewing beer, applying monk-like discipline, respecting the ingredients. Coffee and stout don’t argue with each other. They have a conversation. And if you listen carefully while you brew—if you document, if you taste critically, if you adjust—that conversation becomes something worth sharing.
The craft beer world is watching dark coffee beers right now. The judges noticed in 2026. And British homebrewing has always been about doing things properly. That ethos is core to CAMRA’s vision of quality and craftsmanship—values that coffee stout embodies beautifully. This is your moment to join that conversation at the bench.
🍺 Join the Brotherhood — Monthly brews, stories & monk wisdom
Subscribe for exclusive recipes, early brew logs, and behind-the-scenes updates straight to your inbox.

