
The Great All-Grain Leap: Master Advanced Homebrewing at Home
For years, I made beer with extract—it was easy, forgiving, and absolutely delicious. But something was missing. The real art. The precision. The control that separates a home brewer from a craft brewer. Then I made the leap to all-grain brewing, and everything changed.
All-grain brewing represents the professional approach to homebrewing. It’s where many of us must go if we want to understand fermentation deeply, experiment with ingredient blends, and achieve the flavour complexity that makes craft brewing addictive. And here’s the truth: it’s not as intimidating as it sounds. With the right guidance, the stepping stones are clear.
Why All-Grain Brewing Matters in 2026
The trend is unmistakable. BrewKegTap reported a 33% surge in all-grain kit sales during the first quarter of 2026—the sharpest growth in the homebrewing sector. Why? Because home brewers are getting serious.
Extract brewing got us here. But all-grain brewing opens doors. You control the mash temperature—something hybrid fermentation and temperature management depends on. You choose your exact grain bill. You experiment with water chemistry in ways that extract brewers simply cannot. You’re no longer following recipes; you’re writing them.
The growth in kits mirrors a shift in the community: we’ve matured as brewers. We’re ready to take responsibility for every variable in the pot. And that responsibility, I promise you, transforms how you drink your own beer. There’s a difference between enjoying a beer you made, and understanding exactly why that beer tastes the way it does.
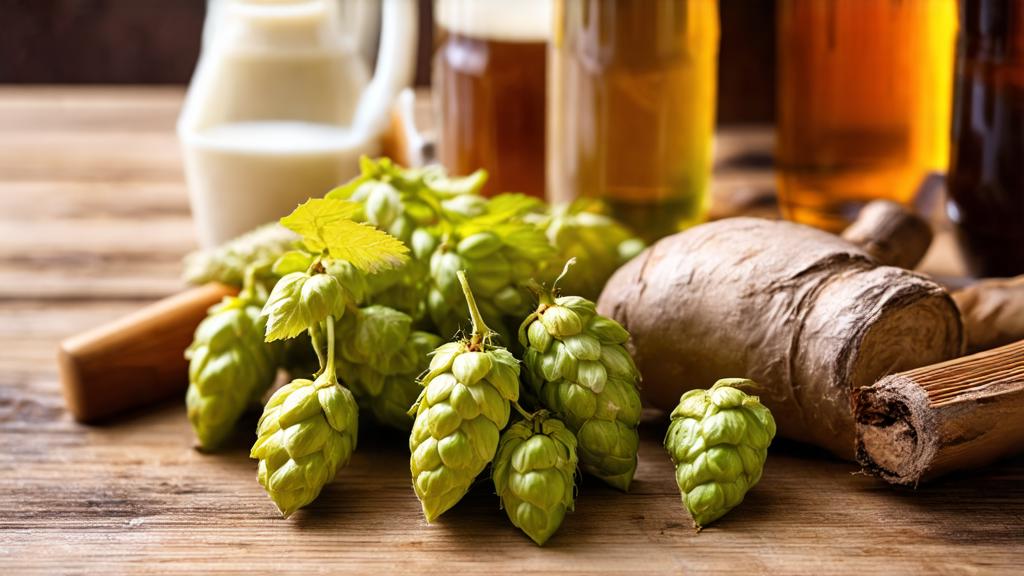
Ingredients and Equipment: What You Actually Need
Here’s what separates all-grain from extract: you’re starting with whole grain, not malt syrup. Sounds simple. It is, but there’s equipment involved.
Grain: Pale malt (2-row or 6-row) forms the base of almost every beer. Specialty malts add colour, body, and flavour. A typical 5-gallon (19-litre) brew might use 8-12 pounds (3.6-5.4 kg) of grain, split between base and specialty. I source mine from The Malt Miller or Get Er Brewed—both will grind to order, saving you equipment investment.
Equipment—the core four:
- Mash Tun (insulated cooler, £20-80): Holds grain and water during mashing. A cheap cooler works perfectly; BIAB (Brew In A Bag) brewers use a large pot with a mesh bag instead.
- Kettle (10+ gallons / 38+ litres, £40-150): You need volume for the boil. Stainless steel is ideal; a cheap enamel stockpot works if you’re gentle.
- Mill (£30-200): Crushes grain fresh. Borrow one from a local homebrewing club first—many have communal mills.
- Thermometer (£10-30): Mash temperature is non-negotiable. Get one that reads to 0.5°C (32°F).
Total for a basic, effective all-grain system: £100-400 depending on your improvisation. Compare that to what you’ll save in extract premiums over a year. It pays for itself.
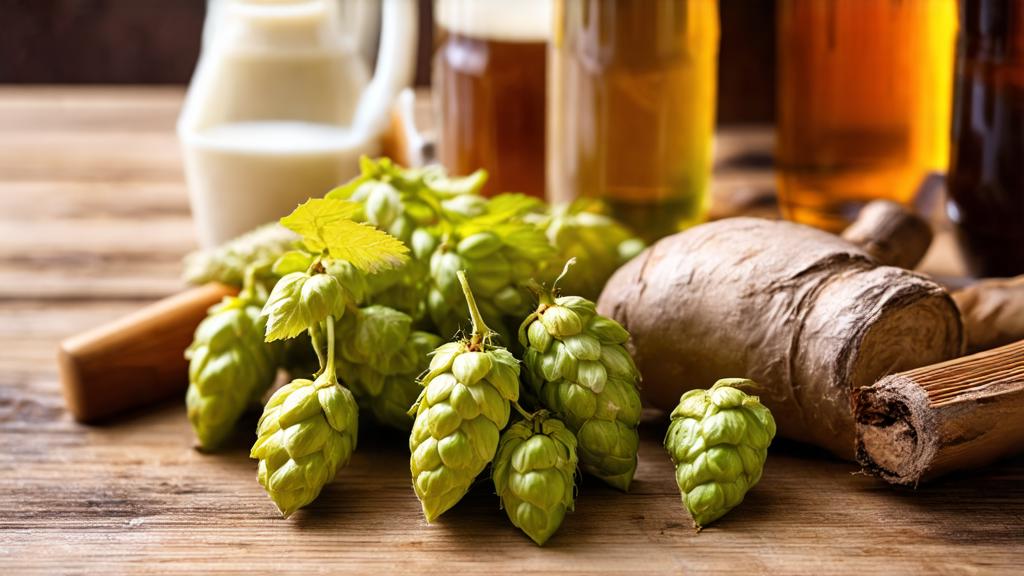
Step-by-Step Brew Day: The Mashing Process
Brew day is eight hours. Plan for it. I start at 7 a.m. and finish by 4 p.m., then let fermentation take over.
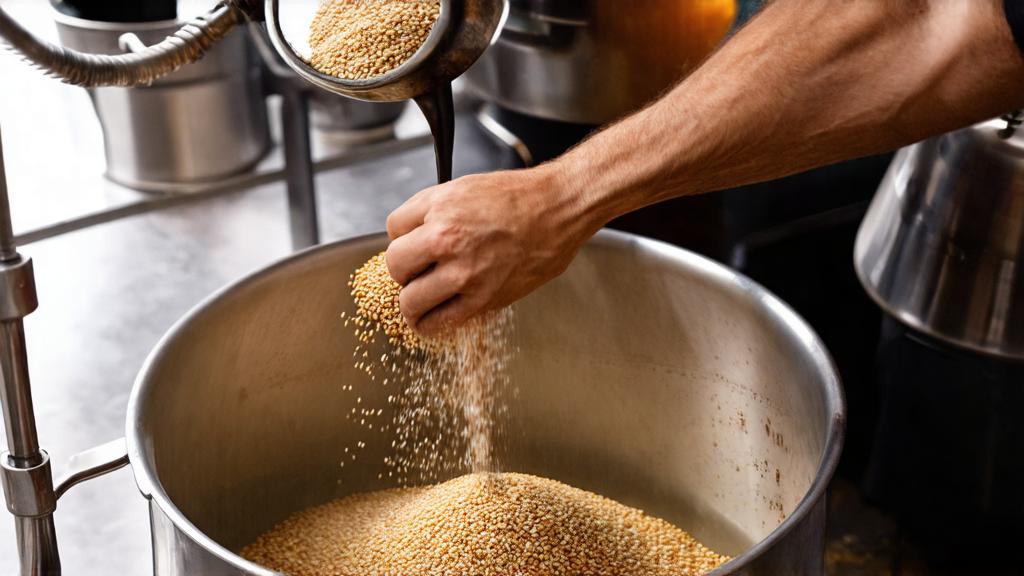
1. Mill Your Grain (15 minutes): If you haven’t pre-ordered milled grain, crush it coarsely. You want the kernel exposed, not flour. Pre-grind grain loses potency after 3-4 days—fresh is best.
2. Calculate Your Water (15 minutes): Water-to-grain ratio matters. Use 2.5 quarts (2.4 litres) of water per pound (0.45 kg) of grain. For a 10-pound grain bill, that’s 25 quarts (24 litres) of strike water. Heat it to 10-15°C (18-27°F) above your target mash temperature. If you want a 65°C (149°F) mash, heat water to 73°C (163°F).
3. Strike the Mash (5 minutes): Pour hot water into your mash tun. Slowly add grain while stirring. Avoid clumping. Your target: 65-68°C (149-154°F) depending on beer style. Precision fermentation temperature control starts here.
4. Rest and Recirculate (60-90 minutes): Let the grain sit. This is mashing—enzymes in the grain convert starches to fermentable sugars. Every 10 minutes, gently stir. After 30 minutes, recirculate (drain from the bottom, pour back on top) to clarify the wort. Do this 2-3 times.
5. Lautering (30 minutes): Slowly drain the wort into your kettle. When the liquid runs clear, stop. Now rinse the grain bed with hot water (70°C / 158°F) to extract remaining sugars. This is lautering. Collect about 27-28 litres (7-7.5 gallons) of pre-boil wort.
6. The Boil (60-90 minutes): Bring wort to a rolling boil. Add bittering hops (60 minutes remaining). At 15 minutes remaining, add flavour hops. At 5 minutes, add aroma hops and Irish moss (if using). At knockout (0 minutes), turn off heat and prepare to cool.
Fermentation and Conditioning: Patience Becomes Virtue
Cool your wort rapidly (20°C / 68°F in 30 minutes if possible—use an immersion chiller or ice bath). Pitch your yeast at the right temperature. For ales, that’s 18-20°C (64-68°F). For lagers, 10-13°C (50-55°F).
All-grain beers ferment exactly like extract beers, but they often age better. More grain complexity equals more character development during conditioning. A basic ale ferments in 1-2 weeks. A lager takes 4-6 weeks. Some of my best all-grain creations sat for eight weeks before hitting their peak—worth every minute of waiting.
Take gravity readings: original gravity (OG) at pitch, final gravity (FG) at bottling. Calculate ABV: (OG – FG) × 131.25. This is where precision matters. Even wild fermentation has measurable outcomes.
Bottling? Exactly as you’ve done before. Priming sugar, bottles, caps, two weeks at room temperature. The difference: your all-grain beer will have clearer head retention, deeper colour, and more stable flavours across weeks and months.
Tasting Notes and My Honest Review
My first all-grain brew was a English Bitter, 4.2% ABV. I’d made bitter extracts before. This was different. Clean malt backbone. Subtle caramel notes. A bitterness that was sharp but integrated, not one-dimensional. The hop character sang instead of screaming.
That’s the payoff. You taste the difference immediately. Your mates taste it too. “This is really clean,” they say. “Did you really make this?” Yes, mate. And now I know exactly why.
My second all-grain brew was a Czech Dark Lager—a stepping stone into lager territory. Smooth, biscuity, with just enough noble hop character to make it interesting. The fermentation took eight weeks. Worth it. Every single week.

Pro Tips and Common Mistakes
Temperature discipline is everything. One degree too high during mashing? Your beer gets thin and dry. Too low? It’s unfermentable and sweet. Invest in a good thermometer and check obsessively.
Don’t skip water chemistry basics. Your local water has minerals—chlorine, calcium, magnesium. These affect your mash pH and final flavour. A simple water test (cheap online) tells you what you’re working with. Sustainable brewing starts with understanding your water.
Grain oxidation is your enemy. Once crushed, grain degrades. Pre-order milled grain for the day of brewing. If you mill at home, use immediately—don’t stock it.
Overshooting gravity is common. You boil off more water than expected. Use a refractometer or hydrometer to check pre-boil gravity. If you’re below target, add water. If above, let it concentrate further.
Common mistake: rushing the lautering. Slow and steady. Fast sparging clogs your grain bed and leaves unfermented sugars behind. Take 30-40 minutes. It matters.
Variations and Next-Level Experiments
Once you’ve done three all-grain batches, you’ll start experimenting. That’s when the art begins.
Try a step mash: rest at 55°C (131°F) for 10 minutes, then step to 68°C (154°F) for 60 minutes. This enhances body and complexity.
Experiment with water chemistry adjustments. Add gypsum to emphasise hop bitterness. Add calcium chloride for rounded sweetness. A £5 water adjustment might be the difference between good and brilliant.
Combine grains creatively. Most brewers stick to pale malt bases. Try 50% pale, 30% Vienna, 20% Munich. Suddenly your bitter has a biscuity backbone that extract recipes never achieve.
Consider hop utilisation research. All-grain brewing lets you dial in bittering compounds precisely. Late additions become more nuanced. You’re not constrained by what extract kits offer anymore.
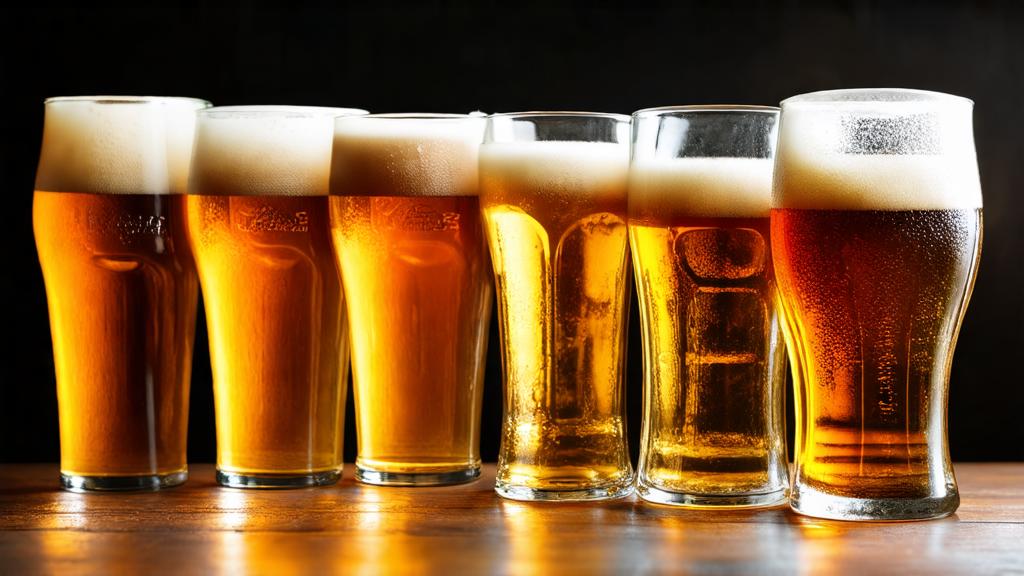
Conclusion: You’re Ready
All-grain brewing isn’t harder than extract. It’s different. It’s methodical. It’s precise. And it’s absolutely worth the effort.
The 33% surge in all-grain kit sales in 2026 isn’t accidental. Brewers everywhere are making this leap. Some will struggle with temperatures. Others will oversleep during fermentation. A few will nail it immediately. You’ll fall into one of those camps, and regardless of which, you’ll learn something profound about beer that extract brewing never taught you.
Start simple: one all-grain batch with a tried-and-tested recipe. Nail the fundamentals. Temperature, gravity readings, sanitation, timing. From there, the world opens. You’re not following recipes anymore. You’re writing your own story, one brew at a time.
And that story, I promise, tastes better than anything you’ve made before.
🍺 Join the Brotherhood — Monthly brews, stories & monk wisdom
Subscribe for exclusive recipes, early brew logs, and behind-the-scenes updates straight to your inbox.

