
Tiramisu Ale Mastery: Brew the 2026 Trending Dessert Ale at Home
If you’ve been scrolling through food and drink trends lately, you’ll have noticed one name cropping up everywhere: tiramisu. With a 142% surge in tiramisu-flavoured product launches across Europe between 2020 and 2024, this classic Italian dessert has become THE sweet flavour of 2026. The intense coffee notes, velvety mascarpone richness, and dusted cocoa have captured imaginations in everything from gelato to gin.
So naturally, I thought: why not brew it?
Tiramisu ale is where dessert meets craft beer—a bold, layered pale ale or light stout that balances coffee, cocoa, and vanilla into something genuinely complex and craveable. It’s not a gimmick beer; it’s an honest exploration of how real brewing can capture sophisticated flavours without relying on syrups or artificial shortcuts.
This post walks you through building a tiramisu ale from scratch, with real-world tips, honest notes about what works, and the occasional disaster I’ve learned from. Whether you’re chasing 2026’s hottest trend or just curious about pushing your brewing boundaries, this one’s for you.
Why Tiramisu Ale Matters in 2026
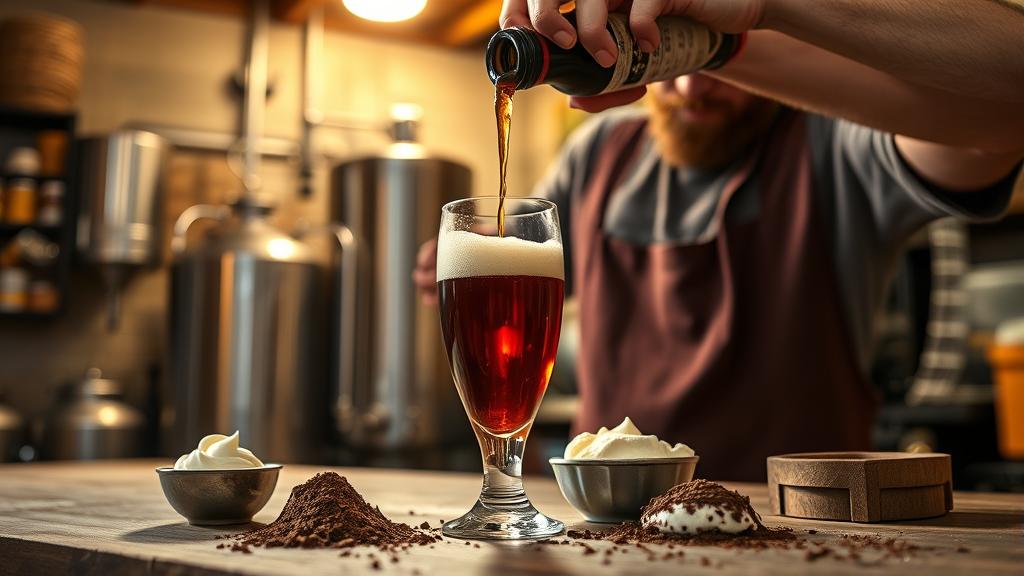
Tiramisu isn’t just trending because it tastes good—it’s trending because it represents something bigger: the shift toward premium, sophisticated flavours in mainstream beverage culture.
We’ve spent the last few years chasing extremes: brutally bitter IPAs, aggressively sour sours, hyper-sweet pastry stouts. But tiramisu sits in the middle. It demands balance. Coffee bitterness meets creamy sweetness. Cocoa powder’s astringency plays against mascarpone’s richness. It’s monk-level complexity in a single bite (or sip).
From a homebrewing perspective, this is brilliant. A tiramisu ale forces you to think about fermentation control, ingredient integration, and layered flavour development. You can’t just dump flavouring extracts into a base beer and call it done. You have to actually brew something good first, then add depth thoughtfully.
And here’s the thing: once you crack this recipe, you’ve built a template for dozens of other dessert-forward ales. Sticky toffee, crème brûlée, panna cotta—they all follow the same principles.
Ingredients & Equipment for Tiramisu Ale
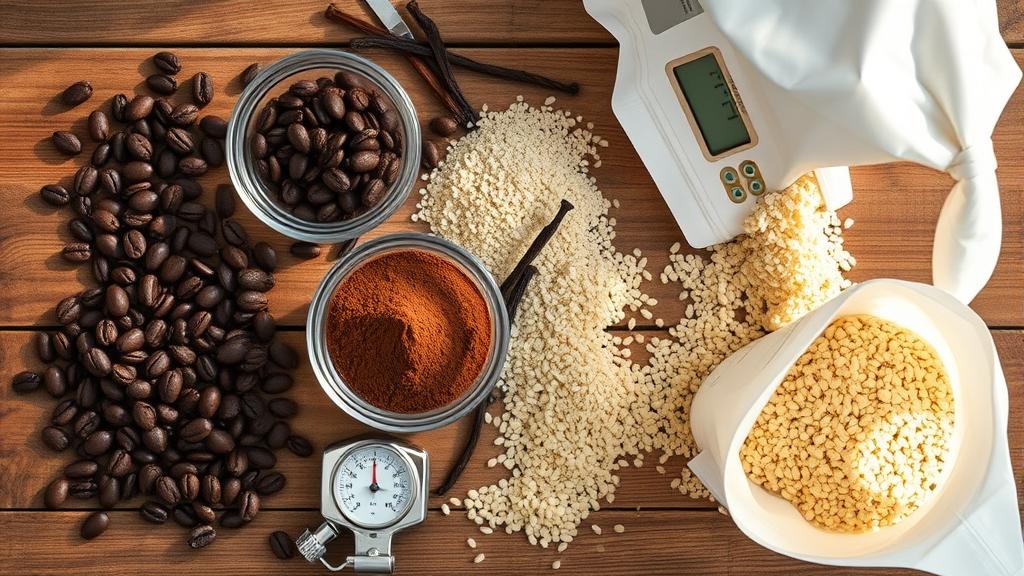
You can brew a basic tiramisu ale with standard equipment (kettle, fermenter, airlock). But the magic is in the ingredients.
The Grain Bill (for a 20-litre / 5-gallon batch):
- Pale ale malt: 3.0 kg (6.6 lbs) — the foundation
- Munich malt: 0.75 kg (1.65 lbs) — adds warmth and body
- Chocolate malt: 0.25 kg (0.55 lbs) — subtle cocoa notes, not harshness
- Crystal 60: 0.5 kg (1.1 lbs) — residual sweetness balances coffee bitterness
The Hops:
- Magnum: 10g at 60 minutes (clean, neutral bitterness)
- Tettnang: 10g at 15 minutes (delicate, tea-like quality)
The Stars—Flavouring Additions:
- Cold-brew coffee: 300ml strong, cooled (I use a 1:10 grounds-to-water ratio, steeped 12 hours)
- Cocoa powder (unsweetened): 15g, added during conditioning to avoid boiling off aromatics
- Vanilla extract: 5ml (pure vanilla, not imitation—yes, there’s a difference)
- Mascarpone powder or vanilla lactose: 100g (adds that creamy mouthfeel without infection risk)
Yeast: US-05 (American ale yeast) or Wyeast 1056. Ferments clean, lets flavours shine. Aim for 18–20°C (64–68°F) fermentation temperature.
Water: 25 litres (6.6 gallons). Soft to medium hardness is fine—tiramisu ale isn’t fussy about water profile like some styles are.
Step-by-Step Brew Day
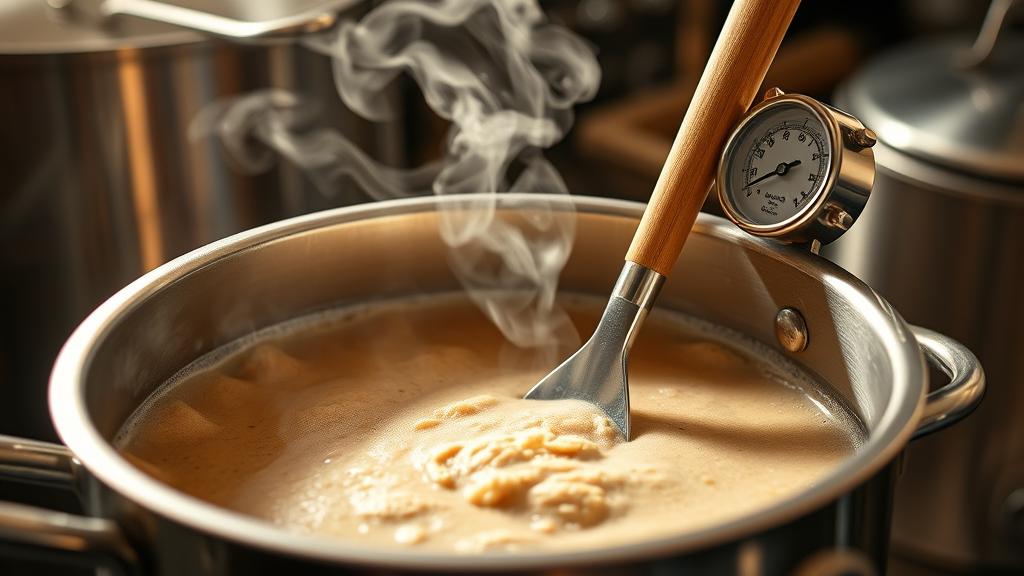
1. Mashing (90 minutes)
Crush your grain and mash at 65°C (149°F) for 90 minutes. I use a simple cooler-based system—grab a quality cooler and a false bottom, fill with water at 75°C (167°F) to hit your target. Stir every 15 minutes.
2. Lautering (30 minutes)
Slowly run off your wort into the kettle. Aim for 25 litres (6.6 gallons) pre-boil. This should give you around 20 litres (5 gallons) post-boil.
3. Boil (60 minutes)
Bring to a rolling boil. Add Magnum hops at the start for clean bitterness. Add Tettnang at 15 minutes to finish. No bittering additions later—this beer isn’t about hop character.
Pro tip: Around 55 minutes into the boil, prepare your cold-brew coffee. This timing means it’ll be cooled to pitching temperature by the time you’ve chilled your wort.
4. Chill & Pitch (15 minutes)
Cool to 20°C (68°F) using an immersion chiller or ice bath. Aerate well (whirlpool, shake the fermenter for 2 minutes, or aerate with a stone). Pitch your yeast when the wort hits 18–20°C.
Fermentation & Conditioning
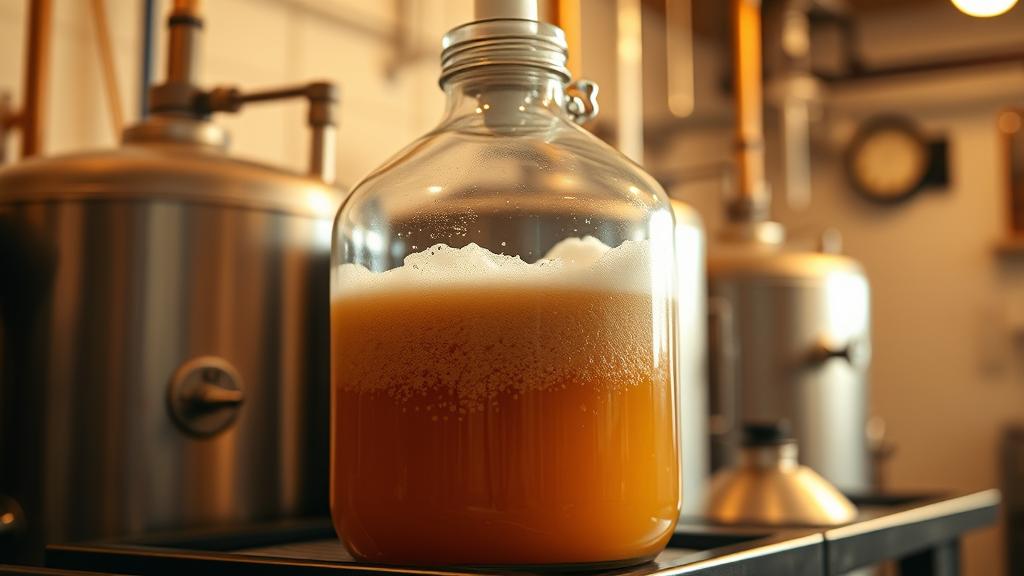
Days 1–3: Vigorous Fermentation
Keep temperature steady at 19°C (66°F). You’ll see a thick, creamy head form. Resist the urge to open the lid and have a sniff—let the yeast work undisturbed.
Days 4–7: Main Fermentation
Krausen (foam head) will drop. Activity slows. Continue holding 19°C. By day 7, gravity should drop from 1.058 OG to around 1.010 FG—very dry, which is what we want here.
Days 8–10: Cold Conditioning
Drop temperature to 10°C (50°F) and leave for 3 days. This helps the yeast settle and brings clarity.
Days 11–21: The Flavouring Window
Now comes the interesting bit. Rack into secondary (or a serving keg) and add:
- Your cold-brew coffee (300ml)
- Vanilla extract (5ml)
- Mascarpone powder or vanilla lactose (100g, dissolved in a small amount of warm water first)
Stir gently. Let sit at 15–18°C (59–64°F) for 7–10 days. The flavours will integrate gradually. You’ll notice the beer developing a silky mouthfeel and a sophisticated coffee-cream aroma.
Days 22–28: Final Adjustment & Cocoa
On day 22, add your cocoa powder (15g) by mixing it into a slurry with a splash of the beer first, then stirring back in. Don’t boil it—you want the chocolate flavour, not astringency.
Let this sit another 5–7 days. Taste on day 25. The flavours should be balanced: coffee forward, cream underneath, cocoa dusting the back of your palate.
Tasting Notes & My Honest Review
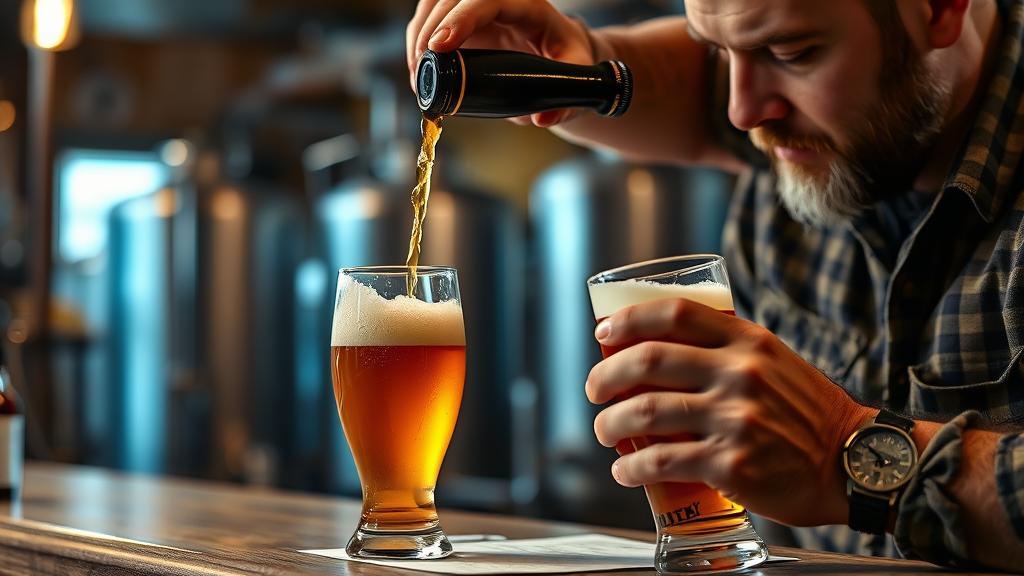
Appearance: Golden-amber, almost copper. Slight haze is fine—don’t stress over crystal clarity. Head retention is decent (2–3 minutes).
Nose: Coffee forward—espresso, not drip coffee. Underneath, a faint vanilla sweetness and a whisper of cocoa. It smells like the dessert, honestly.
Taste: This is where it gets interesting. The coffee hits first—bitter, but not harsh because the crystal malt and mascarpone powder cushion it. Midpalate is where the tiramisu magic happens: creamy, slightly sweet, with cocoa powder dust on your tongue. Finish is dry, clean, with a lingering coffee bitterness. ABV sits around 5.2%, so it’s approachable without being lightweight.
Mouthfeel: Velvety, almost silky. The mascarpone powder and vanilla lactose do their job here—no sharp edges, no thin body.
Overall: It’s legitimately a good beer, not a novelty. If you served this to someone blind, they’d know it’s deliberately dessert-forward, but they wouldn’t feel tricked. It’s refreshing in an indulgent way—which is exactly what 2026’s dessert trend is about.
Pro Tips & Common Mistakes
- Don’t over-cocoa. 15g per 20 litres (5 gallons) is the max. More and you’ll get chalky, astringent notes. The cocoa should be a whisper, not a shout.
- Skip artificial extracts. Real vanilla costs more, but it’s worth it. Imitation vanillin tastes like plastic in beer. Same goes for coffee—use real cold brew, not coffee extract.
- Mascarpone powder vs. lactose. Mascarpone powder has flavour; vanilla lactose is more neutral. I prefer mascarpone, but if you can’t source it, lactose works fine. Both add sweetness without fermentation risk.
- Temperature matters. Ferment warm (18–20°C / 64–68°F) and you’ll get esters that clash with the dessert profile. Keep it steady and cool.
- Timing of flavourings. Adding coffee/cocoa during active fermentation will cause boil-off. Always wait until secondary. Adding too early means flavours fade over time. Wait until fermentation is essentially done.
- Batch consistency. The biggest challenge I faced: replicating this exactly. Coffee strength varies by bean, brew time, water chemistry. Keep tasting notes. Adjust next time.
Variations & Next-Level Experiments

Tiramisu Stout: Use a porter or dark ale base (around 6.5% ABV) with more chocolate malt (0.75kg instead of 0.25kg). The roasted character of stout suits tiramisu beautifully. Coffee becomes a supporting player, and cocoa takes centre stage.
Rum-Aged Tiramisu: Secondary the beer in a sanitised oak cube that previously held aged rum (or soak oak chips in rum for 24 hours, then add to secondary). The rum echoes the Marsala wine in traditional tiramisu. This ages well—give it 8–12 weeks in the bottle before drinking.
Vanilla-Forward Blonde: Reduce coffee to 150ml and increase vanilla extract to 10ml. Use pale malt and pale ale malt only (no chocolate). Aim for a light, approachable blonde that’s tiramisu-inspired rather than tiramisu-faithful. Women and lighter-beer drinkers tend to love this version.
Cold-Brew Concentrate: Instead of adding cold brew at the end, reduce 600ml of cold brew down to 200ml by gentle heating. The concentrated flavour is more stable and integrates better. Try this on your next batch.
The key to all these variations: start with a solid base beer. Flavouring additions can only do so much. A well-brewed pale ale or porter will always outshine a hastily-made one with fancy additions.
Conclusion: Tiramisu Ale & the Future of Home Brewing
Tiramisu ale represents something I’m seeing more of in 2026: brewers getting bored with pure novelty and interested in sophistication. Home brewers are trading gimmicks for genuinely complex flavours, which means better beer, better technique, and frankly, more fun.
This recipe works because it respects the beer and respects the tiramisu. It’s not beer-flavoured mascarpone in a pint glass. It’s an ale that captures the *essence* of tiramisu: the balance of bitter and sweet, the layered textures, the moment when coffee and cream come together on your palate.
Brew it. Taste it. Adjust it. Share it with other home brewers and watch their faces when they realise this isn’t some pastry stout gimmick—it’s genuinely delicious, genuinely complex, and genuinely a beer worth making twice.
And when your friends ask what’s trending in 2026, you can hand them a glass and let the beer do the talking.
🍺 Join the Brotherhood — Monthly brews, stories & monk wisdom
Subscribe for exclusive recipes, early brew logs, and behind-the-scenes updates straight to your inbox.

