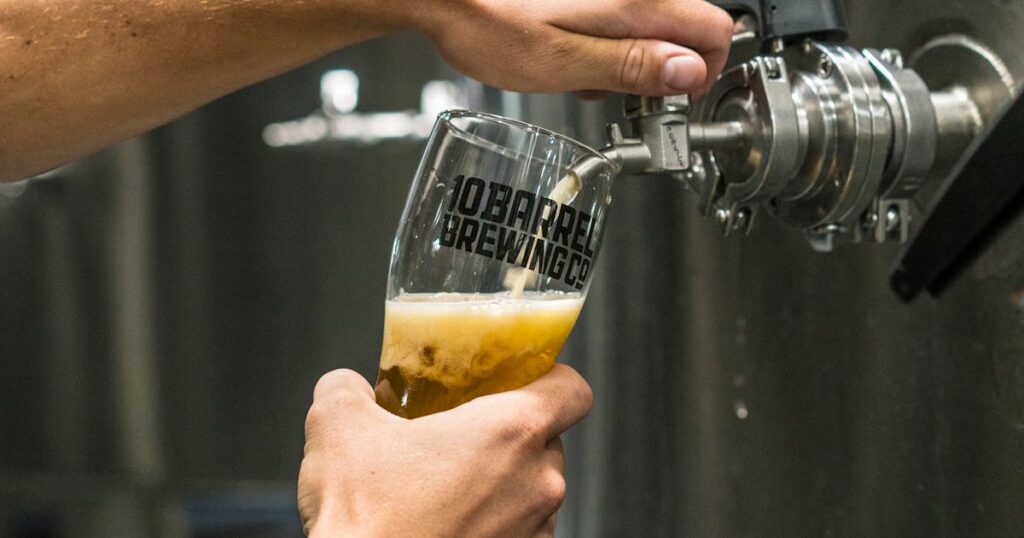
Lagers represent one of brewing’s finest paradoxes: they’re simultaneously the world’s most popular beer and the most misunderstood by home brewers. Walk into any pub in Britain and you’ll find golden lagers pulled from every tap—yet most home brewers instinctively reach for ale yeasts, treating lagers like the unruly younger sibling they’d rather not invite to family gatherings.
This is changing. In 2026, lagers are cool again. The trend data is clear: crisp, clean lagers are experiencing a genuine revival in the UK craft scene and among discerning home brewers who’ve discovered that lager fermentation isn’t a dark art—it’s a discipline. A monastic discipline, in fact. Monks perfected lager brewing centuries ago, developing low-temperature fermentation techniques in Bavarian caves, and there’s profound wisdom buried in those old methods.
This guide will walk you through the art and science of brewing superior lagers at home. Whether you’re aiming for a crisp German Pilsner, a clean American Lager, or a complex Bockbier, you’ll find that lager brewing requires patience, precision, and an almost meditative attention to temperature control. It’s not harder than ale brewing—it’s just different.
Why Lagers Matter: The Forgotten Half of Beer History
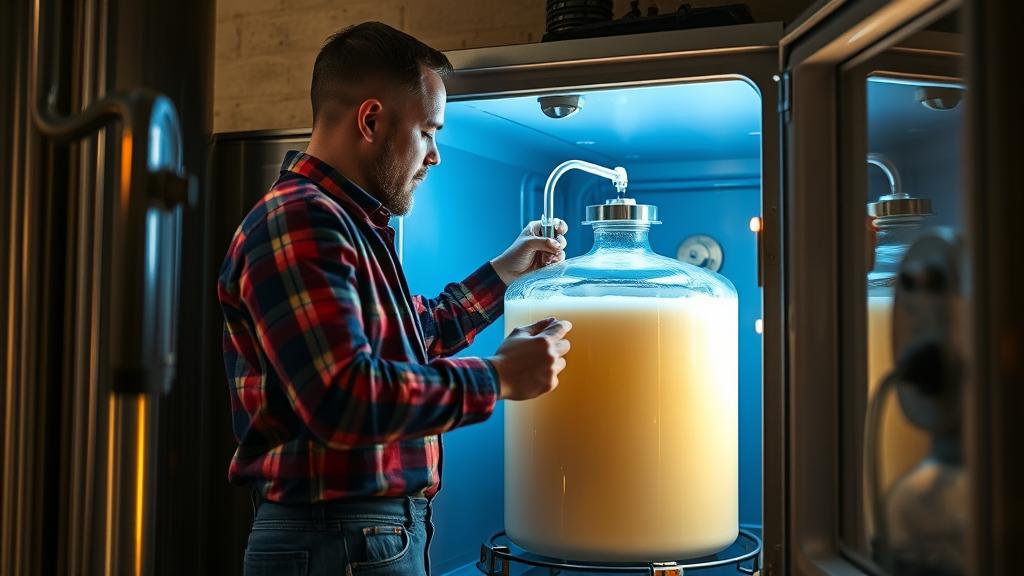
For nearly 500 years, lagers were the beer of choice for serious brewers. They represented precision, stability, and commercial success. Bavarian brewers didn’t ferment lagers cold because they had a spiritual calling—they did it because lagers stayed fresh longer, aged brilliantly, and produced consistent, sophisticated flavours that drinkers loved.
Yet somewhere along the way, especially in the home brewing community, lagers became the intimidating cousin. Ales are forgiving; lagers demand respect. And respect, properly understood, is just another word for attention.
The monk connection is instructive here. Benedictine breweries didn’t develop cool fermentation methods overnight. They evolved through observation, failure, and accumulated wisdom passed down through generations. That same approach—methodical, patient, reflective—is exactly what lager brewing teaches us. You can’t rush it. The beer will tell you when it’s ready, not the calendar.
In the UK specifically, lagers occupy a fascinating position. We’re surrounded by ales—bitters, milds, IPAs—yet German and Czech lagers have always held quiet influence. Now, with a growing appreciation for restraint and clarity in flavour, British home brewers are discovering what continental brewers have known all along: a well-made lager is transcendent.
The Essential Equipment: What You Actually Need
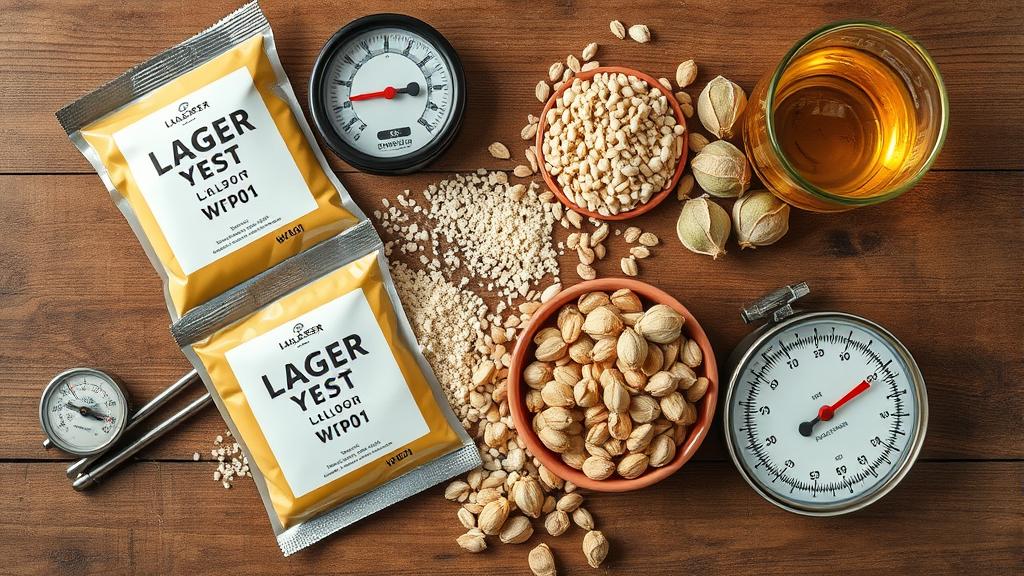
The single most important piece of equipment for lager brewing is not your kettle, your fermenter, or even your yeast—it’s temperature control.
Unlike ales, which ferment happily between 18–22°C (64–72°F), lagers demand cool conditions: typically 10–14°C (50–57°F) for most lager yeasts. Some specialty lagers push down to 8°C (46°F). Without stable temperature control, you’ll end up with fruity esters, off-flavours, and a beer that tastes like it went through an identity crisis.
Here’s what you need:
- A fermentation chamber or controlled space: A dedicated fridge works beautifully. Some brewers use chest freezers (cheaper than you’d think). UK home brewers with unheated garages or cellars have a genuine advantage during winter months—even an insulated box with a simple heater/cooler setup will work.
- A reliable thermometer: Digital stick-ons or probe thermometers attached to your fermenter are essential. Accuracy matters; guessing doesn’t.
- Lager yeast in good health: We’ll cover this in a moment, but fresh yeast makes a measurable difference.
- Patience: Seriously. Lager fermentation takes 10–14 days minimum at temperature, plus lagering (cold conditioning) for 4–12 weeks, depending on style. You can’t hack this. The beer knows.
For ingredient sourcing, the usual UK suppliers—The Malt Miller, Geterbrewed, BrewUK—stock all the speciality malts you’ll need. Base malts like German Pilsner and Munich malt are readily available.
Yeast: The Soul of Your Lager
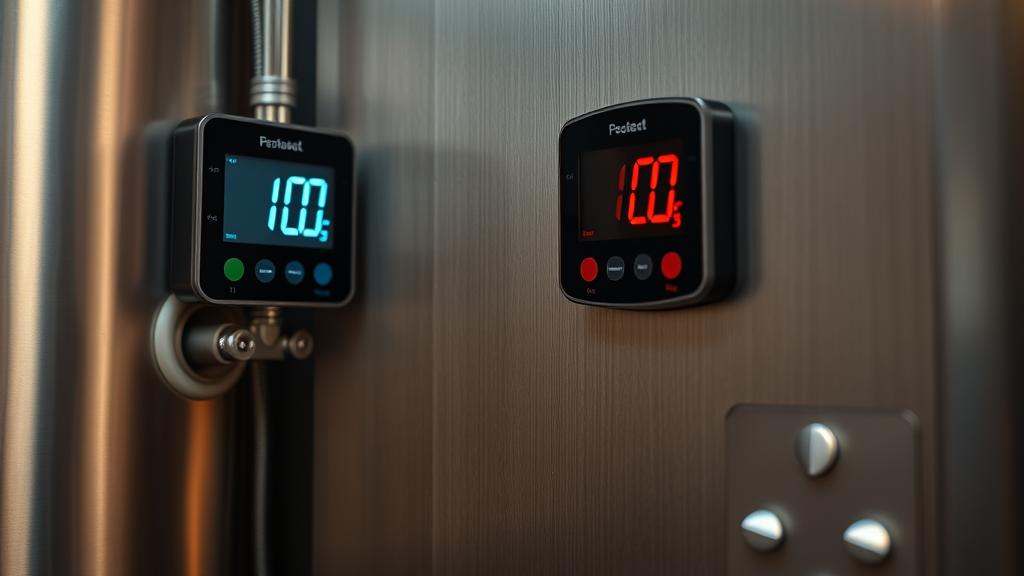
Here’s where lager brewing diverges from ale brewing in the most profound way: your yeast is doing something different.
Ale yeast (top-fermenting) is proactive—it rises to the surface, works quickly, and tolerates a wider range of temperatures. Lager yeast (bottom-fermenting) is contemplative. It prefers cold, works methodically, and produces remarkably clean results when treated with respect.
The classic choices for UK home brewers:
- WLP001 (California Lager): Actually a hybrid that can ferment at warmer temperatures (16–21°C). Great starter lager.
- WLP920 (Bavarian Lager): Crisp, clean, and authentic. Ferment at 10–12°C for full expression.
- WLP830 (German Lager): The workhorse of traditional lager brewing. Slightly fruity, very reliable.
- Wyeast 2124 (Bohemian Lager): Complex, slightly spicy notes. For more advanced brewers.
Fresh yeast is non-negotiable. Lagers struggle with old or stressed cultures. If you can, use a starter to build cell count before pitching. A simple 2-litre starter (DME + water fermented under yeast culture for 48 hours) will dramatically improve pitch rate and beer quality.
This is one of those places where home brewers often cut corners and immediately taste the consequences. Don’t. The yeast is your partner in this process—treat it as such. One of my early lager disasters taught me this the hard way. I pitched a 6-month-old vial of Bavarian lager into my kettle and spent 8 weeks watching fermentation sputter. The lesson stuck: fresh yeast, proper starters, period.
The Brew Day: Step by Step
Lager brew days follow conventional ale methods with one critical difference: you’re aiming for a clean, slightly higher-gravity wort to give yeast something to work with at cool temperatures.
- Mash: For a classic Pilsner, target 66–68°C (151–154°F). Hit it once and hold 60 minutes. You want a dry, fermentable wort.
- Boil: Full 90 minutes. Use noble hops (Saaz, Hallertau, Hersbruck) for subtle spice and floral notes. Bittering units are typically 25–35 IBU for pale lagers.
- Cool rapidly: Get to pitching temperature (usually 8–12°C) as quickly as possible. A counterflow chiller is your friend here.
- Pitch and pitch big: Use that starter. Pitch to your fermentation chamber which is already chilling. Set your thermostat and walk away.
- Control temperature relentlessly: This is where precision matters. A 2-degree swing can introduce esters. Most folks use an STC-1000 controller or similar—affordable and utterly reliable.
The fermentation itself will look slow at first. Don’t panic. After 48–72 hours you’ll see airlock activity. By day 10–14, most of the heavy lifting is done. At that point, you can raise temperature slightly (2–3°C) for a “diacetyl rest”—this helps the yeast clean up any off-flavours it may have produced. Then drop back to lagering temperature.
Lagering: Where the Magic Happens
This is the phase that separates good lagers from excellent ones. Lagering is cold conditioning at 2–4°C (36–39°F) for weeks or months after the active fermentation phase.
Why? At these temperatures, yeast cleans up flavour compounds slowly and methodically. Rough edges smooth out. Esters fade. The beer becomes clearer (literally—yeast drops out) and cleaner. A fresh Pilsner might be drinkable after 4 weeks; a classic German lager might shine at 8–12 weeks.
This requires patience. Real patience. The monastic connection becomes clear here: you’re not making beer for this week’s consumption. You’re making beer that will be worth waiting for.
Bottle or keg after lagering. If you’re conditioning in bottle, it happens cold—no warm conditioning needed. Expect another 1–2 weeks in the keg or bottle before full carbonation if you’re force-carbing.
Tasting Notes: What You’re Aiming For
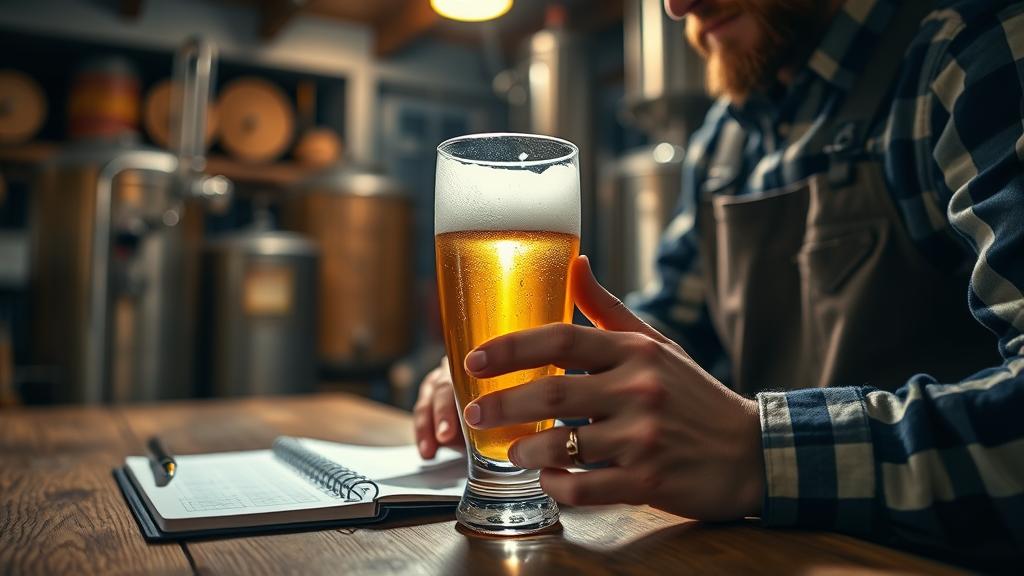
The defining characteristic of a well-made lager is clarity. Not just visual clarity—which is beautiful—but flavour clarity. Every note should be distinct. No muddle. No fruitiness unless intended.
For a German Pilsner (my favourite reference style):
- Appearance: Crystal-clear, pale gold, tight white head
- Aroma: Noble hops (spice, herbal), subtle grain, almost nothing else
- Flavour: Clean grain, hop bitterness integrated (not sharp), crisp finish
- Mouthfeel: Medium-light body, fully carbonated, dry
Your first successful lager will likely surprise you. The simplicity is almost shocking compared to hoppy ales. There’s nowhere to hide. A muddled flavour screams. A poorly chosen grain shows up immediately. This is why lagers are, paradoxically, both easier to make badly and more rewarding to make well.
I remember my first proper Pilsner after a proper lagering. I’d been brewing ales for three years and thought I knew what clean beer tasted like. I was wrong. That Pilsner reset my expectations entirely. If you’ve never tasted a genuinely well-made lager fresh from a home brewer, you’re missing something.
Common Mistakes (and How to Avoid Them)
- Warm fermentation: This is the number-one killer. Even 18°C is too warm for most lager yeasts. You’ll get fruity esters and a beer that tastes like a failed ale hybrid.
- Old yeast: Second place. Always use fresh yeast and a starter if possible.
- Underestimating lagering time: Your beer isn’t done after primary fermentation. It’s barely started. Budget 4–12 weeks for cold conditioning minimum.
- Erratic temperature control: Swings up and down stress yeast. Consistency matters more than absolute temperature (within reason).
- Too much character in the recipe: Beginners sometimes overdo specialty malts or experimental hops. Keep it simple. A great lager is built on clean pilsner malt and subtle hops. Spring hops introduced new British varieties that work beautifully in lagers, but restraint is key.
Variations: Beyond the Pilsner
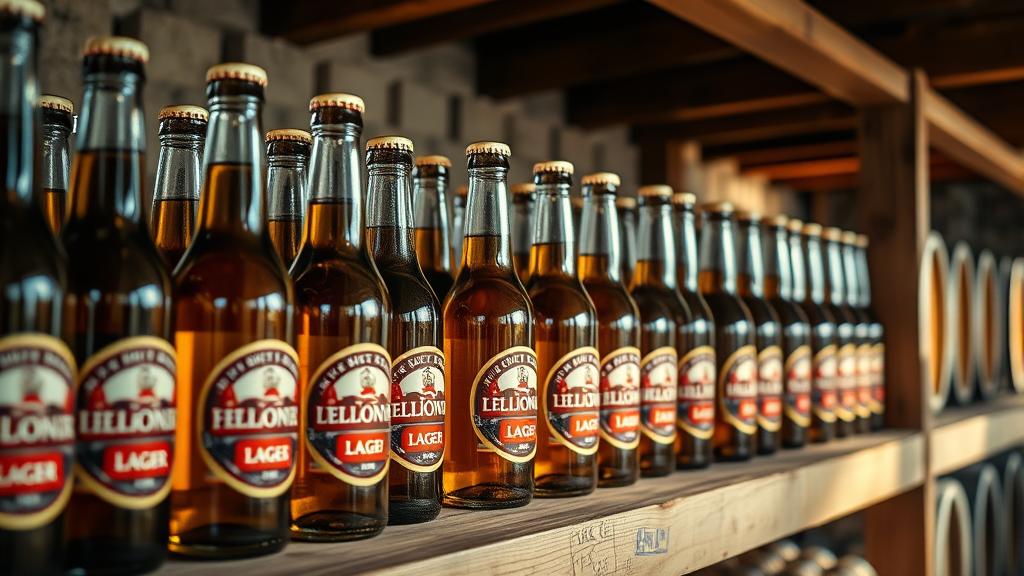
Once you’ve nailed a basic Pilsner, the world opens up. Lager brewing encompasses far more than you’d think:
- Vienna/Märzen: Slightly more malt-forward, amber colour, 5.5–6.5% ABV (4.5–5.5% ABV for session versions). Beautiful complexity after 8 weeks.
- Bockbier: Stronger (6.5–7.5% ABV / 5.5–6.5% ABV in lighter versions), rich malt character. Some brewers explore honey additions like in braggots for interesting depth.
- Helles: Pale, slightly maltier than Pilsner, crisp finish. Often overlooked but absolutely delicious.
- Dunkel: Dark lager. Don’t skip this. Dark doesn’t mean heavy; a Dunkel is refreshing despite its colour.
The foundation of all these is the same: cold fermentation, quality yeast, lagering time. Once that’s routine, recipe variation becomes exploration rather than experimentation.
The Deeper Wisdom
If there’s a lesson beyond the technical here, it’s this: lager brewing teaches humility.
You can’t rush it. You can’t fake it. The beer is either clean and clear or it isn’t. The flavours either integrated or they aren’t. There’s an honesty to lager fermentation that feels almost ascetic.
The monks understood this. They weren’t brewing lagers because it was trendy (though it was popular). They were doing it because the method aligned with their values—patience, precision, respect for process, trust that the results would justify the wait.
In a world of fast brewing and quick turnarounds, lager fermentation is a rebellion of sorts. An assertion that some things deserve time. Some results are worth the wait. Some excellence can’t be hurried.
So if you’ve never brewed a lager, or if you’ve tried and abandoned the project, consider approaching it differently. Not as a technical challenge to overcome, but as a practice. An opportunity to slow down, pay attention, and let fermentation teach you about patience.
Your first proper lager—clear, clean, complex, and full of subtle flavour—will remind you why lager brewing has endured for 500 years.
🍺 Join the Brotherhood — Monthly brews, stories & monk wisdom
Subscribe for exclusive recipes, early brew logs, and behind-the-scenes updates straight to your inbox.