
Why Porter Matters: The Heritage Revival of 2026
Porter isn’t trendy—it’s timeless. Yet somehow, in the rush toward hazy IPAs and experimental sours, this legendary dark ale got sidelined. But something’s shifted in 2026. Homebrewers everywhere are rediscovering what their ancestors knew: a well-crafted porter is pure alchemy. Rich chocolate, subtle smokiness, clean fermentation, balanced bitterness. It’s honest beer, brewed with intention.
I came to porter late in my brewing journey. After years chasing hop-forward intensity, I found myself craving something deeper—beer that told a story through its malts. That’s when I understood why barrel-aged stouts and porters have such devoted followers. This beer style rewards patience, skill, and precision. And it’s surprisingly achievable at home.
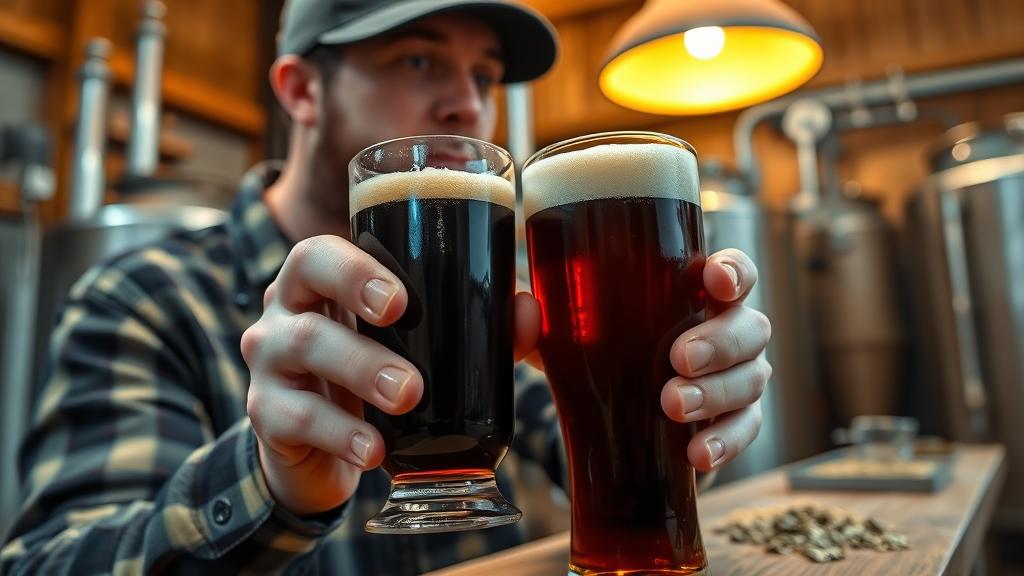
The History: From London Docks to Your Garage
Porter emerged in 18th-century London—specifically, among dock workers (“porters”) who favoured a dark, robust ale. Brewers began crafting specifically for this working-class market, and what emerged was genius: a beer that combined strength with drinkability, roastiness with balance. London became the epicentre of porter production.
The style nearly died in the 20th century. Industrial brewing abandoned nuance for efficiency. Then, in the 1970s, Fritz Maytag at Anchor Brewing in San Francisco resurrected the style with meticulous research and intent. His Anchor Porter became the modern standard—proof that heritage beer styles could thrive again. Today, homebrewers worldwide are following that same path, embracing historical techniques while using modern knowledge.
The monasteries of Europe have their own porter legacy too. Benedictine monks developed variations emphasising alcohol content and longevity. In a way, I’m channelling that monastic patience when I let a porter condition for three months before the first taste.
Ingredients & Equipment: The Foundation of Mastery
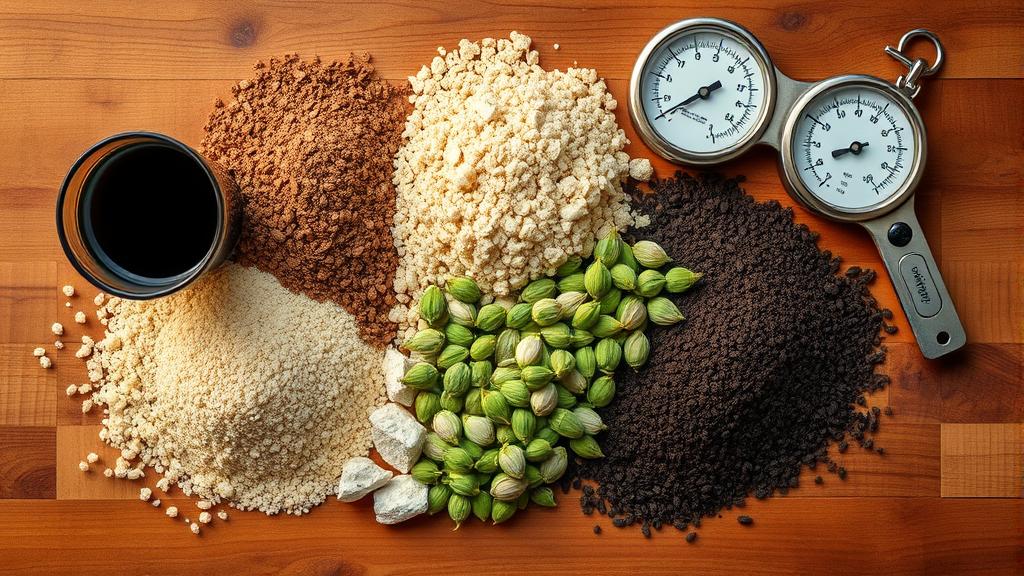
Porter is all about malt. Unlike IPAs, where hops steal the show, porter lives or dies by grain choices. Here’s what you’ll need for a solid 5-gallon (23-litre) batch:
Malts (essential):
- Pale malt: 60% (foundation malt)
- Munich malt or brown malt: 15-20% (body and complexity)
- Chocolate malt: 5-10% (roasted character, 350-400 EBC)
- Black malt or roasted barley: 3-5% (depth and bitterness)
The key is balance. Too much black malt and you’ll get acrid, burnt flavours. Too little chocolate malt and the beer becomes thin, lacking character. This is where precision matters.
Hops: Cascade, Goldings, or East Kent Goldings. You’re not chasing citrus—aim for 25-35 IBU total. A 60-minute bittering addition and perhaps a small 15-minute addition for flavour complexity.
Yeast: British ale yeast (like Wyeast 1968 or SafAle S-04) works beautifully. These strains bring a slight estery quality that complements the roasted malts.
Water: Aim for slightly elevated sulfate levels (80-150 ppm)—it enhances the dry finish and balances the richness of dark malts.
Brew Day: Step-by-Step
Here’s where craft meets consistency. I treat porter brew days as ceremonial—there’s something ritualistic about the process.
- Mash: Heat your water to 65–67°C (150–152°F). Add grains and rest for 60 minutes at 65°C. If you’re using brown or chocolate malt, consider a brief step mash at 55°C (131°F) to develop fuller body.
- Sparge: Slowly run off the wort, collecting at least 30 litres (6.6 US gallons) for 23 litres (5 US gallons) finished beer, accounting for boil-off.
- Boil: Start the 60-minute boil. Add bittering hops at 60 minutes remaining. At 15 minutes remaining, add a small secondary hop charge (maybe 10g Cascade) for subtle complexity. No late floral additions—keep it restrained.
- Chill: Cool to 20°C (68°F) rapidly. I use an immersion chiller; it typically takes 30 minutes.
- Pitch: Aerate well (cold racking through a funnel works; so does shaking the carboy for 2 minutes). Pitch your yeast at 20–22°C (68–72°F).

You’ll notice the wort is already a deep brown—that’s normal. The aroma is toasted, biscuity. Take a moment here. This is what mastery smells like.
Fermentation & Conditioning: Patience is a Virtue
Here’s where monastic wisdom truly applies. Porter benefits enormously from time.
Active fermentation: British ale yeast ferments actively at 18–20°C (64–68°F) for 5–7 days. You’ll see vigorous airlock activity. Let it happen. After 7 days, the primary activity drops. Leave it another week in the fermenter—this “secondary” rest allows the yeast to clean up off-flavours and settle.
Conditioning: Transfer to a clean secondary or bottle. This is crucial: bottle at 1.010 SG or lower. If you’re kegging, I recommend 2 weeks of cold conditioning at 2°C (35°F) before serving. If bottling, prime with 100-125g (3.5–4.5 oz) of dextrose per 23 litres and condition in bottles for a minimum of 4 weeks at 15–18°C (59–64°F).
I know four weeks sounds long. But here’s the magic: during that time, the beer integrates. Sharp edges soften. Chocolate flavours deepen. The beer becomes what it’s meant to be. This is where pressure fermentation techniques can actually shine—they mature the beer more rapidly if you’re impatient.
Tasting Notes: Reading the Beer
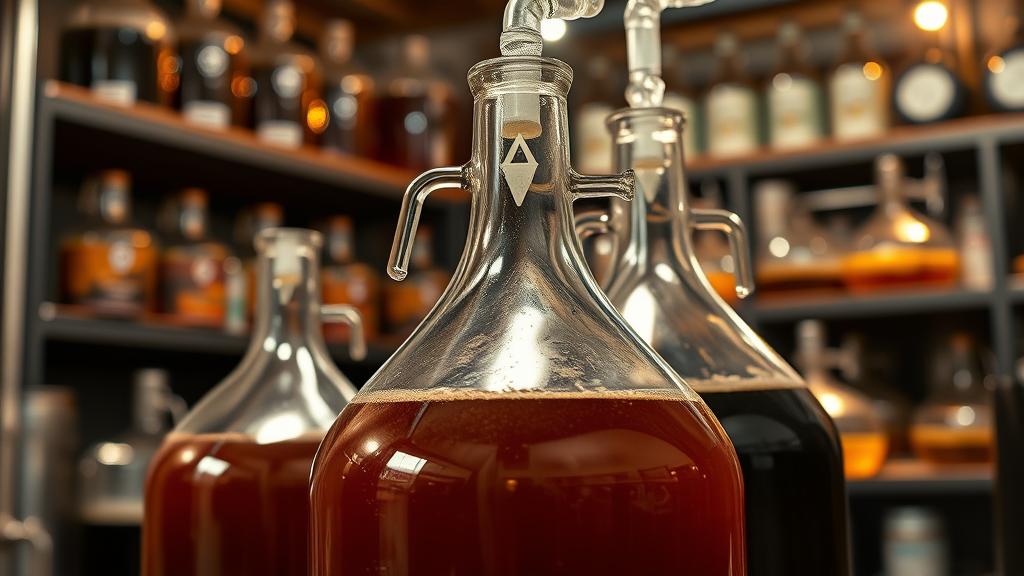
On first pour, my latest porter was nearly opaque—a deep mahogany-brown when held to light, with a thick tan head. That head stuck around, which is a good sign of proper head retention.
Aroma: I got chocolate cake, subtle coffee, a hint of toasted bread crust. No harshness, no smoke (unless you’ve added smoked malt). The nose is inviting, not aggressive.
Taste: Clean, rich malt sweetness upfront, followed by chocolate and caramel notes. Mid-palate is dry and slightly bitter from the black malt. Finish is dry, clean, with lingering chocolate. Mouthfeel is full-bodied but not heavy. Alcohol (about 6.5% ABV) is completely integrated—you don’t taste it burning.
Context: This is beer that pairs with food. Dark bread, cured meats, oysters, chocolate desserts. It’s also beer you sip slowly, contemplatively. No gulping porter.
Pro Tips & Common Mistakes
Mistake 1: Over-roasted character
Using too much black malt (more than 6% of the grain bill) or mashing too hot creates acrid, burnt notes. Start conservative. You can always add more next time.
Mistake 2: Insufficient bitterness
Porter needs balanced bitterness (25–35 IBU minimum) to prevent the beer tasting cloying. Don’t skip the bittering charge.
Mistake 3: Rushing conditioning
I’ve drunk four-week porters. They’re decent. Twelve-week porters? Transcendent. The wait matters.
Pro tip 1: Water chemistry
A slight sulfate profile (80–120 ppm) enhances the dry finish and prevents the beer tasting too sweet. Check your local water report or adjust with a few grams of gypsum.
Pro tip 2: Blending
Some homebrewers mash a pale ale (45% pale, 10% Munich) and a “porter grist” (60% pale, 20% Munich, 15% chocolate, 5% black) separately, then blend. This gives precise control over darkness and smoothness.
Pro tip 3: Age in oak (advanced)
If you’re feeling ambitious, barrel-aged porter is exceptional. Even a few months on oak cubes transforms the beer into something special.
Variations & Next-Level Experiments
Once you’ve nailed the base recipe, porter is endlessly adaptable.
Chocolate Porter: Add 100g of unsweetened cocoa powder (or cocoa nibs) in the last 5 minutes of the boil. Stir in secondary. The result is silky, genuinely chocolatey.
Smoked Porter: Substitute 10% of your pale malt with smoked malt (rauchbier style). Subtle but transformative—think barbecue and campfire.
Porter with Bourbon: After conditioning, age on bourbon oak for 2–3 months. The vanilla and oak integrate beautifully with the roasted character.
Baltic Porter: Increase alcohol to 7–8% by adding a touch more pale malt, and ferment cooler (15°C / 59°F) with a lager yeast. It’s a lager-porter hybrid—crisp, clean, stronger.
I’ve found that hybrid fermentation approaches work surprisingly well with porter, especially if you’re experimenting with split-batch brewing.
Conclusion: Mastery Through Repetition
Porter mastery isn’t about complexity—it’s about precision. A well-brewed porter proves that great beer emerges from respecting grain, patience, and balance. It’s the beer that separates casual homebrewers from craftspeople.
Start with the base recipe I’ve outlined. Brew it twice. Note what worked, what could improve. The third batch will reveal what you’ve learned. By the fifth, you’ll have something genuinely special—beer that reflects your skill and intention.

That’s the monastic approach. Deliberate, repeated, refined. It’s how we became better brewers, and it’s how you will too.
🍺 Join the Brotherhood — Monthly brews, stories & monk wisdom
Subscribe for exclusive recipes, early brew logs, and behind-the-scenes updates straight to your inbox.

