
Why Fruited Session Sours Are the Trend Homebrewers Need Now
If you’ve been following the craft beer world in 2026, you’ve noticed something shifting. After years of chasing bigger ABVs, sweeter flavours, and endless hype drops, drinkers are getting tired. They want beers they can actually enjoy—multiple pints in an evening, without wrecking the next morning. Enter fruited session sours: the sweet spot between serious brewing and summer drinkability.
Fruited session sours sit at the intersection of three major trends: low-ABV drinking (around 3–4.5%), souring techniques (lactobacillus and wild fermentation), and flavour-forward fruit additions. These aren’t wimpy beers. They’re complex, tart, vibrant, and genuinely fun—without the 8% ABV payload. If you’re looking for your next homebrewing project that’ll impress people and feel relevant in 2026, this is it.
What Makes a Session Sour Different?
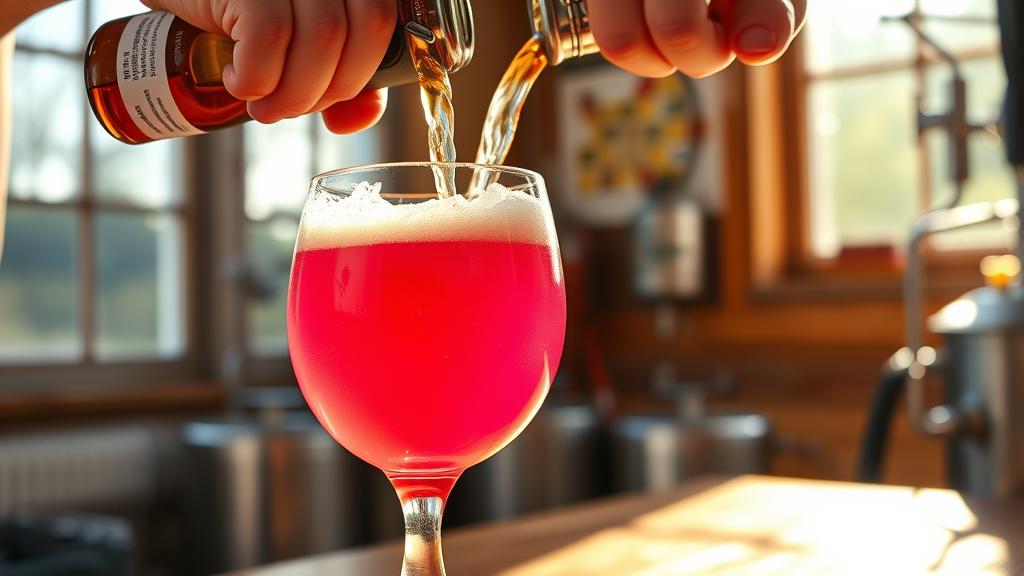
A “session” beer traditionally means lower alcohol (under 5% ABV) and easy drinkability. A “sour” beer is one where lactobacillus, wild yeast, or acetic acid bacteria has been deliberately introduced to create tartness. Combine them, add fruit, and you’ve got a beer that’s refreshing, tart, fruity, and approachable—but still interesting enough to reward careful sipping.
The session sour sits somewhere between a Berliner Weisse (pale, light, tart, around 3% ABV) and a modern fruited sour. Unlike heavy fruited sours that can feel like drinking dessert, session sours use fruit to complement tartness rather than mask it. A raspberry session sour doesn’t taste like raspberry syrup; it tastes like sour beer that happens to have raspberry notes woven through. This balance is what makes them so addictive.
What’s more, they’re surprisingly forgiving to brew at home. You don’t need a coolship or years of wild fermentation experience. A simple kettle sour method—which we’ll cover below—can produce excellent results in a matter of weeks. The BJCP style guidelines are your reference for what makes a proper sour—and session sours sit comfortably in that framework.
Ingredients & Equipment: What You’ll Need
For a 20-litre (5.3 US gal) batch, here’s what to gather:
- Base malt: Pale malt (Maris Otter or similar), around 2–2.5 kg. You want a clean, neutral base so the fruit and sourness can shine.
- Specialty malt (optional): A touch of wheat malt (250–500g) adds body and aids head retention without muddying the flavour.
- Hops: Minimal bittering (just enough for balance), around 15–20 IBU. Use noble or low-alpha hops: Saaz, Hallertau, or Tettnang. Skip any aromatic additions; the fruit is your flavour.
- Lactobacillus culture: Wyeast 5335 or White Labs WLP677. These are the souring workhorses and much more reliable than wild fermentation for beginners. Get them from a specialist retailer like The Malt Miller, which stocks quality yeast strains and supplies.
- Ale yeast: A neutral strain like Wyeast 1056 (California Ale) or White Labs WLP001 (California Ale). You want clean fermentation, not a lot of esters.
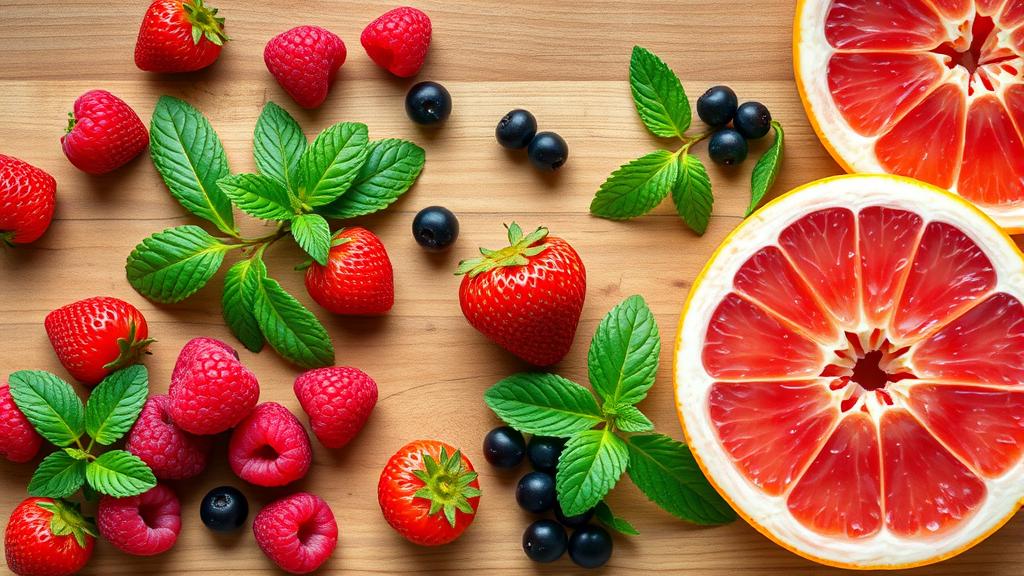
- Fresh fruit: Raspberries, blackcurrants, strawberries, sour cherries—whatever’s in season and available. Aim for 500 g–1 kg per 20 litres, depending on fruit intensity you want. Local farm shops often have better prices than supermarkets.
- Equipment: Standard homebrewing kit. A stainless steel kettle, fermenter (glass carboy or plastic bucket), airlock, hydrometer, thermometer. For fruit addition, a fine mesh bag helps contain solids.
The Brew Day: Step by Step
Step 1: Mash & Sparge (as normal)
Mash your pale malt at 65–66°C for 60 minutes. This produces a beer with lower body and higher fermentability—perfect for a light, dry session beer. Sparge and collect around 30 litres of wort.
Step 2: The Boil (keep it short)
Boil for 60 minutes. Add a small bittering charge at the start (around 10–15 g of Saaz or Hallertau for 20 IBU). Don’t add any more hops. Boil times longer than necessary can drive off delicate fruit notes later, so keep this efficient.
Cool to around 50°C and transfer to your fermenter.
Step 3: Souring (the key step)
This is where the magic starts. Pitch your Lactobacillus culture and cover the fermenter loosely (cloth or foil, not an airlock—lactobacilli prefer oxygen). Keep the temperature around 20–22°C.
The bacteria will slowly sour the wort over 2–5 days. You’ll smell it before you see results: vinegary, slightly funky (this is normal). Once you taste a gentle tartness (around pH 3.5–3.8, which you can check with pH strips), you’re ready to move on. This usually takes 3–4 days.
Step 4: Heat Treatment (optional but recommended)
To halt the souring and prevent unwanted acetic acid bacteria from taking over, gently heat the wort to 65–68°C for 10 minutes. This kills the Lactobacillus without pasteurising everything. Cool back to around 18–20°C.
Step 5: Primary Fermentation with Ale Yeast
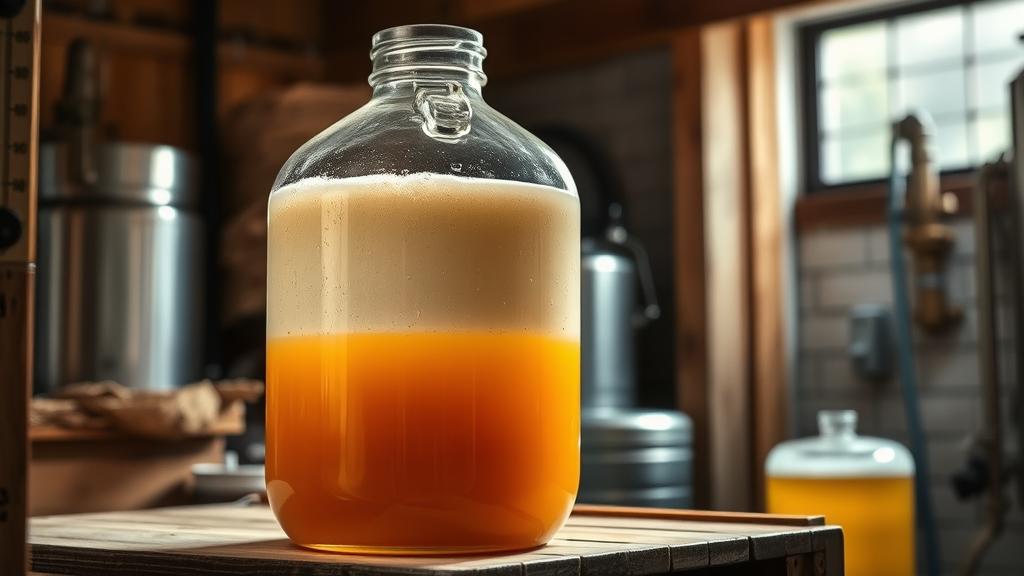
Now pitch your ale yeast. The soured wort will ferment quickly and cleanly. Ferment at 18–20°C for 7–10 days until gravity is stable. You’re aiming for around 1.010 or drier, which gives you that dry, refreshing finish.
Step 6: Fruit Addition
Once primary fermentation is complete (and gravity is stable), add your fruit. If using fresh fruit, sanitise it thoroughly (potassium metabisulfite solution works; avoid boiling, which breaks down fruit). Puree or roughly chop the fruit and add to the fermenter in a fine mesh bag. This keeps the fruit manageable when you bottle.
For 20 litres, 750 g of fruit is a good starting point. Taste after 3–4 days of contact and remove the fruit when the flavour is balanced—not too subtle, not overwhelming. Usually this takes a week.

Fermentation & Conditioning
After fruit contact, rack the beer into a secondary fermenter or bottling bucket, leaving behind as much fruit sludge as possible. You’re now ready to bottle.
For carbonation, add 3.5 g/litre of priming sugar (or calculate for the exact volume). This gives you around 2.2–2.4 volumes of CO₂—slightly lower than a standard ale, which keeps the beer crisp and prevents the carbonation from overwhelming the delicate fruit and sour notes.
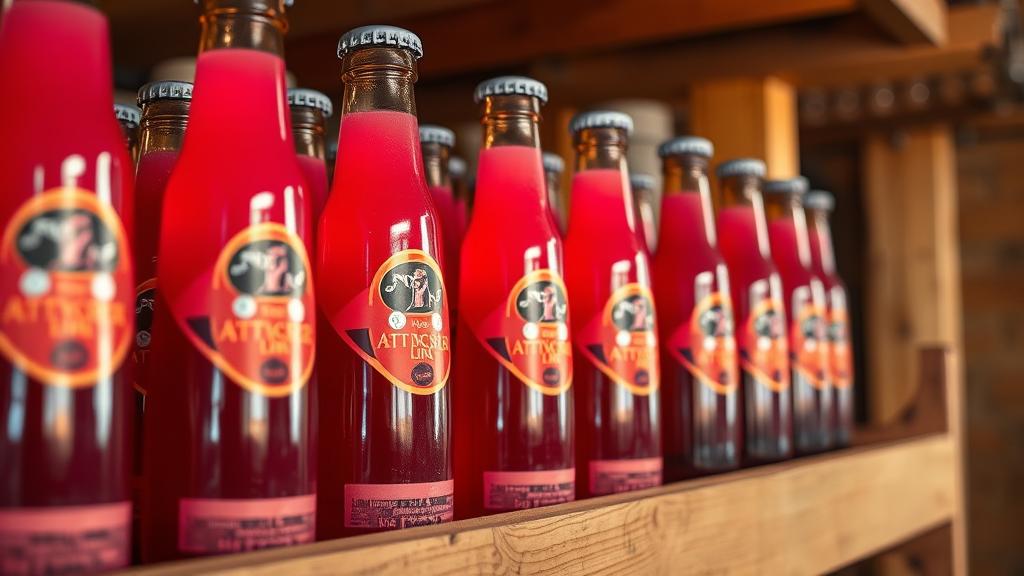
Bottle and store at around 15–18°C for 2–3 weeks while carbonation develops. These beers mature quickly; you can drink them from week 3 onward, but they’ll peak around weeks 4–6. Unlike heavier beers, session sours don’t need long aging.
Tasting Notes & What You’re Aiming For
A well-executed fruited session sour should have:
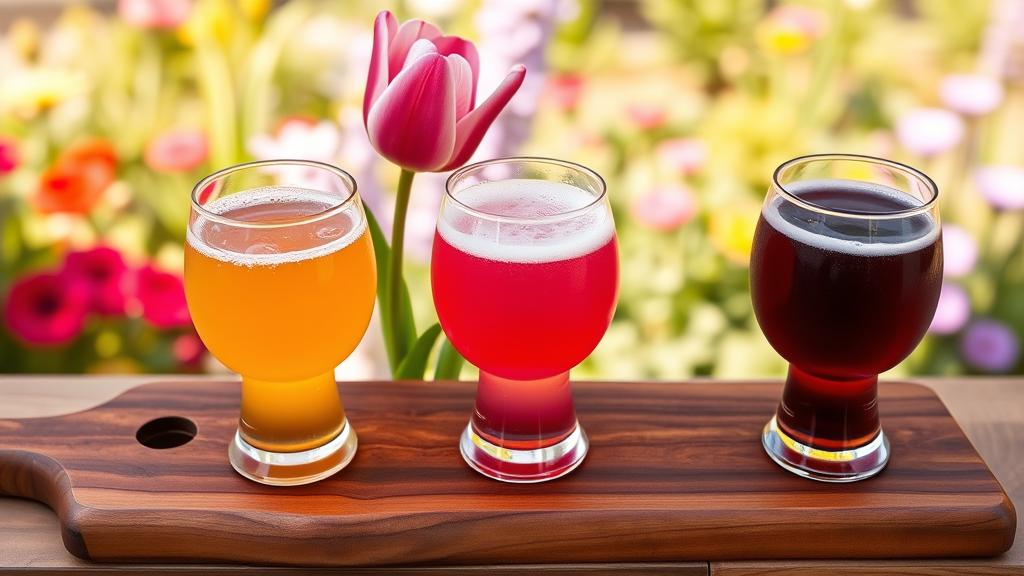
- Appearance: Bright, clear (or slightly hazy from fruit particles), with a vibrant colour that reflects the fruit used. Pale pink for strawberry, deep purple for blackcurrant, coral-orange for stone fruits.
- Aroma: Gentle fruit forward, with a subtle vinegar/funky note in the background. Not vinegary—that’s acetic acid, which means something went wrong. Should smell like sour berry, not spoiled.
- Taste: A clean, tart entry (not harsh or mouth-puckeringly sour). The fruit blooms mid-palate, followed by a dry, crisp finish. Complexity from the souring process should be noticeable—not just fruit juice, but genuine beer flavour underneath.
- Mouthfeel: Light to medium body. Crisp carbonation (not flat, not gushing). The tartness should feel refreshing, not punishing.
- ABV: 3.5–4.5%, which is exactly what you want for multiple rounds.
Pro Tips & Common Mistakes
Mistake 1: Too much fruit too quickly
It’s tempting to dump a kilo of raspberries into your fermenter. Don’t. Start conservative (500–750 g for 20 litres) and you can always add more in the next batch. Too much fruit muddies the sour character and makes the beer cloying.
Mistake 2: Skipping the heat treatment
If you don’t stop the souring process (via heat or a preservative), acetic acid bacteria may take over during the ale yeast phase, turning your beer into vinegar. It’s rare but preventable with a simple 10-minute pasteurisation step. The HomeBrewTalk forums have excellent threads from brewers who’ve learned this the hard way—worth reading before your first batch.
Mistake 3: Using poor-quality fruit
Supermarket fruit is often picked unripe and lacks the complexity you want. Local farm shops, farmers’ markets, or you-pick orchards give you berries with real character. The fruit flavour is the entire point of this beer—invest here.
Mistake 4: Overstuffing with hops**
This isn’t an IPA. Zero bittering and zero aroma hops mean the fruit and sourness stay front and centre. A little bittering keeps the beer balanced, but aromatic hops will clash with the tartness.
Pro Tip 1: Experiment with blends
Strawberry alone is nice. Strawberry + raspberry + a touch of blackcurrant is unforgettable. Try splitting your 20-litre batch into smaller fermenters with different fruit combinations once you’re comfortable with the basic process. Geterbrewed has excellent fresh fruit options sourced specifically for brewing, which makes testing fruit combinations much easier.
Pro Tip 2: Age on fruit in secondary**
Instead of adding fruit directly to primary fermentation, rack to secondary first, then add fruit there. This gives you cleaner separation from yeast sediment and lets you taste and adjust fruit contact time without yeast cloudiness getting in the way.
Variations & Next-Level Experiments
Once you’ve nailed the basics, here are some directions to explore:
- Herbal additions: Try adding a small handful of fresh mint, basil, or elderflower at the fruit stage. These add complexity without overpowering.
- Sour cherry + thyme: This combination has Benedictine monastery vibes. Rich, herbal, tart.
- Hibiscus session sour: Dry hibiscus flowers (50–75 g) add tartness and a deep ruby colour. Partner with raspberry or strawberry.
- Grapefruit & verbena: Zest fresh grapefruit and steep it with lemon verbena. Bright, bitter-tart balance.
- Coconut milk addition: In the bottling bucket, add 200 ml of unsweetened coconut milk for a creamy, tropical twist. Pairs beautifully with pineapple fruit.
If you’re interested in wild fermentation without the risk, check out our guide to wild fermentation techniques, which covers spontaneous yeast capture in more detail. For deeper souring knowledge, functional fermentation methods explore how lactobacillus and other microbes can be deliberately cultivated. And if you want to combine session beers with food pairing, our summer ales guide covers matching low-ABV beers with meals.
The Takeaway: Session Sours Are Your New Summer Beer
Fruited session sours tick every box for 2026 homebrewing: they’re flavourful, accessible, drinkable, and fit the cultural shift toward moderation without compromise. You can brew your first batch in June and be tasting it by July. They’re forgiving enough for beginners but interesting enough to keep advancing brewers engaged.
The magic is in the balance: enough tartness to feel complex, enough fruit to feel indulgent, low enough ABV to be genuinely refreshing, but good enough brewing technique to feel like an achievement. This is the kind of beer that makes people say, “You made this? At home?” And yes, you did.
🍺 Join the Brotherhood — Monthly brews, stories & monk wisdom
Subscribe for exclusive recipes, early brew logs, and behind-the-scenes updates straight to your inbox.

