
There’s something magical about breaking conventions in the home brewery. For years, I dutifully followed the traditional sour beer playbook: wild yeasts, months of waiting, fingers crossed for contamination that tasted good instead of like a science experiment gone wrong.
Then I discovered kettle souring—and more specifically, the wild trend sweeping through craft beer in 2026: savoury, vegetable-infused sours that taste like you’ve brewed liquid complexity in five days instead of five months.
Pickle sours, cucumber ales, and herb-forward sours have exploded in popularity, from Garage Project’s legendary Pickle Beer to experimental homebrews across the UK. This year, sour beer isn’t the weird uncle at the party anymore—it’s the one everyone wants to talk to. And if you’re a homebrewer, kettle souring is the cheat code to getting there.
Here’s what I learned brewing my first batch, and how you can nail it too.
Why Kettle Sours Are Taking Over British Breweries in 2026
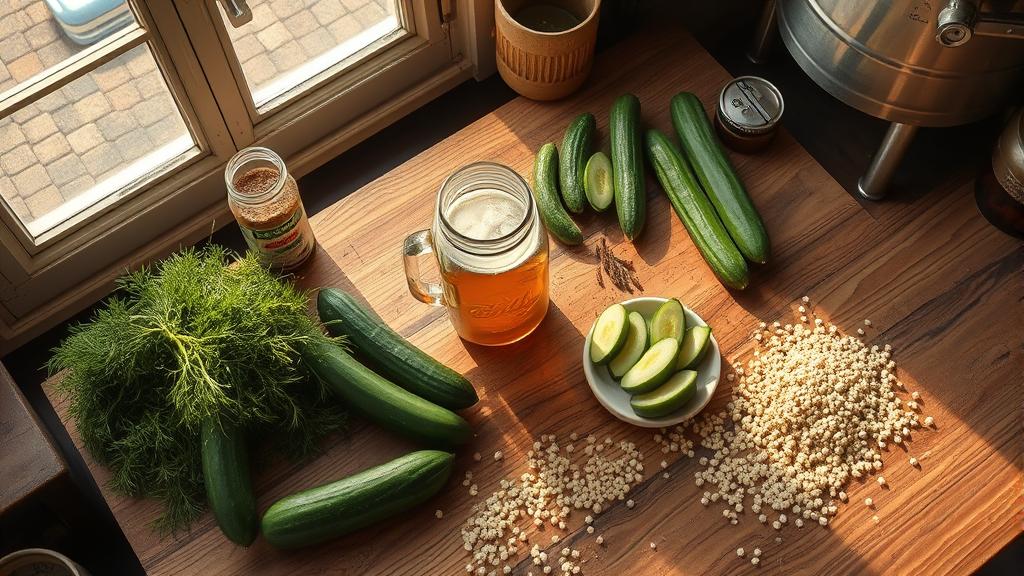
Kettle sours solve a genuine problem for homebrewers: the waiting game. Traditional wild fermentation is brilliant, but it requires patience, temperature control, and often results in unpredictable flavours that miss as often as they hit. Kettle souring uses lactobacillus bacteria to sour the wort in your brew kettle before boiling—a controlled, repeatable process that takes 24–72 hours instead of months.
The result? Clean, deliberate sour notes with none of the wild yeast gamble. Add fruit, vegetables, or herbs during conditioning, and you’ve got a unique beer that tastes like intentional craft, not accident.
In 2026, the trend has shifted from “sours are trendy” to “sours with unexpected flavours are what people crave.” Nostalgia plays a huge role—pickled vegetables, herb gardens, farmhouse cooking. Breweries are leaning into that storytelling hard. As a homebrewer, you’re perfectly positioned to explore this territory before it becomes mainstream.
What You’ll Need: Ingredients & Equipment
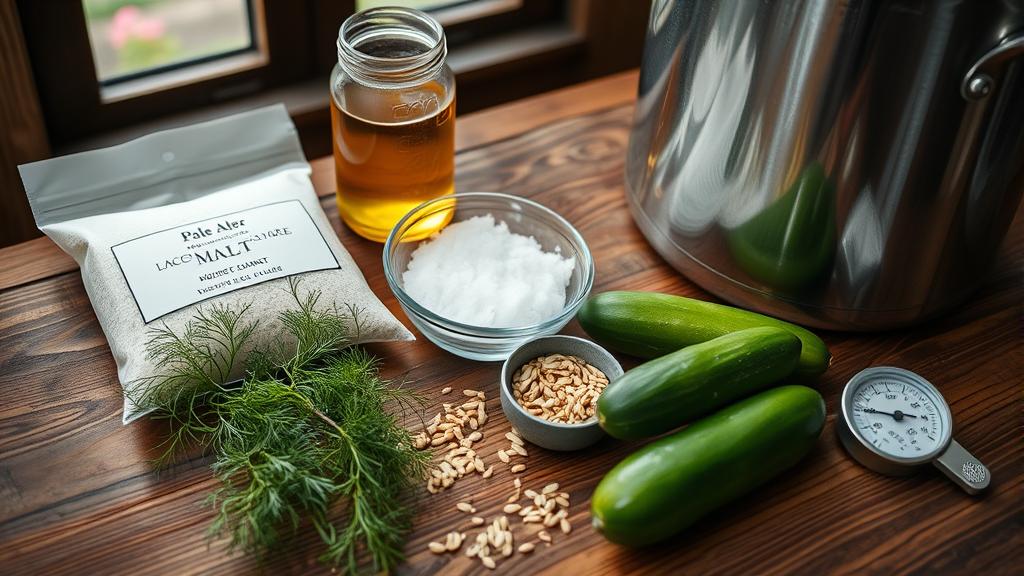
For the base beer: Start simple. A pale ale base works brilliantly. You’ll need 3–4 kg pale malt, 500g light crystal (optional), and a modest hop charge—nothing more than 20 IBU. You’re not making a bitter; you’re making a canvas.
For the souring: Buy a liquid lactobacillus culture from a reputable supplier like The Malt Miller or Get Er Brewed. I used White Labs Lacto, but Wyeast’s lactic bacteria culture works equally well. Avoid dry cultures unless you’re experienced—the viability is harder to predict.
For the flavour (pickle version): This is where it gets fun. You’ll want:
- 600–800g fresh English cucumbers (or Kirby pickling cucumbers if you can source them)
- 15–20g fresh dill (not dried—the difference is dramatic)
- 10g sea salt (for both the brine and the wort)
- 5g coriander seeds
- 2–3g black peppercorns
- Optional: 2–3g turmeric for warmth
Equipment: Your standard homebrew setup, plus a thermometer you trust (fermentation thermometer is worth the investment) and a pH meter or strips. A pH meter costs £20–30 and is essential for nailing the souring process—you want to hit 3.5–4.0 pH during the acid rest.
The Brew Day: From Grain to Sour
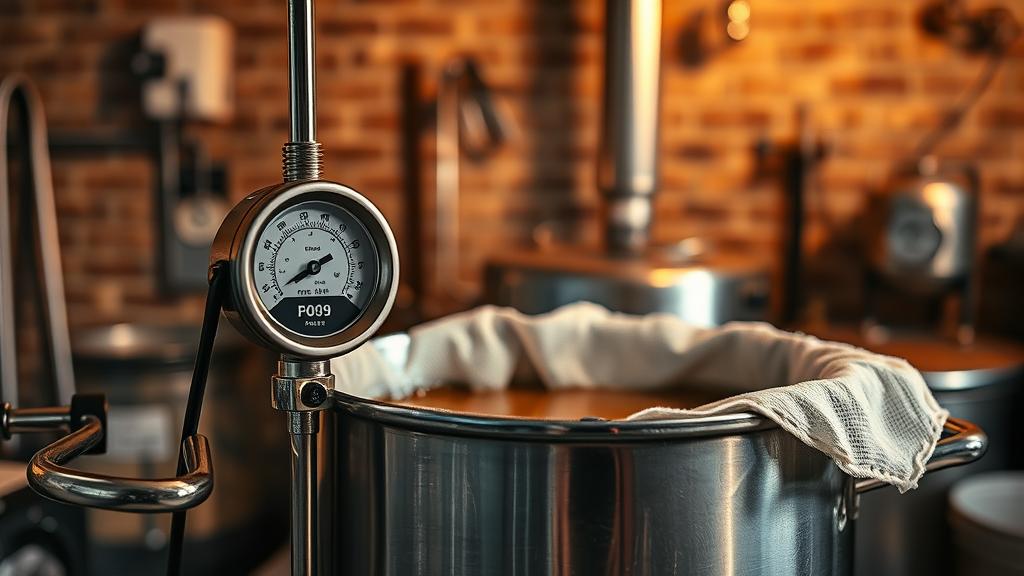
Follow your normal mash schedule. Aim for a mash-out of 68°C (154°F) and fly-sparge to collect approximately 30 litres of runoff. Your target original gravity should be around 1.050–1.055 for a pickle sour—rich enough to support the vegetable additions without becoming cloying.
Step 1: The Acid Rest
Here’s where kettle souring diverges from normal brewing. After runoff, you’ll not boil immediately. Instead:
- Chill your wort to 48–52°C (118–125°F)
- Pitch your lactobacillus culture—follow the packet rates (usually 100–200 billion cells per 23 litres)
- Cover the kettle with a clean cloth or loose foil (you want anaerobic conditions, but not completely sealed)
- Hold at 48–52°C for 24–72 hours, depending on how sour you want to go
- Check pH every 12 hours if possible. You’re aiming for 3.5–4.0
This is where the monk-like patience comes in. I spent two days watching my kettle sit in my garage, slightly warmed by a heating belt, while lactobacillus worked its ancient magic. There’s something profound about letting biology do the work instead of pushing buttons.
Step 2: The Boil
Once you hit your target pH (usually 3.5–4.0), boil for 60 minutes at full rolling boil to denature the lactobacillus and stop souring. Add your bittering hops only in the last 15 minutes—bitterness after souring can clash. A simple 60-minute infusion of 20–25g Goldings or East Kent Golding is perfect.
Step 3: Vegetable Additions
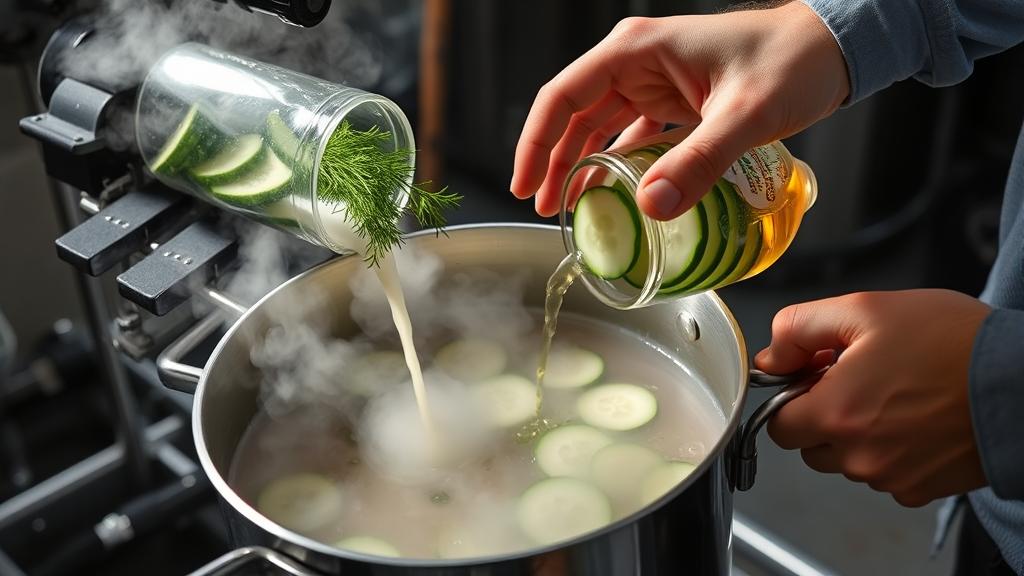
Here’s my learning: don’t boil the vegetables with the wort. It destroys the fresh, crisp character you’re after. Instead:
- After boil, cool to 70°C (158°F)
- Dice your cucumbers into 1–2 cm cubes
- Add all vegetable matter and spices directly to the hot wort
- Let steep for 15–20 minutes
- Cool to pitch temperature and strain out solids
The residual heat sterilises the vegetables without destroying their character. You’ll notice the smell change immediately—suddenly your brewery smells like a delicatessen, which is either brilliant or deeply wrong depending on your perspective.
Fermentation & Conditioning: Where Patience Pays Off
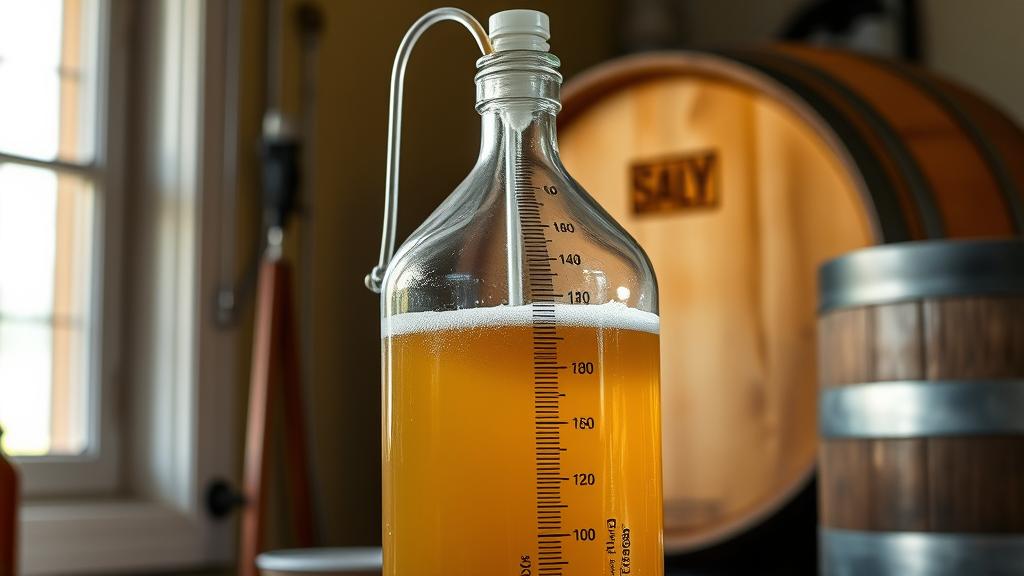
Pitch a neutral ale yeast—I used US-05, but Nottingham or even a house ale yeast works. The yeast’s job is to ferment cleanly; the souring character is already locked in from the acid rest.
Ferment at 18–20°C (64–68°F) for 7–10 days. You’ll see vigorous krausen within 12 hours. Let it finish naturally—these beers usually hit final gravity around 1.008–1.012.
Dry-hop conditioning (optional but recommended): Once primary fermentation is complete (check gravity on consecutive days to confirm), transfer to secondary and add a secondary vegetable charge if you want more intensity. I added an extra 200g diced cucumber and 5g fresh dill on day 7 of fermentation, left for 4 days, then cold-crashed and packaged.
This approach, echoed in guides from BJCP style documentation, gives you layered flavour complexity—the initial sour punch, then the vegetable notes building in the background.
Tasting Notes & My Honest Review

My first batch came out at 5.2% ABV, 1.050 OG, with a final gravity of 1.010. Carbonated to 2.2 volumes of CO₂, it poured a clear golden amber with a thin, persistent head.
Flavour profile: The first sip is bright, sharp sour (lime, green apple) without the funk or wildness of spontaneous fermentation. Then the cucumber and dill hit—crisp, herbaceous, almost pickle-juice-like in the best way. The salt rounds everything out. It’s savoury, crisp, and genuinely unlike anything you’d encounter in a commercial brewpub.
Honestly? It’s weird. It works brilliantly with food—oysters, cured fish, salted nuts, even sharp cheddar. But it’s polarising. My wife loved it. My mate Dave looked suspicious and drank water instead.
That’s the magic of kettle sours, though. They give you permission to be weird, to experiment, to fail spectacularly without losing three months of your life.
Pro Tips & Common Mistakes
The biggest mistake: Not hitting your souring temperature targets. Lactobacillus is fussy. Below 40°C (104°F) and it goes dormant. Above 55°C (131°F) and you’ll start killing it. Invest in a cheap heating belt and a temperature controller. It’s £40–60 and worth every penny.
The second mistake: Using tap water without understanding your minerals. Hard water tends to resist acidification. If you’re in London or the Southeast, your water is naturally chalky—it’ll buffer the acid rest. Acidify your sparge water with lactic acid powder if you struggle to hit pH targets.
Fresh is everything: Dried herbs taste like sadness. Fresh dill, fresh cucumber, fresh spices. The vegetable character is the entire point.
Don’t skip the boil: I tried skipping it on batch two (rushing, being careless). I ended up with a brett contamination that turned the beer vinegary. The boil denatures unwanted microbes. Never skip it.
Taking It Further: Variations Worth Exploring
Once you’ve nailed the pickle version, the world opens up. Try:
- Herb sours: Basil, tarragon, or lovage instead of dill. A completely different character.
- Brassica sours: Red cabbage, kale, even kimchi. This is where things get experimental and occasionally brilliant.
- Fruit-forward sours: Watermelon, strawberry, or even rhubarb. The sour foundation lets delicate fruit flavours shine without the one-dimensional candy notes of fruit lambics.
- Spiced sours: Turmeric and black pepper, cardamom and ginger. Reference HomeBrewTalk forums for inspiration—the community has 15+ years of documented experiments here.
Each opens doors. Each teaches you something about how acid, fermentation, and imagination interact.
A Brief Word on Chemistry & Confidence
Kettle souring feels like advanced brewing, but it’s genuinely not. It’s more forgiving than traditional wild fermentation, more reproducible than barrel-aging. Hometown Brewing’s kettle sour guides are solid if you want deeper dives into pH mechanics and bacterial biology.
But honestly? Don’t overthink it. The beer doesn’t care about your thesis on lactobacillus. It cares that you showed up, paid attention, and gave it what it needed. That’s brewing in its purest form.
Conclusion: Sour Is No Longer the Exception
In 2026, sour beer has crossed a threshold. It’s not trendy anymore—it’s normal. Another option on the menu. And if you’re a homebrewer, that’s your invitation to stop thinking of sours as intimidating and start thinking of them as a toolkit.
Kettle souring specifically gives you speed, control, and the freedom to experiment with flavours that traditional methods won’t let you touch. Pickle and dill might sound mad, but it’s the kind of mad that gets people talking, that creates memory, that reminds everyone why we brew at home in the first place.
Your first batch won’t be perfect. Mine wasn’t. But it’ll be yours, and it’ll be something no commercial brewery would ever dare put in a bottle. And that’s worth something.
🍺 Join the Brotherhood — Monthly brews, stories & monk wisdom
Subscribe for exclusive recipes, early brew logs, and behind-the-scenes updates straight to your inbox.

