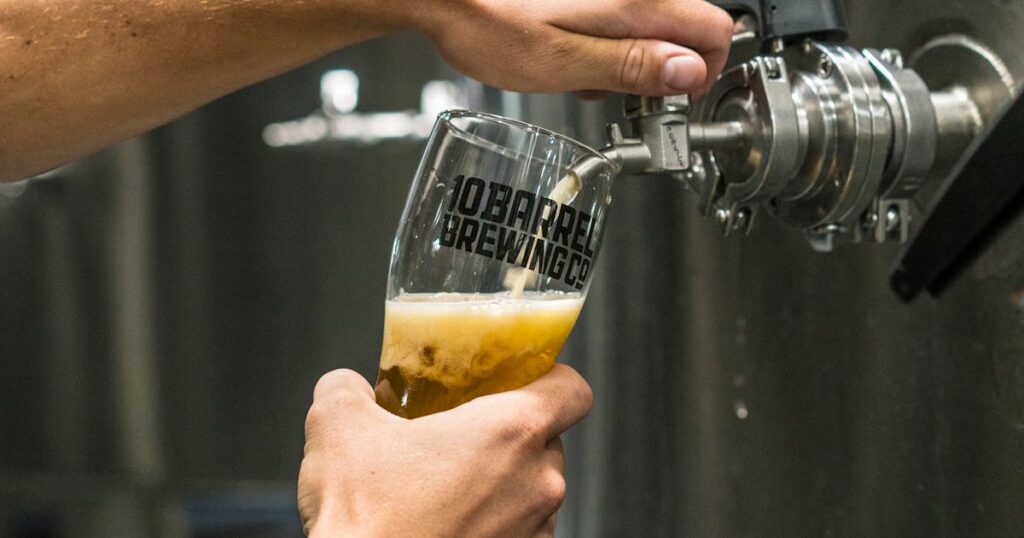
The craft beer world has a short memory. IPAs dominated the 2010s, spawned a thousand sub-styles, then got left for dead by the wellness wave and the lager Renaissance. But something’s shifted in 2026, and the bitterness is back—not as nostalgia, but as a proper revival. West Coast IPA, the granddaddy of American hop-forward brewing, is having a moment again. And for homebrewers, this is exactly the time to master it.
I’ve been thinking about this a lot lately. Brewing beer, like any craft, is cyclical. Trends come, they go, and five years later something old feels new again. West Coast IPA represents something pure about homebrewing: a style that rewards precision, patience, and hop knowledge without requiring you to spend six months on a single batch. It’s the anti-trend beer, which ironically makes it very much on-trend for 2026.
Why West Coast IPA Matters Right Now
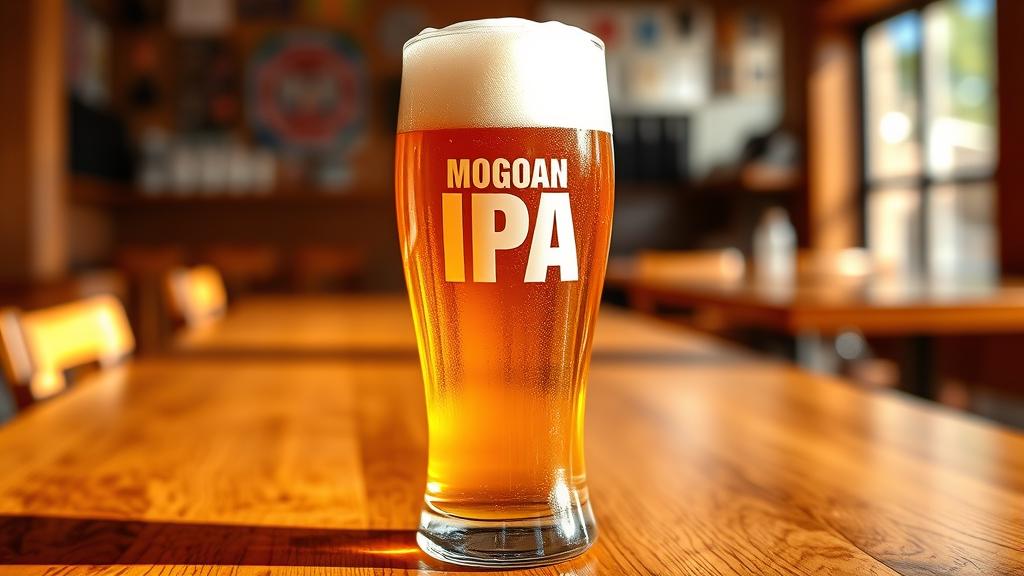
For about fifteen years, the industry told us hops were everything—so let’s just throw five types of hops at every stage and make it 80 IBUs. The backlash was predictable. Low-ABV beers, fruited sours, tropical fruit bombs, non-alcoholic everything. Nothing wrong with that trajectory, but it left a gap: a generation of drinkers who’ve never had a proper, well-balanced West Coast IPA with actual bittering depth.
West Coast IPA is defined by restraint. A focused grain bill (pale malt, maybe some crystal), clean bittering from Magnum or Horizon, and classic noble-ish hops—Cascade, Centennial, Amarillo. IBU-to-gravity ratio of roughly 1:1. A 6–7% ABV that lets the hops sing without bludgeoning your palate into submission. It’s honest beer.
What I find interesting is that this style actually sits at the intersection of two major 2026 trends: the lager revival (which is teaching brewers about water profiles and precision fermentation) and the return to classic, documented recipes. West Coast IPA benefits hugely from clean water, a neutral ale yeast, and consistency.
The Recipe: A Classic Framework
For a 20-litre (5.3 gallon) batch:
- Grain bill: 4.0 kg (8.8 lbs) Pale Malt, 0.2 kg (0.44 lbs) Carahell or Crystal 10 EBC
- Bittering: 13g Magnum @ 60 min (38 IBU)
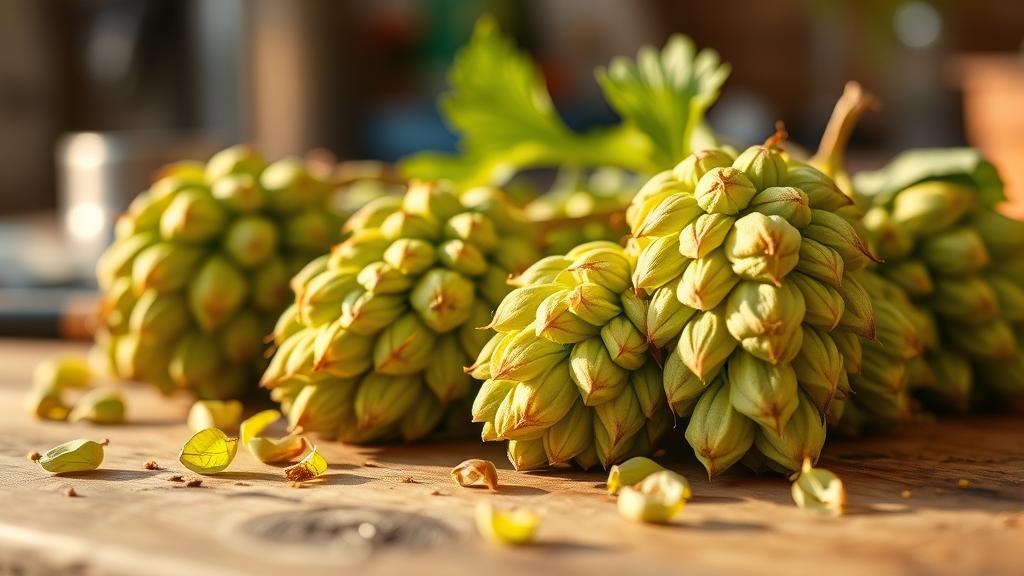
- Flavour/Aroma: 10g Cascade @ 15 min, 15g Centennial @ 5 min, 20g Amarillo @ flameout
- Dry hop: 15g Cascade + 15g Centennial, 7 days (no more—you want resin, not grassy oxidation)
- Yeast: Safale US-05 or White Labs WLP001 California Ale
- Target: OG 1.062, FG 1.010, 6.8% ABV, 42 IBU
This is a framework, not law. Adjust pale malt ratios for your local water chemistry. If you’re in Burton-on-Trent territory with higher sulphate content, you’ll naturally get more bittering and dryness—which is actually perfect for an IPA. If you’re in soft water areas, consider adding a pinch of gypsum (1–2 teaspoons per 20 litres) to bring out hop bitterness.
Brew Day: Technique Matters
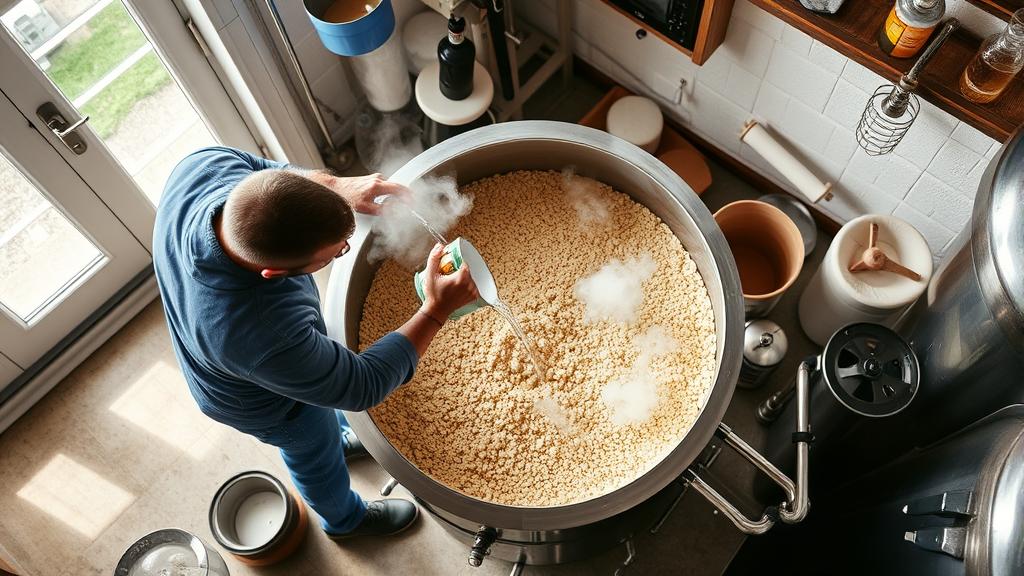
West Coast IPA demands cleanliness. This isn’t a style that hides rough fermentation profiles or hot alcohols.
Mashing: Single infusion mash at 65–66°C (149–151°F) for 60 minutes. This protein rest temperature will give you a clean, dry finish while retaining enough body to support the hops. Too high, and you’ll get a sweet, flabby beer that loses the bittering elegance.
Sparging: Batch sparge or fly sparge—your choice, but aim for efficient lautering. A slow, deliberate sparge keeps grain bed integrity and prevents astringent tannin extraction. Mash out at 76°C (169°F) if you’re doing fly sparge; it helps.
Boil: 60-minute boil is standard. A rolling, vigorous boil is important—you want good isomerisation of those bittering compounds. No wimpy simmers.
Hop additions: Magnum at 60 minutes is your workhorse bittering hop. It’s clean, refined, and won’t add any vegetal character. The 15-minute Cascade addition is pure flavour—you get herbal, slightly citrus notes without the floral grassiness you’d get from late aroma additions of that same hop. Centennial at 5 minutes bridges the gap between bittering and aroma. Amarillo at flameout (or whirlpool at 65°C / 150°F) gives you stone fruit, orange-rind aromatics without isomerising any new IBU’s.
Why not pellets and extracts? Whole cone hops will give you slightly better aroma integration, but pellets work fine if that’s what you’ve got. What matters is freshness and proper storage—buy from a reputable supplier like The Malt Miller, and use hops within 6 months of purchase, ideally vacuum-sealed or nitrogen-flushed.
Fermentation: Where it Gets Serious
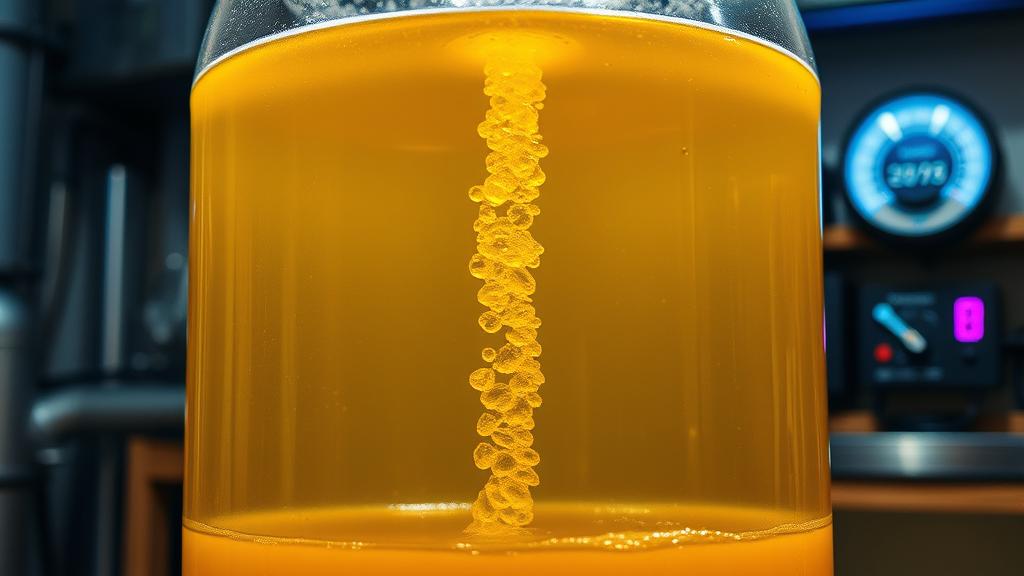
This is where so many homebrewers mess up West Coast IPA. You pitch into a murky starter at ambient temperature, or you let fermentation temperatures spike during the active phase, and suddenly your clean, crisp beer tastes like a fruit salad with hot alcohol notes.
Yeast management: Both US-05 and WLP001 are workhorses, but they’re not forgiving. Pitch at 18°C (64°F) with a proper starter (target cell count of 200 billion for a 1.062 OG beer). Maintain fermentation at 19–21°C (66–70°F) for the first week—this is your temperature window. If it creeps above 22°C, you’ll start getting fruity esters. If it drops below 18°C, the yeast gets sluggish and you risk a stuck fermentation.
Oxygen is your friend—for now: This beer was designed in an era before homebrewers obsessed over oxygen. A good aeration at pitching time helps—shake the carboy vigorously for 2 minutes, or use an aquarium pump and stone for 1 minute. The yeast loves it during the growth phase.
Fermentation timeline:
- Days 1–3: Vigorous fermentation, high krausen
- Days 4–7: Active but slowing fermentation, krausen dropping
- Days 8–12: Slow secondary fermentation, yeast cleanup (where acetaldehyde and other off-flavours are scrubbed out)
- Day 14: Check gravity. If it’s within 0.002 of your target FG, it’s done
Total fermentation time is typically 10–14 days. Don’t rush it. The cleanup phase is critical for this style—it’s what separates a sharp, clean IPA from a cidery disaster.
Dry Hopping: The Art of Timing
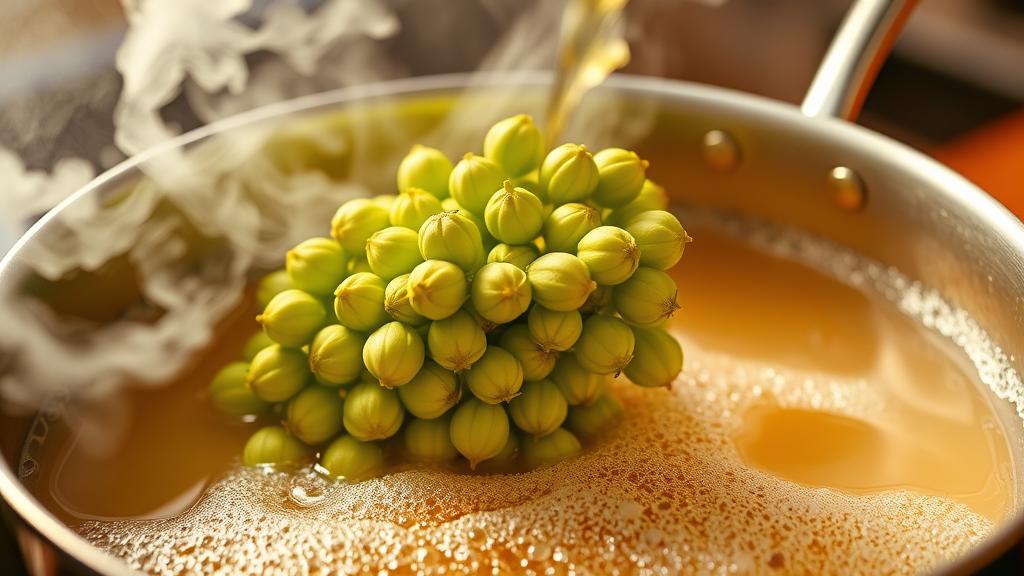
Dry hopping is where the magic happens, but also where many IPAs go wrong. Too long, and you get astringent, grassy, onion-like flavours. Too short, and you barely notice the hops.
For West Coast IPA, I add my dry hops at the tail end of fermentation—specifically around day 8–9, when the gravity is dropping below 1.020 but the yeast is still active. The activity helps circulate hops and prevents chlorophyll oxidation.
Dry hop protocol: Add your 15g Cascade + 15g Centennial in one shot (as a blend, not separately). Let it steep for exactly 7 days. Some brewers swear by 5 days; I find 7 is the sweet spot where you get full aroma without the grassiness creeping in. After 7 days, cold crash to 4°C (39°F) for 48 hours. This precipitates out the heavier hop matter and clarifies the beer.
A note on co2 management: If you’re dry hopping in a sealed fermenter (which I recommend for better aroma preservation), keep an eye on pressure. CO₂ naturally builds up from residual fermentation. If you notice a stuck fermentation or a pressure release valve opening spontaneously, gently crack the airlock to vent a bit of pressure. You want gentle circulation, not a pressure bomb.
Tasting Notes & What to Look For
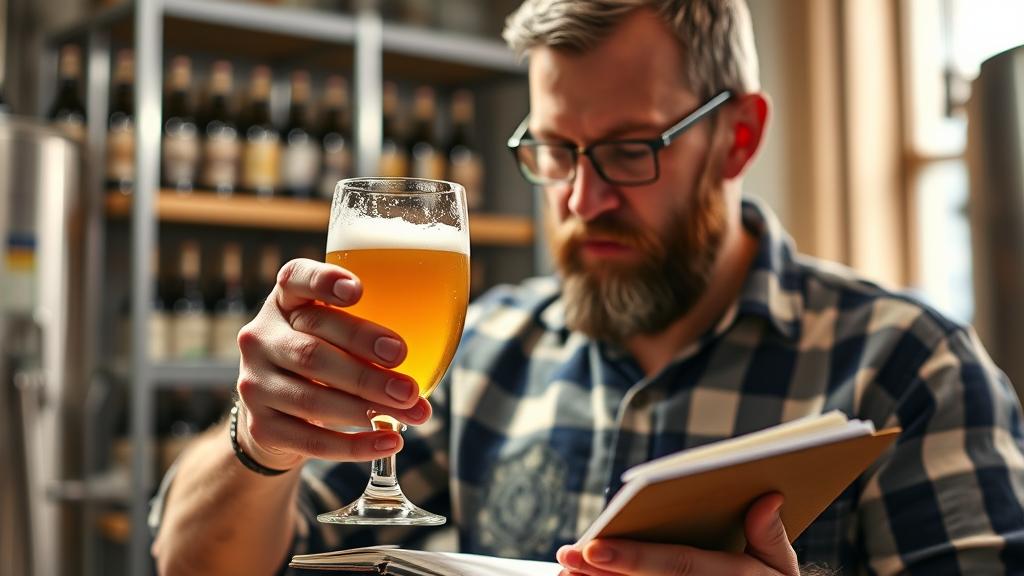
A proper West Coast IPA tastes like this:
Appearance: Clear to slightly hazy, golden amber to deep gold. White, stable foam head that lasts through the glass. If it’s cloudy murk, you probably didn’t cold crash or clarify properly.
Aroma: This is the story. You should smell Cascade first—herbal, slightly resiny, maybe a floral hint. Underneath that, Centennial and Amarillo come through with stone fruit (apricot, peach), citrus rind (orange, grapefruit), maybe a touch of pine. There should be a subtle grassy note, but nothing sharp or onion-like. If you’re smelling solvent, hot alcohol, or vinegar, something went wrong.
Taste: Clean malt baseline—pale, slightly sweet, maybe a touch of biscuit from the Carahell. The bittering comes through immediately and settles into a dry finish. It’s not aggressively bitter, more like a refined bitterness that keeps your palate engaged. The Cascade and Centennial hops provide a subtle herbal, citrus flavour that complements the bittering. Amarillo’s stone fruit character rounds it out. Finish should be dry, clean, with a lingering citrus and floral note from the dry hop.
Mouthfeel: Medium body (1.062 OG should give you decent body), crisp carbonation (2.5–2.7 volumes CO₂), and a clean alcohol warmth at 6.8% ABV—noticeable but not hot.
If you taste fruit esters (banana, pear), acetaldehyde (green apple), or oxidation (papery, cardboard), you’ve learned something. Comparative tasting against a commercial West Coast IPA (Sierra Nevada, Great Lakes IPA, or Anderson Valley Boont Amber) will teach you what you’re aiming for.
Pro Tips & Common Mistakes
Mistake 1: “I’ll just add more IBUs to make it bitter.” West Coast IPA is about balance, not bluntness. 38–42 IBU is the range. More than that, and you lose the hop flavour complexity because bitterness swamps it.
Mistake 2: “Dry hopping for 14 days will be more hoppy!” Nope. Longer isn’t better. Stick to 7 days, then get them out. Oxidation is the enemy of hop aroma.
Mistake 3: “Temperature control is for lager brewers.” West Coast IPA disagrees. A 5°C swing in fermentation temperature turns this into a fruity mess. Get a temperature controller (£30–50) if you don’t have one.
Mistake 4: “I’ll use old hops because it’s just IPA.” This style lives and dies by hop freshness. If your hops are from 2024 or earlier, they’ve lost 30% of their alpha acids and most of their aroma compounds. Use fresh hops or don’t brew it.
Pro tip: Yeast management. If you’re going to brew West Coast IPA regularly, build up a house strain of US-05 or WLP001. Save yeast slurry from each batch, keep it under a thin layer of sterile water in the fridge, and pitch from it the next time. After 5–6 generations, retire it and start fresh. This teaches you how yeast character evolves and saves you £10 per pitch.
Pro tip: Hop combinations. Cascade and Centennial are the classic pairing, but if one isn’t available, here are swaps: Cascade ↔ Willamette (more herbal, less citrus) or Challenger (more refined bittering). Centennial ↔ Summit (sharper, higher alpha acids) or Ahtanum (similar profile, slightly more floral).
Variations & Next Steps
Once you’ve nailed the base recipe, there’s room for experimentation:
- Imperial West Coast IPA: Bump OG to 1.080, add 20% more malt and hops proportionally. Magnum bittering stays at 13g (ratio shifts, but it works). Now you’re looking at 8.5% ABV, more body, longer ageing potential. This is where the style can improve with 6 months of bottle age.
- Rye IPA variant: Replace 10% of pale malt with rye malt. Rye adds a peppery, slightly dry character that intensifies the Cascade’s herbal notes. Works brilliantly.
- Different water profile: Brew two batches—one with your natural water, one adjusted to Burton profile (adding gypsum and a touch of chalk). Compare. Your local water chemistry is half the terroir of your beer.
Why This Matters in 2026
We’re at an inflection point. For a decade, beer culture rewarded novelty—more hops, more fruit, more everything. Fatigue set in. Now, what’s novel is restraint. A beer that knows what it is, executes one thing brilliantly, and doesn’t apologise for it.
West Coast IPA is a gateway back to hobbies that prioritise skill over trends. It’s a beer that rewards you for understanding water chemistry, fermentation management, hop freshness, and sensory analysis. You can’t phone this in.
That’s why it’s back. Not as a nostalgic callback, but as a proper revival. And if you’re a homebrewer in 2026, this is exactly the time to master it. Your taste buds will thank you.
🍺 Join the Brotherhood — Monthly brews, stories & monk wisdom
Subscribe for exclusive recipes, early brew logs, and behind-the-scenes updates straight to your inbox.