
Mid-Strength Alchemy: Brewing Perfect Balance at Home
There’s a curious thing happening in British breweries and home setups alike. Between the featherweight session ales and the full-bodied beers we’ve been obsessed with for a decade, a new equilibrium is emerging. Mid-strength beer—roughly 3.5 to 3.8% ABV—is having a genuine moment. It’s not a trend chasing novelty; it’s the pendulum swinging back toward something sensible.
I’ve been brewing for nearly five years, and I’ve watched the conversation shift dramatically. Early on, it was all about extreme IPAs, imperial stouts, and barrel-aged whatever. Then came the low-ABV revolution—necessary, brilliant, but sometimes feeling like a compromise. Now? The 3.5% sweet spot is where the real alchemy happens. You get flavour without the evening-ending heaviness. You get sessionability without sacrificing character. It’s become my favourite thing to brew, and honestly, it might be yours too.
Why Mid-Strength is the 2026 Goldilocks Beer
The statistics are worth noting. According to research from the British Beer and Pub Association via CAMRA, the no- and low-ABV segment has exploded—750% growth since 2013—but something curious is happening within that trend. The sweet spot isn’t the sub-3% micro-beers anymore. It’s the middle ground: 3.5 to 3.8% ABV.
Why? Because this range captures something powerful: you can drink an evening’s worth without the consequences. Four pints of a 3.5% beer equals roughly 14 units of alcohol—manageable, sociable, responsible. But within that glass, you’ve got real beer flavour. Proper malt character. Genuine hop expression. It’s not a sacrifice beer. It’s a choice beer.
I stumbled into this myself last autumn. I’d been running a standard 3.8% pale ale recipe for a group of mates who’d moved to a more mindful drinking approach. Instead of the groans I expected, they genuinely loved it. One said, “Finally, a beer I can have without thinking about my evening,” and that stuck with me. Mid-strength isn’t about shame or compromise. It’s about sustainability.
Ingredients & Equipment: The Foundation
The good news: brewing mid-strength doesn’t require exotic gear or rare malts. You’re not chasing extreme profiles. Your standard homebrew kit—fermenter, airlock, hydrometer—is absolutely sufficient. Where mid-strength shines is in ingredient choices.
Malt Selection
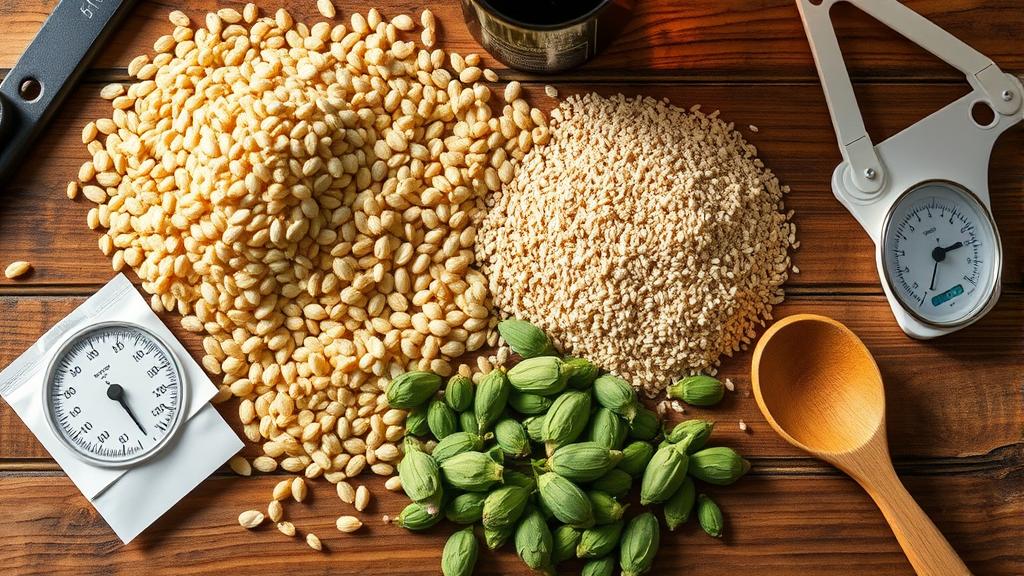
With lower gravity comes higher ingredient cost per percentage point of alcohol. That sounds dry, but it means: your malt bill matters deeply. Generic pale malt works, but a 50-50 blend of British pale and a smidge of crystal (10–15 EBC) gives you real complexity. Brands like Crisp Malt and Castle Malt are standard in UK homebrew setups, and rightfully so—quality is consistent.
For a typical 3.5% pale ale (20 litres / 5.3 US gallons):
- 3.5 kg (7.7 lbs) Pale Ale Malt (Maris Otter or equivalent)
- 250g (0.55 lbs) Crystal Malt 20 EBC
- 100g (0.22 lbs) Chocolate Malt (optional, adds depth)
That’s it. No sugar adjuncts, no tricks. The malt-to-water ratio stays sensible—roughly 1.5–1.6 kg per litre of water. You’re not overshooting gravity.
Hops: Where Mid-Strength Shines
Here’s where lower ABV becomes an advantage: your hops shine without being masked by alcohol. A 3.5% beer dosed with 35 IBU tastes properly bitter and balanced. A barley wine at 10% with the same IBU feels soft. For detailed IBU calculations and hop profiles, the BJCP Style Guidelines are indispensable—they define exactly how much bitterness and aroma each style should carry.
For a mid-strength pale ale, I typically use:
- Bittering: 12g of a clean bittering hop (East Kent Goldings or Challenger) at 60 minutes
- Flavour: 10g of something fruity (Cascade, Centennial, or Amarillo) at 15 minutes
- Aroma: 15g of the same dry-hopped at day 5–7 of fermentation
This gives you roughly 30–35 IBU with a vibrant, clean finish. Suppliers like The Malt Miller and Geterbrewed stock excellent UK and continental hops year-round—worth the slightly higher cost for consistency.
Yeast
Ale yeast (US-05, S-04) is your friend. Mid-strength ferments clean and complete without stress. I typically pitch at 18°C (64°F) and let it rise naturally to 20°C (68°F) over a week. No temperature control gymnastics needed.
Brew Day: Step-by-Step
The process is straightforward, but precision matters more at lower gravity.
- Mash: Strike 15 litres (4 US gallons) of water at 65°C (149°F). Add grain, rest for 60 minutes. Your mash bed should feel sturdy but not doughy—aim for roughly 2.5 litres of water per kg of grain.
- Sparge: Slowly run off wort into your collecting vessel, then sparge with 10 litres (2.6 US gallons) of hot water at 70°C (158°F) until you’ve collected 25 litres (6.6 US gallons) total.
- Boil: Bring to a rolling boil over 10–15 minutes. This is crucial for lower-gravity beers—you want full hot break formation. A weak boil, and you’ll have chill haze and dull flavour.
- Bittering addition: 12g Goldings at 60 minutes.
- Flavour additions: 10g Cascade at 15 minutes, then immediate chilling.
- Chill: Cool to 18°C as quickly as you can manage. An immersion chiller takes 20–25 minutes; a plate chiller, 8–10. Cold break formation matters more in lower-gravity beers.
- Pitch: Aerate the wort gently (5 minutes of splashing), check gravity (should be around 1.035–1.040), then pitch your yeast.
Fermentation & Conditioning
This is where patience separates good mid-strength beer from great mid-strength beer.
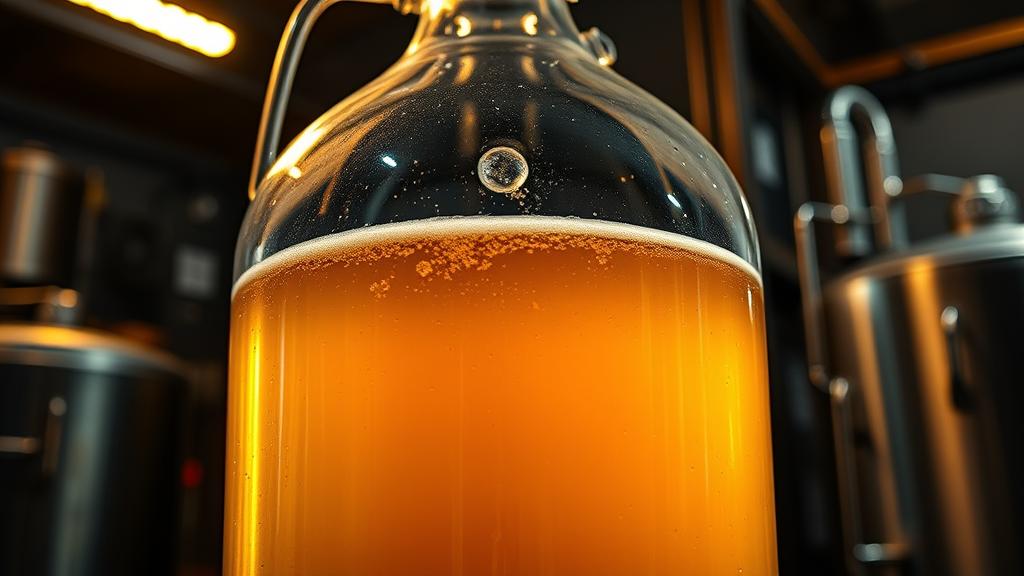
Week 1–2: Vigorous fermentation. Your airlock should be bubbling every 2–5 seconds by day 2. Don’t panic if it’s vigorous—lower gravity means cleaner fermentation, and this is normal. Let temperature rise naturally to 20°C (68°F).
Week 2–3: Dry-hop if you’re going that route. Add 15g of your chosen aroma hop at day 5–7. This is where you dial in the modern, fruity character mid-strength ales are known for. Bury the hops beneath the surface if possible (they can oxidise sitting on top). For comprehensive fermentation science, HomeBrewTalk forums host thousands of fermentation logs where homebrewers share real-world results.
Week 3–4: Cold crash if you have the capacity. Drop to 4°C (39°F) for 48 hours before bottling or kegging. This helps drop yeast and clarity without extended conditioning time.
Gravity check: When your hydrometer shows gravity stable for 3 consecutive days (usually around day 10–12), you’re done fermenting. Target final gravity: 1.008–1.012. Attenuation should sit around 75–80%—mid-strength ferments cleanly but doesn’t strip sweetness entirely.
Tasting Notes & My Honest Review

I brewed my first intentional mid-strength pale ale in March, and it’s genuinely become my house beer. Here’s what the glass tells you:
Appearance: Golden-amber, crystal clear if you’ve chilled properly. Head retention is solid—not Westminster Abbey architecture, but a finger’s width that lasts through the first third of the glass.
Aroma: Clean malt sweetness, then bright citrus from the dry-hop. No harsh alcohol esters, no fusels—just craft beer clarity.
Taste: Malt backbone is apparent—you taste actual grain character—then a crisp, clean bitterness that sits around 32 IBU. The finish is dry but not austere. And here’s the thing: you can taste every sip. With higher ABV beers, the alcohol starts numbing your palate by beer four. With 3.5%, beer four tastes nearly identical to beer one. That’s the real magic.
Mouthfeel: Light to medium body. Slightly crisp carbonation (about 2.3 volumes of CO₂). It finishes clean, leaving space for the next sip rather than fatigue.
Honestly? I’ve received more compliments on this one than on a barrel-aged imperial stout I brewed last year. People appreciate something they can actually drink.
Pro Tips & Common Mistakes
I’ve made most of these errors so you don’t have to:
❌ Weak boil: A rolling boil is non-negotiable at lower gravity. Underpowered heat means poor hot break and chill haze. Don’t scrimp here.
❌ Oversparging: At lower gravity, you’re already extracting efficiently. Go easy on sparge volume, or you’ll pull tannins and thin your beer.
❌ Underpitching yeast: Lower gravity doesn’t mean you can pitch less. Pitch the same volume as you would a 5% beer—around 100 billion cells for an ale yeast.
✅ Cold conditioning: If you can spare 48 hours at 4°C (39°F) before packaging, the clarity improvement is dramatic. Worth the fridge space.
✅ Thorough aeration: Lower gravity ferments benefit enormously from good oxygen transfer. Splash gently, or use a stir plate if you’re kegging.
✅ Stability testing: Don’t assume fermentation is done at day 10. Check gravity three times across a week. Three stable readings = finished beer.
Variations & Next-Level Experiments
Once you’ve nailed a basic mid-strength pale, the variations are endless:
Mid-Strength Brown Ale (3.6% ABV): Swap the crystal for 400g of English Brown Malt (70 EBC) and add 50g of Black Malt for colour and subtle roast. Bittering hops stay clean; aroma could shift to something spicy (East Kent Goldings at aroma addition). This is a proper winter session beer.
Mid-Strength Stout (3.4% ABV): 3kg pale, 300g crystal, 200g roasted barley, 100g black malt. Shoot for 40 IBU with a neutral bittering hop. The roasted character dominates; you won’t miss the ABV. Dry-hop with Fuggles or Challenger for earthiness.
Mid-Strength Blonde (3.7% ABV): Go lighter on crystal (just 100g), add 200g of wheat malt for body, and dry-hop with something delicate like Goldings or Hallertau. Think refreshment without the alcohol hangover.
Fruit experiments: Mid-strength is brilliant for fruit additions because the base beer doesn’t overpower them. Add 500g (1.1 lbs) of frozen raspberries or blackberries at day 5 of fermentation, and you’ll get genuine fruit character without turning it into a dessert beer. At higher ABV, the same addition gets lost in the noise.
The Philosophy Behind the Pour
Brewing mid-strength beer is less about technical innovation and more about returning to what beer actually is: a social, communal drink. Somewhere along the way, we got obsessed with extremes—biggest, boldest, most obscure. And those beers have their place (I still love a good imperial stout). But mid-strength is the beer you share with friends on a Sunday afternoon and realise you’ve had four and barely noticed. It’s the beer that tastes like itself at glass one and glass five. It’s the beer that respects your evening but doesn’t apologise for its flavour.
This is the monk-brewing approach, in a way: balance, sustainability, and craft without excess. Not asceticism, but thoughtfulness.
Conclusion
If you’ve been sleeping on mid-strength beer—either as a drinker or a brewer—2026 is the year to reconsider. The trend data backs it up. Actual drinker feedback backs it up. And my cellar full of golden 3.5% ales backs it up.
Brew one. Share it. Watch people relax into the realisation that this is actually proper beer, just more considered. That’s the alchemy.
🍺 Join the Brotherhood — Monthly brews, stories & monk wisdom
Subscribe for exclusive recipes, early brew logs, and behind-the-scenes updates straight to your inbox.

