
Most homebrewers spend months chasing the perfect grain bill, obsessing over hop varieties, and culturing yeast strains. Then they pour their carefully designed recipe into uncontrolled water, and wonder why the result tastes flat or harsh. The secret that separates average beer from exceptional beer? Water chemistry. It’s not sexy, it’s not Instagram-worthy, but it’s absolutely fundamental. In this guide, I’ll walk you through everything you need to understand about minerals, pH, and how your tap water shapes every pint you brew.
Why Water Matters: The Overlooked Ingredient
Here’s a statistic that blew my mind: water comprises 90–95% of your finished beer. That’s not a footnote—that’s the foundation. Yet most homebrewers treat water like a neutral medium, something that just “happens” to be in their tap. Wrong. Your water’s mineral profile, pH, and alkalinity directly influence hop utilisation, fermentation efficiency, and flavour development.
I’ve brewed the same recipe twice using my tap water untreated, and once after adjusting minerals. The difference was night and day. The adjusted batch was cleaner, more balanced, with better hop definition. I wasn’t suddenly a better brewer—I’d simply matched my water to the beer style I was making. It’s one of the most cost-effective upgrades any homebrewer can make.
Understanding Your Water: The Five Key Parameters
Before you can adjust anything, you need to know what you’re starting with. If you’re in the UK, your water company publishes annual water analysis reports online—free of charge. (Search “[your water company] water quality report” or ask them directly.) This gives you the baseline minerals in your supply.
Here are the five parameters that matter most:
- Calcium (Ca) – 50–300+ ppm depending on region. The workhorse mineral. Lowers mash pH, improves enzyme activity, sharpens hop bitterness. More calcium = more hop bite. Less = softer, more delicate beers.
- Sulfate (SO₄) – The hop enhancer. High sulfate emphasises dry bitterness and hop aroma. Burton-on-Trent is famous for ~1,400 ppm sulfate—perfect for IPAs and pale ales. Low sulfate, conversely, produces round, gentle bitters.
- Chloride (Cl) – Creates sweetness and body. Emphasises malt flavours. Compare Burton (dry, hoppy) to Doncaster (sweeter, malty) water—the chloride difference explains much of the character difference.
- Alkalinity (HCO₃⁻) – The enemy of mash pH. High alkalinity raises mash pH, making mashing sluggish and extraction poor. You’ll often need to add acid (lactic or phosphoric) to compensate.
- pH – Your finished tap water’s pH matters less than your mash pH. Target mash pH is 5.2–5.4 for most beer styles. This is where mineral additions and acid adjustments come in.

The Big Three Water Profiles: Which One Are You?
Once you’ve got your data, the next step is matching your water to the beer style you want to brew. There are three classical profiles that cover most homebrewing:
Profile 1: Soft Water (Low minerals, low alkalinity)
Examples: Pilsen, Edinburgh. Ideal for crisp lagers, blonde ales, and pale lagers where you want clean, delicate malt character.
- Calcium: 50–75 ppm
- Sulfate: <50 ppm
- Chloride: 10–25 ppm
- Alkalinity: <50 ppm
Profile 2: Medium Water (Balanced minerals)
Examples: London, Dublin. A sweet spot for British ales, milds, porters. Balanced malt-forward character with mild bitterness.
- Calcium: 100–150 ppm
- Sulfate: 50–100 ppm
- Chloride: 50–100 ppm
- Alkalinity: 50–100 ppm
Profile 3: Hard Water (High minerals, high sulfate)
Examples: Burton-on-Trent, Gateshead. The classic profile for bitter, IPA, and pale ale. High sulfate amplifies hop character and creates dry, snappy finishes.
- Calcium: 150–200 ppm
- Sulfate: 150–300 ppm
- Chloride: 50–75 ppm
- Alkalinity: Variable
Most UK homebrewers fall somewhere in the medium-to-hard range naturally. If you’re in the Midlands or North, you likely have decent brewing water already. If you’re in a soft-water area like parts of Scotland or Cornwall, you may need to add minerals for hoppy styles.
Adjusting Your Water: The Practical Steps
Here’s where the theory becomes practice. I’m going to give you the simplest method for homebrewers: the mineral salt additions.
What you’ll need (all available from UK suppliers like The Malt Miller or Geterbrewed):
- Calcium Chloride (CaCl₂) – Adds calcium and chloride. Best for soft water brewing pale ales or lagers.
- Gypsum (CaSO₄) – Adds calcium and sulfate. Your go-to for IPAs and hoppy styles.
- Calcium Carbonate (CaCO₃) – Adds calcium and alkalinity. Use sparingly; better to use acid (below).
- Lactic Acid (88%) – Lowers mash pH without adding minerals. Essential if your alkalinity is high.
- Phosphoric Acid (85%) – Alternative to lactic. Slightly harsher taste; lactic is better for most.
Simple addition rates:
- 1 gram of gypsum per litre = +61 ppm sulfate, +15 ppm calcium
- 1 gram of calcium chloride per litre = +72 ppm chloride, +27 ppm calcium
- 1 ml of 88% lactic acid per 10 litres = ~0.5 pH reduction in your mash
Use a tool like the Brewer’s Friend water chemistry calculator to dial in exact amounts. It takes 30 seconds and removes guesswork. Target your desired profile, punch in your starting water, and it tells you how many grams to add.
The Mash pH Test: Proof in the Numbers
Here’s the bit most homebrewers skip—and why their beers stay mediocre. After you’ve mixed your minerals and heated your mash water, you need to measure the actual mash pH. Not the water pH. The mash pH.
How? Simple. Take a sample of your hot mash (grain + liquor), cool it to room temperature, and test it with a calibrated pH meter. This is your real working pH. Target is 5.2–5.4 for most ales, 5.3–5.7 for lagers.
If it’s too high (above 5.5), you’ve got too much alkalinity. Add a small amount of lactic acid—literally 1 ml at a time—and re-measure. If it’s too low (below 5.1), either your minerals are off or you’ve overdone the acid. At this point, you’re learning your specific water’s quirks.
This step is optional for beginners, but it’s the difference between “good” and “excellent” beer.
Real-World Example: A British Bitter
Let me walk you through a practical example. I was brewing a West Country Bitter—a style that thrives on balanced, slightly malty character.
My water report showed: calcium 120 ppm, sulfate 60 ppm, chloride 80 ppm, alkalinity 140 ppm.
Target for a West Country Bitter: calcium 130 ppm, sulfate 80 ppm, chloride 120 ppm, alkalinity around 100 ppm.
My calcium was close. Sulfate needed a nudge up (gypsum). Chloride needed boosting (calcium chloride). Alkalinity was a bit high (I’d need acid to compensate in the mash).
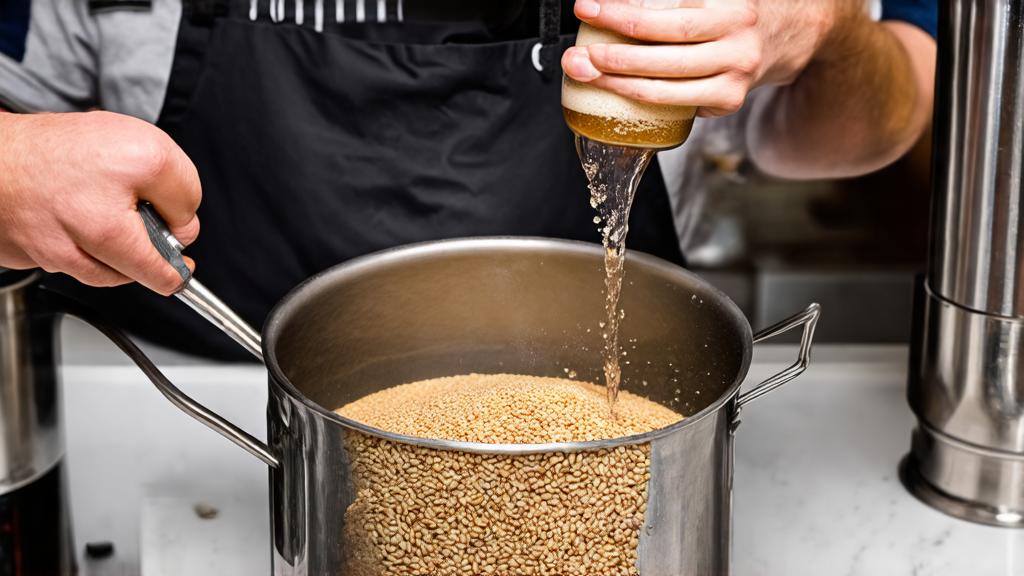
Into my 40-litre mash tun, I added:
- 2.5g gypsum (raises sulfate by ~150 ppm in the liquor, distributed across 40L)
- 3g calcium chloride (raises chloride appropriately)
- 2 ml lactic acid (to neutralise excess alkalinity in the mash later)
When I tested the mash pH mid-brew, I hit 5.3—right in the sweet spot. The result? A clean, well-defined bitter with a dry finish and bright hop character. Same recipe, same grain, same hops, different water treatment = better beer.
For a more technical deep-dive on ion ratios and advanced mineral calculations, I’d recommend the Grainfather UK water chemistry guide—it’s the best resource I’ve found for British brewers.
Common Mistakes & How to Avoid Them
- Ignoring alkalinity: High alkalinity raises mash pH and ruins extraction. If your water report shows 150+ ppm alkalinity, you need acid. No way around it.
- Adding too much mineral: More isn’t better. A 500 ppm sulfate Burton water profile is extreme; most homebrews are happy with 100–200 ppm total hardness.
- Not adjusting for style: Pale ale water doesn’t work well for stout. Soft water doesn’t suit hoppy beers. Know your style, then match your water.
- Forgetting to measure mash pH: Theory is lovely. Reality—your actual mash pH—is better. A £30 pH meter is one of the best investments you can make.
- Using untreated tap water for all styles: Your water is perfect for some styles and terrible for others. Adapt.

Where Water Chemistry Leads: Next Steps
Once you’ve mastered mineral adjustment, the rabbit hole goes deeper. You’ll start thinking about wild fermentation techniques and how water composition affects yeast health. You might explore yeast genetics and discover that certain strains thrive in specific mineral environments. You’ll start reading about kettle souring and realise that pH control is just as important in sours. Water chemistry isn’t an endpoint—it’s a door that opens onto deeper understanding of the entire brewing process.
For now, the takeaway is simple: get your water report, pick a style you love, dial in your minerals, measure your mash pH, and watch how much clearer and more intentional your brews become. It’s the unsexy part of brewing—no drama, no storytelling, just chemistry—but it’s where consistency happens.
Resources & Further Reading
If you’re serious about water chemistry, these are the resources I trust:
- Brewer’s Friend Water Chemistry Calculator – The fastest, most accurate way to dial in mineral additions. Free, thorough, indispensable.
- HomeBrewTalk Water Chemistry Forums – Real homebrewers sharing their water reports and results. Invaluable community knowledge.
- BJCP Style Guidelines – The official definitions of beer styles and their brewing parameters. Cites water profiles for each style.
- Your Local Water Company’s Quality Report – Completely free, absolutely essential. Google “[your company] water quality annual report” and you’re done.
Water chemistry isn’t glamorous. But if you want your beer to be better than average—if you want to stop guessing and start understanding—it’s where you start.
Brew well.
🍺 Join the Brotherhood — Monthly brews, stories & monk wisdom
Subscribe for exclusive recipes, early brew logs, and behind-the-scenes updates straight to your inbox.

