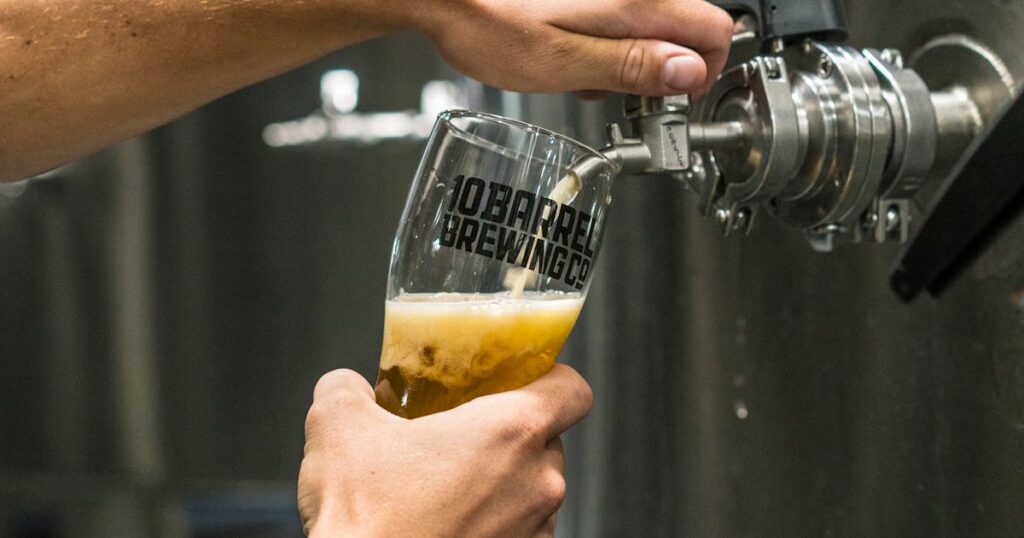
Water is 90% of your beer, yet most homebrewers ignore it completely. That’s a missed opportunity. Getting your water profile right doesn’t just improve flavour — it unlocks styles you never knew you could brew, enhances extraction during the mash, and brings out the character that separates a good beer from a truly memorable one.
The beautiful thing? You don’t need expensive equipment or advanced chemistry knowledge. With a basic understanding of mineral content, a simple test kit, and a few readily available salts, you can dial in your water profile to match any beer style — from crisp pilsners to robust stouts. Let’s explore how.
Why Water Chemistry Matters
Your tap water already contains minerals: calcium, magnesium, chloride, sulphate, and bicarbonate. These ions interact with your mash pH, influence hop bitterness perception, and shape the final beer’s body and finish. The legendary Burton-on-Trent pale ales? That signature crisp, hoppy profile comes directly from Burton’s high sulphate and calcium levels — not just the hops themselves.
Different beer styles evolved in different water profiles. When you brew premium lagers, soft water suits the clean, delicate character. For roggenbier and rye styles, moderately hard water complements the grain’s spicy complexity. Match your water to the style, and you’re halfway to brewing authenticity.
Understanding Your Starting Water
Before you adjust anything, test your water. Most councils publish water reports freely — search “water report [your area] UK” online. Look for these key numbers (in ppm or mg/L):
- Calcium (Ca): Affects mash pH and enzyme stability. Aim for 50–100 ppm for most styles.
- Sulphate (SO₄): Enhances hop bitterness and dryness. IPAs benefit from 100–200 ppm; mild ales prefer under 50.
- Chloride (Cl): Rounds out malt sweetness. 0–100 ppm is typical.
- Bicarbonate (HCO₃): Raises mash pH and suits darker grains. Light styles want less than 50 ppm.
- Hardness (General & Temporary): Measures total dissolved minerals. Soft water = <100 ppm; moderately hard = 100–250 ppm.
The Two Approaches to Water Adjustment
Option A: Start with Tap Water
If your local water is already suitable (and many UK waters are), minimal adjustment works fine. A basic homebrew test kit tells you hardness and pH. Chlorine? Let tap water sit uncovered for 24 hours, or use a simple carbon filter.
Option B: Start with RO or Distilled Water
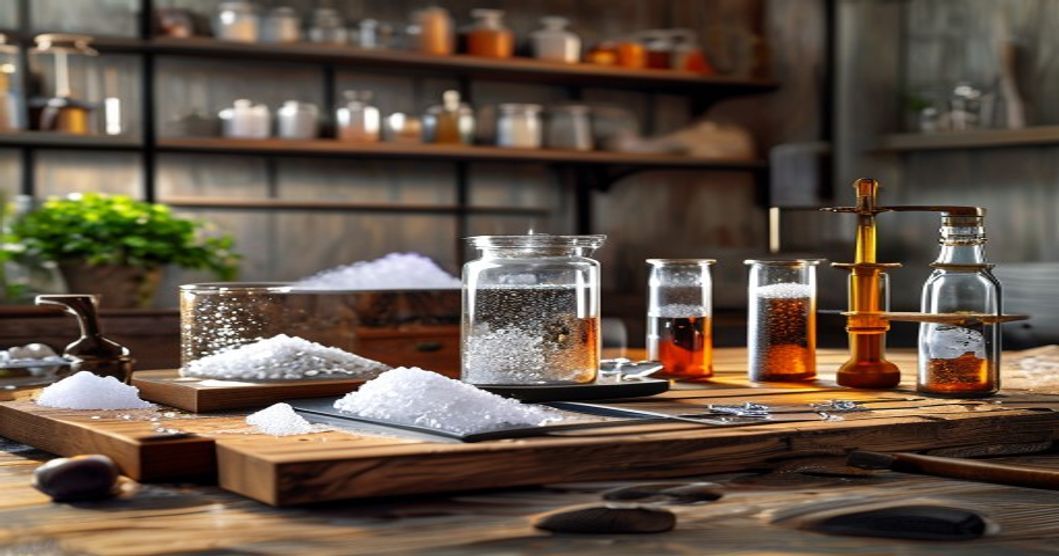
For complete control, start with reverse osmosis (RO) or distilled water — a blank slate. Then add minerals precisely using food-grade salts: calcium chloride, calcium sulphate (gypsum), sodium chloride, and magnesium sulphate (Epsom salt). This removes water variability entirely and is what serious brewers use.
Building Your Water Profile
Say you’re brewing a classic English bitter. The Burton-on-Trent profile is legendary: roughly 250–350 ppm calcium, 700+ ppm sulphate, and 100 ppm chloride. Starting with RO water, you’d add:
- ~1.5g gypsum per 10 litres (for sulphate)
- ~0.5g calcium chloride per 10 litres (for calcium & chloride balance)
Dissolve these salts into your brewing water the night before brew day. When you mash in, the minerals adjust your mash pH naturally — that’s the real magic. A darker beer like a stout needs less calcium to compensate for the acidic grains; a light lager needs more.
Online calculators like those in BeerSmith 4 do the maths for you. Input your desired profile, and it tells you exactly how much of each salt to add.
Where Water Unlocks New Styles
Once you master water adjustment, entire style categories open up. Brewing low-ABV session ales? Soft water keeps the delicate flavours bright. Experimenting with hybrid fermentation techniques? Your water profile supports consistent mash conditions across different yeast profiles. Even wood-aged beers benefit — a stable mash pH means more predictable base beer chemistry going into the barrel.

The Practicalities
You’ll need a few basics:
- Water report: From your council (free).
- Test kit: Dip strips or CAMRA-recommended lab testing for accuracy.
- Salts: Available from homebrew shops like The Malt Miller or Geterbrewed.
- Calculator: BeerSmith, EZWater, or BJCP-style guides.
Start simple. Many brewers obsess over perfect numbers — don’t. Get within 10% of your target, and you’ll taste the difference immediately. Precision comes later.
Your Water, Your Beer
Water chemistry transforms homebrewing from a guessing game into a science you control. You stop wondering why your pale ales lack bite or your lagers taste muddy. You start brewing beers that taste exactly as they should — clean, balanced, and true to style.
This month, test your water. Grab a report. Check what minerals you’re starting with. Then try one batch where you dial in your profile intentionally. Brew the same recipe twice — once with adjusted water, once without. The difference will convince you instantly.
Ready to master your water? Download a mineral profile calculator, test your tap water this week, and comment below: what’s your local water profile? Which style are you keen to brew once you’ve got the chemistry dialled in?