
Apple Cider Mastery: Brew Your Own Fruit Cider at Home in 2026
Why Apple Ciders Are 2026’s Most Refreshing Homebrewing Trend
Summer 2026 is the season of cider. Not the mass-produced, overly sweetened varieties clogging supermarket shelves, but real, honest, craft cider — the kind you press, ferment, and bottle yourself. If you’ve been following homebrewing trends, you’ll notice something fascinating: fruit ciders are no longer a niche experiment. They’re mainstream. And for us homebrewers, that means one thing: opportunity.
Apple cider sits at the perfect intersection of simplicity and craft. It requires minimal equipment compared to beer brewing, yet the flavour complexity rivals anything you’ll produce in a kettle. More importantly, it’s become the gateway beverage for intentional drinking — people want lower ABV options without sacrificing taste, and cider delivers exactly that. I’ve watched this shift unfold over the past few months, and I’m convinced 2026 is the year to master home cider-making.
What draws people to cider right now? Part of it’s the health narrative — lower alcohol, no gluten, natural fermentation. But the real appeal? It’s honest craftsmanship. Like the monastic brewing tradition I’ve come to respect, cider-making is ancient, almost meditative work. You’re not fighting gravity or managing complex yeast strains. You’re partnering with nature to transform apples into something extraordinary.
Sourcing Your Apples & Understanding the Ingredients
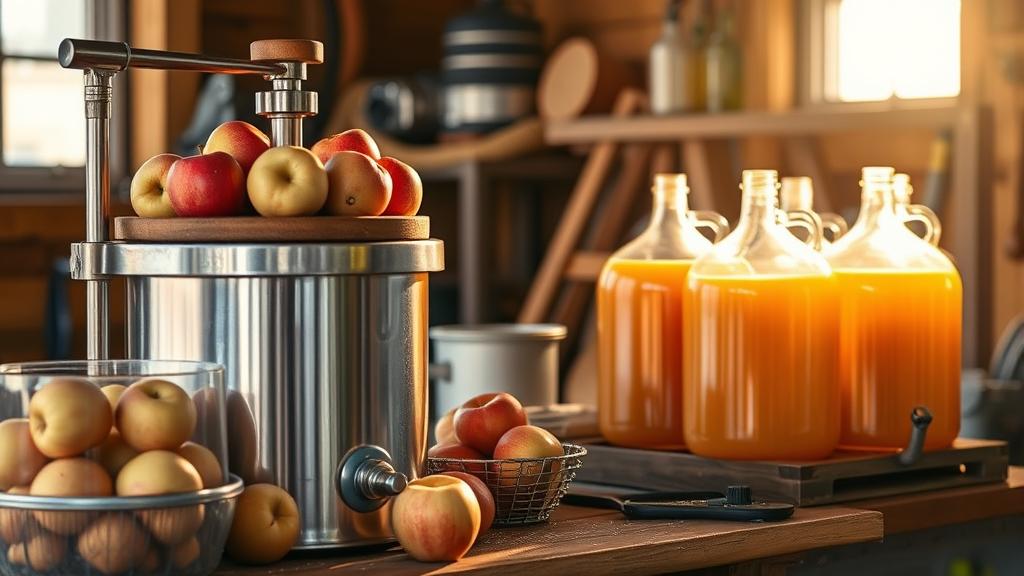
Here’s where most homebrewers go wrong: they grab whatever apples are on sale at Tesco. Don’t. The difference between a bland cider and an exceptional one starts with apple selection.
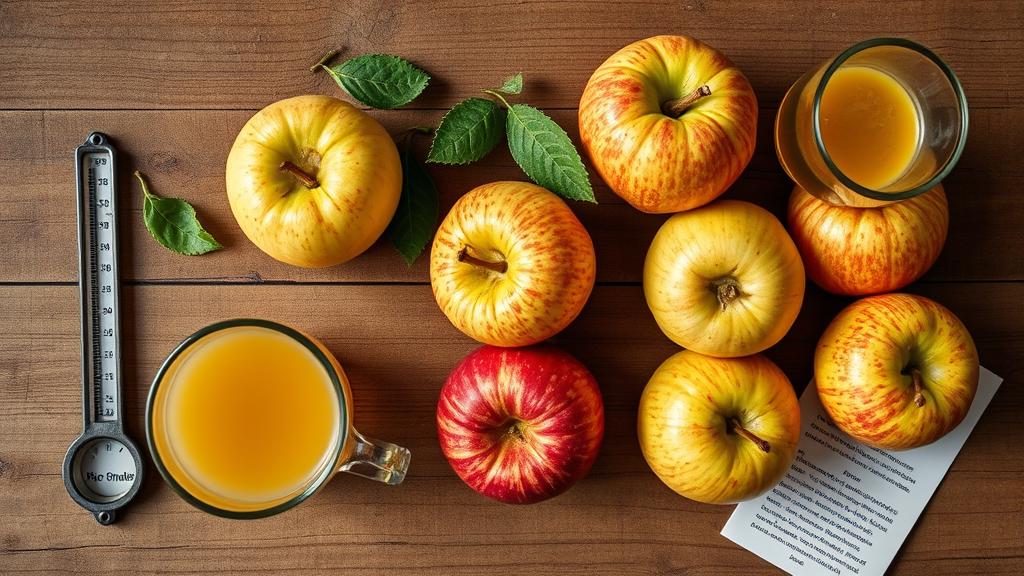
British apple varieties are your foundation. Bramley apples are the workhorse — high tannin, high acidity, naturally suited to fermentation. Granny Smith brings tartness and structure. Cox apples add complexity and subtle sweetness. For the base, aim for a mix that mirrors traditional cider-apple terroir: roughly 60% cider apples (Bramleys), 25% bittersweets or aromatic varieties, 15% wild or experimental apples.
What about juice? Fresh-pressed is non-negotiable if you’re serious. Supermarket juice has been pasteurised and processed — it lacks the wild yeasts and natural vigour needed for fermentation. Find a local farm shop or farmers’ market with an apple press. You’ll get juice that’s alive, full of potential. If you’re pressing your own (brilliant), use roughly 2 kg of apples per litre of juice — you’ll need about 15–20 litres (3–4 gallons/UK) for a proper batch.
The pH matters too. Cider naturally settles around 3.5–4.0, which is perfect for wild fermentation but risky if you’re after reliability. A simple test strip from any homebrew shop tells you what you’re working with. If you’re adding anything to your cider — spices, other fruit, or honey — this is where knowledge of fermentation and conditioning techniques becomes invaluable.
Equipment & Pre-Fermentation Preparation
The beauty of cider is simplicity. You don’t need a 50-litre stainless steel kettle or temperature-control strips. You need:
- Glass carboys or food-grade plastic demijohns — one per 15–20 litres (3–4 gallons)
- Airlocks and rubber bungs — basic but essential
- Hydrometer — to track gravity and final ABV
- Auto-siphon or racking cane — for bottling without disturbing sediment
- Thermometer — optional, but temperature awareness prevents problems
- Bottles and caps or corks — swing-top bottles are ideal for carbonation
- Strainer or cheesecloth — for filtering out apple solids before fermentation
Start with fresh, filtered juice. Run it through a fine strainer to remove pulp and leaves. If you’ve pressed it yourself, let it settle for 24 hours in a cool place — the sediment will drop to the bottom. Carefully siphon off the clear juice into your carboy, leaving the sludge behind.
Now the decision: wild fermentation or cultured yeast? Wild fermentation is traditional and forgiving — you’re relying on natural yeasts already present on the apples and in the air. It works. But if you want predictability, add a cultured cider yeast like Lalvin EC-1118 or a beer yeast such as Safale US-05. These handle the job cleanly and predictably.
Fermentation: The Patient Work
This is where cider teaches you something essential: patience. Beer fermentation is loud and frantic — yeasts racing through sugars, producing heat, demanding attention. Cider fermentation is quiet. Still. Almost monastic.
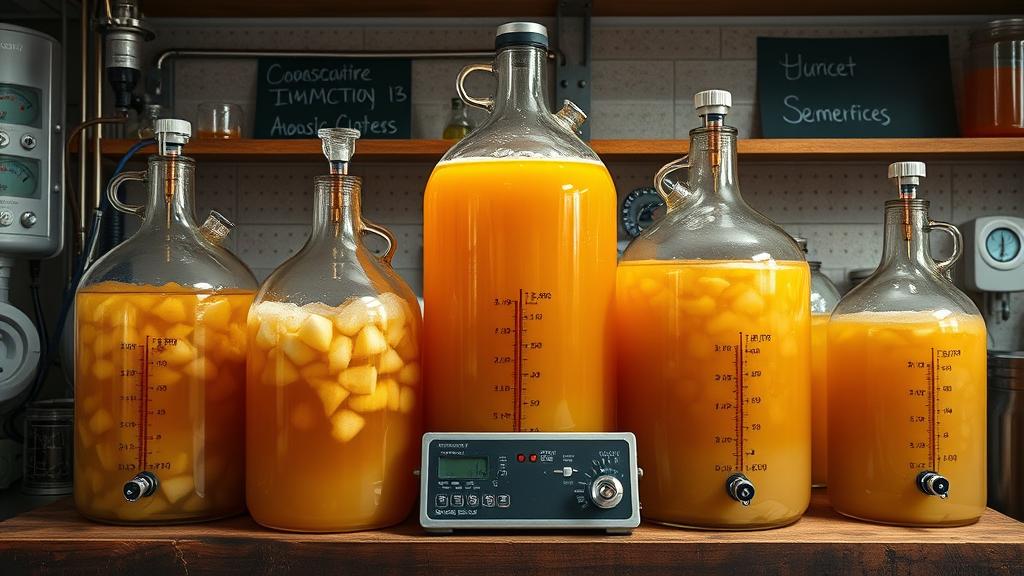
Fill your carboy to within 5 cm (2 inches) of the top. Fit the airlock, and place it in a cool location — ideally between 10–18°C (50–64°F). If you’re fermenting in a garage or shed, you’re in luck. Cider likes cool conditions; it produces cleaner, more complex flavours at lower temperatures.
What will you see? In the first week, the airlock will bubble regularly. By week two, fermentation slows. By week four, it might seem dormant. This is normal. Unlike beer, cider ferments slowly. You’re looking at 4–8 weeks minimum for complete fermentation, possibly longer depending on your juice’s natural sugars and the yeast you’ve chosen.
Take gravity readings every two weeks. When your gravity reading stabilizes over three consecutive readings (typically 48 hours apart), fermentation is complete. At this point, you can rack the cider into a secondary carboy to clear, or proceed straight to bottling — it depends on how much sediment is visible and how patient you are.
Carbonation, Flavour, & My Honest Tasting Notes
Here’s where home cider gets exciting. Bottling is your moment to differentiate.
Still cider (no carbonation) is authentic and often superior if you’ve made something genuinely special — it allows the apple character to shine. Just rack into bottles and refrigerate.
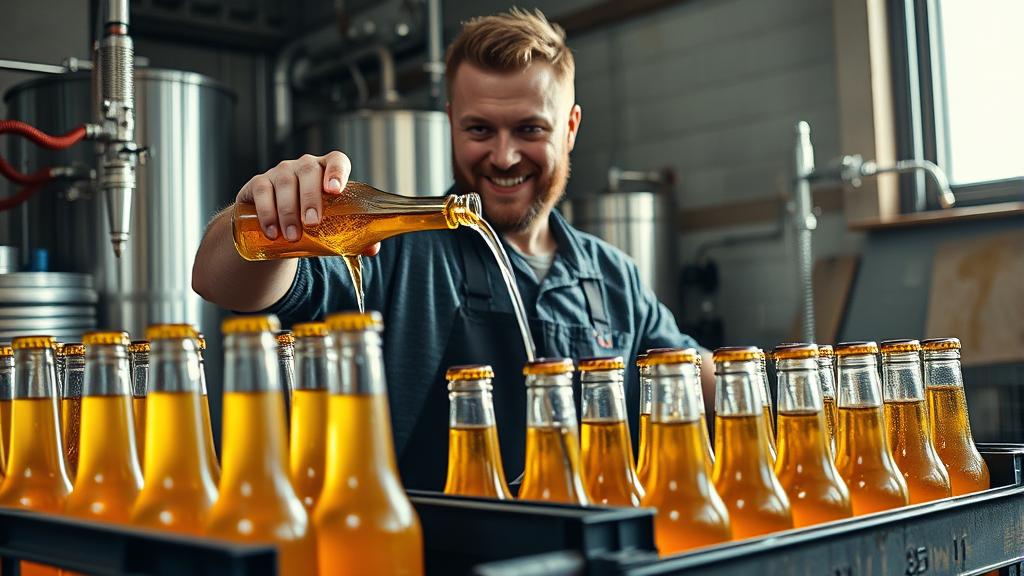
Naturally carbonated cider is the craft approach. Add 2.5 grams of priming sugar per 500 ml bottle (or about 80 grams per 20-litre batch), stir gently to distribute, bottle, and cap. Leave at room temperature for 2–3 weeks. The yeast will consume the sugar and produce CO₂, slowly carbonating your cider. You’ll end up with light, natural fizz — nothing like the aggressive carbonation of commercial bottled cider.
Now, the flavours. My first serious batch this year was a dry Bramley cider with no added sugar — just apples and Lalvin yeast. Final gravity 0.995. It came out bone-dry, with incredible tannin structure and a subtle sharpness that improved weekly. By month three, it was astonishing. Completely different profile from week one.
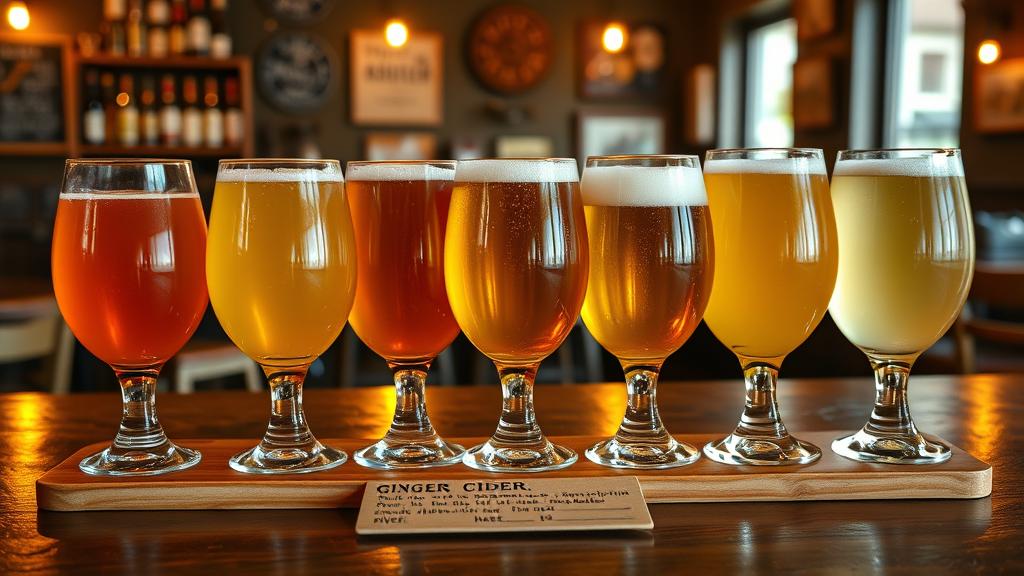
But not everyone wants dry. Bottle a portion still, add honey or residual apple juice to other bottles for sweetness variation. This is where cider shines: one ferment, multiple expressions. It’s experimental brewing without the equipment demands of beer.
Try adding spices during bottling — cinnamon sticks, fresh ginger, cloves. Or blend in other fruits. Fruit ciders are having a moment, with adventurous flavours like pear-ginger and pineapple trending hard in 2026.
Common Mistakes & Pro Tips from the Batch Log
Over the past three months, I’ve made every beginner mistake so you don’t have to.
Mistake 1: Contamination from poor sanitation. Cider doesn’t need a full beer-style sanitising regime, but your equipment does. If your cider smells like vinegar after two weeks, you’ve got acetobacter (wild bacteria). Prevention is simple: clean everything with hot soapy water, rinse thoroughly, and let it dry. Don’t overthink it.
Mistake 2: Fermenting too warm. Room temperature (20°C / 68°F+) speeds fermentation but produces flabby, uninteresting cider. Cool garages are ideal. If you’re fermenting indoors, your cider will turn out fine but less complex.
Mistake 3: Racking too early. Leave it alone. I know the urge to check progress is real, but every time you siphon, you risk oxidation and you stir up sediment. Rack once, at the end of fermentation. That’s it.
Mistake 4: Skipping gravity readings. You need data. When does fermentation actually end? Without readings, you’re guessing. Is your cider dry or is fermentation still slowly happening? Gravity tells you. A hydrometer costs £5 and answers every question.
Pro tip: Blend ferments.** Make two or three different bases (all-Bramley, Bramley-Granny Smith mix, Bramley-Cox-wild apple blend) in separate carboys. Then blend them at bottling. This is how traditional cider makers achieve complexity — and it’s how you’ll find your signature style.
Variations & Next-Level Experiments
Once you’ve nailed the basic ferment, the variations become endless.
Perry (pear cider) follows the same method as apple cider but with pears. Pears ferment faster and produce drier, more delicate results. Try a 70% apple / 30% pear blend for balance.
Hopped ciders blur the line between beer and cider. Add 5–10 grams of your favourite noble hops (Fuggle, Goldings, Cascade) to the secondary for dry-hopping. Subtle, interesting, nothing like beer but clearly beer-adjacent.
Barrel-aged cider is where patience becomes art. If you have access to small oak barrels or oak spirals, age your finished cider for 3–6 months. The wood adds vanilla, subtle tannin, and complexity that rivals wine. This is monk-level dedication, and the results justify it.
Keeving is an advanced French technique where you manipulate fermentation to achieve a naturally sweet, complex cider without added sugar. It’s technical, but resources like HomeBrewTalk have excellent guides if you want to dive deeper.
Why Cider Matters for Home Fermenters in 2026
Cider isn’t a replacement for beer. It’s a complementary skill. But it teaches you things beer brewing doesn’t: patience, humility before nature, and the value of simplicity.
The monastic brewers of Europe understood fermentation at its core — they worked with what they had, trusted the process, and accepted variation as character rather than flaw. Modern homebrewing often fights against this, demanding precision and control. Cider invites you back to that older way of thinking.
Plus, from a practical standpoint: cider is lower ABV (typically 4–6%), requires less equipment, costs less to make, and appeals to a wider audience than a 7.2% imperial IPA. If you’re brewing to share, cider is a gift your friends will actually drink in summer.
The market agrees. Commercial cider is experiencing a renaissance in the UK right now, with adventurous flavours and sessionable styles driving sales growth. Homebrewers who jump in now will have developed serious skills by the time the trend matures.
Your Summer Cider Project Starts Now
Apple cider mastery isn’t built in a day. It takes a few batches to understand your local apples, your fermentation conditions, and your taste preferences. But that’s the point. This is the slow, intentional work that attracted us to homebrewing in the first place.
Start simple: find fresh apple juice, pitch a cultured yeast, wait eight weeks, and bottle. Your first batch won’t be perfect. Mine wasn’t. But by batch three or four, you’ll have ciders that rival anything you can buy. And the satisfaction of sharing something you’ve genuinely made from apples to glass? That’s the real brew.
The season is now. British orchards are expecting a bumper crop this year, juice is plentiful, and the trend is undeniably hot. Make your first cider batch this month. By August, you’ll be drinking it. By September, you’ll be planning next year’s variations.
🍺 Join the Brotherhood — Monthly brews, stories & monk wisdom
Subscribe for exclusive recipes, early brew logs, and behind-the-scenes updates straight to your inbox.

