
If you’ve been following craft beer trends closely, you’ll have noticed something fizzy sparkling on the horizon: champagne-style beer. No, I’m not talking about cheap lagers with inflated marketing. I mean proper, méthode champenoise brewing—the traditional French bottle fermentation and aging process—applied to craft beer. And the best part? You can do it at home.
For years, I watched champagne-method beers as a curiosity: expensive, limited-edition bottles from boutique breweries like Brentwood’s Van Kannor. But in 2026, this isn’t a gimmick anymore. It’s a legitimate brewing movement, and UK homebrewers are finally catching on. I decided to dive in, learn the craft, and share what I’ve discovered. Fair warning: it’s labour-intensive, delightfully fiddly, and absolutely worth every second.
Why Champagne-Method Beer Is Worth Your Time
Let’s be honest: brewing champagne-style beer is the opposite of quick. It takes patience, precision, and nerves. But the results? Extraordinary. The méthode champenoise process creates a beer with fine, persistent carbonation and a creamy mouthfeel that standard force-carbonation simply can’t replicate. There’s a sophistication to it—that gentle sparkle, the complexity of long bottle age—that elevates the entire drinking experience.
Commercial breweries have been experimenting with this for years. In 2026, demand is rising fast. Why? Because drinkers are craving something different, something celebratory, something that feels luxurious without the pretention. A well-crafted champagne-style beer ticks all those boxes. And as a homebrewer, you get to create something genuinely unique—a beer style that most people will never have tasted before.

The Ingredients You’ll Need
Brewing champagne-style beer requires three essential ingredients: a base beer, champagne yeast, and patience. Let’s break it down.
Base Beer (Primary Fermentation): Start with a light, dry base—think a crisp pilsner, a delicate blonde ale, or even a Champagne ale base. You want something around 8–10% ABV to support the bottle fermentation and long ageing without developing harsh alcohol notes. A pale malt bill (Pilsen or pale ale malt) works beautifully here, with just enough noble hops for balance—Hallertau, Saaz, or Styrian Goldings are perfect. Avoid aggressive hops; they’ll clash with the elegance of champagne yeast. This approach pairs beautifully with techniques like low-ABV brewing fundamentals, where restraint and balance are paramount.
Champagne Yeast (Secondary Fermentation): This is where the magic happens. Champagne yeast (often Saccharomyces cerevisiae strain or wine yeast) produces finer carbonation and cleaner fermentation than ale or lager yeast. Popular suppliers like The Malt Miller and Geterbrewed now stock champagne yeast cultures specifically for homebrewers. You’ll typically pitch a rehydrated culture or liquid yeast into your bottles or a secondary vessel.
Priming Sugar: Unlike standard bottle carbonation (where you add dextrose), champagne-method beer uses very small amounts of priming sugar—typically 2–3 grams per 750ml bottle. This keeps carbonation precise and prevents over-carbonation.
The Brew Day and Primary Fermentation
Start with a straightforward brew day. No surprises here—just clean technique and careful temperature control. I recommend mashing in around 65°C (150°F) for a slightly drier finish, targeting a final gravity around 1.010–1.015 OG for a 9% ABV base.
Cool to 18°C (64°F) and pitch your primary yeast—an English ale yeast or a neutral lager strain works well. Ferment for two weeks at a stable temperature. You want a clean, reliable fermentation with no off-flavours. This is your canvas; treat it carefully.
Once primary fermentation is complete and the beer has dropped clear, you’re ready for the magic: the secondary fermentation that transforms an ordinary beer into something sparkling and elegant.
Secondary Fermentation and the Champagne Method
Here’s where champagne-method brewing becomes a craft in itself. You have two paths: bottle conditioning directly (simpler, more hands-on), or a hybrid fermentation approach using a secondary vessel first (slightly more control).
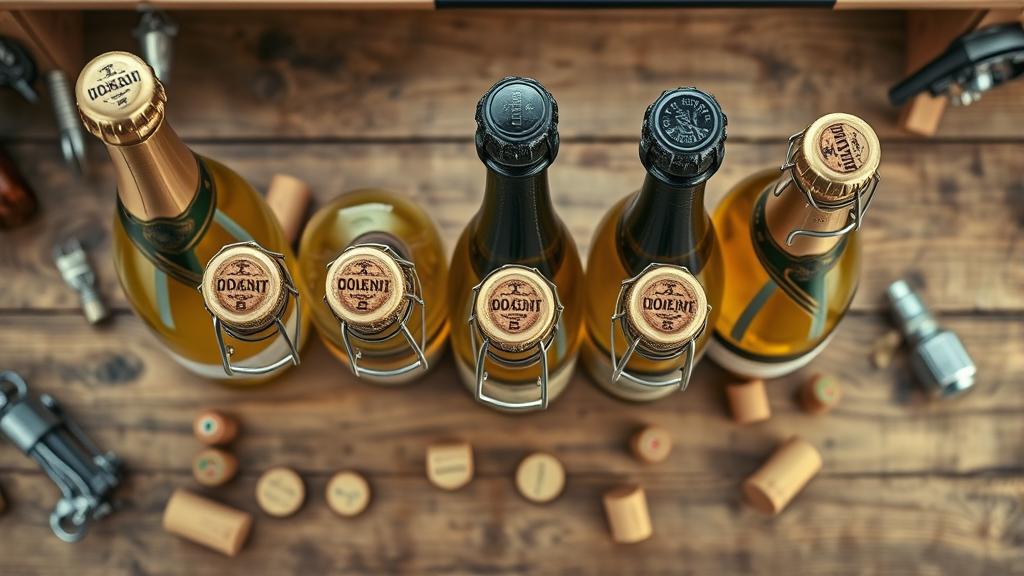
Bottle Conditioning (Traditional): Transfer your primary-fermented beer into 750ml champagne-grade bottles (thicker glass, designed for pressure). Add your priming sugar solution and champagne yeast culture to each bottle. Cap immediately with a crown cap and leave at 18–20°C for 2–3 weeks to allow secondary fermentation and carbonation to build naturally.
Secondary Vessel + Bottling: Alternatively, rack into a secondary fermenter, add champagne yeast, and age for 1–2 months at cool temperatures (12–15°C). This allows more controlled conditioning and flavour development. Then bottle with a small amount of priming sugar, cap, and age further.
The key difference between this and standard bottle carbonation is the yeast choice. Champagne yeast produces a finer bubble structure and settles more compactly in the bottle, making for elegant disgorging later.

Riddling, Disgorgement, and Finishing
Now for the theatrical bit: riddling and disgorgement. After your secondary fermentation is complete and the bottles have been ageing for at least 2–3 months, you’ll have a layer of spent yeast sediment (the “lees”) settled in the bottle neck. Traditional champagne production removes this through a process called “riddling”—gradually tilting and rotating bottles so the sediment collects at the neck, then opening and removing it through “disgorgement.”
For homebrewers, you have a few options:
- DIY Riddling Rack: Construct or purchase a simple riddling rack (a wooden frame with angled holes). Place your bottles neck-down and rotate them a quarter-turn daily for 3–4 weeks. The sediment gradually slides toward the cork.
- Manual Riddling: Skip the rack and manually rotate bottles every few days by hand—less precise, but it works.
- Accept the Sediment: For a less formal approach, simply chill the bottles, open gently, and decant carefully, leaving the last bit behind.
Once sediment is at the neck, chill bottles for 24 hours at 4°C (39°F). Carefully remove the crown cap and cork cage. The pressure inside will push the frozen sediment plug out. Recork with a champagne cork and wire cage immediately.

Common Mistakes and How to Avoid Them
I’ve learned these lessons the hard way, and I’m sharing them so you don’t have to:
- Over-carbonation: Too much priming sugar leads to bottle bombs. Stick to 2–3 grams per 750ml and no more. Measure carefully.
- Wrong bottles: Standard beer bottles cannot handle champagne carbonation levels. Invest in proper 750ml champagne-grade bottles with thick glass.
- Temperature inconsistency: Champagne yeast is sensitive. Ferment in a stable, cool environment (12–18°C ideally). Fluctuations lead to sluggish fermentation and off-flavours.
- Rushing the secondary fermentation: I’ve seen brewers bottle too early, before secondary fermentation is complete. Wait for a stable FG before riddling begins—at least 3 months of bottle age before you start handling them.
- Poor sanitation during disgorgement: One moment of carelessness and you’ve oxidized an otherwise perfect bottle. Work quickly, chill thoroughly, and reseal immediately. For deeper context on fermentation precision, check out our guide on functional fermentation techniques.
Tasting Notes and Enjoying the Fruits of Your Labour
The moment you pop the cork on your first champagne-style homebrew is genuinely thrilling. That gentle, persistent fizz. The creamy head. The complexity that’s developed over months of bottle age. You’ll notice flavours shifting—the sharp edges of the primary yeast have mellowed, and the champagne yeast has contributed subtle toastiness and mineral notes.
My first attempt was a pale ale base fermented with Hallertau hops and champagne yeast. Nine months from brew day to first bottle. The result? A subtle, dry, supremely elegant beer with fine carbonation and a lingering, clean finish. Not a “beer” in the traditional sense—more like a sparkling pale ale, closer to a dry white wine in character. Friends were speechless.
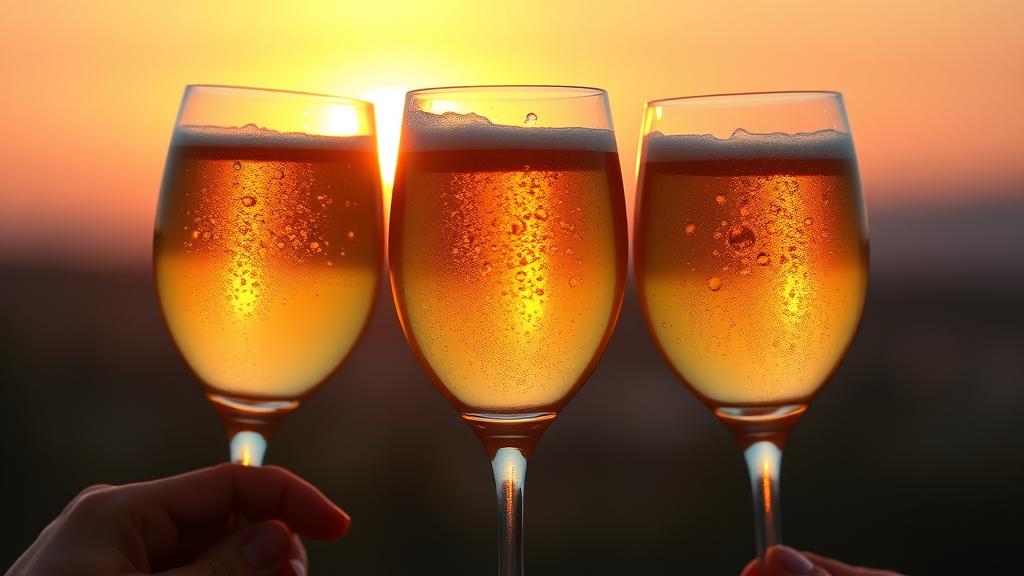
Serve these in elegant glassware—coupe glasses or tulips work beautifully. Chill to 6–8°C and open with ceremony. These beers reward patience and respect. If you’re curious about ageing and character development, our barrel-aging guide explores similar long-term conditioning philosophies.
Pro Tips and Variations
Dry vs. Demi-Sec: Want a slightly sweeter finish? Use less priming sugar (1.5g per bottle) to reduce secondary fermentation, trapping residual sugar. This creates a “demi-sec” style with more body and slight sweetness—brilliant for fruit champagne-style beers.
Fruit Additions: Consider a second edition with fruit. A champagne-method blonde ale with fresh peach or apricot juice adds complexity. Bottle-condition as normal, but add 100–150ml of filtered juice to each bottle along with the yeast. The carbonation carries subtle fruit aromatics beautifully.
Extended Ageing: Leave riddled, disgorged bottles on their side in a cool, dark cellar for a year or more. The cork keeps out oxygen, and subtle oxidative notes develop—leather, brioche, depth. By year two, you’ll have something genuinely wine-like.
Hybrid Fermentation: Pitch champagne yeast alongside your primary ale yeast from the start, rather than doing a separate secondary fermentation. This simplifies the process and produces slightly different carbonation characteristics—worth experimenting with once you’ve done a traditional run.
The Larger Picture: Why This Matters Now
Champagne-style beer isn’t just a technical exercise. It’s a shift in how homebrewers think about beer. We’re moving beyond “strong ale” or “experimental IPA” into territory that blurs the lines between beer, wine, and sparkling beverages. It speaks to a hunger for craft, for patience, for something that feels truly handmade and luxurious. For style definitions and competition guidelines, the BJCP (Beer Judge Certification Program) provides excellent references, and HomeBrewTalk forums offer peer experiences from brewers who’ve tackled champagne methods.
The Benedictine monks who inspired my brewing philosophy understood something crucial: the best things take time. They didn’t rush their ales. They aged them, considered them, allowed them to develop character. Champagne-method brewing is perhaps the most monastic approach to homebrewing available—a meditation on patience and precision.
If you’re curious about pushing your homebrewing skills further, if you want to create something that will genuinely surprise your friends, and if you’re willing to invest time rather than just money, champagne-style beer is your next obsession. Start planning your base recipe now. By autumn, you’ll be opening your first bottles.
🍺 Join the Brotherhood — Monthly brews, stories & monk wisdom
Subscribe for exclusive recipes, early brew logs, and behind-the-scenes updates straight to your inbox.

