
Coffee and beer have long existed in separate spheres—one to start your morning, the other to wind down your evening. But what if you could marry them? Coffee beer has quietly become one of 2026’s most exciting brewing trends, catching the attention of homebrewers tired of the same old stouts. It’s not just a gimmick. When executed properly, a well-crafted coffee beer becomes something genuinely magical: complex, warming, and genuinely crave-worthy.
I first brewed a coffee stout three years ago, purely by accident. A mate left a thermos of cold brew on my fermentation shelf during primary fermentation, and in a moment of creative chaos, I threw the whole thing in. The result? Surprisingly brilliant. Since then, I’ve experimented with everything from espresso additions to whole bean infusions. In this guide, I’m walking you through exactly how to brew coffee beer at home—from bean selection to final pour—with the honest tasting notes and occasional disasters that make brewing worth doing.
Why Coffee Beer Is Trending in 2026
Coffee beer sits at the intersection of three major 2026 trends. First, there’s the broader coffee renaissance: craft coffee culture is booming in the UK, with speciality roasters now as common as corner cafés. Second, there’s the trend toward flavour-forward, conversation-starting brews that break away from hop-forward IPAs. Third, coffee pairs beautifully with lower-alcohol brewing techniques, letting you create a sophisticated session coffee beer that doesn’t require a four-hour nap after two pints.
The American Homebrewers Association has noted coffee as one of the most accepted adjuncts in craft recipes, and for good reason: it’s forgiving, it’s available everywhere, and it transforms a beer entirely. Unlike some trending adjuncts (mushroom beer, anyone?), coffee has centuries of culinary precedent. Monks paired it with beer. Breweries across Germany and Scandinavia built reputations on it. It’s not trendy—it’s timeless.

Choosing Your Coffee and Grains
This is where it begins. A coffee beer is only as good as its coffee. Don’t use supermarket grounds or instant—you’ll regret it. Instead, hunt down a local UK roastery that does speciality coffee. Places like HomeBrewAdvice recommend medium to dark roasts, freshly roasted within two weeks.
Here’s what I’ve learned: lighter roasts give you bright, acidic notes that can clash with malt sweetness. Dark roasts offer chocolate, caramel, and woody notes that blend seamlessly into a stout. I typically use a 50/50 blend of medium-dark and espresso roast beans for complexity. A 5-gallon batch (23 litres) uses 150–225 grams (5.3–8 oz) of beans, depending on intensity desired.
For the grain bill, start simple. A classic coffee stout base:
- 65% Pale Ale Malt (base layer)
- 15% Roasted Barley (colour and dry finish)
- 10% Chocolate Malt (subtle sweetness)
- 10% Black Malt (depth, not harshness)
This malt selection is crucial because coffee is bitter on its own—you need complementary sweetness from chocolate and roasted barley to balance it. Skip the chocolate malt, and your finished beer tastes like burnt espresso. Skip the roasted barley, and it’s thin and one-dimensional.
Hops are minimal. A single charge of 20–25 IBUs at 60 minutes (I use East Kent Goldings or Fuggle, traditional British varieties) keeps the bitterness controlled. Coffee will add another layer of bitterness, so restrain yourself here. No late-addition hops; this beer doesn’t need citrus or floral notes competing with coffee complexity.
Brew Day: Mashing and Lautering
Coffee beer brews exactly like any other stout, with one difference: patience. I mash at 68°C (154°F) for a full 60 minutes. This extra time builds body and sweetness—essential when you’re adding a bitter adjunct later.
Your mash thickness should sit around 2.5 litres per kilogram of grain (or 1.2 quarts per pound). Hit your target mash temperature precisely. Temperature swings create tannins that will clash horribly with coffee tannins. Use a good thermometer. Trust it.
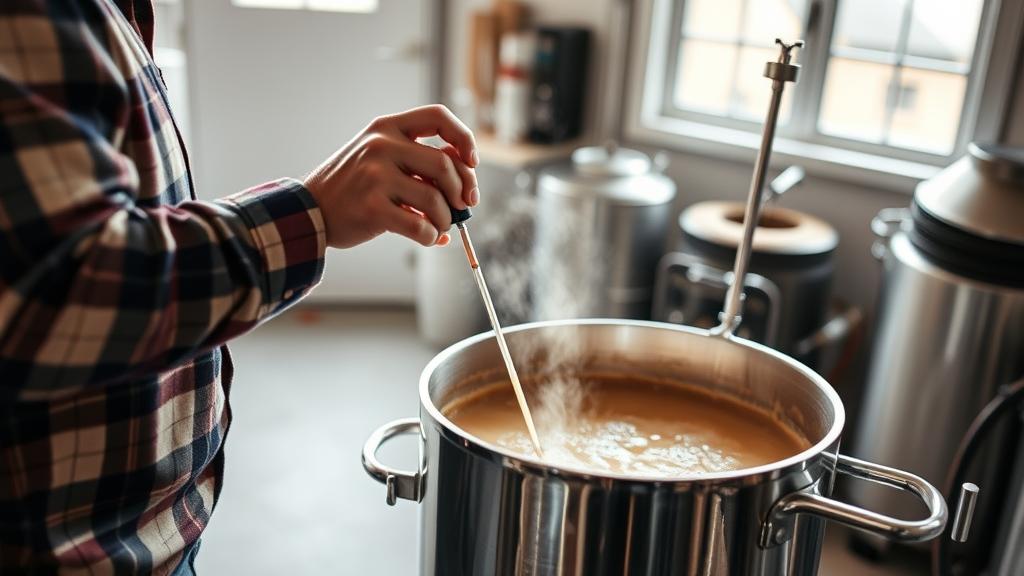
Lauter slowly. A swift run-off aerates your wort unnecessarily, which is especially problematic with a dark wort where oxidation is harder to spot. Give yourself at least 45 minutes for the complete lauter. Collect your runnings until your gravity drops to about 1.008–1.010. You’re aiming for roughly 1.050–1.055 OG (original gravity) before boil.
Boil as normal: 60-minute addition of bittering hops, 15-minute addition of 5 grams of East Kent Goldings for subtle flavour, then straight chill to 20°C (68°F) for pitching.
Coffee Addition Timing: The Critical Decision
This is where home brewers diverge. You can add coffee cold at bottling (easiest, least control), hot at knockout (balanced extraction), or post-fermentation in secondary (longest shelf life for the coffee flavour). Each method produces a different result.
Cold brew method (my preference): Brew strong cold brew concentrate the night before brew day—12 hours of steeping 75 grams of ground coffee in 500 ml of cold water. At bottling time, add the strained coffee to your bottling bucket. This gives you the most control and the brightest coffee notes.
Knockout method: Add ground coffee directly to your kettle at flame-out (70–80°C / 158–176°F), let steep 20 minutes, then strain through cheesecloth. This extracts oils and some tannins but keeps more volatiles intact than boiling would.
Secondary fermentation method: After primary fermentation (7–10 days), rack to secondary and add cold brew concentrate. Let steep 4–5 days, tasting daily. This method extends your timeline but offers maximum flexibility to dial in flavour intensity.
I use the cold-brew-at-bottling method now. It’s forgiving, reproducible, and the coffee flavour stays vibrant for months.
Fermentation and Conditioning
Pitch a reliable ale yeast—US-05 or SafAle S-04 work beautifully. Coffee beer doesn’t benefit from hybrid fermentation techniques. Stick with a clean ale ferment at 18–20°C (64–68°F).
Primary fermentation takes 10–14 days. You’ll notice the krausen subsiding, gravity dropping steadily. By day 14, check your gravity: aim for FG (final gravity) of 1.012–1.015. This leaves enough residual sweetness to balance the coffee bitterness without tasting cloying.
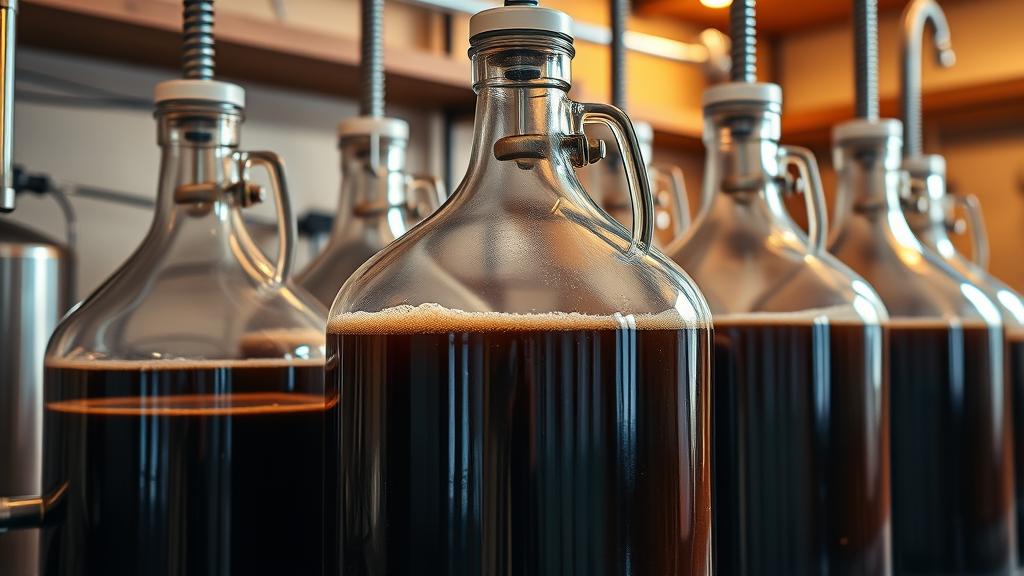
Bottle conditioning is crucial for coffee beer. Prime with 150 grams of glucose (or corn sugar), bottle in 500 ml amber glass bottles, and let condition for 3–4 weeks at room temperature. This time allows the coffee tannins and beer components to marry. Drink too early, and it tastes disjointed. Wait, and the magic appears.
Tasting Notes and My Honest Review
Here’s where I’m supposed to tell you it’s perfect every time. It’s not. My first coffee stout was genuinely rough—thin-bodied, aggressively bitter, no complexity. I’ve learned the hard way that coffee beer lives or dies on balance.
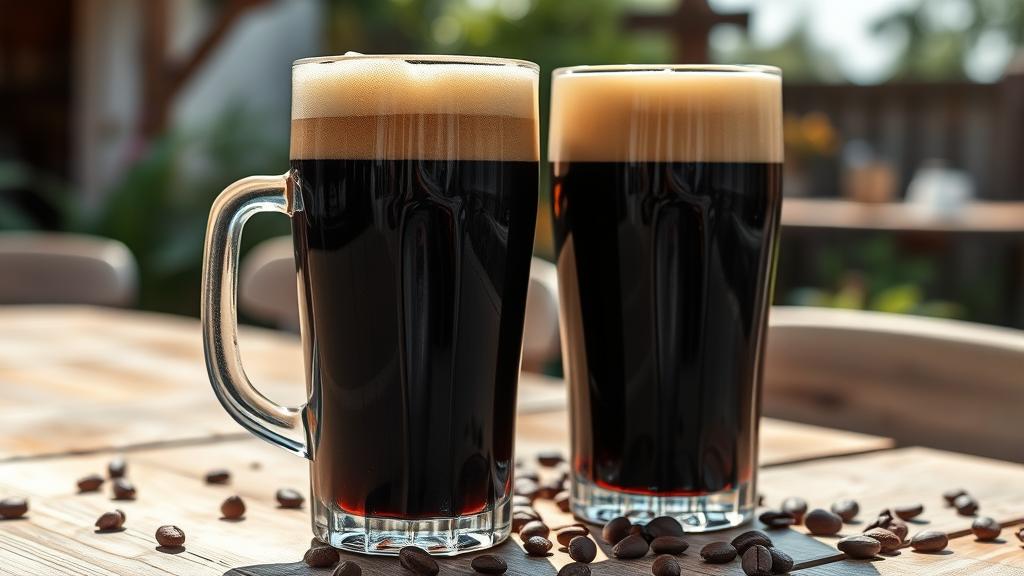
A well-executed coffee stout should smell like a coffee shop crossed with chocolate cake. The first sip should be warming, with forward notes of espresso and dark chocolate, followed by a dry, slightly spicy finish from roasted barley. There should be no astringency (that’s over-extraction), no thin body (malt choice), no harsh bitterness (hop or coffee timing error).
The best coffee beer I’ve brewed—a recipe I refined over eighteen months—tasted like cold brew cut with chocolate stout. It had a 1.5-inch head, poured almost black, and drank dangerously smooth at 5.5% ABV. Mates came back asking when I’d brew it again. That’s the goal.
If your first attempt tastes burnt: you likely overextracted the coffee or mashed at the wrong temperature. If it’s thin and hollow: your grain bill needs more chocolate malt. If it’s too bitter: reduce coffee amount next time or shift to a lighter roast.
Pro Tips and Common Mistakes to Avoid
Use whole beans, not pre-ground. Ground coffee stales fast. Grind your beans 24 hours before brew day, keep in an airtight container.
Don’t use instant coffee. Instant is processed, bitter, and adds nothing but harshness. Just don’t.
Start conservative with coffee amount. You can always add more at bottling time if tasting dry-hopped-style coffee additions. You can’t remove it. A 5-gallon batch needs 150 grams minimum; 200 grams for an aggressive coffee profile.
Prevent oxidation in dark worts. Handle your wort gently post-boil. Siphon rather than splash. Dark beer oxidizes visibly, turning brown at the edges.
Check pH balance. Coffee is acidic (pH ~5). If your brewing water is already acidic, you might end up with a beer that tastes like battery acid. A simple test strip shows you quickly whether adjustment is needed.
Source sustainability-conscious coffee. For further guidance on ingredient sourcing, check out sustainable homebrewing practices. Many UK roasteries now offer fair-trade or direct-trade coffee that tastes better and supports farmers properly.
Variations and Next-Level Experiments
Once you’ve nailed the classic coffee stout, the world opens up. Try:
- Coffee + Chocolate: Add 50 grams of unsweetened cocoa powder to secondary fermentation. The cocoa thickens body and adds luxury.
- Coffee + Vanilla: Split vanilla beans lengthwise, add to secondary with cold-brew coffee. This creates a dessert-style beer that pairs brilliantly with pudding.
- Coffee + Oak: Toast oak chips in a dry pan until lightly charred, add to secondary with coffee addition. Oak adds whiskey-like depth.
- Single-Origin Espresso: Instead of blended beans, source a single-origin espresso (Ethiopian, Kenyan, or Colombian). Single origins have distinct flavour profiles—Ethiopian brings floral notes, Kenyan adds blackberry complexity, Colombian adds nuts and chocolate.
- Cascade Hops + Coffee: A minority view, but try a small addition of Cascade hops (10–15 IBUs) late in the boil. Cascade’s citrus floral notes can cut through coffee richness, creating balance rather than straight darkness.
The trick with variations is restraint. Coffee beer is delicate. Every addition changes the balance. Keep notes of what you add and in what quantity. The American Homebrewers Association recipe archive has dozens of variations to draw inspiration from.
Conclusion: From Bean to Glass
Coffee beer is trending for good reason: it tastes brilliant, it bridges two cultures that rarely meet, and it’s achievable for any homebrewer willing to be patient. Start simple. Master the base recipe. Then experiment. The worst-case scenario is you learn something; the best-case scenario is you accidentally create your house signature beer.
I’ve shared the whole journey here—ingredients, timing, mistakes, and honest tasting notes—because coffee beer deserves better than recipe-book generalisations. This is how you actually brew it, drawn from three years of trial and occasional disaster. Next time you’re planning your next brewing session, consider adding coffee to the list. Your palate will thank you.
For deeper resources on fermentation science, I’d recommend Brew Your Own Magazine’s comprehensive coffee brewing guide and the BJCP Style Guidelines (coffee stout typically falls under the Imperial Stout category, though increasingly it’s earning its own classification).
🍺 Join the Brotherhood — Monthly brews, stories & monk wisdom
Subscribe for exclusive recipes, early brew logs, and behind-the-scenes updates straight to your inbox.

