
Cold-Brew Coffee Stout: Master the 2026 Brewing Trend at Home
There’s a peculiar alchemy that happens when you combine two of humanity’s greatest comforts: rich, bitter coffee and smooth, complex stout. Walk into any specialty brewery in 2026, and you’ll find cold-brew coffee stouts sitting proudly alongside seasonal releases. But here’s the thing — you don’t need a 50-barrel brewhouse to pull this off. In fact, I’ve discovered that some of the finest coffee stouts I’ve ever tasted came from homebrewers experimenting in their kitchens, adding cold-steeped espresso to a robust Imperial stout.
Cold-brew coffee stout represents something bigger than just a flavour trend. It’s the intersection of precision brewing, seasonal awareness, and a quiet respect for ingredients — the kind of philosophy that the Benedictine monks I admire would absolutely understand. You’re not rushing flavour with heat; you’re coaxing it out slowly, letting time do the work.
This guide will walk you through the entire process, from grain to glass. Whether you’re a seasoned brewer looking to explore cold-extraction techniques or a newer homebrewer wanting to try something genuinely impressive, this style is forgiving, rewarding, and—I promise—delicious.
Why Cold-Brew Coffee Stout Is Trending Right Now
Coffee culture has exploded in the UK over the past five years. Specialty coffee shops now rival pubs as social hubs. Cold-brew coffee, in particular, has moved from niche café offering to supermarket staple. Meanwhile, cold-brew extraction methods have become deeply fashionable in homebrewing circles, celebrated in competitions like the World Beer Cup and featured in award-winning commercial releases from Thornbridge’s Fika and Guinness’s Cold Brew Coffee Beer.
The real appeal? Cold extraction preserves delicate coffee aromatics that would burn away in a hot brew. It reduces astringency and bitterness, leaving behind smooth, chocolatey, and sometimes even fruity notes. When you pair that with a properly crafted stout base — rich, creamy, slightly roasty — you create something that feels both indulgent and drinkable. It’s summer comfort in a pint glass.
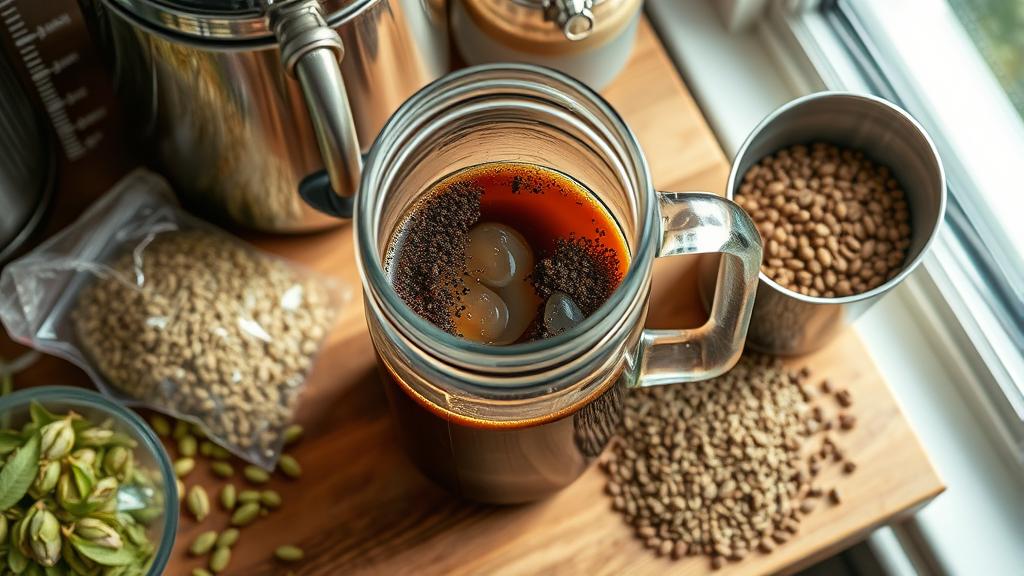
Ingredients & Equipment for Your Cold-Brew Coffee Stout
For a 20-litre (5.3 US gal) batch of Imperial Stout base, you’ll need:
Grains:
- 3.5 kg (7.7 lbs) Pale Malt — your foundation
- 0.5 kg (1.1 lbs) Chocolate Malt — depth and subtle roast
- 0.3 kg (0.66 lbs) Roasted Barley — sharp roast backbone
- 0.2 kg (0.44 lbs) Black Malt — colour and dry finish
Hops & Other Additions:
- 20g Fuggle or East Kent Golding hops at 60 minutes (bittering)
- 2 packets Wyeast 1056 American Ale yeast (or equivalent, ~100 billion cells)
- Water salts (optional, but a little gypsum helps)
For the Cold-Brew Coffee Addition:
- 250g (8.8 oz) high-quality whole coffee beans — single-origin recommended (Ethiopian or Colombian work beautifully)
- 500ml (17 fl oz) filtered water
- Fine grinder or ask your local roaster to grind coarse
- Clean glass jar or dedicated coffee brewing vessel
- Fine-mesh strainer or cheesecloth
Equipment Check:
Beyond your standard brewing kit (pot, mash tun, fermenter, airlock), you’ll want a temperature-controlled environment for both the coffee steep and the fermentation. A cool corner of a garage or spare room works perfectly; the ideal temperature range for this stout is 18–20°C (64–68°F).
Step-by-Step Brew Day
- Start the cold-brew extract 24 hours before brew day. Coarsely grind your beans (about the texture of breadcrumbs) and combine with cold filtered water in a glass jar. Stir gently, cover, and leave at room temperature, away from direct sunlight. You’re aiming for a slow, passive extraction.
- Mash in. Heat 15 litres (4 US gal) of strike water to 67°C (152°F). Combine your crushed grains and bring the mash to a steady 64°C (147°F). Hold for 60 minutes, stirring every 15 minutes to ensure even extraction and avoid a stuck mash.
- Sparge and collect. Raise the mash temperature slowly to 68°C (154°F) over 10 minutes. Sparge with water at 75°C (167°F) until you’ve collected approximately 25 litres (6.6 US gal) of wort. Don’t rush this; let gravity work for you.
- Boil. Bring your wort to a rolling boil and hold for 90 minutes. Add Fuggle hops at the start. This style doesn’t need late-addition aroma hops — the coffee will provide the complexity. If you’re using water salts, add them at the beginning of the boil.
- Cool and pitch. Cool the wort to 20°C (68°F) using your preferred method (immersion chiller or ice bath). Once cooled, transfer to your fermenter and pitch your yeast. Take a gravity reading — you’re aiming for an original gravity (OG) around 1.065–1.070 for a proper Imperial Stout.
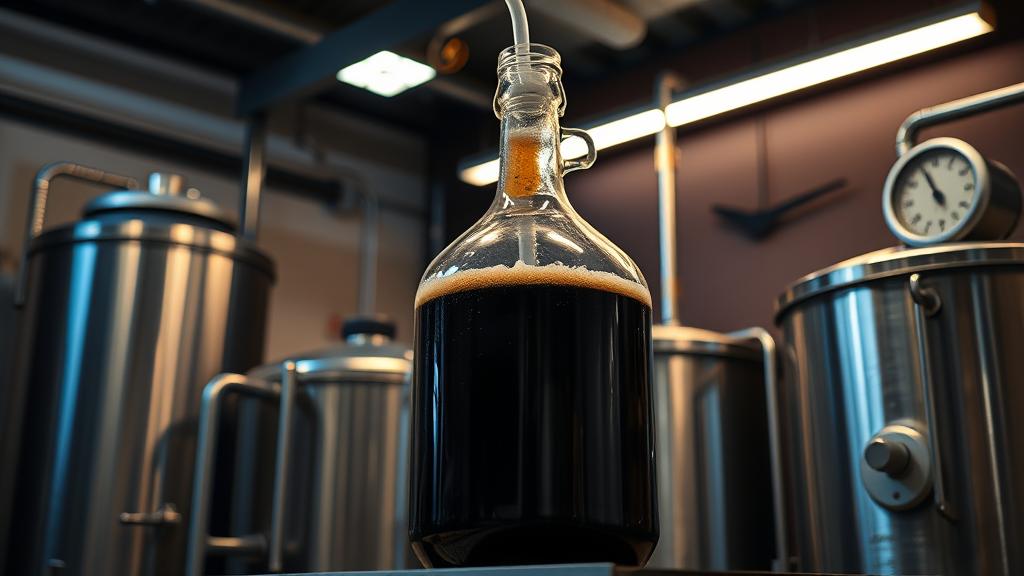
Fermentation & Conditioning: Where the Magic Deepens
American Ale yeast is forgiving but performs best at 18–20°C. If you can maintain this temperature range — or very close to it — your stout will develop clean, complex flavours without harsh esters.
Fermentation will take 7–10 days to complete. You’ll see vigorous bubbling for the first 3–4 days, then it will settle into a gentle, steady pace. Don’t be tempted to move the fermenter around or expose it to temperature swings. Let it sit quietly. It’s reminiscent of the monastic virtue of stabilitas — stability, rootedness, the power of staying put.
By day 10, fermentation should be essentially complete. Take a final gravity (FG) reading. You’re aiming for 1.008–1.012, giving your finished beer an ABV around 7.5–8.0%.
Secondary Fermentation & Cold-Brew Addition
Here’s where the coffee magic happens:
- After 10 days of primary fermentation, strain your cold-brew coffee extract through fine cheesecloth into a sanitised jug. This removes the grounds but preserves all the delicate flavours.
- Rack your stout to a secondary fermenter (carboy or bucket). Start with three-quarters of your cold-brew extract (roughly 375ml / 12.7 fl oz).
- Leave it for 3–4 days. Taste a small sample. Not enough coffee character? Add the remaining quarter of the extract and wait another 2 days.
- This method gives you control. You’re not dumping all the coffee in at once; you’re building flavour incrementally, listening to what the beer is telling you.
This step is crucial, and I’ve seen it done wrong too many times. If you add hot coffee, you’ll oxidise the stout and damage the delicate aromatics. If you wait until you’re bottling, the coffee will develop harsh, astringent notes. Cold addition in secondary is the sweet spot.
Tasting Notes & My Honest Review

When done right, a cold-brew coffee stout should pour like liquid velvet — deep brown-black with a thick, persistent tan head. The aroma is where things get interesting. You get the roasted malt backbone (chocolate, cocoa), but underneath that sits the cold-brew coffee: smooth, rich, almost malty-sweet rather than sharply bitter.
The first sip should be creamy and full-bodied. The Pale Malt provides a subtle sweetness that echoes the coffee’s natural sugars. The Chocolate Malt adds depth and a whisper of vanilla. The Roasted Barley contributes a sharp, dry finish that keeps the beer from becoming cloying. Then the cold-brew coffee kicks in — not aggressive, but definitely present — with flavours of dark chocolate, espresso, and perhaps a hint of dried fruit or nuttiness (depending on your bean origin).
The finish should be clean and slightly bitter, with coffee notes lingering on the palate. It shouldn’t taste like you’re drinking bitter espresso; it should taste like coffee and stout discovered they were meant to be together.
A well-made cold-brew coffee stout drinks dangerously smoothly for an 8% ABV beer. You’ll find yourself three-quarters through your pint before realising how strong it is.
Pro Tips & Common Mistakes
Don’t Skip the Cold Extraction
Brewing hot coffee and adding it to beer is tempting and absolutely the wrong move. Hot extraction over-extracts bitter compounds and can oxidise your finished beer. Cold extraction is slower but infinitely superior. The American Homebrewers Association backs this up — trust the method.
Use Fresh, Quality Beans
Don’t use instant coffee or beans from three months ago. Fresh, whole beans ground just before steeping make a tremendous difference. If you don’t have a grinder, most specialty coffee shops will grind them for you if you ask nicely.
Temperature Control During Fermentation
This yeast performs best at 18–20°C. If your fermentation space is warmer (say, 23°C in summer), it will work, but you may get fruity esters that don’t complement coffee. Invest in a temperature controller if you’re serious about consistency.
Taste as You Go
When adding the cold-brew extract in secondary, don’t commit the whole amount at once. Add it gradually and taste between additions. Every grain, every bean, and every brewing environment is slightly different. Your palate is your best measuring instrument.
Avoid Common Pitfalls
- Astringency from over-extraction: If your finished beer tastes harshly bitter (not pleasantly so), you may have over-extracted during cold-brewing. Next time, reduce the steep time to 18 hours instead of 24.
- Off-flavours from temperature swings: Ferment steadily. Wild swings between 15°C and 25°C will stress the yeast and produce unpleasant esters.
- Premature carbonation: Don’t bottle until the secondary fermentation is completely finished (wait 2–3 weeks). Any residual yeast activity will over-carbonate the bottle.
Variations & Next-Level Experiments
Once you’ve nailed the basics, the door opens to experimentation. Here are directions worth exploring:
Single-Origin Coffee Comparisons
Brew five 20-litre batches of the same base stout. Add cold-brew extracts from Ethiopian, Colombian, Kenyan, Brazilian, and Indonesian beans. Taste side by side after 3 months. You’ll discover which origins complement stout best (my money is on the Ethiopian — fruity and floral underneath the coffee intensity).
Oak-Aged Variant
After primary fermentation, add a medium-toast oak spiral to your secondary fermenter (soaked in bourbon whiskey, if you’re feeling adventurous). Age for 2–3 months. The oak, coffee, and spirits create something genuinely special.
Cold-Brew Chai Stout
Instead of pure coffee, make your cold steep with a blend of coarse-ground coffee beans and crushed spices: cardamom, cinnamon, black pepper, and clove. This edges toward botanical brewing, where the spice and coffee become equal partners.
Espresso Shot Tasting Note Experiment
Pull fresh espresso shots and add drops of your finished cold-brew coffee stout to the shot glass. The stout acts as a chaser, and the flavour interaction is genuinely surprising. It’s a useful way to evaluate how well the coffee and beer are integrated.
Conclusion: A Stout for Our Times
Cold-brew coffee stout represents everything I love about homebrewing in 2026: precision without pretension, patience rewarded with complexity, and the respectful combination of two ingredients that, separately, have already given humanity immense joy.
It’s a beer that takes time — not in a frustrating way, but in the way that matters. A full cycle from cold-brewing the coffee extract to a finished, carbonated beer ready to drink is about 8–10 weeks. But when you pour that first glass, feel the weight and creaminess on your tongue, and taste the smooth marriage of roasted grain and cold-extracted coffee, you’ll understand why the wait was worth it.
The monks taught me that good work is never rushed. It’s done with intention, with respect for ingredients, and with an understanding that some things simply can’t be hurried. A cold-brew coffee stout embodies that philosophy entirely.
Try this recipe this summer. Share it with fellow brewers. Take notes on what works in your environment. Next year, when someone asks you for your most impressive homebrewed beer, you’ll have the answer ready.
Brew well, taste honestly, and don’t skip the cold extraction. Your future self will thank you.
🍺 Join the Brotherhood — Monthly brews, stories & monk wisdom
Subscribe for exclusive recipes, early brew logs, and behind-the-scenes updates straight to your inbox.

