
Why Clarity is the New Extremity in 2026
For the better part of a decade, homebrewing has chased extremes: the hoppiest IPAs, the sweetest pastry stouts, the most aggressive sours. We’ve pushed boundaries relentlessly, and that pursuit has been brilliant. But something shifted in 2025 and 2026, and I’ve felt it myself in the brewery. Drinkers — and brewers — are tired of hype. They want simplicity. They want drinkability. And they want their beer to shine with what I call “perfect transparency.”
Crystal clarity in a lager has become the new badge of honour. It’s the quiet flex that separates the technically dialled-in brewer from the experimenter. You can hide flaws in a hop-forward IPA or a heavy stout, but a flawless Pilsner or German Helles? There’s nowhere to hide. Every flaw shows. And that’s what makes chasing clarity so addictive. It’s a return to the monastic principle of perfection through simplicity — craft your beer so well that it needs nothing but itself.
This post documents my journey toward consistent crystal clarity and the practical systems I’ve built to achieve it. I’m not claiming perfection every time (I still chase a few cloudier batches occasionally), but the techniques here will transform your lager clarity dramatically.
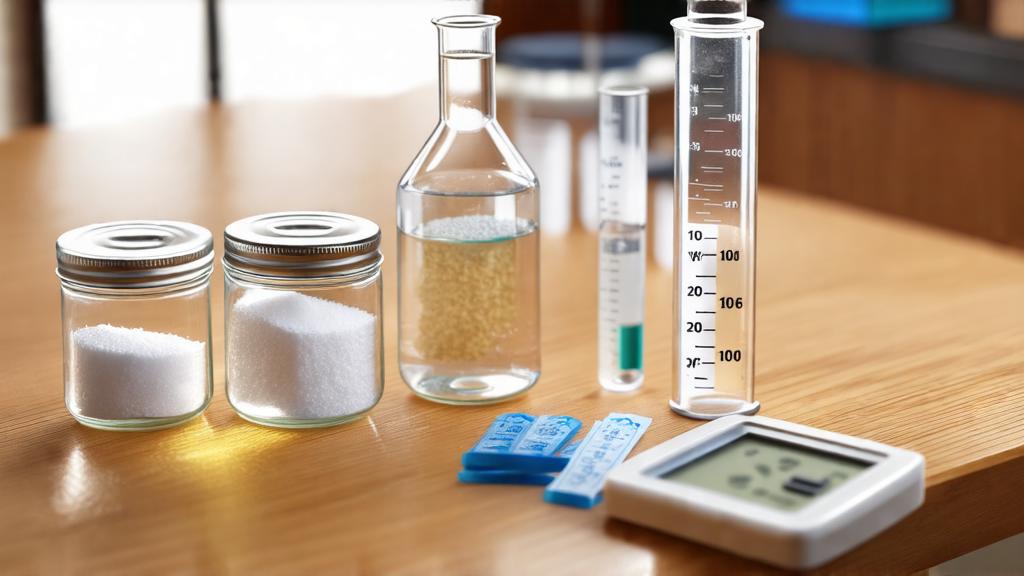
Water Chemistry: The Foundation of Clarity
Here’s something that took me years to understand: you can’t achieve true crystal clarity without understanding your water profile first. This isn’t technical jargon — it’s fundamental brewing hygiene, and it’s the difference between a hazy lager and one that’s flawless.
I started paying serious attention to water chemistry mastery about three years ago, and it completely changed my brewing. British tap water varies wildly depending on where you live. If you’re in a soft water area (like much of Scotland), you’ll need to add minerals. If you’re in a hard water area (like London), you might need to strip some out or just work with what you’ve got.
For crystal clear lagers, here’s what I aim for:
- Calcium (Ca): 80–120 ppm. Calcium helps yeast flocculation — the process where yeast clumps together and drops to the bottom of your fermenter.
- Sulfate (SO4): 40–80 ppm for a clean, crisp finish. Less sulfate = softer, rounder profile.
- Magnesium (Mg): 5–10 ppm. Important for yeast health and enzymatic reactions during mashing.
- pH: Aim for 5.4–5.6 during the mash. Use a simple pH meter (£30–50 from homebrew suppliers like The Malt Miller) to check regularly.
If your water profile is off, you’re fighting an uphill battle. I use a water report from my local water company (free, online) and adjust from there using gypsum, calcium chloride, and sometimes reverse osmosis if things are too mineral-heavy.
The Science of Clarification: Fining Agents
Even with perfect water chemistry and yeast management, you’ll have suspended particles — dead yeast, grain husks, proteins. Fining agents speed up the settling process dramatically. I use three primary options:
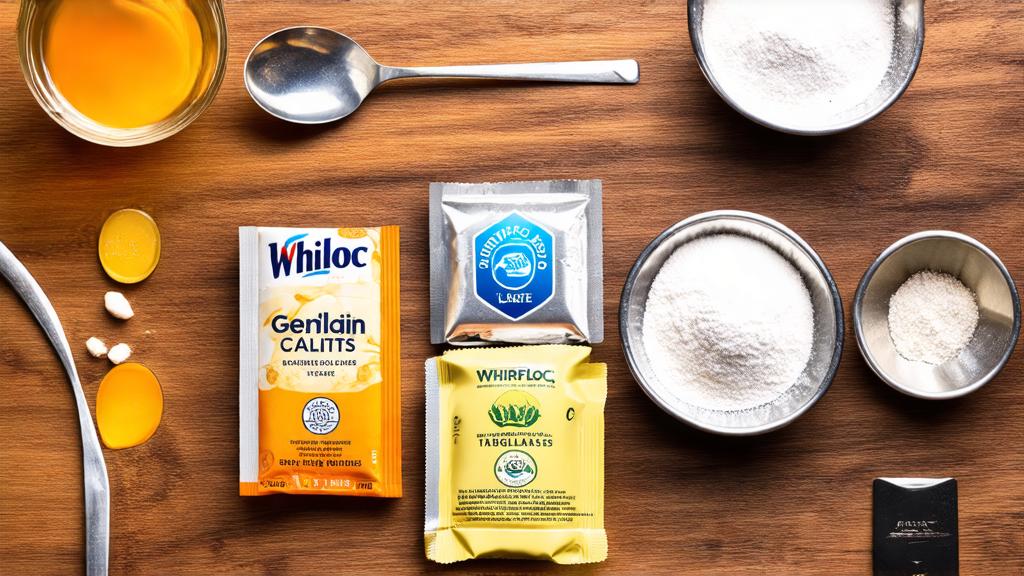
Gelatin (post-fermentation): My go-to choice for cold conditioning. I dissolve gelatin powder in warm water (not boiling — it’ll denature), chill it, and add it about 5–7 days before packaging. It works by forming long chains that trap particles and drop everything to the bottom. The result is typically brilliant clarity within 48–72 hours (1–2 days).
Whirlfloc (during the boil): A kettle finings used at the 15-minute mark during your boil. It’s essentially refined seaweed (carrageenan) that coagulates proteins during cooling. Whirlfloc reduces hot break particles, so your wort cools with fewer suspended solids. I always use this alongside gelatin.
Isinglass (traditional, vegan-free alternative): Made from fish bladder, it’s been used for centuries. It works similarly to gelatin but is less reliable in my experience. I reserve it for special brews where authenticity matters more than speed.
The monk in me appreciates the simplicity here. You’re not adding anything permanent to your beer — just helping nature settle faster. Add gelatin 5–7 days before packaging, and your lager will drop clear like magic.
Step-by-Step Brew Day for Clarity Success
Clarity starts on brew day. Here’s my exact process:
- Mash at 65–66°C (149–151°F) for 60 minutes. This temperature range favours beta-amylase enzymes, producing more fermentable sugars and less protein. Less residual protein = clearer finished beer.
- Sparge slowly and collect your runoff at pH 5.5–5.8. If your runoff turns grey or milky, your pH is wrong — adjust your sparge water chemistry.
- Boil for 90 minutes if you want maximum clarity. The extended boil helps coagulate more proteins. (This might sound extreme, but lagers benefit from it.)
- Add Whirlfloc 15 minutes before flameout. Let it work through the entire whirlpool.
- Whirlpool aggressively for 10–15 minutes. This settles the hot break (coagulated proteins) into a cone in the centre of your kettle. Rack carefully from the side arm, avoiding the cone.
- Cool to 10°C (50°F) as quickly as possible. Use a plate chiller if you have one. I use a coil chiller submerged in ice baths — slower but effective.
This process — extended mash, extended boil, aggressive whirlpool — is borrowed from traditional Czech brewery practices. It works because it addresses clarity at every stage: mashing, boiling, and cooling.
Fermentation & Conditioning: Where True Clarity Happens
Here’s the uncomfortable truth: your lager won’t be clear immediately after fermentation. It’ll look slightly hazy, with yeast still in suspension. This is normal. The magic happens during conditioning.
After pitching, let your lager ferment at 10–13°C (50–55°F) for Pilsner styles, slightly warmer for Helles. Once gravity is stable (check over 3 days — no movement), I do a diacetyl rest: raise the temperature to 16–17°C (61–63°F) for 2–3 days. This lets yeast clean up diacetyl (a butterscotch compound), then I cool back down to lagering temperature immediately.
Now the real conditioning begins. Move your fermenter to the coldest part of your garage or fridge and hold at 2–4°C (36–39°F) for 2–4 weeks. This is called lagering, and it’s non-negotiable for clarity. Cold temperatures slow yeast metabolism dramatically — it stops reproducing and gradually flocculates (clumps and drops). You’re essentially letting gravity and cold do all the work.
After 2 weeks at lagering temperature, I take a gravity reading to confirm fermentation is complete. If it’s stable, I add gelatin (as described earlier) and wait another 5–7 days. The result is stunning clarity.
Tasting & Evaluating Your Clear Lager
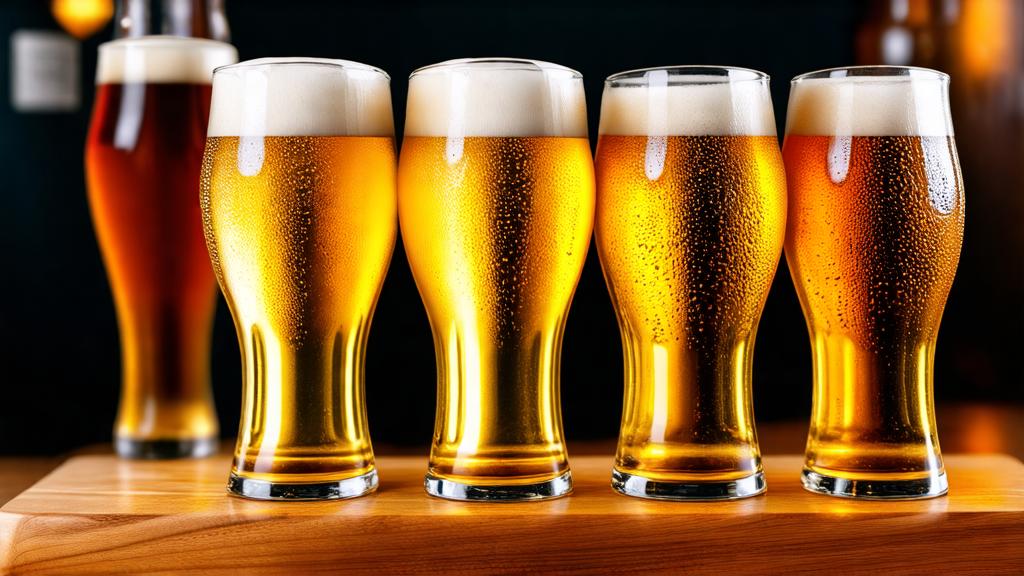
There’s a moment when you first look at your finished lager in a glass — held up to the light, perfectly transparent, brilliant gold — and you feel something click. This is what craft is about: not extreme flavours, but perfect execution. Let me walk you through what “perfect clarity” actually looks like:
Visual inspection: Hold the glass at eye level against a bright background (window, lamp). You should see zero haze. If there’s any cloudiness, even slight, it’s either yeast in suspension (sometimes acceptable in certain styles) or protein/starch chill haze (less acceptable — means your process has room for improvement).
Chill haze test: If your beer is cloudy cold but clears as it warms, you have chill haze (protein precipitation). It’s not harmful, but it signals you can improve: extend your boil next time, or add Irish moss/Whirlfloc earlier.
Flavour-wise, a crystal-clear lager should be clean: malt-forward, crisp finish, subtle hop character. No diacetyl (butterscotch), no solvent notes, no yeasty funk. If you’re hitting these marks, your fermentation and conditioning were dialled in. This is the reward — not extreme flavour, but precision.
Pro Tips & Common Clarity Mistakes
Mistake 1: Skipping the lager rest. I know cold conditioning takes time. You’re itching to drink. But skipping it or cutting it short is the #1 reason homebrewers end up with cloudy lagers. Lager yeast needs cold time to flocculate. Full stop. Plan for 4–6 weeks from pitch to glass.
Mistake 2: Racking off yeast too early. Some brewers rack their lager to a secondary fermenter or conditioning vessel immediately after primary fermentation. This removes the yeast cake too quickly. I recommend staying on the yeast during the initial cold conditioning phase. The yeast continues to work, cleaning up off-flavours and settling more completely. Only rack if you need the space or if you’re doing a massive batch.
Mistake 3: Using a yeast strain with poor flocculation. Not all lager yeasts are created equal. Wyeast 2308 (Munich Lager), Safale W-34/70, and White Labs WLP830 (German Lager) are all excellent flocculators. But some experimental strains flocculate poorly. If you’re starting out, stick with proven strains and you’ll hit clarity consistently.
Pro tip: Cold crash your brew.** After lagering for 2–3 weeks and before adding gelatin, crash your temperature to -1 to 0°C (30–32°F) for 24–48 hours if your fridge allows. This precipitates more protein and produces the clearest finished beer. Most homebrewers never try this, and it’s a game-changer.
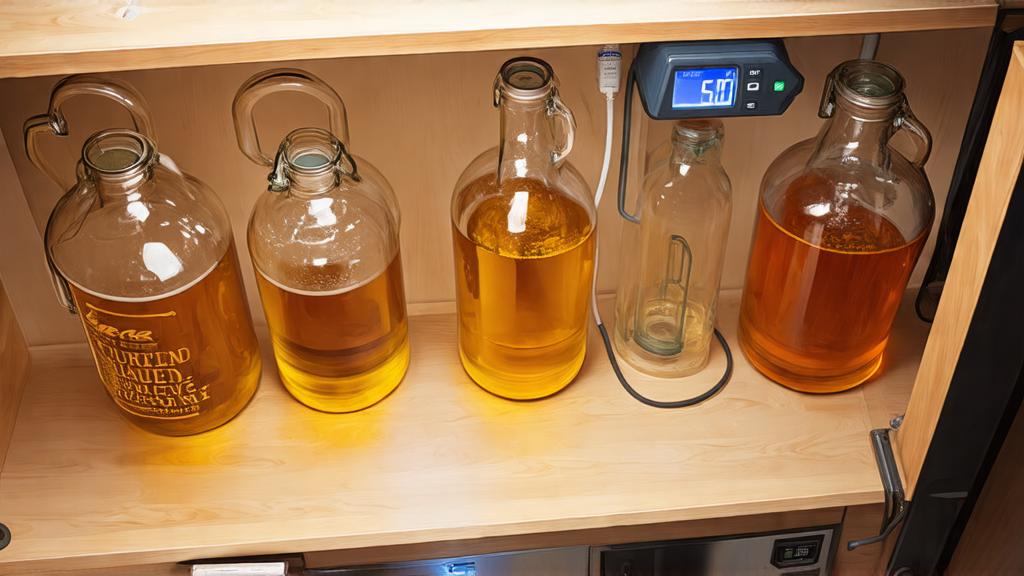
Pro tip: Use a thermowell. A thermowell is a simple tube of stainless steel that hangs inside your fermenter, holding a temperature probe. This lets you monitor actual fermentation temperature without opening the lid. Accurate temperature control is everything for lager clarity.
Next Steps: From Clear to Flawless
Once you’ve nailed clarity on a basic Pilsner, the next challenge is maintaining clarity while experimenting with other styles: a hoppy hoppy lager, a fruit-infused fruit lager, or a complex decoction-mashed Czech dark lager. The principles remain the same: water chemistry, precise fermentation temperature, adequate conditioning time, and fining agents where needed.
The philosophical shift here mirrors something monks have understood for centuries: perfection isn’t about complexity. It’s about doing one thing brilliantly. Your lager doesn’t need a huge hop bill or exotic adjuncts to be exceptional. It needs clarity, cleanness, and precision. Master that, and you’ve joined a small circle of brewers who understand what craft really means.
🍺 Join the Brotherhood — Monthly brews, stories & monk wisdom
Subscribe for exclusive recipes, early brew logs, and behind-the-scenes updates straight to your inbox.

