
Kettle Sour Mastery: Brewing Sharp, Refreshing Beers at Home
I’ll be honest: when I first heard about kettle souring, I was skeptical. It seemed like a hack—a shortcut for people who didn’t have the patience for wild fermentation. But after three failed attempts and a fair bit of humbling, I’ve come to see it differently. Kettle souring is a legitimate, scientifically sound technique that lets homebrewers dial in sharp, clean sour ales without the unpredictability of wild yeast. It’s not cheating. It’s precision.
And right now, in August 2026, kettle sours are having a moment. After years of sour beer being niche territory, they’re everywhere. Craft breweries are releasing fruit kettle sours for summer, homebrewers are experimenting with kettle-souring techniques they stumbled upon on Reddit, and honestly? I think it’s because people finally understand what makes them brilliant: reliability, speed, and that crisp, puckering acidity that cuts through August heat like nothing else.
This post is what I wish existed when I started. Let’s break down kettle souring from first principles, walk through my actual brew day, and get you making sours that rival anything you’ve drunk commercially.
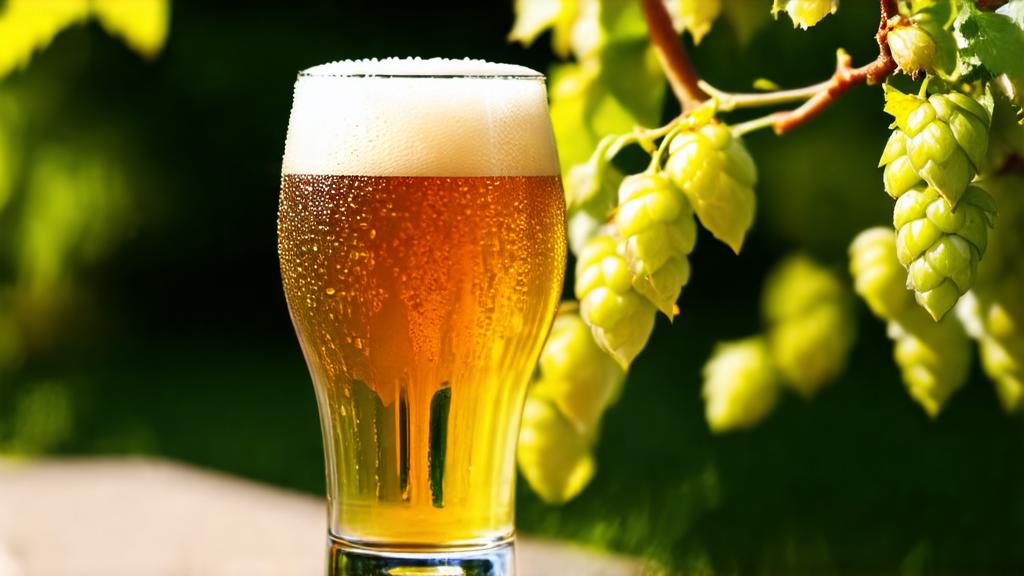
Why Kettle Sours Are 2026’s Hottest Trend
Let’s be direct: sour beers used to be a niche within a niche. Wild fermentation, lambics, Brettanomyces cultures—these required months of patience, expensive equipment, and a willingness to accept that half your batches might turn to vinegar.
Kettle souring flips that script. You’re using Lactobacillus, a lactic acid bacterium, to deliberately sour your wort in the kettle before you pitch your ale yeast. The result: sour beer in 4-6 weeks instead of 12 months, with predictable acidity and no risk of wild contamination.
Breweries noticed this. When science-driven brewing techniques became mainstream, kettle sours moved from experimental to essential. And homebrewers—practical people like us—quickly realized this was the gateway to sour beers that didn’t require a second mortgage on a barrel room.
The trend is especially strong for summer brewing. Low ABV (2–4%), high acidity, often with bright fruit additions—kettle sours are the perfect session ale for afternoon drinking, which aligns perfectly with the 2026 “daycap” trend we’re seeing across the industry. Lighter, earlier, more intentional.
What Makes a Kettle Sour Different?
Before we get hands-on, let’s separate myth from science.
In traditional sour beers (lambics, wild ales), the brewmaster relies on mixed cultures: yeast, bacteria, and wild microorganisms that colonise the beer over months or years. It’s romantic. It’s unpredictable. Sometimes brilliant, sometimes terrifying.
Kettle souring is different. You’re using a monoculture of Lactobacillus—usually Lactobacillus plantarum or Lactobacillus brevis—to drop the pH of your wort from neutral (~5.5) to acidic (~3.5) in 24–72 hours. Once the pH is low enough, you heat the kettle to kill the bacteria, then pitch your ale yeast. The yeast ferments as normal, and you get a sour ale with clean, predictable acidity.
Why does this work? Lactobacillus produces lactic acid as a metabolic byproduct. In a acidified environment, competing microbes can’t survive. So your Lactobacillus quickly dominates, drives the pH down, and then steps aside for the yeast to take over.
It’s elegant. And it’s why HomeBrewTalk and brewing forums exploded with kettle sour discussions over the past two years. It’s reproducible. It fits into a weekend.
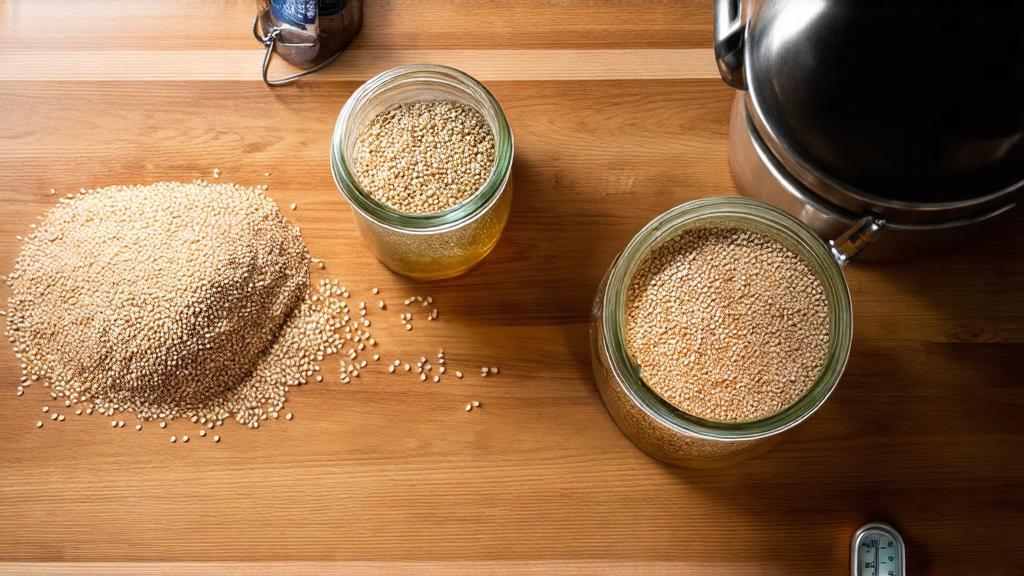
Essential Ingredients & Lactobacillus Basics
Here’s what you need to brew a kettle sour. Nothing exotic.
The Grain Bill
You can use any base malt for a kettle sour. Pale malt, pilsner, even wheat. The acid will shine through regardless. I typically use 85–90% Pale Malt with 10–15% specialty grains for colour and body—crystal malt, munich malt, or flaked oats all work brilliantly.
For a 20-litre (5.3 US gallon) batch, I’d start with roughly 3–4 kg (6.6–8.8 lb) of pale malt. Kettle sours drink lower ABV than traditional ales, so you’re looking at an original gravity (OG) of 1.030–1.045, which means fewer fermentables and a lighter, more refreshing final beer.
Lactobacillus Sources
You have three options:
- Liquid Culture (best): The Malt Miller and Geterbrewed stock Lactobacillus cultures like White Labs WLP677 or Wyeast 5335. Cost: £8–12 per vial. Results: consistent, predictable, ready to pitch.
- Dry Culture (good): Dried Lactobacillus cultures exist, but they’re less reliable than liquid. I’d avoid unless you’re desperate.
- Whey Serum (old-school): You can culture Lactobacillus from whey (the liquid byproduct of cheese-making), but this requires patience and skill. Not recommended for first-timers.
For this post, I’m assuming you’re using a liquid culture. It’s the most foolproof option and worth the small investment.
Other Ingredients
- Hops: Low bittering additions only. IBUs over 20–30 will inhibit Lactobacillus growth. I use Magnum or Challenger for bittering, then add aroma hops late or post-fermentation to preserve freshness.
- Ale Yeast: Any neutral ale yeast works. I use SafAle S-04 or Wyeast 1056 for kettle sours—clean, reliable, and they don’t fight the acidity.
- Fruit (optional but recommended): Fresh or frozen berries, stone fruit, or citrus add complexity. Peaches, raspberries, and blackcurrant are classic pairings. Add post-boil or during fermentation to preserve aroma.
- Water Chemistry: No special adjustments needed. Kettle souring works in any water profile.
The Step-by-Step Kettle Sour Process
This is the heart of it. Here’s exactly how I brew a kettle sour, from grain to glass.
Day One: Mashing and Lautering
Start like any all-grain brew. Mash at 66–68 °C (150–154 °F) for 60 minutes, then lauter and collect your wort. Your target is 25 litres (6.6 US gallons) of unboiled wort at roughly 1.040–1.045 OG.
Critical step: Do not boil the wort yet. Boiling kills Lactobacillus. We need live bacteria.
Cooling to 35–40 °C (95–104 °F)
Let your wort cool in the kettle (covered with a sanitised lid or cloth to prevent infection) until it reaches 35–40 °C. This takes 1–2 hours depending on your setup. Use a thermometer to monitor. This is your souring temperature—warm enough for Lactobacillus to thrive, cool enough that wild yeasts stay dormant.
Pitching Lactobacillus
Once the wort is at 35–40 °C, pitch your Lactobacillus culture directly into the kettle. Gently stir to distribute. Cover the kettle with a clean cloth or loose-fitting lid—you want oxygen access, not the full air.
Here’s where people get nervous. Your beer now smells like wet grain and vaguely off-putting. That’s normal. Lactobacillus produces acids and compounds that smell funky. Trust the process.
The Souring Rest (24–72 Hours)
Leave the kettle at room temperature (18–22 °C / 64–72 °F) for 24–72 hours. Check the pH daily if you have a pH meter (ideal target: 3.5–4.0). If you don’t have a meter, taste a tiny sample after 24 hours. It should taste noticeably sour—not vinegary, but sharp and pleasantly acidic.
After 48 hours, my kettle sours hit the sweet spot: clean lactic acid, no off-flavours, just pure sourness.
The waiting is the hardest part. You’ll want to fiddle, worry, or start over. Don’t. Lactobacillus is robust. Even if you’re not certain it’s working, it probably is.
Boiling and Hopping
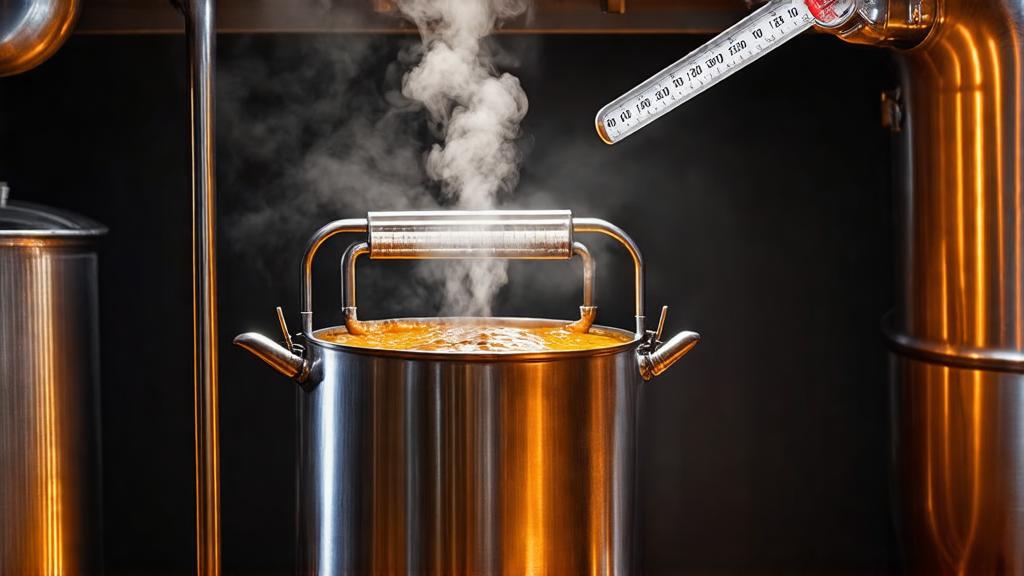
Once you’re happy with the acidity, boil the kettle for 15–20 minutes to kill the Lactobacillus and stabilise the pH. Add your bittering hops for the last 15 minutes of the boil (Magnum, Challenger, or similar—20–30 IBUs maximum).
After the boil, cool the wort to 18–20 °C (64–68 °F) using an immersion chiller or ice bath. This is where your ale yeast can safely pitch.
Fruit Additions & Flavour Variations
This is where kettle sours get fun. Once the wort is cooled post-boil, you can add fruit, and the possibilities expand dramatically.
Fresh Fruit Additions
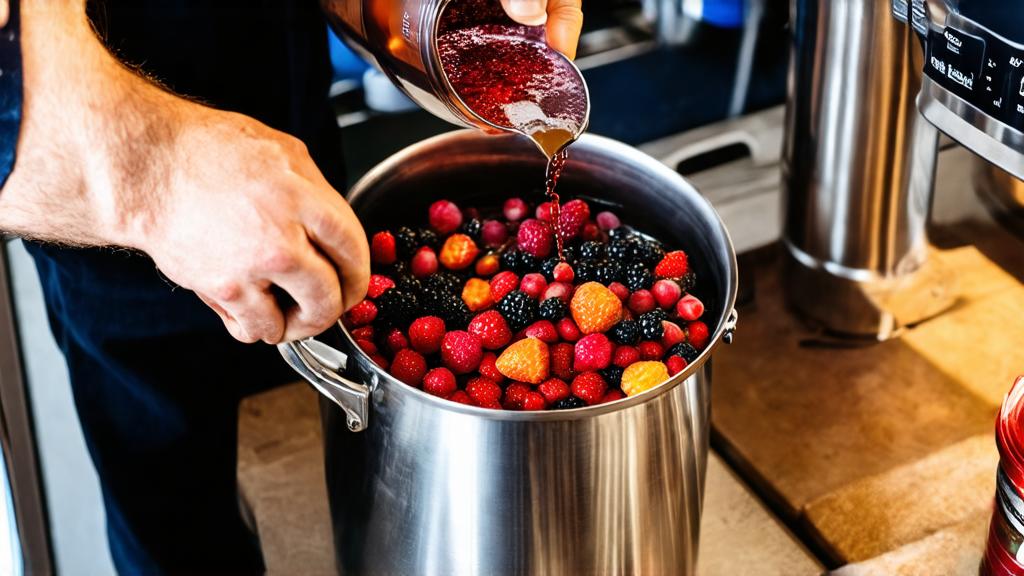
Add 500g–1 kg (1.1–2.2 lb) of fruit per 20-litre batch. Fresh or frozen both work; frozen actually helps because the cell walls break down during freezing, releasing more juice and flavour compounds.
Classic pairings:
- Raspberry & Blackcurrant – tart, complex, pairs with pale malt brilliantly
- Peach & Apricot – softer acidity, subtle stone-fruit notes
- Passion Fruit – tropical, bright, adds an exotic edge
- Citrus Zest – add late in fermentation; fresh lime or lemon zest brightens the final beer
Add fruit after the boil, post-cooling (with yeast), or during fermentation (day 3–5) for the freshest aroma. If you add it post-boil, sanitise it first by spraying with diluted potassium sorbate or star-san.
Spice & Herb Variations
A pinch of coriander, a gentle hand with black pepper, or a whisper of dried hibiscus can add depth without overpowering the acidity. I’m cautious here—spices can mask the clean sourness you’ve worked to achieve.
Fermentation, Conditioning & Common Mistakes
Once the wort is cooled and your fruit is added (if you’re using it), pitch your ale yeast at 18–20 °C. Kettle sours ferment quickly—usually dry within 7–10 days at 18–20 °C.
Fermentation Temperature
Keep it cool. 18–20 °C produces clean esters and prevents the yeast from creating unwanted sulphur or fruity notes that would clash with the sourness. If you’re using a heated fermentation chamber, set it and forget it.
Secondary Conditioning
After the main fermentation, I dry-hop my kettle sours (if they’re hoppy variants) or move them to secondary for fruit additions. Racking onto fruit mid-fermentation (around day 5–7) extends the acidity development and adds fresh character.
Leave in secondary for 2–4 weeks before bottling. This allows flavours to integrate and any residual yeast to settle.
Common Mistakes (I’ve Made Them All)
- Over-boiling the souring phase: If you boil before souring, you kill the bacteria. Leave the kettle unboiled during the 24–72 hour rest.
- Pitching yeast too early: Don’t boil and cool, then immediately pitch yeast while Lactobacillus is still alive. You’ll have competing fermentations. Wait until after the boil to cool and pitch yeast.
- Adding too much bittering hops: IBUs above 30 inhibit Lactobacillus growth. Keep them low.
- Not tasting during the souring phase: You need a baseline. Taste at 24 and 48 hours so you know what “ready” tastes like. You’ll develop an intuition quickly.
- Forgetting pH: If you have a pH meter, use it. Aim for 3.5–4.0 before boiling. If you’re under 3.2, you’ve over-soured and the final beer will be sharply vinegary.
Tasting Notes & My First Successful Batch
I brewed my first kettle sour in March 2026 after weeks of reading and second-guessing myself. Here’s what I learned from that batch (and what I’m still refining).
The Recipe: 3.5 kg Pale Malt, 500g Crystal 60L, Lactobacillus WLP677, SafAle S-04 yeast, Magnum hops, 750g fresh raspberries added post-cooling.
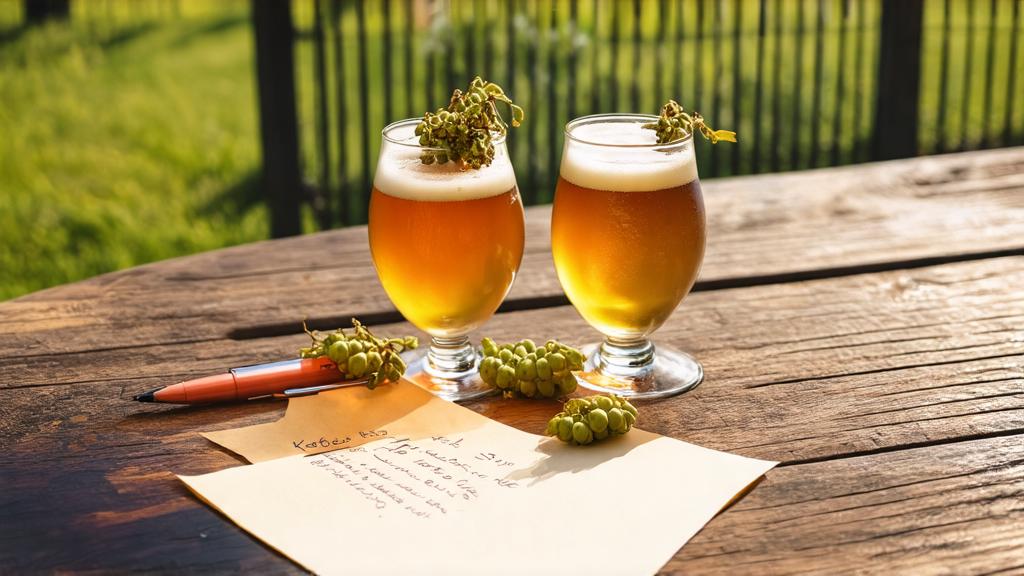
The Result: A bright, 3.8% ABV sour ale with a beautiful straw colour and persistent white head. The sourness came through clean—no vinegar, no funk, just crisp lactic acid balanced against subtle raspberry notes and a touch of caramel from the crystal malt.
Honest reflection: It was good. Not brilliant, but good. The sourness was right on target. The fruit was perhaps a touch subdued (I should have used frozen berries for better juice extraction). But I’d achieved what I set out to do: a reliable, repeatable sour ale that I could serve proudly to friends.
Second batch (June), I adjusted: used 1 kg frozen raspberries instead, added them earlier in fermentation, and dropped the crystal malt by 100g to let the sourness breathe. That batch was excellent. Sharp, dry, refreshing in the afternoon heat.
That’s the arc of kettle souring for me: first success builds confidence, then refinement deepens mastery. You’ll get there faster than I did if you pay attention to these notes.
Pro Tips & Next-Level Experiments
Once you’ve nailed the basics, here’s where it gets interesting.
Blending Kettle Sours
Brew two separate batches with different fruit or different Lactobacillus strains, then blend them in the final glass. You can dial in sourness intensity and flavour complexity by adjusting the proportions. It’s like creating house rules for your home brewery.
Co-Pitching Techniques
Some brewers pitch both Lactobacillus and ale yeast simultaneously after the boil, allowing them to ferment together. This reduces souring time (the yeast gradually lowers pH as it ferments) and can create interesting, less-sour results. I haven’t cracked this yet, but it’s on my 2026 brewing bucket list.
Barrel Aging a Kettle Sour
Once your kettle sour is finished, you can age it in a small oak barrel (a carboy in a barrel, or a stainless steel vessel with oak cubes) for 2–6 months. The oak adds vanilla and toasted notes that complement the acidity beautifully. I’ve written more about barrel-ageing techniques here.
Experimenting with Different Lactobacillus Strains
Lactobacillus plantarum produces a clean, straightforward sour. Lactobacillus brevis is slightly less aggressive and can yield subtler acidity. Different suppliers stock different strains. Once you’re confident, try two batches with different cultures and taste the difference. It’s a revelation.
Conclusion: Why Kettle Sours Matter Now
Kettle souring sits at the intersection of science, practicality, and tradition. It’s modern brewing informed by monastic wisdom—precision and patience, not magic. In a trend landscape dominated by hype and marketing, kettle sours are refreshingly honest: sour beer that tastes clean, doesn’t require years of cellar management, and fits into a homebrewer’s real life.
That’s why they’re everywhere in 2026. That’s why I’m writing about them at length.
Start with my basic recipe. Nail the 24–72 hour souring phase. Pitch good yeast. Add fruit if you want brightness. And most importantly, taste as you go. Your palate is your best teacher.
You’ve got this.
Keep Exploring
Kettle sours pair beautifully with other modern techniques. Discover wild fermentation for a more spontaneous route to acidity, and my guide to brewing with fruit to add brightness to your next sour batch.
🍺 Join the Brotherhood — Monthly brews, stories & monk wisdom
Subscribe for exclusive recipes, early brew logs, and behind-the-scenes updates straight to your inbox.

