
Dessert Beer Mastery: Brewing Sweet, Indulgent Homebrews in 2026
I’ve been brewing for years now, and I’ve learnt one thing: the most rewarding beers aren’t always the ones that win medals or score 100 points online. They’re the ones that make people stop mid-conversation, take another sip, and ask, “Wait, what is this?”
Dessert beers do that. They break the rules. They flirt with pastry, chocolate, caramel, and vanilla in ways that traditionalists say shouldn’t work—and yet they do, beautifully.
In 2026, dessert-flavoured beers are one of the hottest brewing trends. Whether it’s a chocolate stout with real cacao nibs, a vanilla custard ale that tastes like liquid crème brûlée, or a tiramisu-inspired Imperial ale, homebrewers are finally getting permission to be unapologetically indulgent. And the good news? You can brew them at home with ingredients you probably already have—or can easily source.
Let me walk you through the whole journey: from selecting the right base beer style, through building your ingredient list, and all the way to nailing the fermentation and finish. This is where dessert beer mastery begins.
Why Dessert Beer Is Having a Moment in 2026
Beer culture has been locked in a binary for decades: you’re either a hop-head chasing the next IPA, or a malt traditionalist brewing Bitters and Browns. Dessert beers sit somewhere else entirely. They’re experiential. They invite creativity.
The 2026 food and drink trends report from Bidfood highlighted dessert-inspired innovation as a primary growth area across beverages and brewing specifically. Drinkers—especially younger homebrewers—are tired of gatekeeping. They want beers that complement a meal’s final course, or that stand alone as an experience. Think of it like this: a dessert beer is your kitchen brewery’s equivalent of craft confectionery. It’s personal. It’s generous. It’s fun.
From a monk’s perspective (and you know I’m drawn to that wisdom), there’s something sacred about transforming simple ingredients into something that brings genuine pleasure. Medieval monks brewed ales as daily sustenance, yes—but they also understood the role of craft in elevating the mundane. A dessert beer isn’t excessive; it’s intentional indulgence.
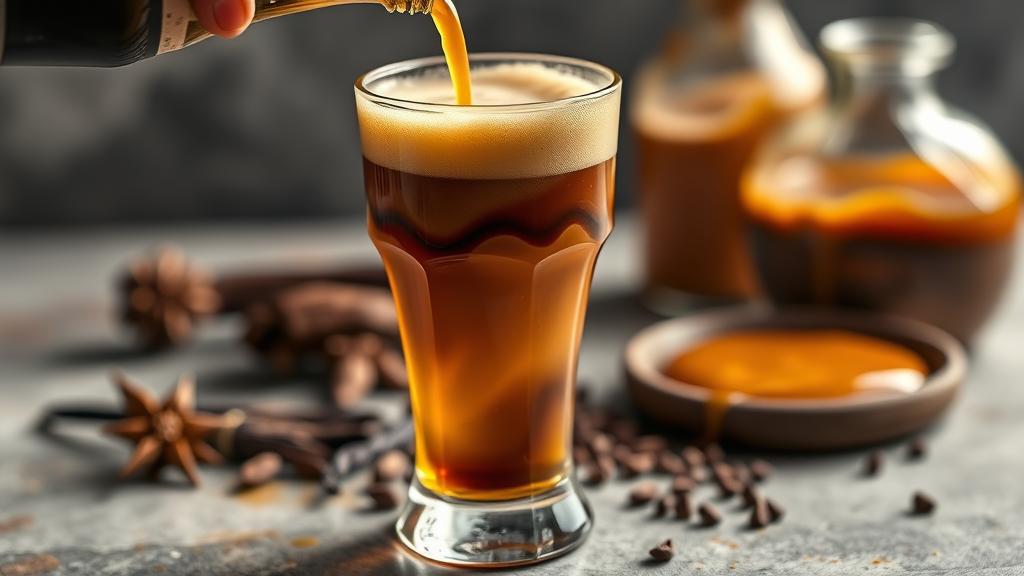
Choosing Your Base Style & Alcohol Profile
Not all base styles work equally well for dessert-inspired brewing. You need a foundation that’s rich enough to carry sweet, creamy, or spiced flavours without drowning them out, but also structured enough to maintain balance.
Here’s what I’ve found works best:
- Imperial Stouts & Barrel Stouts: The heavyweight champion. Deep chocolate and roast already in the grain bill means added cacao, vanilla, or coffee flavours feel natural. ABV 8–12% gives you richness without harshness.
- English Brown Ales: More subtle, but brilliant. A classic Brown ale like the Dark Mild revival provides sweet biscuit notes that pair perfectly with caramel, toffee, or hazelnut additions.
- Sweet Ales & Milk Stouts: These already have lactose (unfermentable sugar) built in, so they’re technically “dessert-forward” even before you add anything exotic. Aim for 5–8% ABV to let the sweetness shine without cloying.
- High-ABV English Ales: Old Ales and Barley Wines are your canvas for serious indulgence. 10–14% ABV. They improve with age and pair brilliantly with dessert-style adjuncts.
- Cream Ales: If you want lighter dessert beers, a vanilla cream ale or sweet blonde is approachable and refreshing. Perfect for summer dessert beer experiments.
My advice: start with an Imperial Stout or Brown Ale if you’ve never brewed dessert beer before. The base style is forgiving, and your additions will shine.
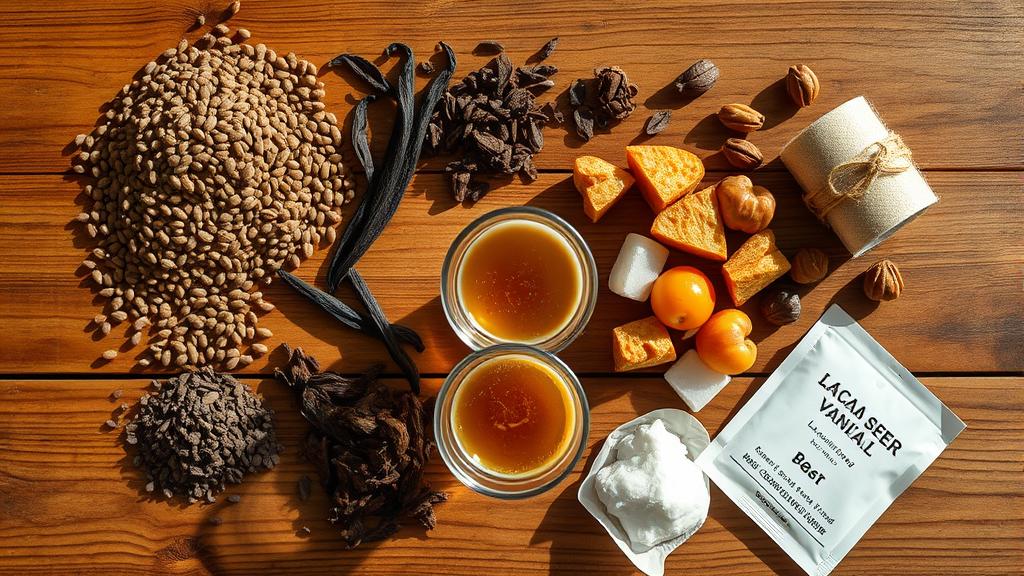
Ingredients & Shopping List: Building Indulgence
This is where precision meets creativity. You’re not just dumping vanilla extract into a boil—you’re crafting layers of flavour that need to integrate naturally with the beer itself.
Base Malt (per typical 20-litre / 5-gallon batch):
- 2.5–3 kg (5–7 lbs) Pale Ale or Maris Otter malt
- 1–1.5 kg (2–3.5 lbs) Chocolate or Roasted malt (depending on style darkness)
- 0.5 kg (1 lb) Caramel/Crystal malt (120–150L for sweetness)
- Optional: 0.2 kg (0.5 lbs) Black Malt for depth
Dessert Adjuncts (the magic):
- Cacao: Real cacao nibs (not chocolate chips—they’re waxy and don’t integrate well). Use 30–60g (1–2 oz) per batch. Add to secondary after primary fermentation is complete.
- Vanilla: Real vanilla pods, not extract (extract has alcohol that can throw off fermentation). Split 2–3 pods and steep in vodka for a week, then add post-fermentation. Grade B vanilla from Madagascar or Tahiti works brilliantly.
- Coffee: If you’re doing a mocha variant, use cold-brew concentrate (1–2 tablespoons per batch) added in secondary. Never boil coffee with beer—it turns bitter.
- Lactose: For true sweetness without fermentation, use 200–400g (7–14 oz) of milk sugar (lactose). Dissolve in hot water and stir in post-fermentation, or add during final 15 minutes of boil (it won’t ferment out).
- Caramel Syrup or Brown Sugar: 300–500g (10–18 oz) of demerara or muscovado sugar added to secondary gives deep caramel notes.
Hops & Yeast:
- Hops: Minimal. You want 20–30 IBU max. Use UK Fuggle or Golding (noble, subtle). Avoid high-alpha-acid hops—they compete with your dessert adjuncts.
- Yeast: English Ale yeast (WLP002, SafAle S-04) works beautifully. It’s neutral enough not to fight your additions but adds slight ester complexity.
Where to buy: I source my cacao nibs and vanilla pods from The Malt Miller (excellent UK supplier) or Geterbrewed for bulk specialist ingredients. Both offer faster shipping than overseas suppliers, and you can ask their staff about pairing suggestions.
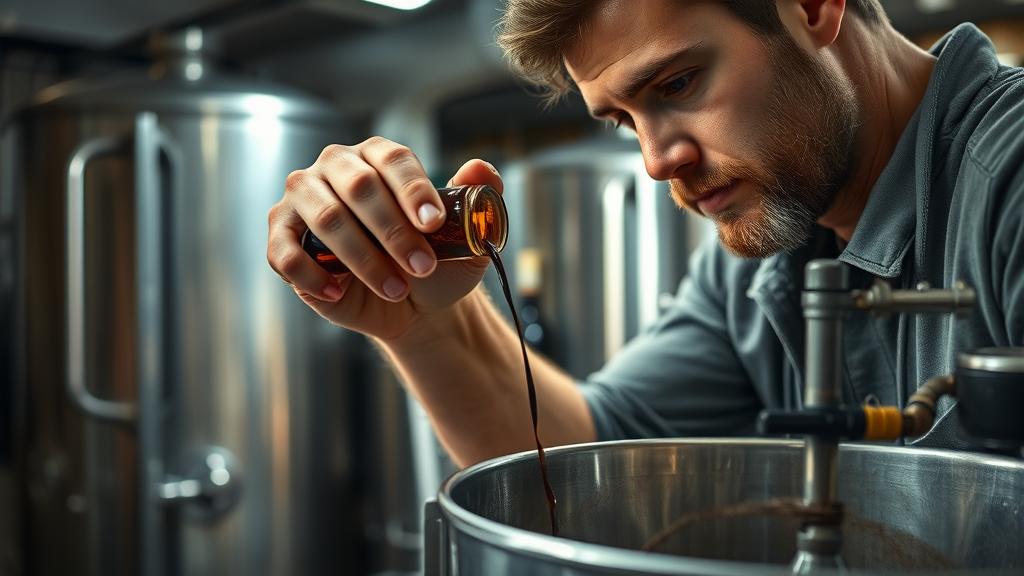
Step-by-Step Brew Day: From Mash to Secondary
Here’s the practical walkthrough. I’ll assume you’re familiar with basic all-grain brewing (mashing, sparging, boiling). The magic in dessert beer happens in secondary fermentation.
1. Mash (90 minutes at 65–67°C / 149–153°F): Standard infusion mash. Aim for 1.5–1.6L water per kg of grain. Your target gravity should be 1.065–1.080 OG (depending on style). Brew for full body and flavour; don’t go too light.
2. Sparge & Boil (60–90 minutes): Nothing special here, except hops discipline. Add your bittering charge (15–20g of Fuggle or Challenger) at 60 minutes. No more bittering after that. Some brewers skip middle hops entirely for dessert beer. At 10 minutes to go, add 10g of noble hops for a whisper of aroma, then chill rapidly.
3. Pitch & Primary Fermentation (7–10 days at 18–20°C / 64–68°F): Rehydrate your yeast 30 minutes before pitching. Keep temps stable—temperature swings can create off-flavours. Once fermentation slows (check gravity: should be 1.010–1.015 after 7 days), you’re ready for secondary.
4. Rack to Secondary & Add Adjuncts (Days 7–10): This is crucial. Don’t bottle immediately. Transfer to a secondary fermenter (glass carboy or bucket), leaving behind the trub. Now, add your dessert adjuncts:
- Cacao nibs: Toast lightly in a 150°C oven for 5 minutes to awaken flavours. Steep in 100ml of boiling water for 10 minutes, let cool, then pour (including liquid) into secondary.
- Vanilla: Your pre-steeped vanilla pods (in vodka) go straight in. If using fresh pods, split them and scrape the seeds into secondary.
- Caramel/Coffee: Add cold-brew concentrate or caramel syrup now. Stir gently to distribute.
Seal with an airlock. Let it sit for 10–14 days. You’ll see minimal activity (yeast is resting), but the flavours are melding beautifully.
5. Test & Bottle (Day 17–21): Check flavour. If it’s too subtle, leave it another week. If it’s singing, bottle or keg. Add priming sugar for carbonation (2–2.5 volumes of CO₂). Store at 12–15°C for conditioning.
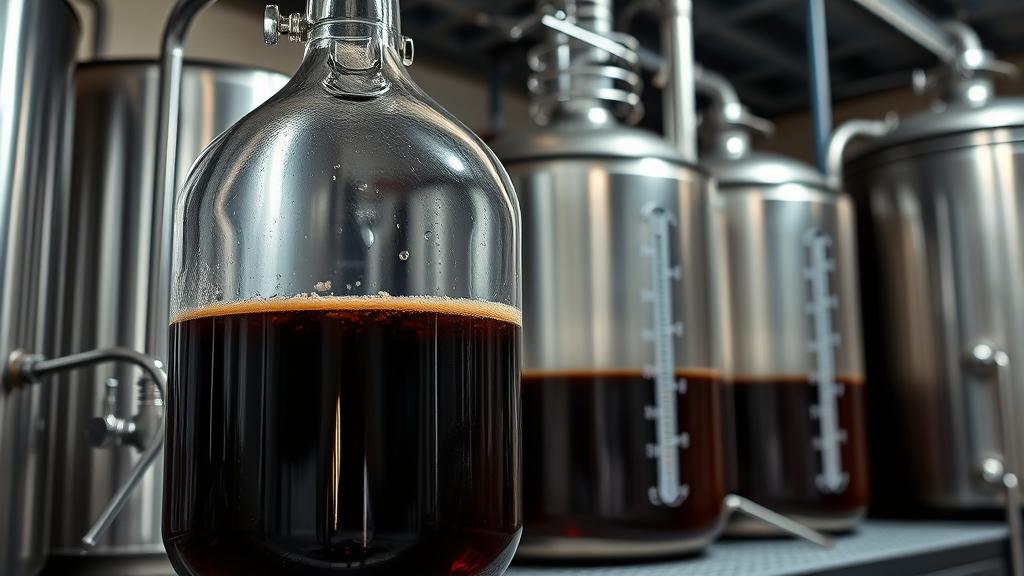
Fermentation Secrets: Why Secondary Matters
This is where dessert beer separates itself from casual brewing. Many brewers want to skip secondary fermentation and just bottle. Don’t. Here’s why:
Adjunct Integration: Cacao, vanilla, and coffee are aggressive flavours. If you add them to primary fermentation (while yeast is actively working), they can interfere with fermentation and create weird, disconnected tastes. Secondary gives them time to integrate with the beer’s body naturally.
Clarity & Brightness: Secondary fermentation leaves behind sediment and fines. When you rack to secondary, you’re separating the clean beer from the gunk. The result is brighter colour, crisper finish, and better perception of your adjuncts.
Controlled Oxidation: A tiny bit of oxygen exposure in secondary (when you’re adding adjuncts) is actually helpful for dessert beers. It allows subtle oxidative flavours (sherry-like notes) to develop, which enhance vanilla and cacao perception.
Temperature management during secondary is critical: keep it at 15–18°C (59–64°F) to slow fermentation and prevent the yeast from reactivating too vigorously. If you keep it too warm, wild fermentation can restart and consume your lactose (if you added it).
Tasting Notes & Honest Review: What You’re Aiming For
I’ve brewed three dessert beer variants this year. Here’s what the winning recipe tasted like:
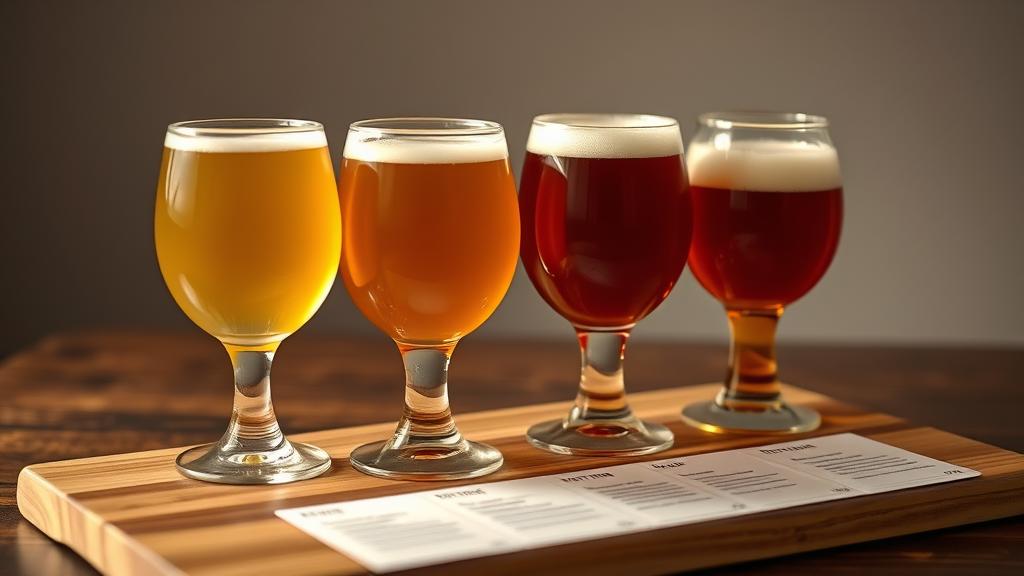
Appearance: Deep mahogany to near-black. You want clarity but not brightness—a kind of dusky richness. Cream-coloured head that sticks around for 2–3 minutes.
Aroma: This is where you know you’ve succeeded. First nosing: chocolate and coffee leap out. Second nosing: vanilla emerges underneath, not artificial but like fresh vanilla pods. No cloying sweetness in the nose—that comes in the taste.
Taste: The magic. First sip hits you with roasted malt and bitter chocolate (from the roasted grain and cacao). Mid-palate opens into caramel sweetness (from the crystal malt and added sugar), then vanilla and coffee fade in on the finish. Aftertaste is clean—no slickness, no grittiness. It should feel like a liquid dessert, not a pastry bomb.
Mouthfeel: Full-bodied but not syrupy. The lactose (if you added it) should add a silky thickness without making it feel heavy. You want to be able to enjoy 330ml (11 oz) without feeling like you’ve swallowed cake batter.
Carbonation: Medium (2–2.2 volumes CO₂). Gentle fizz, not aggressive. High carbonation would make it feel gimmicky; low carbonation would make the sweetness cloying.
Finish: Dry-ish for a dessert beer. The alcohol warmth should be present but not harsh (that’s why 8–10% ABV is ideal). You should want another sip, not feel overfull.
Pro Tips & Common Mistakes to Avoid
Mistake #1: Adding too much adjunct. Your cacao, vanilla, and coffee are potent. More doesn’t mean better. Start conservative: 30g cacao nibs, 2 vanilla pods, 1 tablespoon cold-brew. You can always add more in the next batch. You can’t take it out of this one.
Mistake #2: Using low-quality extracts. Vanilla extract, cacao powder, coffee syrup—these are shelf-stable but often taste artificial. Real cacao nibs, real vanilla pods, and real cold-brew concentrate taste immensely better and age more gracefully.
Mistake #3: Skipping or rushing secondary fermentation. I see brewers trying to speed-age dessert beer. It doesn’t work. Give it 3–4 weeks minimum from primary pitch to bottle. Dessert beer improves dramatically at week 4–6 after bottling. Patience.
Mistake #4: Carbonating too aggressively. Dessert beer isn’t a soda. Keep carbonation moderate (2–2.2 volumes). High carbonation makes sweetness stick in your mouth unpleasantly.
Mistake #5: Forgetting sanitation on adjuncts. Before you add cacao nibs or vanilla pods, ensure they’re clean and your tools are sanitised. The last thing you need is mould or infection derailing your batch.
Pro Tip: Keep a brewing journal for each batch. Note your adjunct amounts, addition dates, temperatures, and tasting notes. After your third dessert beer, patterns emerge. You’ll know exactly how much vanilla you like, how long cacao needs to integrate, whether your yeast adds complementary esters. That’s when dessert beer mastery becomes personal.
Variations & Next-Level Experiments
Once you’ve nailed the fundamentals, dessert beer becomes a playground. Here are variations I’m experimenting with:
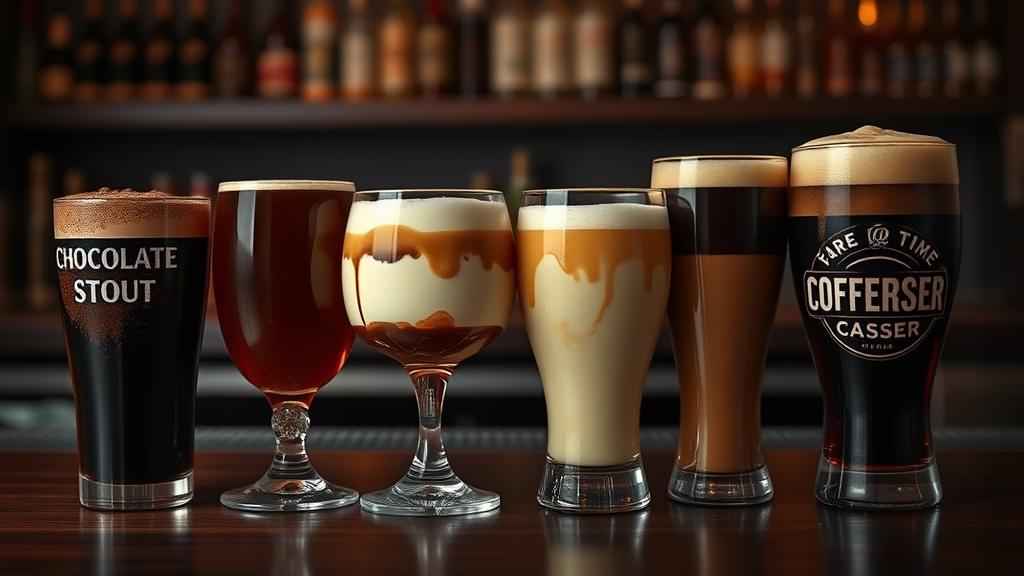
Tiramisu Imperial Ale: Rich Imperial Stout base with vanilla, instant espresso added in secondary, and a touch of lactose for custard sweetness. It genuinely tastes like the Italian dessert. Perfect paired with actual tiramisu.
Salted Caramel Porter: A robust English Porter with demerara sugar and a pinch of sea salt (yes, salt—it amplifies sweetness perception). The saltiness is subtle, almost subliminal, but crucial.
Affogato-Inspired Stout: Standard Imperial Stout brewed to completion, then served over vanilla ice cream. Okay, this is cheating (it’s not dessert beer per se), but the combination is extraordinary.
Chocolate-Orange Brown Ale: A lower-ABV iteration using chocolate malt and a whisper of orange zest (steeped, not extract). It’s like a Terry’s Orange bar in liquid form.
Bourbon-Barrel-Aged Dessert Stout: If you have access to bourbon barrels or oak cubes, age your dessert beer for 2–3 months. The vanilla in the wood plays beautifully with added cacao and coffee. Barrel-aged brewing techniques become an entire science, but dessert stouts are forgiving subjects to learn on.
The experimentation never stops. That’s what makes homebrewing—especially dessert beer brewing—endlessly rewarding.
Closing Reflections: Why Dessert Beer Matters in 2026
Dessert beer isn’t a gimmick. It’s a statement that brewing—homebrewing especially—is becoming more personal, more creative, and more unapologetically indulgent. In a world of rigid beer styles and bitter gatekeeping, dessert beers say: Make what brings you joy. Share it with people you love. Enjoy it without apology.
I’m brewing my next dessert beer batch next month: a collaboration-style experiment with friends, each of us contributing a different adjunct variant. That’s what these beers inspire—not competition, but collaboration. Generosity. The opposite of gatekeeping.
If you’ve never brewed a dessert beer, start now. If you have, push further. The 2026 dessert beer trend is just the beginning. Your brewing journey is unique; your dessert beer should be too.
🍺 Join the Brotherhood — Monthly brews, stories & monk wisdom
Subscribe for exclusive recipes, early brew logs, and behind-the-scenes updates straight to your inbox.

