
There’s a paradox in homebrewing: patience builds better beer. Or does it?
For years, I held this as gospel. Fermentation takes two weeks minimum. Conditioning takes another four. A respectable homebrewer simply waited, nursing their anticipation like a monk in a scriptorium, trusting time to do the heavy lifting. But in 2025, something shifted in my brewery. I discovered that patience and speed aren’t opposites—they’re two sides of the same coin when you understand fermentation pressure.
Today, I’m sharing what I’ve learned about pressure fermentation, the brewing technique that’s quietly reshaping how serious homebrewers approach grain-to-glass timelines. You can now brew a quality, fully carbonated ale in five to seven days without sacrificing flavour or complexity. And honestly? That changes everything.
Why Express Brewing Matters in 2026
The craft beer world has spent fifteen years chasing complexity: funky yeasts, wild fermentations, barrel ageing, endless dry-hopping. These are brilliant pursuits. But they demand time—months, sometimes years. For the average homebrewer with a packed schedule, that’s unsustainable. You’re juggling work, family, life. Waiting three months to taste your creation? That kills momentum.
Pressure fermentation solves a different problem: it lets you iterate faster without compromising quality. You can brew multiple experimental batches in the time it used to take one. More importantly, it makes homebrewing accessible to people who can’t afford six months of tied-up fermentation vessels. That’s genuinely significant for community building.
This pairs naturally with lager brewing mastery, where cold fermentation speeds up dramatically under pressure, or with session beers, where fresh, juicy profiles shine when bottled within a week of grain day.
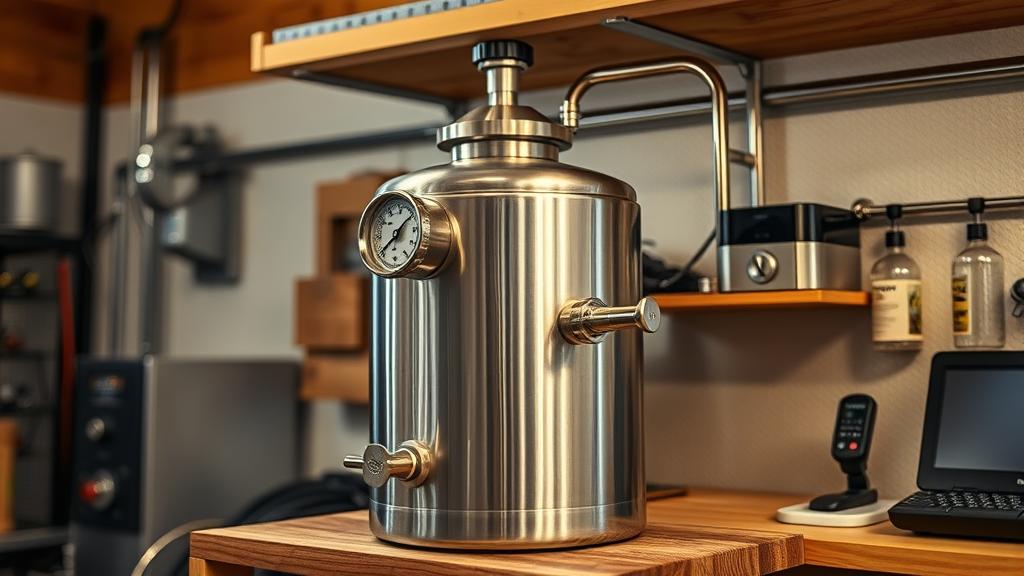
The Core Technology: How Pressure Fermentation Works
Here’s the beautiful part: pressure fermentation isn’t rocket science. It’s simple thermodynamics.
In traditional fermentation, yeast produces CO₂ as a byproduct of consuming sugars. That gas escapes through an airlock, keeping the vessel at atmospheric pressure. But if you seal the vessel and allow pressure to build, something remarkable happens: the dissolved CO₂ doesn’t escape—it stays in the beer.
This changes fermentation kinetics. Higher pressure allows yeast to work faster and more efficiently whilst suppressing certain byproducts (like diacetyl in lagers) that normally require extended conditioning. You get the end result in a fraction of the time. A lager that normally needs six weeks? You can achieve it in ten days under proper pressure.
The process involves three key variables:
- Temperature control: Pressure fermentation amplifies everything, including temperature stress. Precision matters. A 1°C variance at atmosphere becomes significant at 3 bar.
- Pressure management: You maintain target pressure (typically 2–4 bar for ales, 3–5 for lagers) using a regulator and relief valve, preventing over-pressurisation.
- Yeast selection: Modern brewer yeasts like White Labs WLP041 (Pacific Ale) and Imperial Yeast A42 (House) are bred for this. They perform better under pressure than traditional strains.

Building Your Express Brewing System
You don’t need to break the bank to start pressure fermenting. Your main options:
Conical Pressure Fermenters (£400–600): The gold standard. Purpose-built pressure fermenters like the Fermentasaurus or Chronical are designed for homebrewing. They include built-in cooling jackets, trub collection, and PRV valves. I use two Fermentasaurus units, and they’ve repaid their cost in saved time and experimental batches.
Pressurised Kegs (£80–200): Entry-level option. A stainless-steel keg with a modified dip tube and regulator. Less precise but genuinely workable for ales.
PET Plastic Vessels (£60–150): If you’re testing the waters. Food-grade plastic fermenters like Better Bottle accept pressure up to 5 bar. Fair warning: they’re less durable and harder to clean than stainless, but for your first trial? Perfectly valid.
Beyond the fermenter, you’ll need:
- A temperature controller (PID or simple hysteresis; I use an Inkbird 308) — non-negotiable for pressure fermentation
- A CO₂ regulator (dual-gauge, 0–5 bar range) — essential
- Pressure relief valve (pop-off at 4 bar) — critical safety feature
- Food-grade gas lines and ball valves
- A thermometer (digital or thermowell) for monitoring
Total system cost for a quality setup: £700–1,000 (USD $900–1,300). Compare that to buying equipment piecemeal over years, and pressure fermentation pays for itself in iteration speed alone.
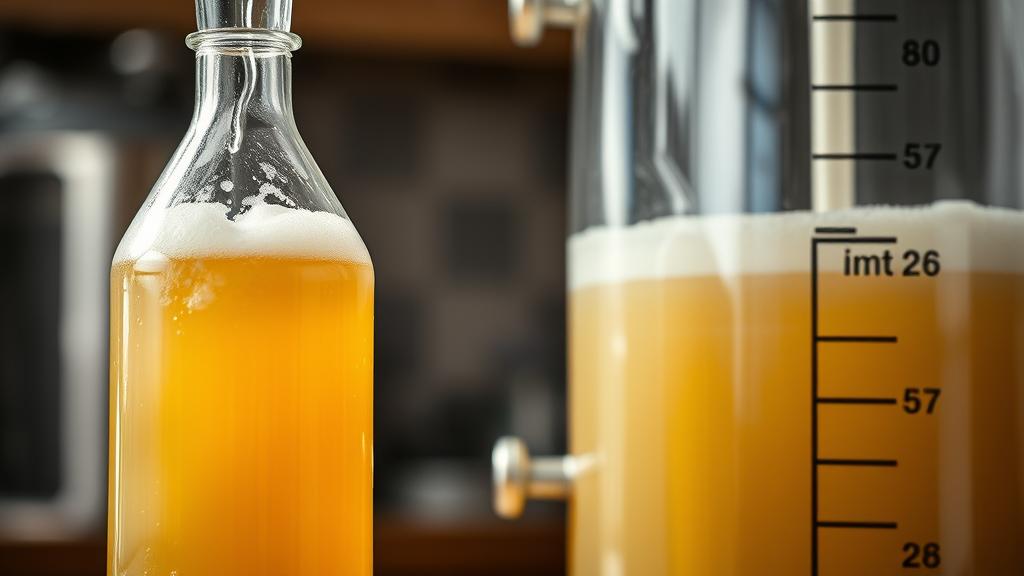
Step-by-Step: 7-Day Grain-to-Glass Protocol
Day 1: Brew Day
- Brew as normal (full-volume mash, bittering additions, whirlpool, etc.)
- Cool to yeast pitch temperature (20°C / 68°F for ales, 10°C / 50°F for lagers)
- Transfer to pressure vessel, seal, and attach regulator with PRV set to 3 bar
- Pitch a large, healthy yeast starter (minimum 150 billion cells for a 20L batch)
- Start fermentation with temperature set 1°C above target to allow natural pressure rise
Days 2–3: Active Fermentation
- Monitor pressure (should reach target by day 2)
- Adjust temperature downward to target (±0.5°C precision)
- Watch for PRV pop-offs; this is normal and indicates robust fermentation
- Take gravity samples via collection valve if your vessel allows it
Days 4–5: Fermentation Completion
- Monitor gravity daily. Fermentation should reach ~75% attenuation by day 4
- Reduce temperature slightly to encourage final yeast drops and chill conditioning
- Hold final temperature for 24 hours to allow complete settling
Day 6: Crash Cool & Transfer
- Crash cool to 0°C (32°F) overnight to drop suspended yeast and proteins
- Transfer to a pressurised keg or bottle under CO₂ using forced carbonation (if kegging)
- If bottling, you’ll still need secondary conditioning—but it accelerates under pressure (2–3 days vs. 2–3 weeks)
Day 7: Taste & Serve
- Your beer is drinkable, carbonated, and ready to evaluate
- Flavour will continue to improve for 1–2 weeks as conditioning continues, but the beer is fundamentally complete
This timeline is conservative. I’ve pulled fully drinkable ales on day 5 and lagers on day 8. But rushing risks under-attenuation or green flavours (those vegetal, sulphury notes from rapid fermentation). Day 7 is the sweet spot: fast enough to maintain momentum, slow enough to trust the result.
The Science of Speed: Why Pressure Changes Everything
I’m not inventing anything here—this is well-documented brewing science. Pressure fermentation works because:
- Faster metabolism: Yeast metabolises more aggressively under CO₂ pressure, completing fermentation 40–60% faster than unpressurised equivalents
- Reduced esters & phenols: At higher pressures, yeast produces fewer fruity esters and spicy phenolics. This means cleaner, crisper profiles—ideal for lagers and pale ales
- Natural carbonation: Your CO₂ is already dissolved in the beer; forced carbonation becomes optional, not mandatory
- Improved attenuation: Higher pressure lets yeast achieve drier finishes more efficiently, often without extended rest periods
The downside? Yeast stress. Push too hard—excessive temperature, excessive pressure—and you’ll get fusels (hot alcohols) or stalled fermentation. That’s why precision fermentation isn’t oxymoron in 2026; it’s the entire point.
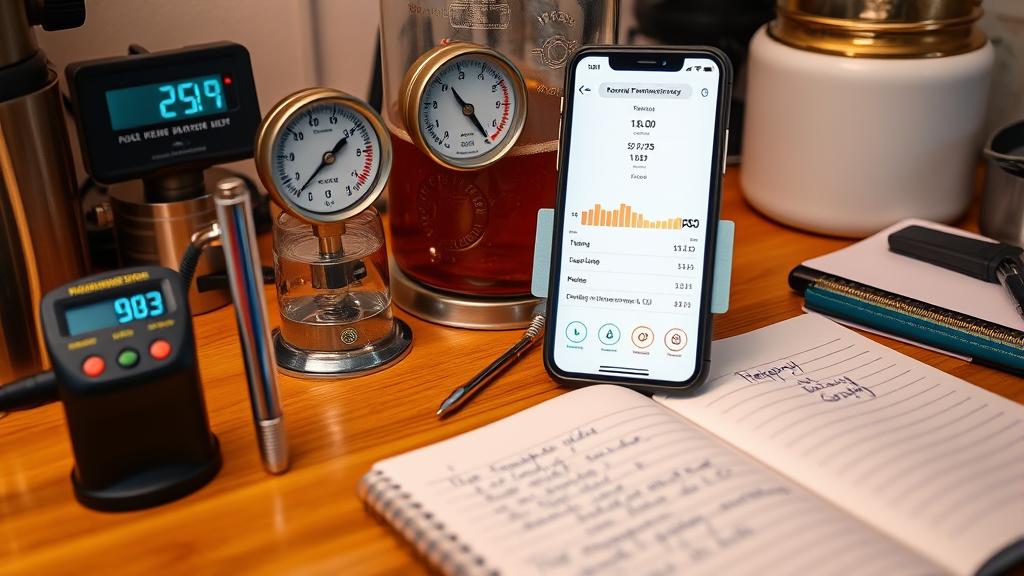
Common Mistakes & How to Nail Your First Batch
I’ve blown this up three times. Here’s what I learned:
Mistake #1: Insufficient Yeast Pitch — You’re not pitching enough. At pressure, fermentation starts fast and furious. A weak pitch will stall halfway through. Use a starter. Aim for 150–200 billion cells minimum for a standard 20L batch.
Mistake #2: Ignoring Temperature Control — Pressure amplifies temperature variation. Set a tight dead band on your controller (±0.5°C). One-degree swings that you’d tolerate in ambient fermentation will tank your beer under pressure.
Mistake #3: Chasing Zero-Day Beer — I brewed a day-3 ale that smelled like butterscotch and tasted green. Diacetyl hasn’t dropped, esters haven’t developed, and your yeast is exhausted. Day 7 is your friend. Trust it.
Mistake #4: Forgetting the Relief Valve — Your PRV saves your equipment (and your face). Set it 0.5 bar above your target pressure. Don’t skip this.
Nail-the-First-Batch Checklist:
- ✓ Build a healthy, measured yeast starter (5-day minimum fermentation)
- ✓ Brew clean, chill efficiently, pitch at target temp
- ✓ Seal the vessel immediately and set regulator to 1 bar below target
- ✓ Allow pressure to rise naturally as fermentation kicks in
- ✓ Take gravity samples every 24 hours to track progress
- ✓ Only transfer/bottle once you’ve held target gravity for 48 hours
- ✓ Resist tasting before day 5. Seriously.
Honest Tasting Notes: My Latest 6-Day Ale
Last month, I brewed a British Pale Ale under pressure. 55 IBU Goldings, two-row malt, single infusion at 67°C (152°F), 20L batch. Pitched WLP013 (London Ale III) at 19°C, held 20°C, brought pressure to 3 bar on day 2.
Appearance: Bottled day 6. Crystal-clear amber, good head retention. No chill haze despite rapid conditioning.
Aroma: Clean malt sweetness, subtle noble hop character (Goldings, naturally). Almost no fruity esters—this is where pressure fermentation shines. Compare to a traditionally fermented pale ale; the latter would show more stone fruit (peach, apricot). This one’s crisp.
Taste: Dry finish, moderate bitterness that integrates smoothly. Malt backbone is evident but not heavy. Carbonation is perfect (forced carb’d at 2.7 volumes CO₂). No diacetyl, no green character. Honestly? It tastes like I bottled it three weeks ago, not six days.
Verdict: Commercial-grade output on a homebrewer’s timeline. The speed never compromised the beer. If anything, the cleaner yeast profile (fewer esters, less phenolics) made it a more elegant pale ale than my traditional brews.
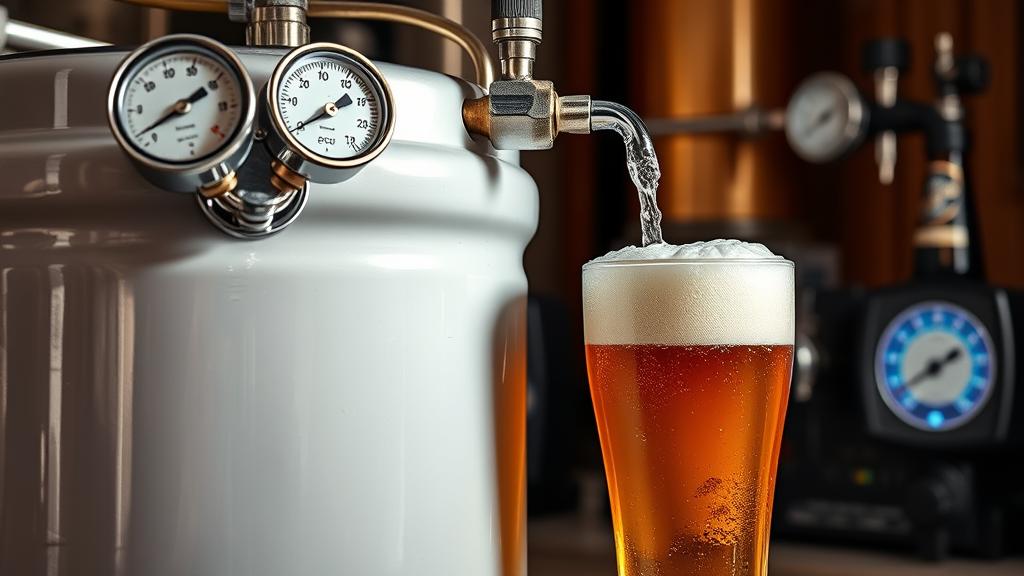
Variations & Pushing Further
Once you’ve nailed the 7-day protocol, the playground opens up.
Lager Express (10 days): Pitch at 10°C, hold 12°C throughout, crash cool day 8. You’ve skipped a full lagering schedule. Lager brewing mastery becomes accessible to the impatient homebrewer.
Pressure + Wild Fermentation: Mix pressure fermentation with souring strains (Lacto, Brett). Pressure seems to speed up souring dramatically. A brett ale that normally takes four months? I’ve pulled drinkable brett character in six weeks.
Fruit Additions Under Pressure: Fruit beers ferment more aggressively under pressure. Add fruit day 1–2 instead of day 5–7; the pressure drives extraction and fermentation simultaneously. Your fruit character develops faster and cleaner.
The 5-Day Challenge: Once I had three fermenters running, I decided to see if five days was genuinely possible. Answer: yes, with caveats. A cream ale (low gravity, 1.040 OG, clean yeast) can absolutely be drinkable in five days. But flavour continues to develop to day 7–10. Five-day beer tastes younger, slightly sharper. Possible? Yes. Recommended? Only if you’re chasing the experiment.
Lessons from the Monastery
Monks taught me something valuable about patience: it’s not about waiting. It’s about understanding the rhythms of the work and moving with them, not against them.
Pressure fermentation is patience reimagined. You’re not waiting passively; you’re accelerating the yeast’s natural processes, keeping it moving toward completion rather than stalling in extended conditioning. The beer develops flavour faster because the science is more efficient, not because you’ve skipped steps.
That’s worth repeating: You haven’t skipped anything. You’ve optimised.

The Road Ahead
Pressure fermentation isn’t coming. It’s here. Breweries from small commercial operations to serious homebrewers are adopting it precisely because it works without compromise.
If you’ve been hesitant about experimenting—building a library of recipes, iterating on techniques, trying wild yeasts—this removes the friction. You can now run five experimental batches in the time you’d previously invest in two. That’s freedom.
My next move? I’m diving deeper into ester and phenol modulation under pressure—seeing if I can dial in specific flavour profiles by tweaking pitch rates and oxygen levels during fermentation. The science is fascinating, and the pace of discovery is exhilarating.
If you’re ready to join the express brewing revolution, start with a simple British Pale Ale or Cream Ale. Single infusion mash, clean yeast, straightforward hopping. Get the technique dialled in before you chase complexity. Then, once you’ve brewed a few under pressure, you’ll understand the possibilities. And you’ll never go back to six-week turnarounds again.
Cheers,
Chris
🍺 Join the Brotherhood — Monthly brews, stories & monk wisdom
Subscribe for exclusive recipes, early brew logs, and behind-the-scenes updates straight to your inbox.

