
Dry hopping changed everything for me as a homebrewer. For years, I chased bitterness, obsessing over IBUs and hop schedules during the boil. But then I tasted a friend’s pale ale—floral, bright, with an aroma that made my eyes close—and I asked him his secret. “Dry hops,” he said simply. “Add them after fermentation starts.”
That conversation led me down a rabbit hole of experiments, failures, and ultimately, some of the most aromatic beers I’ve ever brewed. Dry hopping is the practice of adding hops to the fermenter during or after primary fermentation, and it’s become the hallmark of modern craft beer in 2026. Unlike bittering additions during the boil, dry hopping preserves delicate hop aromatics—citrus, pine, flowers, herbal notes—without adding sharp bitterness.
If you’re serious about elevating your homebrew, dry hopping is non-negotiable. Here’s everything I’ve learned.
Why Dry Hopping Matters: The Aroma Revolution
When you boil hops, you’re extracting isomerised alpha acids—the compounds that create bitterness. But you’re also driving off volatile aromatic compounds. Those delicate grapefruit, stone fruit, and floral notes? Gone into the steam. That’s where dry hopping comes in.
By adding hops after the vigorous boil is done, you preserve those aromatics. The cold or cool fermentation environment keeps the delicate oils intact. Some brewers even dry hop at room temperature for maximum aroma extraction. The result is a beer that smells like fresh hops taste—clean, bright, complex.
According to BJCP style guidelines, dry hopping has become essential for styles like IPAs, Pale Ales, and even some modern British ales. The trend is undeniable: every brewery worth its salt dry hops now, and home brewers who’ve mastered the technique are producing competition-quality beers at home. I’ve entered local CAMRA tastings with dry-hopped pales and IPAs that hold their own against commercial offerings.
Choosing Your Hop Varieties: Know What You’re Adding
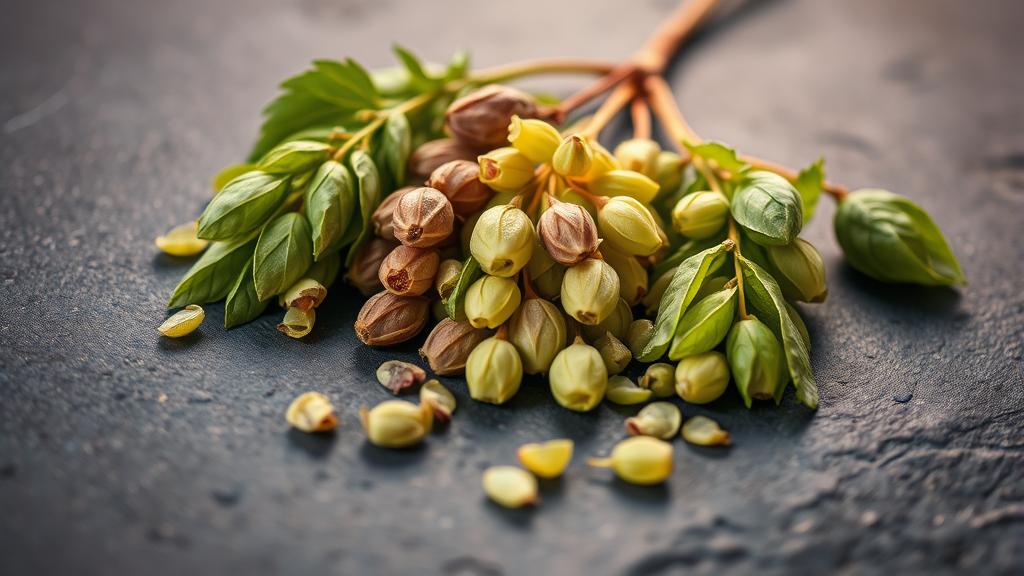
Not all hops are created equal for dry hopping. Some lose their character when steeped cold; others shine. Here’s my rule: prioritise modern aromatic varieties bred for flavour over bittering.
- Cascade — Citrus, spice, earthy. The classic go-to. Reliable every time.
- Centennial — Floral, herbal, with subtle grapefruit. Pairs brilliantly with low-ABV session beers, where hop character really shines.
- Citra — Grapefruit bomb. If you want aggressive citrus, this is it. Absolute powerhouse dry hopped.
- Chinook — Pine, spice. More aggressive. Use sparingly.
- Mosaic — Modern varietal. Berry, herbal, complex. Trending hard in 2026.
- Azacca — Mango, coconut, tropical. Perfect if you’re experimenting with fruit beer brewing approaches.
I typically dry hop with a blend: 30% high-impact variety (Citra), 50% classic (Cascade), 20% wildcard (whatever new hop I’m testing). The Homebrew Talk community has been experimenting with multi-stage dry hops—different varieties at different timing points—and the results are genuinely impressive.
Buy from reputable suppliers like The Malt Miller or Geterbrewed (UK-based, reliable quality). Hops degrade over time; fresher is always better. Look for vacuum-sealed bags with nitrogen flush.
The Equipment Question: What Do You Actually Need?
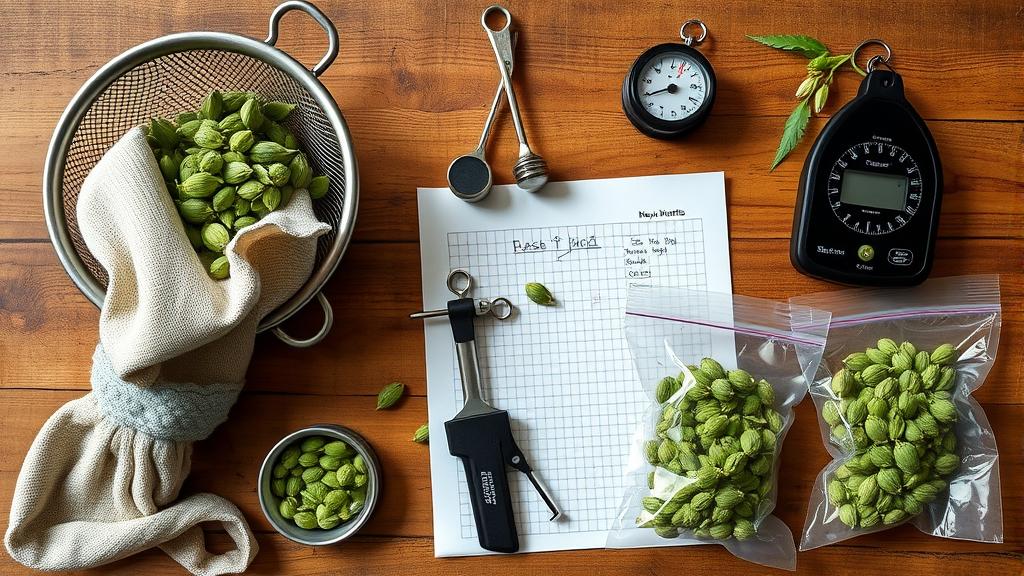
Here’s the truth: you can dry hop in almost any fermenter. A carboy, a bucket, even a proper cylindroconical. But certain setups make it easier.
- Wide-mouth fermenters — FermZillas, Spike Fermenters, or modern bucket-style fermenters with wide openings. You can drop hops straight in without faffing.
- Hop bags/socks — Nylon mesh bags that contain dry hops. Cheap, reusable, and they prevent hop debris from ending up in your final beer. I buy a pack of 10 from BrewUK for about £3.
- Mesh strainers — If you’re hopping a carboy, a stainless steel mesh strainer on a stick lets you lower the hops in carefully.
- Scale — Accuracy matters. Invest in a decent kitchen scale (±1g accuracy). Hopping by feel leads to inconsistency.
Total investment for a proper dry hopping setup? Under £50. You don’t need fancy gear.
When and How to Dry Hop: The Timing Game
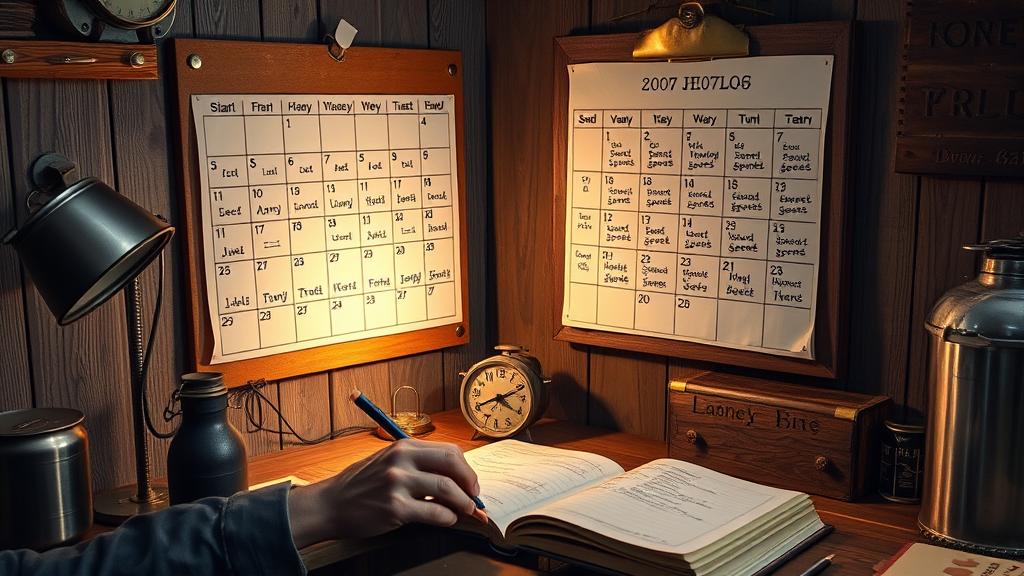
Timing is where things get nuanced. There’s no single “correct” moment, but here’s what I’ve learned from dozens of brews and a deep dive into HomeBrewTalk forums:
Option 1: During Active Fermentation (Days 2–3)
Add hops while yeast is still vigorously fermenting. The CO₂ production provides a blanket, protecting hops from oxidation. Plus, there’s some research suggesting active fermentation yeast actually enhances hop aroma extraction.
Advantages: Maximum aroma, reduced oxidation risk.
Disadvantage: Hops can get sticky from trub and krausen buildup. If using a carboy, this is messy.
Option 2: Post-Fermentation (Days 5–7)
Wait until vigorous fermentation has finished but before you cold-condition. The beer is still slightly active, providing some CO₂ protection, but it’s calmer—easier to work with.
Advantages: Cleaner process, less hassle, forgiving.
Disadvantage: Slightly more oxidation risk, though modern research suggests it’s negligible if you’re careful.
Option 3: Cold Conditioning (Days 10–14)
After fermentation is completely done, add hops during the cold rest at 0–4°C (32–39°F). This is actually trendy right now—breweries are calling it “cold steeping” or “cryo hopping.”
Advantage: Minimal oxidation, maximum aroma preservation at low temp.
Disadvantage: Takes longer (7–10 days for full extraction).
My personal preference? Day 3 of fermentation, if using a wide-mouth fermenter. I get reliable results and the yeast still provides protection. For carboys, I shift to post-fermentation (day 5) because the logistics are easier.
Here’s my step-by-step routine:
- Calculate hop weight: 1.5–2g per litre (25–30g for a 15-litre / 5-gallon batch) for medium character. Adjust based on desired intensity.
- Put hops in a hop sock or sanitised mesh bag.
- Lower carefully into the fermenter. If using a carboy, I use my mesh strainer—takes 30 seconds.
- Seal the fermenter. No need to pull the airlock; just leave it venting normally.
- Wait 3–7 days depending on your chosen timing.
- Remove the hop bag. Done.
Multi-Stage Dry Hopping (Advanced)
Some brewers—myself included—now do two dry hop additions with different varieties for complexity.
Example: Day 3 add Cascade (30g). Day 6 add Citra (15g). The Cascade brings foundation, the Citra adds a punch. The result is more layered aroma.
Temperature Considerations: Keep It Cool(ish)
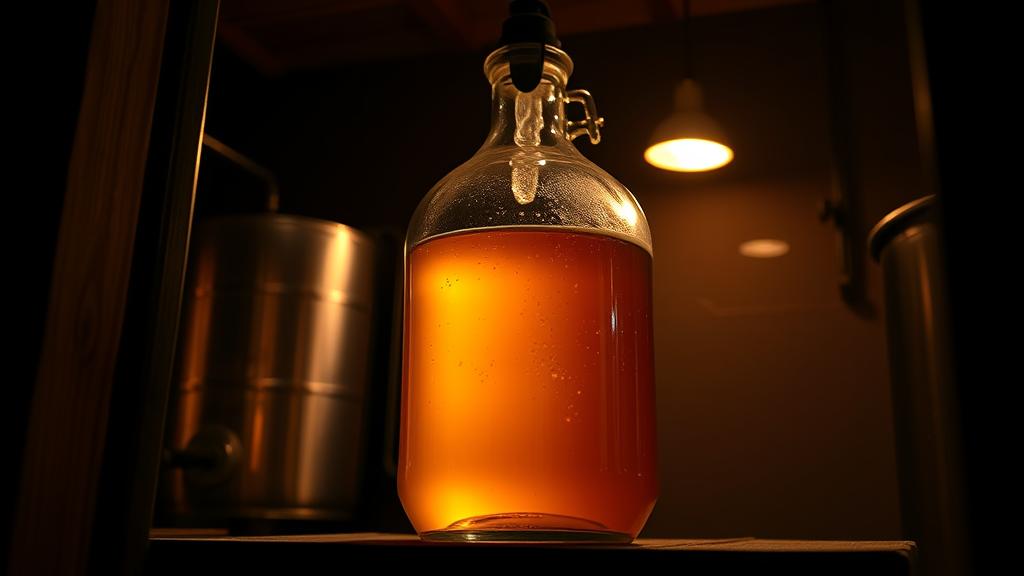
Hop aroma is volatile. Heat destroys it. Ideally, keep your fermenter at 18–20°C (64–68°F) during dry hopping. If your brew room runs warmer (common in July), dry hop during cooler hours or use a fermentation chamber if you have one.
I learned this the hard way: a batch I left in direct sunlight during July developed a grassy, thin hop character. Next iteration, I moved it to a cupboard, and the difference was night and day—vibrant citrus instead of lawn clippings.
Tasting Notes and Honest Evaluation
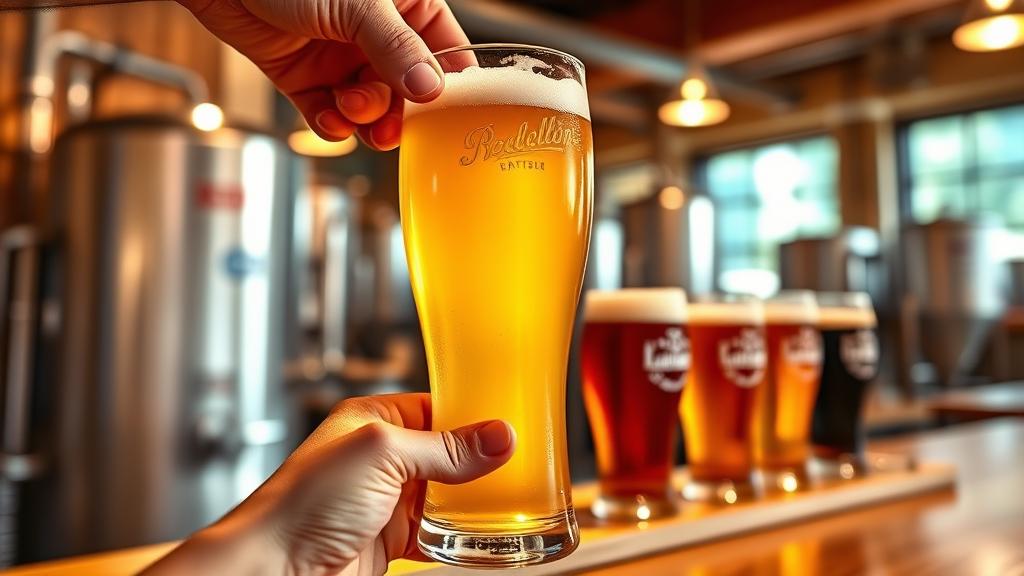
Here’s the thing about dry hopping: if it works, you know immediately.
A well-dry-hopped pale ale pours with a white head, and as soon as you bring it to your nose, you get that fresh hop aroma—like walking into a hop garden. Floral, citrus, sometimes herbal or spicy depending on variety. The taste follows the nose: bright, aromatic, with bitterness that feels clean rather than harsh (because the bitterness came from whirlpool or early-boil additions, not the dry hops).
I’ve brewed two batches of the same recipe, with identical everything except one had no dry hops and one did. They’re different beers. The dry-hopped version tastes fresher, more complex, more professional. It’s the difference between competent and impressive.
My current trial: I’m comparing hybrid fermentation techniques with different dry hop timings. Early results suggest that dry hopping during a hybrid fermentation’s mixed phase (part ale yeast, part lager yeast) produces surprisingly complex aroma—but I’m still collecting data.
Pro Tips and Common Mistakes to Avoid
- Don’t over-dry-hop. Beyond 2g per litre, you get grassy, excessive bitterness. Less is more—aroma extraction plateaus quickly.
- Use fresh hops. Old, oxidised hops will taste like hay. Store in a freezer if you have one.
- Sanitise your equipment. Hop bags, mesh strainers—they need to be clean. A quick soak in StarSan is sufficient.
- Don’t dry hop indefinitely. After 7–10 days, extraction reaches equilibrium. Leaving hops longer doesn’t add more aroma; it can introduce grassy notes.
- Consider your style. Dry hopping works for IPAs, Pale Ales, Pilsners, even some British Ales. It’s odd in Porters, Stouts, or traditional Milds. Know your beer.
- Test single-variety dry hops first. Before blending, brew the same beer with different varieties to understand each one’s character.
Variations and Next-Level Experiments
Cryo Hops (Lupulin Powder): Modern supplies like Geterbrewed now stock cryo hops—CO₂-extracted lupulin powder. These are intense. Use half the weight of whole hops and expect maximum aroma concentration.
Foraged Hops: If you’re into wild foraging and hedgerow brewing, you can dry hop with foraged wild hops. The results are unpredictable but memorable.
Dry Hopping with Spices: Some brewers combine hops with coriander, cardamom, or orange zest during dry hopping. The hops act as a carrier, and the result is herbal, complex. I’m trialling this in a Belgian Pale Ale right now.
Extended Cold Soak: Add hops at very low temperature (2°C / 35°F) for 14 days. Some boutique breweries swear by this for maximum delicate aroma. Takes patience but delivers incredible results.
Conclusion: Master This One Technique
Dry hopping is the single most impactful technique I’ve adopted in the past three years of home brewing. It separates ordinary home brews from genuinely impressive ones. And the best part? It’s dead simple. Add hops, wait, remove hops.
Start conservative: try a single batch with your favourite pale ale recipe, 1.5g per litre of Cascade, added on day 3 of fermentation. Taste it two weeks later. Then you’ll understand the magic.
Then come the variations—multi-stage hops, different varieties, timing experiments. That’s where the craft becomes creative. That’s where you’ll find your signature beer.
The monk wisdom here is patience. Hops aren’t rushed. Give them time, and they’ll reward you with complexity that age and study alone cannot buy.
🍺 Join the Brotherhood — Monthly brews, stories & monk wisdom
Subscribe for exclusive recipes, early brew logs, and behind-the-scenes updates straight to your inbox.

