
Why Perry is the Next Frontier in 2026
If you’ve been following the craft beverage world, you’ve probably noticed something brewing beneath the surface of the cider boom. Perry—genuine pear cider made from proper perry pears—is having a moment. Not the mass-market stuff, but real, artisanal, heritage-variety perry that tastes like autumn in a bottle.
Here’s the thing: most home brewers I know have tackled beer, some have tried cider, but perry remains the unexplored frontier. It’s the craft alternative that sits somewhere between beer and cider—complex, elegant, sometimes bone-dry, sometimes elegantly off-dry. The market research backs it up too. Artisanal pear pressings (perry) are expanding beyond traditional apple-only baselines, with premium craft offerings emerging across the UK in 2026.
What makes perry special? Unlike apples, perry pears are deliberately astringent and tannic. They’re not designed for eating—they’re built for fermentation. When you understand this, when you pick the right varieties and treat them with the respect they deserve, something magical happens. You get a drink that’s light, refreshing, utterly dry, and somehow mineral-like in its precision.
Selecting Pear Varieties & Juice Quality
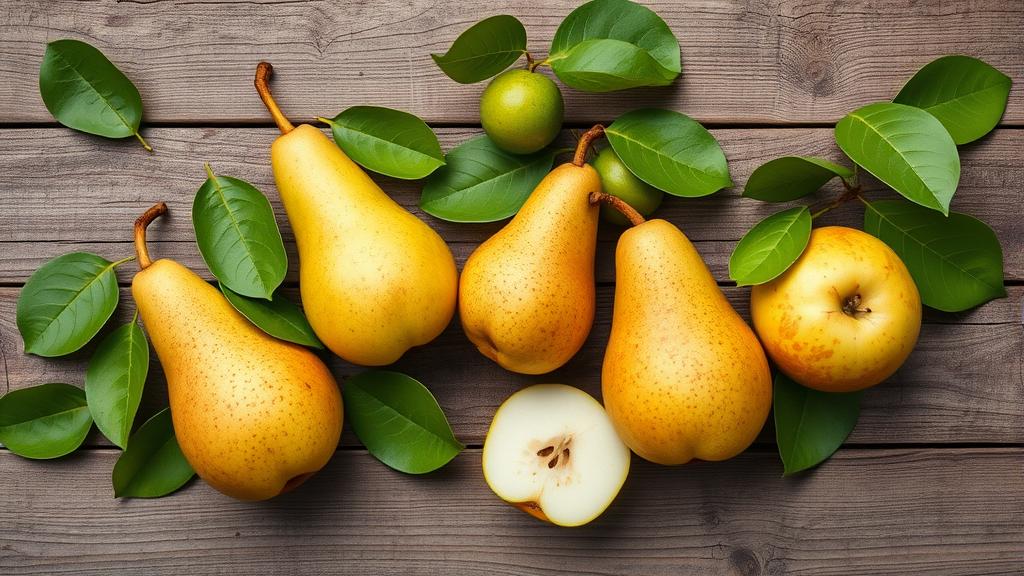
The first decision you’ll make is the pear varieties. This is crucial. You can’t just buy Williams pears from the supermarket and expect perry—that’s a recipe for something flat and thin.
True perry pears include varieties like:
- Tawny Perry Pear – The classic. High tannins, proper astringency, produces dry, complex perry
- Barland – Lighter in tannin, more delicate, gives a floral, elegant profile
- Oldfield – Late season, very astringent, produces concentrated, long-lived perry
- Blakeney Red – Produces deep colour and good complexity
- Butt Perry – Higher sugar potential, produces drier results
Your goal is to blend varieties—usually 70% primary variety with 20-30% supporting varieties. This is how commercial perry makers do it, and you should too. If you can source fresh juice from a proper cider mill (like The Malt Miller or local orchards doing estate bottling), that’s your gold standard.
Sourcing quality pear juice from sustainable local orchards means one crucial detail: perry juice is often keeved during production. This is a traditional process where the juice sits and the solids settle out before fermentation. This produces a lighter, crisper perry. If you’re buying juice, ask whether it’s been keeved. If you’re pressing your own, let the juice settle for 24-48 hours before carefully siphoning it off the sediment.
For a homebrewer making 10-20 litres (2.6-5.3 gallons), aim for 1.040-1.060 starting gravity. This gives you a finished perry of 5-7.5% ABV—the sweet spot for sipping perry.
Equipment & Setup for Perry Fermentation
Here’s the good news: if you homebrew beer, you’ve already got most of what you need. The key differences are subtle.
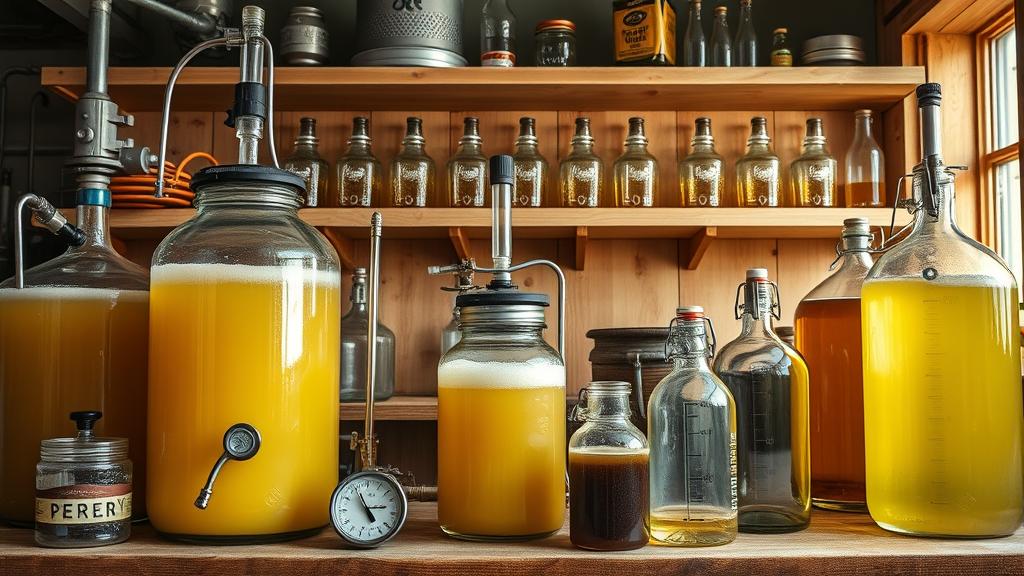
For perry, I prefer fermentation in glass demijohns or carboys rather than plastic. Perry is acidic and can interact with plastic over time. Glass keeps it pure.
Essential equipment:
- Glass carboy or demijohn (10-20 litre capacity)
- Solid rubber or carboy bung (not plastic)
- S-shaped airlock or one-way valve
- Large funnel (essential for pear juice)
- Hydrometer & trial jar
- Siphon tube & racking cane
- Thermometer (important for temp monitoring)
- Clean cloth or cheesecloth (for initial settling)
Temperature control is critical. Perry yeast prefers 15-18°C (59-64°F)—warmer than white wine, cooler than beer fermentation. If your kitchen fluctuates, consider a cool cupboard or dedicated fermentation fridge. Temperature swings above 20°C (68°F) can produce unwanted estery flavours. This is similar to precision needed in fruit beer fermentation.
I also recommend a natural fermentation approach, embracing spontaneity in the pear juice, much like traditional wild fermentation methods—no pitch, just wild yeasts from the juice itself. This sounds risky but it’s actually traditional and, when done carefully, produces beautiful complexity. The pear juice’s natural acidity (pH 3.5-4.0) protects against spoilage.
The Perry Fermentation Process: Step-by-Step
Day 1: Setup – Pour your pear juice into the demijohn (you’ve let it settle 24 hours, remember). Leave about 5cm (2 inches) headspace. Fit the airlock, add water to the airlock’s reservoir. Place in your cool fermentation spot (15-18°C). That’s it.
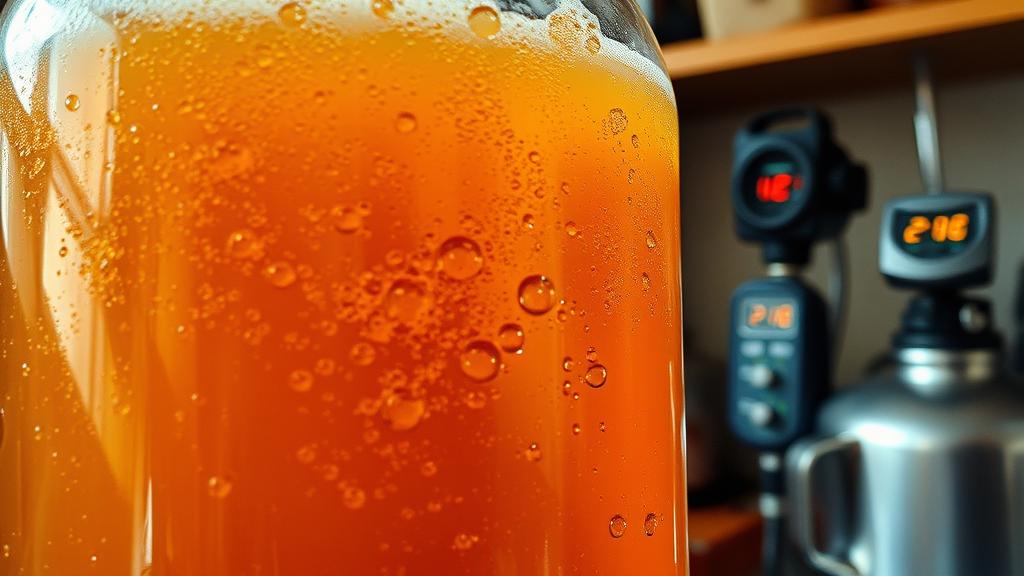
Days 2-7: First Fermentation – Nothing visible happens for 24 hours. Then you’ll see a few bubbles. By day 3-4, fermentation should be moving steadily—one bubble every few seconds through the airlock. Keep temperature stable. Check gravity on day 5-7 with a hydrometer. Most perry drops from 1.050 to about 1.020-1.025 in the first week.
Weeks 2-4: Main Fermentation – Fermentation slows noticeably around week 2-3. Bubbling may drop to every 10-30 seconds. Resist the urge to rush this. Slow fermentation in cool conditions produces better results. Take gravity readings weekly. When gravity stabilises for 3-5 days (usually around 0.990-1.000), primary fermentation is complete.
Week 4-6: Secondary Fermentation (Maturation) – Transfer (rack) the perry to a clean demijohn, leaving the sediment behind. Fit an airlock and let it sit. This is where perry develops character. You might see very slow fermentation continue for weeks. Leave it. A cool environment and patience reward you here.
My first perry sat for 3 months before I bottled it. Worth every week. This patience-first approach mirrors careful temperature management in low-ABV brewing—small details compound.
Carbonation & Conditioning Mastery
This is where perry separates itself from still cider. Done right, carbonation transforms perry from pleasant to brilliant.
Two routes:
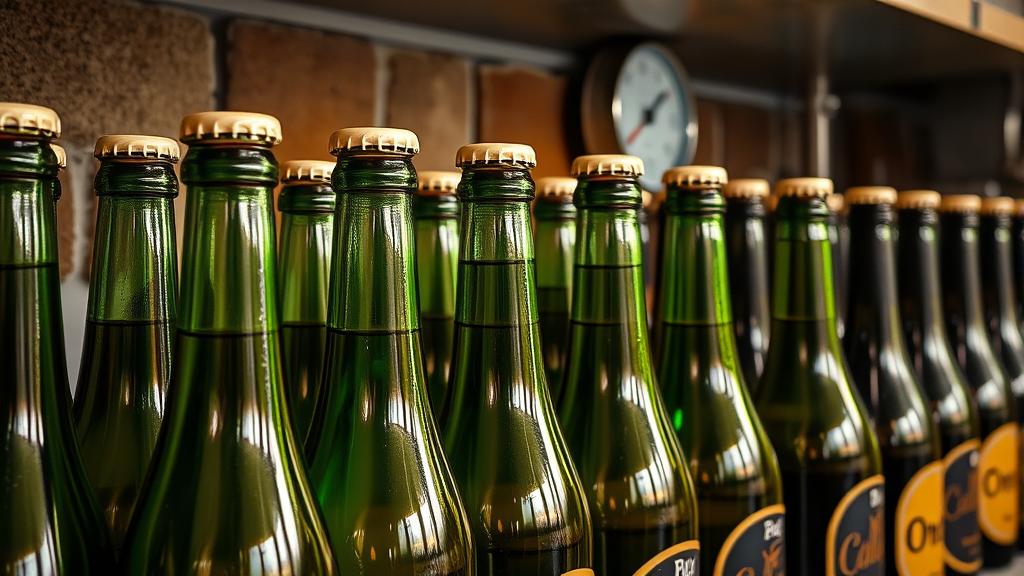
Natural Carbonation: Before bottling your perry, take a gravity reading. If it’s below 0.998, add a small amount of sugar (2-3 grams per litre / 0.25-0.35 teaspoons per pint). This gives the residual yeast just enough to produce CO₂. Bottle in swing-top bottles or crown capped bottles. Store at 12-15°C (54-59°F) for 4-8 weeks. Check one bottle at week 3. Gentle pressure, good carbonation—you’re there. This method gives you exact control and builds a proper perry tradition.
Force Carbonation: If you have CO₂ equipment (like equipment from specialist suppliers), carbonate to 2.5-3.0 volumes of CO₂. Perry’s delicate flavour profile prefers slightly lower carbonation than beer—you want a gentle fizz, not aggressive bubbles.
A pro tip I learned: don’t bottle too young. Bottle at least 6 weeks after primary fermentation ends. Perry needs time to integrate and refine. The tannins need to settle properly. Rush it and you get a thin, sharp drink. Wait, and you get silk.
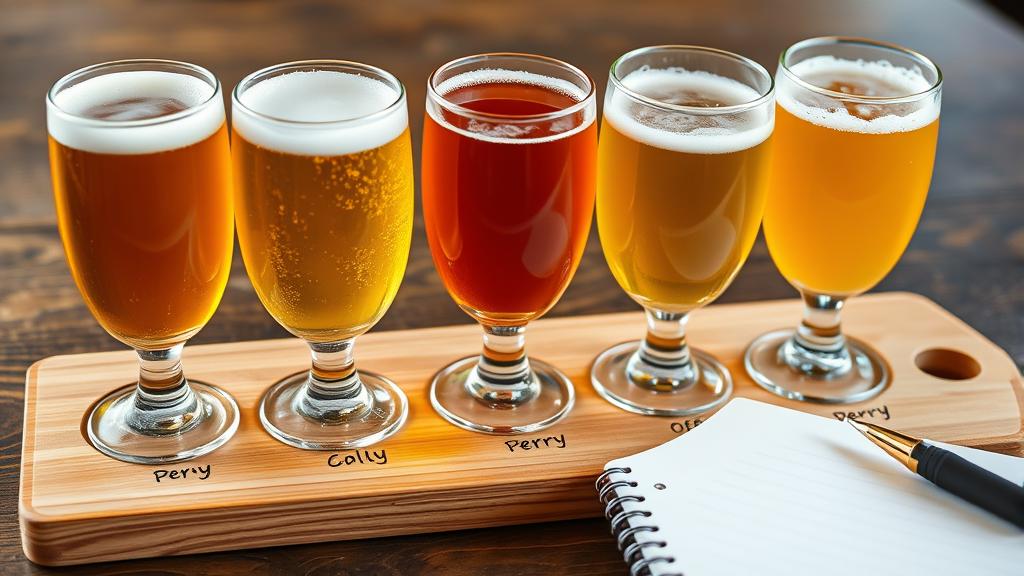
Tasting Notes & Pear Profiles
When you open your first bottle, you’ll notice the subtlety immediately. Perry doesn’t shout. It whispers.
Good perry characteristics:
- Colour: Pale golden to amber, depending on variety and age
- Aroma: Delicate pear, sometimes floral, occasionally slightly spicy or peppery
- Taste: Dry (under 2g/L residual sugar is the goal), but pear comes through—not acidic-sharp like cider, more refined
- Mouthfeel: Medium-light body, gentle tannins, dry finish
- Age-ability: Good perry improves 1-3 years in bottle
Specific profiles to expect:
Tawny Perry: Dry, mineral, slightly peppery. This is classic. Serve at 10-12°C (50-54°F) with oysters or alone as aperitif.
Barland-heavy blend: More floral, delicate, lighter. Slightly off-dry (residual sugar 5-10g/L) if you prefer. More approachable for perry newcomers.
Aged Perry (18+ months): Flavour deepens—honey, dried stone fruit notes emerge. Oxidation isn’t a failure here; it’s refinement. Some tawny develops. Serve at room temperature.
Pro Tips & Common Mistakes
Mistake 1: Using Supermarket Pear Juice – You’ll get thin, one-dimensional perry. Hunt down proper perry pear juice. It’s worth the effort.
Mistake 2: Temperature Swings – Perry yeast is sensitive. Fluctuations between 10-20°C cause sluggish or stuck fermentation. Invest in a cool, stable space.
Mistake 3: Over-Sulphiting – Unlike wine, perry doesn’t need aggressive sulphite additions. Keep it minimal. Let the acidity and the pear’s natural protection do the work.
Mistake 4: Bottling Too Early – Perry needs time to marry and mellow. 8-12 weeks minimum after fermentation completes. Seriously.
Pro Tip 1: Blend Your Pears – Even if you only make one batch, split it 70/30 between two varieties if you can. The complexity jumps immediately.
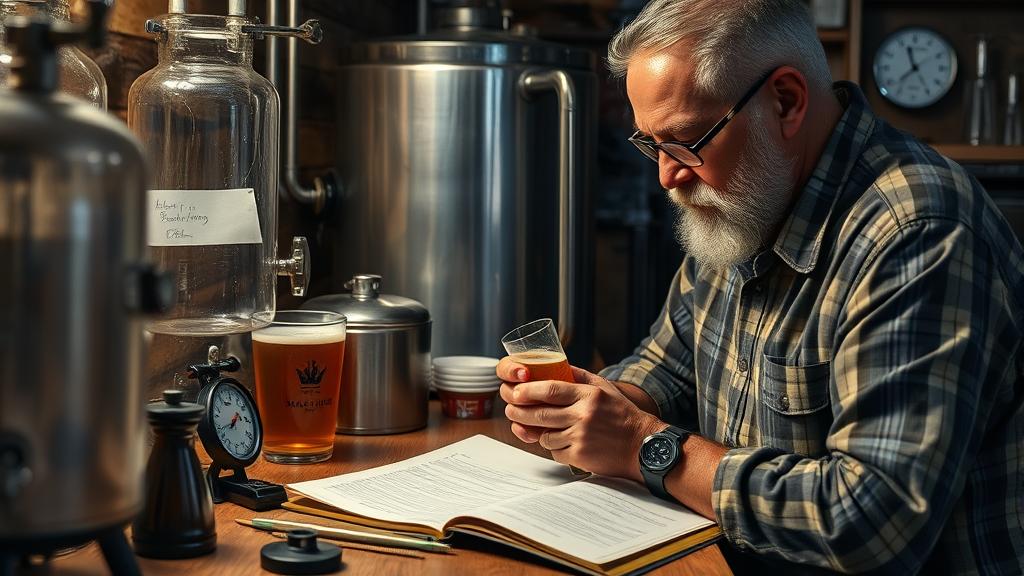
Pro Tip 2: Keep Meticulous Notes – Every batch is a learning opportunity. Gravity readings, temperature swings, tasting notes at bottling, tasting notes at 3 months, 6 months, 1 year. This is how tradition builds.
Pro Tip 3: Age Some Bottles – Drink 80% fresh, lay down 20% to age. At 18 months, you’ll understand why this craft is worth the patience.
Pro Tip 4: Study the CAMRA Perry Guide – CAMRA publishes detailed perry resources on heritage varieties and fermentation. Worth reading before your first batch.
Conclusion: Join the Perry Renaissance
Perry brewing sits at the intersection of tradition and discovery. You’re not just making a drink—you’re connecting to centuries of English orchard heritage while exploring a category that’s finally getting the recognition it deserves in 2026.
Your first batch might not be perfect. Mine wasn’t. It was thin and slightly sharp. But in that first mouthful, I tasted the potential. By batch three, I was producing perry that stood shoulder-to-shoulder with commercial offerings. By batch six, I was experimenting with blends and ageing that made the whole process feel like honest craft.
Perry rewards patience, precision, and respect. If you can handle those, you’re in for something special.
🍺 Join the Brotherhood — Monthly brews, stories & monk wisdom
Subscribe for exclusive recipes, early brew logs, and behind-the-scenes updates straight to your inbox.

