
Why Seaweed Brewing Matters in 2026
I’ll be honest — my first reaction to brewing with seaweed was scepticism. Seaweed in beer? Sounded like a gimmick. Then I discovered that it’s not a gimmick at all. In fact, seaweed (especially sugar kelp) is one of 2026’s most compelling brewing trends, sitting at the intersection of three things brewers actually care about: sustainability, flavour complexity, and local sourcing.
The UK craft scene has already embraced it — SeaGrown in Yorkshire is making waves (literally), and St Davids Old Farmhouse in Wales is collaborating with regenerative ocean farms. These breweries aren’t chasing trends for marketing; they’re using seaweed because it genuinely improves their beers while supporting ocean health. As a homebrewer, you can tap into this same movement with dried kelp from sustainable UK suppliers and a handful of practical techniques.
This post walks you through everything: where to source seaweed, how to prep it properly, fermentation tricks, and what to expect in your glass. By the end, you’ll have a recipe for a crisp kelp gose that tastes nothing like “seaweed beer” — it tastes like beer.

Understanding Seaweed in Brewing
Seaweed brings three things to beer that malts and hops alone don’t easily provide: umami depth, mineral complexity, and a subtle briny edge that rounds out bitterness. The magic ingredient is something called algin, a natural thickening agent in kelp that creates a silky mouthfeel and helps with head retention.
The most homebrew-friendly seaweed is sugar kelp (Laminaria saccharina), a native UK species harvested sustainably from regenerative ocean farms. Unlike nori or wakame (which are Asian varieties), sugar kelp has a milder, more biscuit-forward character when dried. It won’t turn your beer green or taste fishy — that’s a common fear, and it’s unfounded if you source quality kelp and use the right amounts.
Seaweed also contains iodine, which at the wrong levels can create off-flavours. This is where technique matters. Proper drying, brief additions (5–15 minutes), and starting small are non-negotiable. I’ll show you all three.
Many UK brewers are drawn to seaweed for another reason: it’s a visible commitment to sustainability. Sustainable homebrewing has moved beyond ethical posturing into practical ingredient sourcing, and seaweed farms actively improve marine ecosystems by reducing excess nutrients and providing habitat. That matters to people who actually care about the water their beer comes from.
Sourcing and Preparing Your Seaweed
Start with dried, food-grade sugar kelp. Avoid cosmetic-grade or indefinite storage kelp — you want fresh stock from a supplier who turns their inventory quickly. In the UK, SeaGrown, Selkies Seaweed, and smaller farms like Car-y-Môr in Wales ship direct to homebrewers. Budget £8–15 (€10–18) for a 100g (3.5oz) pack, which is enough for 3–4 batches of 20L (5 gallon).
Storage is critical. Keep dried seaweed in an airtight container in a cool, dark place. Kelp absorbs moisture aggressively, so if your bathroom is humid, don’t store it there. Check on it every few months — any off-smell or mould means it’s oxidised and should be discarded.
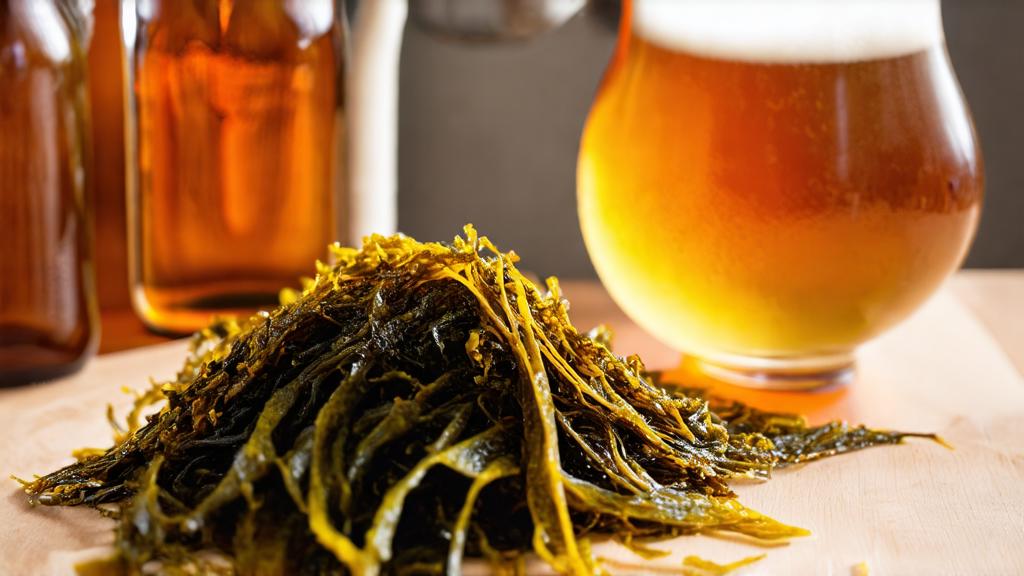
Prep work (do this 24 hours before brew day): Soak 10g (0.35oz) of dried seaweed in 250ml (9fl oz) of dechlorinated water. This rehydrates it gently and lets you assess colour and smell. If it smells fresh—slightly briny, not fishy—you’re good. After soaking, squeeze out excess liquid and let it dry on kitchen paper.
Why soak? Raw seaweed is brittle and can break apart in your kettle, creating particle problems. Soaked kelp is pliable and stays intact. Plus, this step lets you catch any storage issues before they ruin your batch.
The Recipe: Kelp Gose (20 Litre / 5 Gallon Batch)
Gose is the perfect style for seaweed because it already plays with umami and salt. This recipe hits 4.5% ABV—dry, crisp, and thirst-quenching. The kelp adds salinity naturally, so you’ll use slightly less sea salt than a traditional gose.
Grist:
- 3.0 kg (6.6 lbs) Pale Malt
- 400g (14oz) Wheat Malt
- 250g (8.8oz) Crystal 10°
Hops:
- 30g (1oz) Hallertau (60 min)
- 15g (0.5oz) Coriander seed (last 5 min)
- 7g (0.25oz) Dried seaweed (last 5 min—more on this in a moment)
Other:
- 5g (0.18oz) Sea salt (15 min)
- 1.5ml (0.3 tsp) Citric acid (0 min, after cooling)
- Wyeast 1010 American Wheat (or London Ale III)
Water: 28 litres (7.4 gallons) at mash-in. Aim for slightly soft water (carbonate ~80 ppm). Seaweed’s minerals mean you don’t want super soft water, but avoid high-mineral profiles (chalk or Gypsum-heavy water can amplify iodine off-flavours).
Why that timing on seaweed? Adding it at 5 minutes—rather than at whirlpool—keeps the volatile aromatics intact while limiting iodine extraction. You could also add rehydrated kelp straight to the boil, but research from breweries like Wold Top suggests a short, hot addition minimises bitterness while preserving umami.
Brew Day: Step by Step
1. Mash (65°C / 149°F for 60 min): Standard infusion mash. Your target gravity should be around 1.046. If you’re new to seaweed brewing, don’t skip this step—it’s where flavour development starts.
2. Sparge and run-off (76°C / 169°F): Slow and steady. Seaweed particles, if not properly soaked, can clump in the kettle. By soaking beforehand, you’ve eliminated this risk. Run off to about 30 litres (8 gallons) pre-boil.
3. The boil (90 minutes total):
- 0 min: Full rolling boil, add Hallertau hops.
- 25 min: Add Crystal 10 if you’re doing a mid-boil grain steep (optional, but adds toffee notes).
- 45 min: Add sea salt. Stir gently.
- 55 min: Add coriander seed—it should toast slightly as it floats. This adds a subtle citrus character.
- 85 min: Prepare your seaweed addition. Drain the soaked kelp and have it ready.
- 85 min: Add the rehydrated seaweed. (Yes, 85 min into a 90-minute boil—this is the critical timing.)
- 90 min: Kill the heat. At this point, your kettle should smell malty with a hint of brine and citrus, not fishy.
4. Chill to 20°C (68°F): Use your immersion chiller, plate chiller, or the ice-bath method. Seaweed bits won’t cause any more hop issues than whole-cone hops, but try to leave the trub in the kettle.
5. Pitch and ferment: Aerate well (vigorous stirring or oxygen if you have it). Pitch Wyeast 1010 or equivalent at around 18–20°C. Ferment for 7–10 days at a steady 20°C. Temperature control keeps esters clean and lets the seaweed’s umami shine.
Post-Fermentation and Conditioning
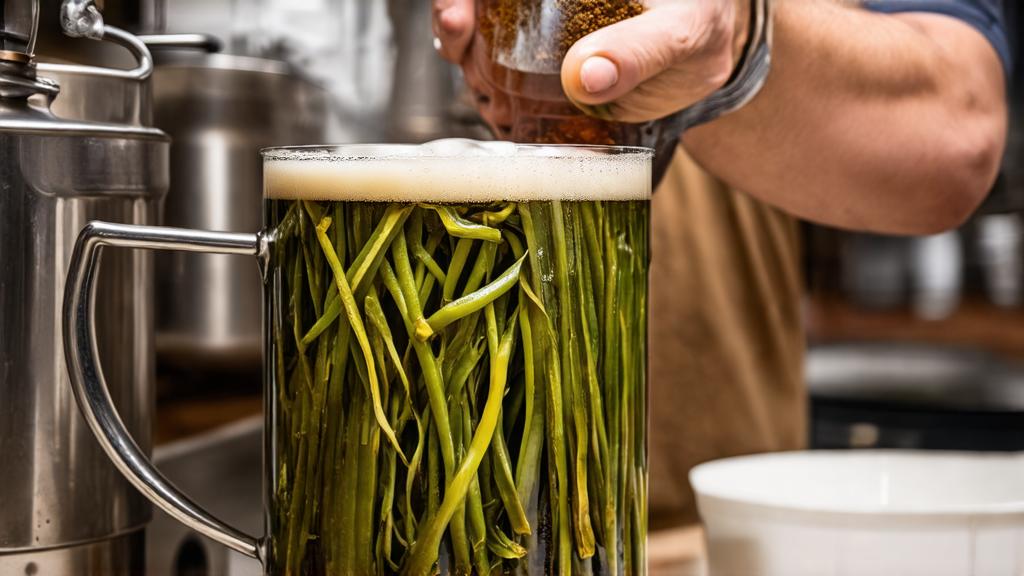
After fermentation drops below 1.015, let it sit for 48 hours at the same temperature. This allows the yeast to clean up any acetaldehyde or minor esters. Then cold-condition for 1–2 weeks at 2°C (35°F) if you have a fridge, or 10°C (50°F) if not. Seaweed ales benefit from cold conditioning because it sharpens the brine edge and clarifies the mineral profile.
Bottle naturally (carbonation to ~2.5 volumes CO₂) and age at cool room temperature for 1–2 weeks. For gose-style beers, bottle carbonation develops even more complexity in the bottle, and seaweed’s umami deepens subtly.
Pro tip: Kegging is better than bottling for seaweed ales if you have the setup. Fresh seaweed ales oxidise slightly faster than traditional styles due to higher mineral content, so low-oxygen packaging (kegging) extends shelf life from 6 months to 8+ months at cool temperatures.
Tasting Notes and What to Expect
Pop your first seaweed ale and you’ll notice a few things almost immediately:
Appearance: Pale to pale-amber, depending on your malt bill. Slightly hazy (normal for gose), with a tight, persistent head (thank algin for that).
Aroma: Wheat-forward, citrus from the coriander, and a clean briny note—like sea spray mixed with grain. It should not smell fishy. If it does, you’ve either over-extracted iodine or sourced poor-quality seaweed.
Flavour: Crisp, dry, with a subtle umami depth underneath. The seaweed reads almost as a missing ingredient in your mouth—you feel its effect rather than taste it directly. Salinity is present but not aggressive. A whisper of toffee, clean citrus, and a bright finish that invites another sip.
Mouthfeel: Silky, nearly creamy. That’s the algin from the seaweed creating a natural body-builder without adding sweetness. Very satisfying.
Troubleshooting and Variations
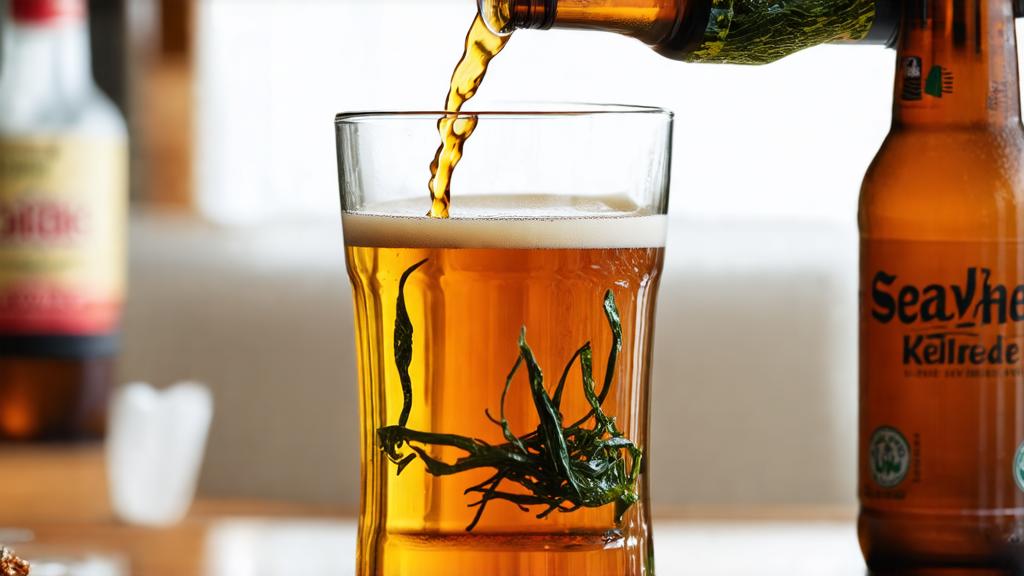
If your seaweed ale tastes fishy or medicinal: You over-extracted iodine. Next time, reduce seaweed to 5g instead of 7g, and keep the boil addition to 3–4 minutes instead of 5. Also check your water — high-iodine tap water (some UK areas have this) can amplify the problem.
If the mouthfeel is too thin: You’ve under-extracted the algin. Increase seaweed by 2g, or double-soak it (soak 24 hours, drain, re-soak 12 hours). Longer soaking without heating maximises algin extraction.
Trying a kelp IPA: Double the seaweed to 14g, add a second hop charge at 10 minutes (25g of a floral variety like Saaz or Spalt), and pitch a clean American IPA yeast (1056 or similar). You’ll get a dry, briny backdrop to the hop character — fascinating, but not for everyone.
Kelp and fruit: Seaweed works brilliantly with tart fruits. A kelp wheat ale with 500g (1.1 lbs) of frozen raspberry added at day 3 of fermentation creates complexity — the fruit’s acidity plays against the seaweed’s umami. Fruit beers are having a serious moment in 2026, and seaweed adds an unexpected dimension.
Sustainability and Community
Here’s what genuinely impressed me about seaweed brewing: it’s not performative sustainability. Regenerative seaweed farms (like those in Wales and along the UK coast) actually improve ocean health. They absorb excess nutrients that cause dead zones, provide habitat for juvenile fish, and require zero fertiliser or pesticide inputs. Compare that to grain farming, and suddenly your seaweed ale feels ethically solid.
As a homebrewer, you’re part of a small but growing movement. When you source your kelp from UK regenerative farms, you’re creating demand that incentivises ocean restoration. That’s not marketing fluff—that’s a real supply chain story.
Community-focused brewing is reshaping how we think about beer in 2026, and seaweed brewing fits perfectly into that shift. Share your batch with friends, explain where the seaweed came from, and you’ve just educated a dozen people about regenerative ocean farming over a pint. That’s the kind of beer conversation worth having.
Conclusion: Your First Seaweed Batch Awaits
Seaweed brewing sounds exotic, but it’s genuinely straightforward. A small amount of dried kelp, a 5-minute boil addition, and standard fermentation practices give you a beer that tastes refined and tastes intentional. You’ll notice the difference immediately—the umami depth, the silky body, the clean briny edge that pulls everything together.
Start with the gose recipe above. Get your seaweed from a UK regenerative farm (SeaGrown is excellent). Soak it properly, time your boil addition carefully, and ferment cool. By week 4, you’ll have a beer that outperforms most commercial gose and tells a story about sustainability, seaweed farms, and intelligent brewing.
The 2026 trend isn’t fleeting. Seaweed ales are becoming a permanent fixture in forward-thinking breweries and homebrewer circles. Now’s the time to master the technique, dial in your recipe, and own this style before it becomes the next big wave (pun intended).
🍺 Join the Brotherhood — Monthly brews, stories & monk wisdom
Subscribe for exclusive recipes, early brew logs, and behind-the-scenes updates straight to your inbox.

