
The beer world is experiencing a quiet revolution, and it’s deliciously tart. Forget the pastry sours packed with lactose and dessert flavours—2026 belongs to fruited session sours, the vibrant low-ABV answer to a generation tired of hangover-inducing craft beer. These are session beers (3–4.5% ABV) with bright, complex acidity, natural fruit character, and the kind of balance that lets you enjoy a second pint without regretting tomorrow. I’ve been experimenting with them for months now, and honestly, this might be the most fun I’ve had brewing in years.
Why Fruited Session Sours Are Having a Moment in 2026
Walk into any UK craft brewery taproom right now and you’ll notice something: Berliner Weisse-style beers dominate the sour category. The reason is simple—they’re the perfect antidote to modern life. Craft beer culture peaked around 2017 with enormous Imperial IPAs and adjunct-loaded pastry stouts. Brewers were pushing ABV, hype, and price tags to absurd levels. Consumers woke up tired.
Now we’re seeing a reset. People still want interesting beer, but they want sessionability, lower alcohol, and less sugar. They want to taste something different, not just get drunk. Breweries like London Brewing are experimenting with haskap berries, whilst independent brewers across the UK are embracing Gose and fruited kettle sours as serious styles, not gimmicks.
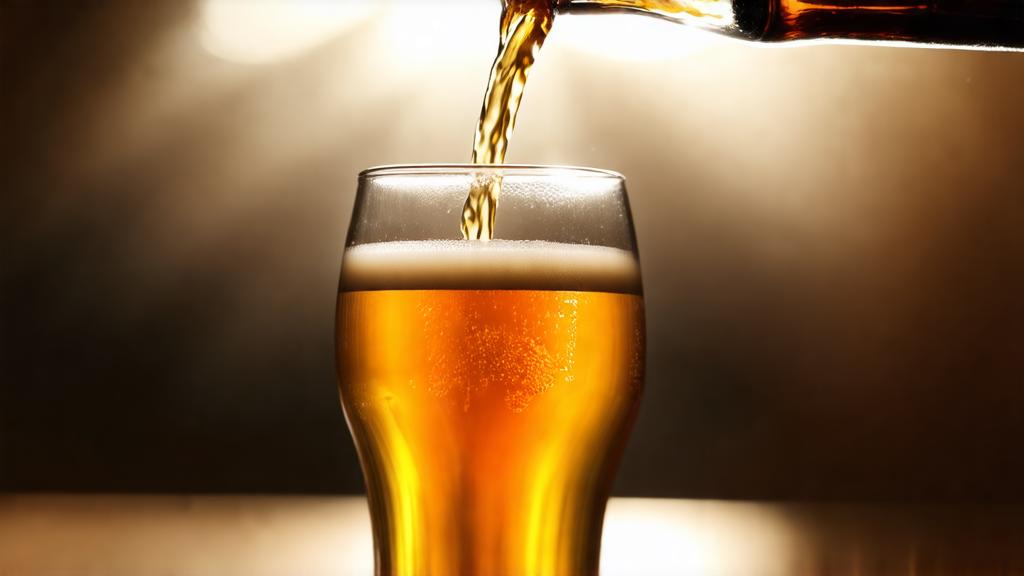
From a homebrewer’s perspective, this is brilliant news. Session sours are technically forgiving, faster to brew than barrel-aged wild ales, and absolutely achievable in a garage setup. You don’t need special equipment or years of experience—just clean methodology, good ingredients, and patience.
Ingredients & Equipment You’ll Need
Here’s the good part: brewing fruited session sours doesn’t require anything exotic. If you’ve brewed extract beer before, you’re ready. I use all-grain brewing (1.5 kg pale malt base, typically), but you can absolutely scale to extract or partial mash.
Base grains: Pale malt (Maris Otter or Pale Ale malt) forms the foundation, with optional additions of flaked wheat (20–25%) for body and head retention. Some brewers add a touch of dextrose (5–10%) to thin the body and raise ABV slightly if needed.
Acid agents: This is where session sours differ from traditional sour brews. Instead of relying entirely on wild yeast and bacteria (which takes months), kettle souring uses Lactobacillus during the mash or on the hot wort to rapidly develop acidity before boiling. You can buy dried cultures from The Malt Miller (around £8–12) or use liquid cultures from suppliers like Geterbrewed.
Hops: Low-profile noble hops (Hallertau, Saaz, Tettnanger) at 10–15 IBU. You’re not hop-bombing here; restraint is the goal.
Yeast: Neutral ale yeast (SafAle US-05, London III, or similar). Sour character comes from the Lactobacillus, not the yeast.
Fruit: Fresh, frozen, or pureed. Raspberry, passion fruit, blood orange, and mango are popular choices. Plan for 200–400g per 20-litre batch, added post-fermentation to preserve bright, fresh character. (For reference, that’s roughly 10–20g per litre, or about ½ lb per UK gallon.)
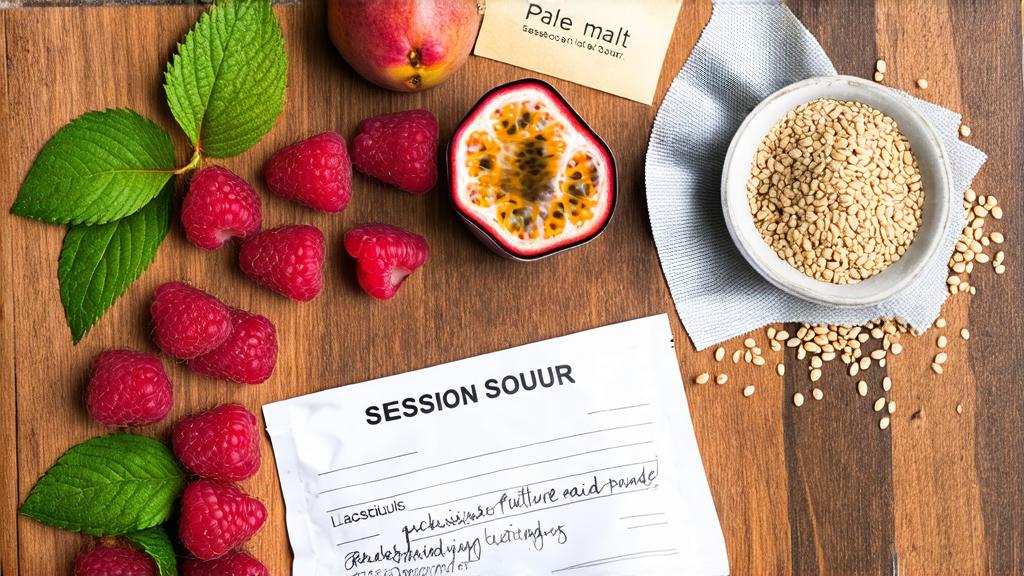
Equipment: Standard all-grain setup—mash tun, kettle, fermenter, airlock. For kettle souring, you’ll want to maintain temps around 35–40°C (95–104°F) for 12–48 hours, so a heating belt or insulated blanket helps (I wrap an old tartan blanket around my kettle and monitor with a basic thermometer).
The Brew Day: Kettle Souring Step by Step
This is where fruited session sours get their distinctive tartness, and it’s surprisingly straightforward.
1. Mash In: Brew as you normally would—mash your grains at 65°C (149°F) for 60 minutes. Crush to your usual consistency. Once mashed, run off your wort as normal into your kettle. You’ll have a relatively thin wort (around 1.040 OG), which is exactly what you want for a session beer.
2. Chill to Souring Temperature: This is key. Once you’ve collected your wort and performed your boil-out (or decided to skip the boil for now—see step 3), chill to 35–40°C (95–104°F). For kettle souring, you don’t boil yet; instead, you’ll let the Lactobacillus work on the hot or warm wort to produce lactic acid.
3. Pitch Lactobacillus: Add your Lactobacillus culture (follow packet instructions for pitch rate—typically 10–20g per 20L). Stir gently to distribute. Cover your kettle with foil or a cloth to prevent contamination from wild bugs, but allow some oxygen transfer (lactobacteria are facultative anaerobes and work best with a little air). Wrap with your insulation blanket to hold temperature.
4. Wait and Monitor: Let it sit for 12–48 hours. I typically aim for 24 hours. The longer you leave it, the more sour and pronounced the acidity. Around 18–24 hours, you’ll notice a sour smell (funky, yoghurt-like)—that’s normal and good. Taste a small sample with a sterilised spoon after 12 hours; adjust timing based on your preferred tartness.
5. Boil Off the Bacteria: Once you’re happy with the acidity level, bring the wort to a rolling boil for 60+ minutes. The heat kills the Lactobacillus and fixes the acidity. This is when you add bittering hops (if using any—typically just 10–15 IBU for balance).

6. Cool and Ferment: After the boil, chill to 18–20°C (64–68°F), pitch your ale yeast, and ferment normally for 7–10 days. The pH is now low enough (~3.2–3.5) that wild contamination is virtually impossible—one of the huge advantages of kettle souring.
Fermentation, Fruit Addition & Conditioning
Once primary fermentation is complete (gravity stable for 2–3 days), you have options. Traditional approach: Rack to a secondary vessel, add your fruit (as juice, puree, or whole fruit), and let it sit for 3–7 days. This develops fruit character without added complexity. Modern approach: Some brewers add fruit post-fermentation directly to the keg or bottles, allowing CO₂ from residual fermentation to carbonate naturally.
I prefer secondary with fruit for control. Rack your beer off the yeast cake, add your fruit (I sanitise it lightly with a campden tablet first for peace of mind), and let it integrate for a week. The yeast will gently ferment any sugars in the fruit, creating additional complexity. Check that gravity has stabilised before packaging.
Carbonation: Session sours carbonate beautifully in bottles with a small priming dose (e.g., 2.5g glucose per 500ml bottle), or via CO₂ in a keg to 2.0–2.3 volumes. The lower ABV means the beer stays fresh longer, but these are best enjoyed within 2–3 months for maximum brightness.

Tasting Notes & My Honest Assessment
I’ve brewed three versions so far: a raspberry session sour, a passion fruit / blood orange blend, and a simple dry-hopped Berliner. Here’s what I’ve learned.
The raspberry version (24-hour sour, 3.8% ABV) turned out bright and elegant. It has a sharp citric acidity upfront, followed by subtle berry sweetness and a bone-dry finish. The tartness isn’t mouth-puckering—it’s inviting, almost mineral-like. I could genuinely drink three pints without fatigue. My mates were surprised it was only 3.8%; it felt more substantial because of the acid and fruit body.
The passion fruit blend was more successful, honestly. Passion fruit’s natural tartness married perfectly with the lactic acid, creating a flavour profile that felt less “sour beer” and more “tart orchard juice.” There’s a faint white-wine quality to it, which aligns with what I’ve read in various brewing forums about wild ales and fruit-forward sours developing funky, almost wine-like notes. The Homebrew Forum community has extensive discussion on fruit selection, and I’d recommend reading those threads for advanced pairing ideas.
The plain Berliner Weisse (20-hour sour, no fruit, light dry-hop) is a revelation. It’s crisp, slightly creamy (wheat malt helps), with just enough floral hop character to keep things interesting. It tastes like what pubs should be serving in summer, but aren’t. At 3.5% ABV, it’s more water than beer, but you never notice.
Pro Tips & Common Mistakes
Keep temperatures stable during souring. If your kettle cools below 30°C, the Lactobacillus slows down dramatically. If it rises above 45°C, you risk killing it. An insulated blanket and a basic thermometer are your friends.
Don’t overthink the fruit quantity. Beginners often add too much, resulting in a sweet beer rather than a balanced sour. 200g of fresh raspberry per 20L is plenty. You can always add more in secondary if needed; you can’t take it out.
Watch for oxidation. Sour beers are actually quite sensitive to oxidation post-fermentation. Once you rack off the fruit, minimise headspace and get it packaged quickly (within 2–3 weeks).
Source your Lactobacillus carefully. Buy from reputable homebrew suppliers like BrewUK or The Malt Miller, not random online marketplaces. A dead culture means a 2+ week wait with no souring.
Don’t neglect pH testing. If you’re serious about this, invest in a basic pH meter (£20–30 online). Aim for pH 3.2–3.4 post-boil. It’s not essential, but it removes guesswork.
Variations & Next-Level Experiments
Once you’ve nailed the basics, here are ideas I’m exploring:
Extended souring (36–48 hours): Deeper acidity and more funky character. Not for everyone, but brilliant if you want wine-like complexity.
Hybrid fermentation: After pitching ale yeast, consider adding a small dose of wild yeast (like Brettanomyces) for extra funk. It’s a longer fermentation (4–6 weeks), but the results are extraordinary.
Spiced sours: A touch of coriander, cardamom, or fresh ginger complements fruited sours beautifully. Steep 5–10g in your secondary for 3–5 days.
Multiple fruit stages: Brew a base Berliner Weisse, split into thirds, and add different fruit to each. Compare side-by-side.
Why This Trend Matters
Fruited session sours represent a maturation in homebrewing culture. We’re moving away from “bigger is better” and toward “smarter is better.” These beers require precision, restraint, and knowledge—but they reward you with something genuinely interesting that you can’t easily buy in a shop. They’re approachable for beginners yet endlessly tweakable for veterans.
They’re also low-stress socially. A 3.8% ABV beer means you can genuinely enjoy a few at a gathering without overcommitting. In 2026, that’s increasingly valuable.
If you’ve been intimidated by sour beers—thinking they’re the domain of fancy barrel-aging—give fruited session sours a try. You’ll have something drinkable in 4–5 weeks total, and it’ll challenge everything you thought you knew about balance and flavour in beer.
🍺 Join the Brotherhood — Monthly brews, stories & monk wisdom
Subscribe for exclusive recipes, early brew logs, and behind-the-scenes updates straight to your inbox.

