
There’s a moment in fermentation when you stop thinking about science and start thinking about magic. That’s where I found myself three weeks ago, leaning over a clay jar in my garage, watching golden liquid bubble with quiet confidence. No temperature controller. No pH strips. Just pineapple, brown sugar, spices, and wild microbes doing what they’ve done in Mexico for centuries.
That was my first batch of tepache — and I’ve been hooked ever since.
For the past few months, I’ve noticed something shifting in the homebrewing world. The craft beer scene has gotten brilliant at talking about IPAs, lagers, and sours. But there’s a whole universe of fermented beverages beyond beer that’s quietly exploding right now. Hard kombucha. Shrubs. Fermented sodas. And at the centre of this movement? Tepache. A low-alcohol Mexican fermented drink that’s part vinegar, part carnival, all soul.
If you’re looking to expand beyond traditional beer — or just want to brew something that feels ancient and alive — this is the guide I wish I’d had.
What Is Tepache, Really?
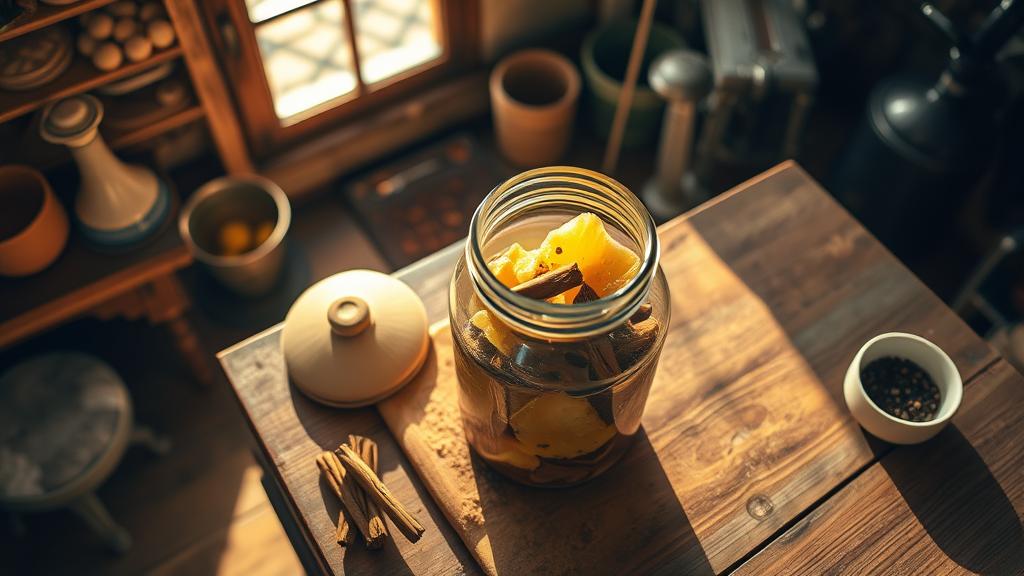
Tepache isn’t beer. It’s not kombucha. It’s its own thing entirely, and that’s what makes it brilliant.
The traditional recipe comes from Aztec origins, refined over centuries. It starts with fermented corn, though modern homebrewers have adapted it beautifully using pineapple (the skins especially), spices like cinnamon and allspice, unrefined dark sugar, and wild yeast. The result is a refreshing, slightly tart, mildly alcoholic beverage that sits somewhere between a shrub and a low-ABV ale — fruity, funky, complex, and genuinely alive.
What fascinates me most is that tepache is a mixed fermentation. According to the American Homebrewers Association, you’re not controlling a single yeast strain. You’re inviting bacteria and wild yeasts into a dance. Lactobacillus creates the acidity. Saccharomyces handles the alcohol. You get natural carbonation. And it’s done in 5-7 days, not months.
The alcohol content typically lands between 4-8% ABV, depending on your fermentation length and sugar levels. Low enough to sip casually. High enough to satisfy. The flavour profile is where it gets interesting: fruity, slightly vinegary, spiced, earthy, with a natural funk that reminds me of wild fermentation techniques I’ve explored before. Some batches taste almost like a tropical shrub. Others lean more into cider territory. Each one surprises you.
Ingredients & Equipment
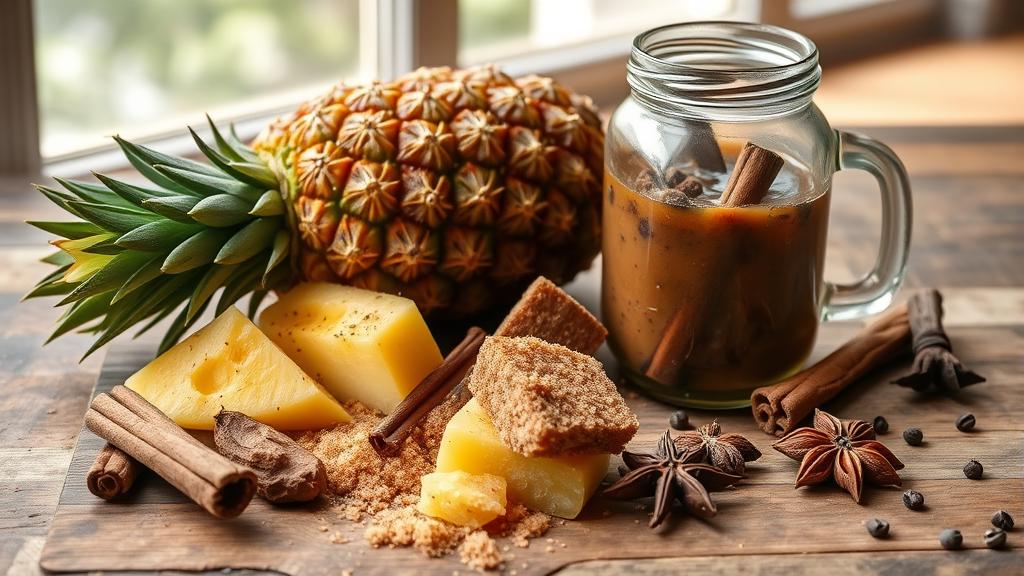
One reason I fell for tepache is how stupidly simple it is to get started. You don’t need fancy equipment. You probably have half of this already.
Ingredients (for a 1-gallon/4.5L batch):
- 1 whole pineapple (fresh, organic if possible), cleaned
- 225g (8 oz) unrefined dark sugar (panela, piloncillo, or jaggery — crucial for the flavour)
- 2-3 cinnamon sticks (about 2 inches/5 cm each)
- 6-8 whole cloves
- 2-3 allspice berries (or a pinch of ground)
- 1 star anise (optional, but gorgeous)
- A slice of dried ginger (optional, adds complexity)
- Water (preferably filtered or left to sit 24 hours to dechlorinate)
- Optional: a handful of raisins or a slice of bread crust to kickstart wild fermentation
Equipment:
- A 1-gallon (4.5L) glass jar or food-grade plastic container — clay is traditional and beautiful, but glass is easier to monitor
- Cheesecloth or thin cotton cloth and a rubber band — NOT a sealed lid
- A wooden spoon (avoid metal; it can react)
- A thermometer (optional, but helpful)
- Bottles for bottling (12 oz glass bottles with swing-top caps for natural carbonation)
- Optional: a funnel, strainer, and measuring scales
The budget? Under £10 for ingredients, plus whatever glass jars you already own. This is genuinely one of the cheapest ferments to get going. No speciality yeast. No equipment investment. Just time and attention.
For sourcing, check your local health food shop for panela (it’s usually near other sweeteners). If you can’t find it, dark muscovado or even dark brown sugar works fine, though you’ll lose some of that authentic mineral complexity. The Malt Miller stocks spices for brewing, and honestly, your local supermarket will have everything you need.
Step-by-Step Brew Day
Tepache isn’t a brew day so much as a prep day. The fermentation does the heavy lifting.
1. Prepare the pineapple
Wash your pineapple thoroughly. Cut it into quarters lengthwise, keeping the skin on — that’s where the wild yeast lives. Remove the fruit and reserve it for snacking or flavour additions later. You’re after the skin and the core.
2. Toast your spices (optional but recommended)
Toast your cinnamon, cloves, allspice, and star anise in a dry pan for 2-3 minutes over medium heat. This deepens the flavour and releases the oils. It’s the kind of small step that separates “nice” from “why does this taste like autumn?”
3. Layer the jar
Add your pineapple skin and core pieces to the bottom of your jar. Sprinkle half your spices over the top. Add the panela or dark sugar. Top with the remaining spices. If you’re adding raisins or a bread crust (to encourage fermentation), add them now.
4. Add water
Pour cool water over everything until the jar is about three-quarters full (leave headspace for bubbling). Stir gently with a wooden spoon until the sugar dissolves. The liquid should taste pleasantly sweet with a hint of spice.
5. Cover and ferment
Cover with cheesecloth or thin cotton and secure with a rubber band. This is crucial — you need airflow for the wild yeasts and bacteria, but you want to keep out dust and fruit flies. Place it somewhere between 18-24°C (64-75°F), ideally out of direct sunlight (indirect is fine).
6. Stir and monitor
Once daily, stir the mixture gently. You’ll notice bubbles forming within 24-48 hours. The liquid will gradually turn cloudy and golden. This is fermentation happening. By day 3-4, you’ll see a proper foam on top. This is normal and brilliant.
7. Taste and decide
Around day 5-6, taste a small sample. You’re looking for a balance: some sweetness remaining, noticeable tartness from the lactic acid, and a slight fizz. If it’s still too sweet, ferment another day or two. If it’s too sour, you’ve gone too far (though honestly, there’s no such thing — some people love the funkiness).
Fermentation & Carbonation

Here’s where tepache differs from beer in ways I find genuinely exciting. The fermentation is fast and natural.
By day 7, your liquid should be ready. Strain out all solids through a fine mesh or cheesecloth, pressing gently to extract the maximum flavour. Transfer the liquid to clean bottles — glass works best — and cap them loosely for 2-3 days to allow secondary fermentation and carbonation to build.
After 3 days, seal the bottles fully (or switch to proper flip-top bottles) and refrigerate. The cold slows fermentation and keeps carbonation in the liquid. Unopened bottles will stay fresh in the fridge for 2-3 weeks, though honestly, I’ve never kept them that long.
The carbonation level is typically softer than soda or beer — more like a gentle fizz, which is perfect. If you want more bubbles, try bottling earlier in the secondary fermentation. If you want less, bottle after the initial vigorous fermentation slows.
Temperature matters here. Warmer environments (20-24°C) ferment faster but can become too acidic if left too long. Cooler rooms (16-18°C) give you more control and a slightly cleaner, less vinegary result. I’ve found 20°C to be my sweet spot in the garage during summer.
Tasting Notes & My Honest Review
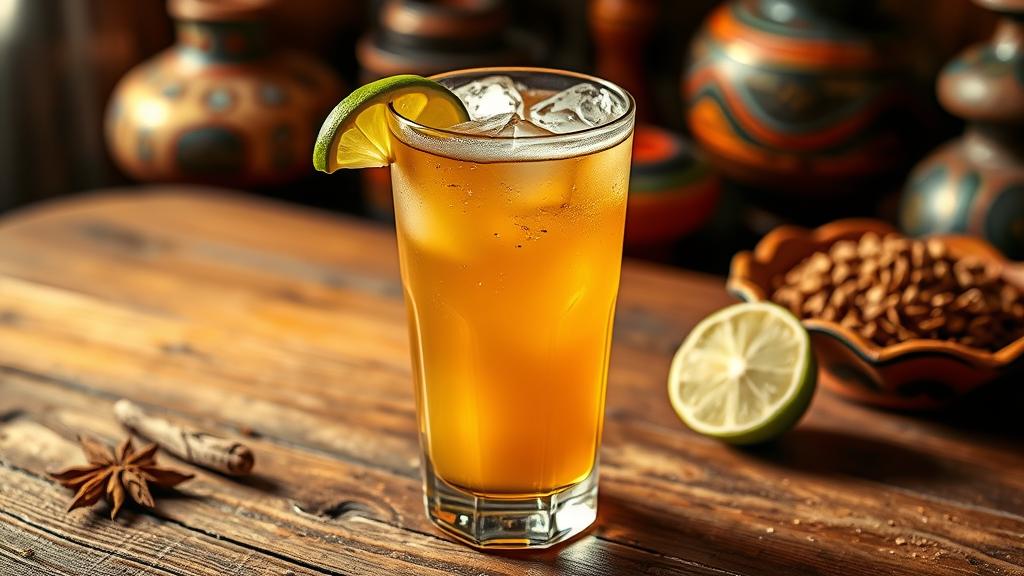
My first batch came out almost too good. I was expecting something rough, experimental, maybe slightly off. Instead, I got this gorgeous golden liquid with a delicate fizz, tasting like tropical fruit, warm spices, and a hint of fermentation funk. It had an almost apple cider-like quality, but brighter.
The second batch? I deviated slightly — added too much ginger, fermented longer. It came out vinegary and funky in a way that’s brilliant for cocktails but maybe not for casual sipping. Lesson learned: tepache is forgiving, but the details matter.
What surprised me most was the versatility. Neat, it’s refreshing. Mixed with ice and a lime wedge, it’s a perfect hot-day refresher. As a cocktail base mixed with mezcal or tequila? Absolutely stellar — it brings a depth that commercial mixers can’t touch. Some people even use it as a cooking ingredient, like a shrub or souring agent similar to sour beer in marinades.
Compared to other fermented drinks, it sits in an interesting space. It’s more interactive than kombucha (you control the fermentation more actively). It’s quicker than beer. It’s more alcoholic than shrub. It’s less demanding than wine. For homebrewers looking to branch out, it’s perfect — you get fermentation magic without the months-long commitment.
Pro Tips & Common Mistakes
Use panela, not just any sugar.
Refined white sugar works, but the mineral notes in unrefined dark sugar are where tepache magic lives. It’s worth seeking out.
Keep your fermentation environment stable.
Wild fermentation benefits from consistency. A spot that stays around 20°C beats a place that swings between 15°C and 25°C daily.
Don’t seal the jar during fermentation.
Air is essential. I learned this the hard way when I got impatient and sealed a jar — it created pressure and eventually exploded slightly when I opened it. Cloth only, friends.
Fresh pineapple is nearly always better than canned.
Canned pineapple has been heat-treated, killing the wild yeasts. You want living fruit.
Fermentation times vary wildly.
Your kitchen’s microbiome matters. Room temperature matters. The exact pineapple matters. This is a feature, not a bug. Embrace the variation — it’s where personality comes in.
If it smells like vinegar, you haven’t failed.
A strong vinegary smell during fermentation is totally normal. Acetic acid formation is part of the process. If the final product tastes aggressively vinegary and you don’t like it, adjust fermentation length next time.
Variations & Next-Level Experiments
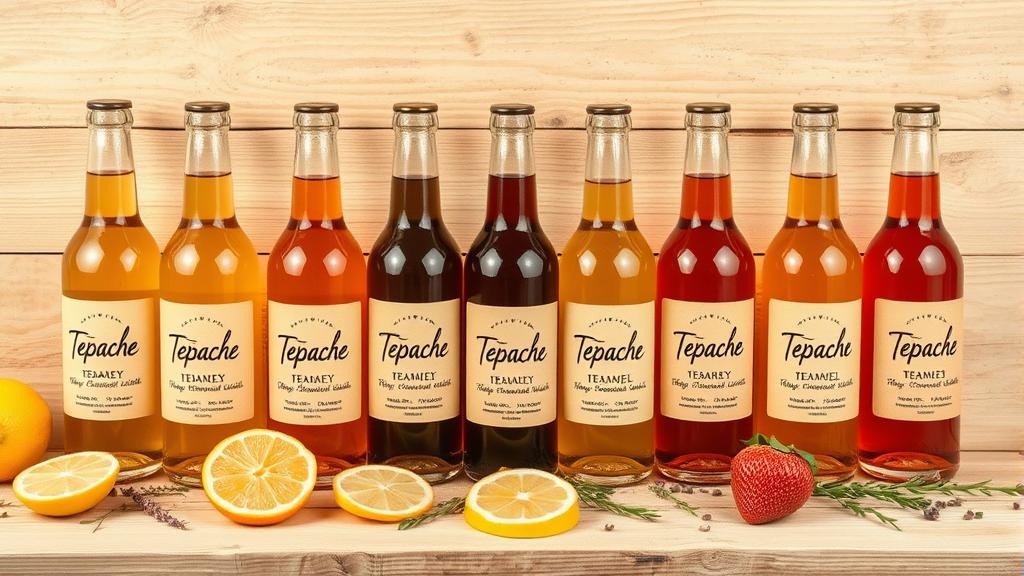
Once you’ve nailed a basic batch, the possibilities expand beautifully.
Fruit variations: Swap the pineapple for other fruits. Apples work gorgeously (creating almost a cider vibe). Berries add colour and tartness. Citrus makes it brighter. The spice framework stays the same; the fruit changes the entire personality.
Spice blending: Experiment with cardamom, nutmeg, or cloves in different quantities. I’ve seen versions with ancho chilli powder (subtle heat, beautiful depth) and versions with hibiscus (gorgeous ruby colour). The botanical revolution in craft beverages is alive and well in tepache territory.
Longer fermentation: Let it go 10-14 days for a more vinegary, complex final product. Some people actually prefer this version for cocktails — it’s got more structure. For inspiration, check out HomeBrewTalk’s fermentation forum where tepache enthusiasts share their extended fermentation results.
Low-sugar versions: Use less panela and ferment longer to let the yeasts convert more sugar to alcohol. This creates a drier, more “grown-up” version (closer to 8-10% ABV).
Co-fermentation with beer: I haven’t tried this yet, but I’m fascinated by the idea of adding a small amount of tepache to a pale ale or even blending hybrid fermentation techniques. The tartness and funk could create something genuinely unique.
Why Now? Why Tepache?
Honestly, I think we’re in a moment where homebrewers are hungry for diversity. Lagers are back. Sours are established. But there’s something about tepache that feels fresh because it’s genuinely ancient. It’s not trying to be beer. It’s not trying to be anything except exactly what it is.
In a world obsessed with precision and control, there’s something beautiful about inviting wild fermentation into your kitchen and letting it surprise you. Every batch is subtly different. Every jar tells a tiny story about your home’s microbiome, the weather that week, the exact pineapple you chose.
It’s a reminder that fermentation is alive. That we’re not engineers executing a recipe — we’re more like gardeners, creating conditions and then stepping back to watch what grows.
And for the record? This is exactly the kind of homebrewing moment I want to be a part of in 2026.
🍺 Join the Brotherhood — Monthly brews, stories & monk wisdom
Subscribe for exclusive recipes, early brew logs, and behind-the-scenes updates straight to your inbox.

