
Traditional Mead Mastery: Craft Honey Wine at Home
Why Mead is Having a 2026 Renaissance
Mead—the ancient fermented drink of honey and water—has spent centuries sleeping in the shadow of beer and wine. But something’s shifted. In 2026, British homebrewers are discovering what medieval monks and Viking warriors already knew: mead is simple, rewarding, and deeply satisfying to make. It’s not competition with beer; it’s a different conversation altogether.
I came to mead late. For years, I was consumed with beer—the scientific precision, the hop varieties, the pursuit of the perfect fermentation temperature. But last winter, I found a jar of local wildflower honey at a farmer’s market, and something whispered: try this. Three months later, I had my first bottle of mead, and it tasted like the entire process had been waiting for me to arrive. No overnight rush. No complex recipes. Just patience, honey, water, and yeast having a slow conversation.
What’s driving mead’s return? Sustainability, partly. Heritage, certainly. But mostly it’s the simplicity—mead forgives mistakes that beer won’t. A new homebrewer can pick up honey, yeast, and a demijohn, and walk away with something genuinely drinkable. That’s powerful.
Understanding the Honey: The Heart of Your Mead
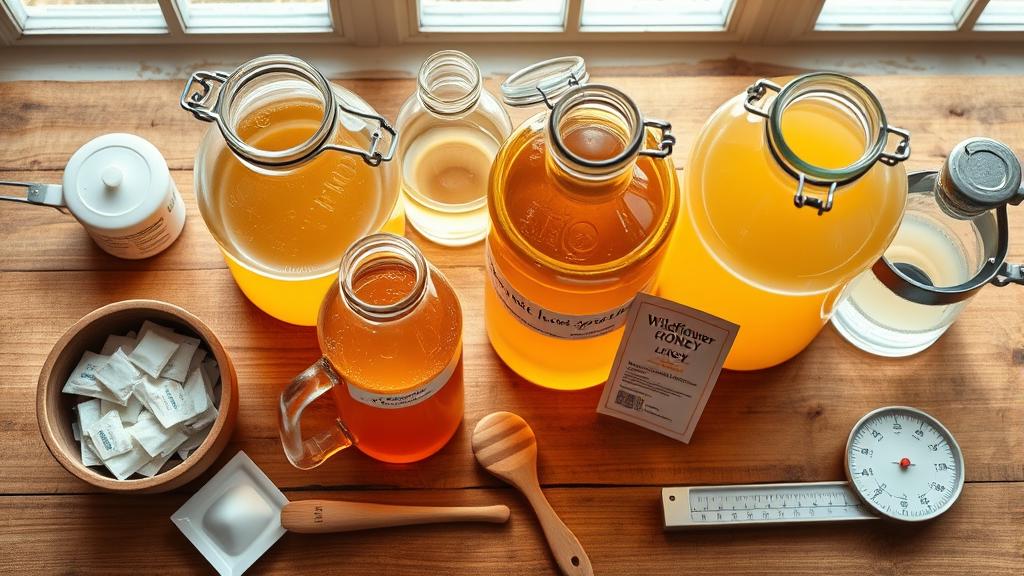
Everything starts with honey. Unlike beer—where water chemistry, grain selection, and hops drive flavour—mead is fundamentally about the honey you choose. It’s the sugar source, yes, but it’s also the primary flavour profile. Your mead will taste like its honey, amplified and transformed through fermentation.
When I’m selecting honey for mead, I’m thinking in categories:
- Wildflower honey (750-900 g/L fermentable sugars): Complex, floral, slightly nutty. This is my go-to for traditional dry meads. It ferments clean and leaves subtle character.
- Clover honey (800-900 g/L): Mild, delicate, slightly grassy. Perfect for beginners who want something subtle.
- Acacia honey (750-800 g/L): Light, gentle, almost neutral. Won’t overpower fermentation.
- Heather honey (875-900 g/L): Bold, herbal, earthy. For adventurous brewers wanting pronounced character.
A word on raw versus processed: raw honey will give you wild microflora that might ferment unpredictably (that’s actually beautiful—wild fermentation creates complexity). Processed honey ferments cleaner and more predictably. I use both, depending on what I’m chasing. For my first batch, I’d pick a good-quality raw honey from a British beekeeper—it supports local producers, and you’ll get genuine flavour that supermarket honey can’t match.
For a simple 1-gallon (4.5 L) traditional dry mead, I use about 2.5 kg (5.5 lbs) of honey. That yields roughly 11-12% ABV, depending on yeast efficiency. If you’re measuring by weight—which I recommend for consistency—you want 560-600 g/L honey in your final solution.
Equipment and Ingredients: Minimal but Intentional
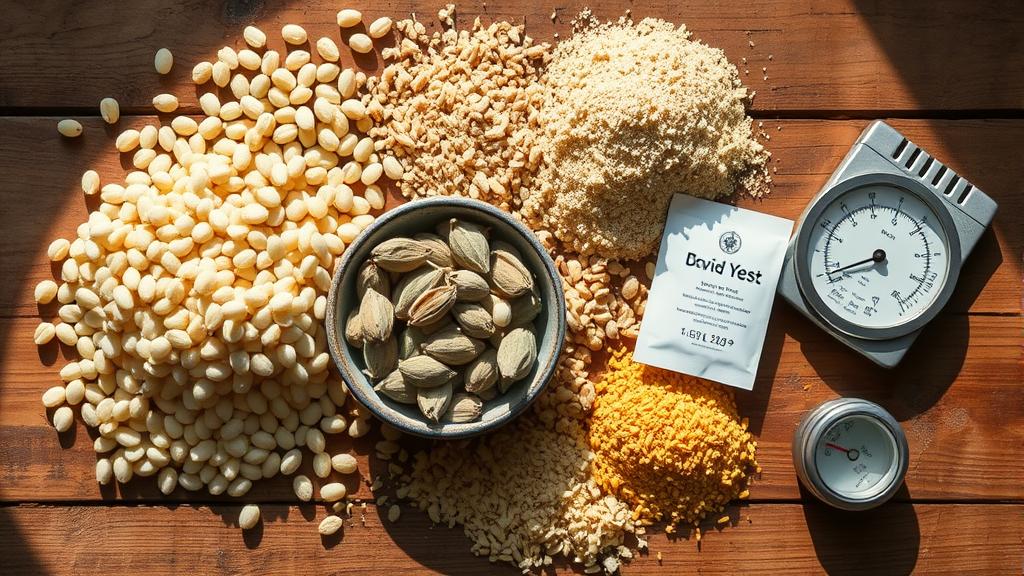
Here’s where mead rewards simplicity. You don’t need fancy equipment. I started with a demijohn (a large glass carboy), a bung, and an airlock. That’s genuinely enough. Add a thermometer, a hydrometer, and a siphon, and you’re equipped for excellent mead.
What you need:
- 1× glass demijohn (4.5-5 L) or carboy
- 1× bung and airlock (silicone or S-shaped)
- 1× hydrometer
- 1× thermometer (0-100°C)
- 1× siphon or bottling wand
- 1× large spoon (non-metallic)
- 1× kitchen scales (for precise honey measurement)
Ingredients for 1 gallon dry mead:
- 2.5 kg raw honey (your chosen variety)
- 3.5 L filtered or boiled water (cooled)
- 1× packet wine yeast (Lalvin D47, EC-1118, or equivalent)
- Yeast nutrient (½ teaspoon)
- Yeast energiser (optional, ¼ teaspoon)
A quick note on water: mead is about 88% water. Use filtered or boiled-and-cooled water. Chlorinated tap water can introduce off-flavours. I use a simple carbon filter jug—it’s cheap and makes a real difference.
On yeast: the choice matters. The Malt Miller stocks several varieties. Lalvin D47 ferments at 12-15°C and leaves a bit of body—good for showing off honey character. EC-1118 is a workhorse that ferments warmer (15-20°C) and dries completely. I alternate between them. For a beginner, EC-1118 is more forgiving.
The Fermentation Process: Patience as an Ingredient
Here’s my brew day. It’s simple, meditative even:
- Sanitise everything: Demijohn, bung, airlock, spoon, hydrometer. I use a no-rinse sanitiser. This is non-negotiable—infection ruins mead faster than any other mistake.
- Dissolve honey in water: Pour cooled water into your demijohn. Slowly add honey, stirring gently. You want even mixing without incorporating too much oxygen (that comes later, carefully). Honey dissolves better if you warm the water slightly (20-25°C), but don’t overheat—temperatures above 40°C kill beneficial compounds.
- Take a gravity reading: Use your hydrometer to measure the starting gravity (OG). For a traditional dry mead with 2.5 kg honey in 3.5 L water, you’ll hit around 1.090-1.100 OG. Write this down.
- Aerate and pitch: Now you want gentle aeration. Stir the mixture for 2-3 minutes with a sterilised spoon to incorporate oxygen—yeast needs this at the start of fermentation. Then sprinkle your rehydrated yeast (follow the packet instructions for rehydration) onto the surface.
- Fit the airlock: Insert the bung and airlock. You should see bubbling within 24-48 hours.
- Wait: This is where mead differs from beer. Most meads ferment slowly—anywhere from 6 to 16 weeks, depending on temperature and yeast choice. Don’t be alarmed by the pace. Lower temperatures mean slower fermentation but cleaner flavour. I aim for 12-16°C if possible (a cool cupboard or pantry often works). Higher temperatures (18-20°C) speed things up but can produce off-flavours.
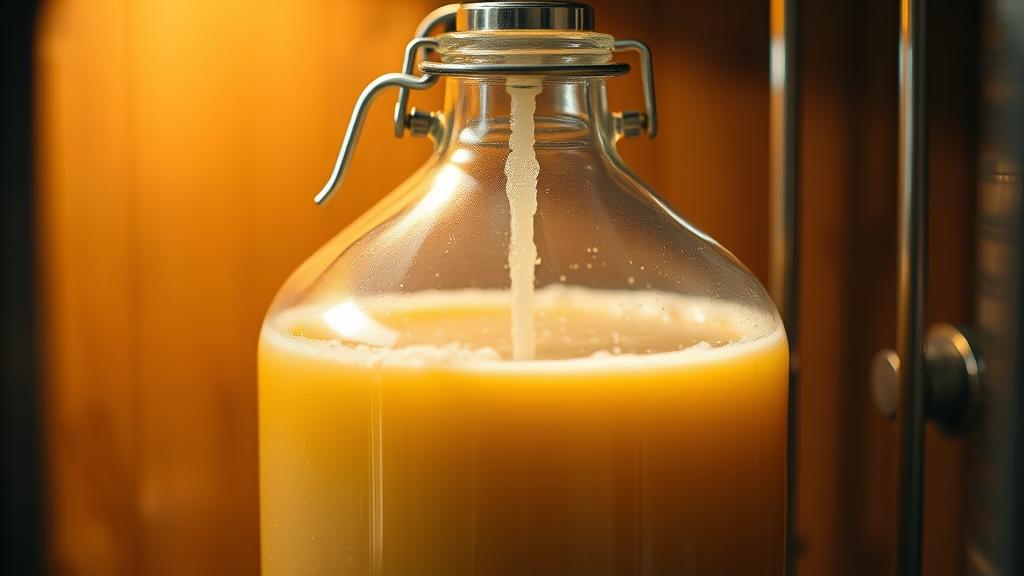
During fermentation, gravity drops as yeast converts sugar to alcohol. By week 2, you should have vigorous bubbling. By week 4-6, it often slows dramatically—this is normal. The airlock might show only a bubble every few minutes. This is not dead; this is slow, thoughtful fermentation. Patience.
Why mead ferments slowly compared to beer often comes down to HomeBrewTalk discussions about honey’s different osmotic pressure—honey is dense, so yeast works a bit harder. It’s not a flaw; it’s character building.
Monitoring and Key Milestones
Every two weeks, I take a gravity reading. This tells me where fermentation stands:
- Week 0: OG ~1.095
- Week 4: Gravity dropping, usually 1.070-1.080
- Week 8: Often 1.020-1.040 (getting dry)
- Week 12+: Settling at final gravity (FG). For a dry mead, this is typically 0.995-1.005. Sweet meads stop higher (1.010-1.030), depending on alcohol tolerance of your yeast.
Once the gravity is stable for two weeks (no change between readings), fermentation is complete. This is when I siphon the mead off the yeast sediment (the “lees”) into a clean demijohn for a secondary fermentation or directly into bottles, depending on my patience.
A practical tip: take gravity readings at the same temperature each time. Hydrometers are temperature-specific (usually calibrated to 20°C). If you read at 12°C one week and 18°C the next, you’ll get false readings. I take them in my kitchen where the temperature is stable.
Tasting, Conditioning, and the Long Game
When fermentation finishes, your mead is technically ready to drink. But I’d recommend patience here too. Fresh mead often tastes sharp, sometimes slightly sulphurous. This is normal. Yeast and honey settling, flavours integrating. A few months in the bottle transforms the character completely.
My approach: bottle after 12 weeks, then age at least another 3-6 months before opening. The best meads I’ve made have spent a year in the bottle. Time does the work that no technique can accelerate.
When you do taste it, approach it like wine, not beer. Mead often has a delicate, floral nose. The body is different—sometimes silk-like, sometimes slightly viscous (higher body from residual sugars or glycerol). The finish is clean and dry (if you’ve fermented to completion). A good traditional mead is subtle, balanced, and deeply satisfying.
I keep a brewing journal where I note tasting observations: honey source, colour, nose, palate, finish, and my thoughts on what worked or what I’d change next time. Over a few batches, patterns emerge. You’ll learn what honeys you prefer, what temperatures suit your setup, whether you like dry or slightly sweet meads.
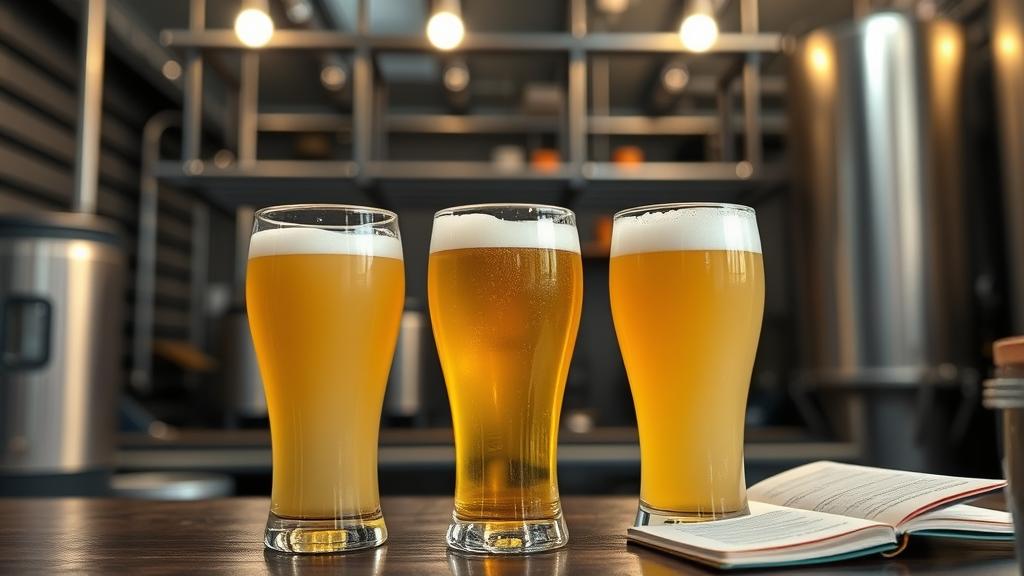
Bottling and Shelf Life
Once fermentation is complete and the mead is clear (either naturally or via racking), it’s time to bottle. I use wine bottles (750 ml) with cork or screw caps. Sterilise everything again—bottles, caps, siphon, everything.
Siphon gently from the secondary vessel into bottles, leaving the sediment behind. Bottle-top, label with date and honey variety, and store upright (if using corks, store horizontally, but standard wine corks in mead aren’t traditional—I prefer screw caps for simplicity).
Shelf life: a properly fermented, bottled mead will last years. Literally. Medieval meads lasted centuries. Yours will develop complexity over months and years—oxidative flavours, deeper integration of honey notes, a smoother finish. There’s no rush to drink it.
Storage: cool (10-15°C), dark, and stable. A cellar is ideal. A kitchen cupboard away from direct sunlight works fine too.
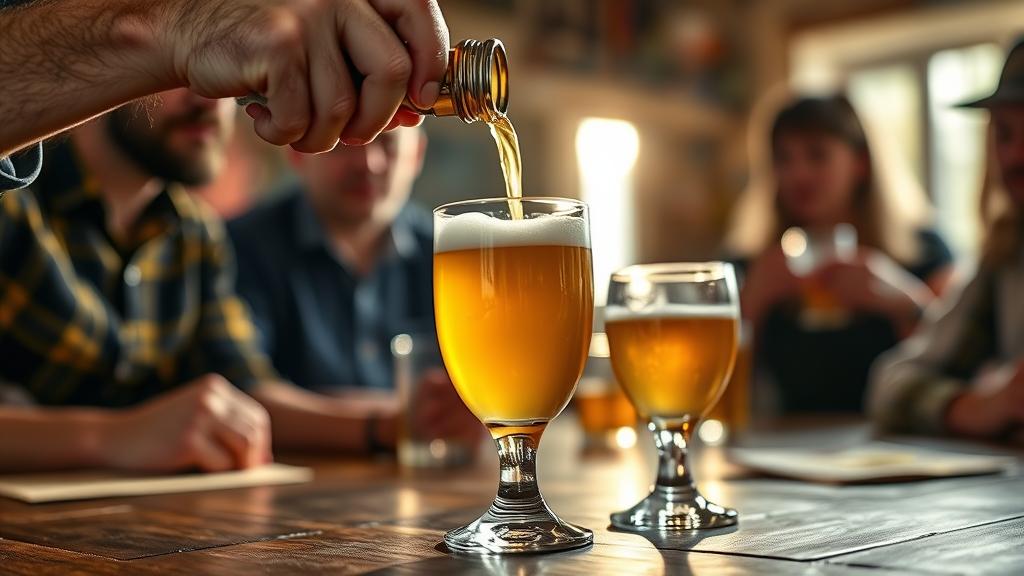
Common Mistakes and How to Avoid Them
1. Pitching cold yeast into warm must: Temperature shock kills yeast. Always rehydrate yeast and let it warm to match your must temperature before pitching.
2. Insufficient aeration: Yeast struggles without oxygen in the early stages. A few minutes of gentle stirring at pitch makes a huge difference.
3. Impatience: Checking gravity too frequently oxidises the mead. Check every two weeks, not every day.
4. Poor sanitation: Mead is prone to infection if you’re careless. One contaminated batch and you’ll learn why this matters. Sterilise obsessively.
5. Wrong water: Chlorinated water ruins mead. Use filtered or boiled water. This is non-negotiable.
6. Trying to rush it: Some recipes promise mead in six weeks. They’re lying. Good mead takes months. Accept this and you’ll be happier.
Variations and Next Experiments
Once you’ve made a traditional dry mead, the possibilities open up:
- Metheglin: Traditional mead with added herbs or spices. A cinnamon and clove metheglin is winter comfort in a glass.
- Fruit meads: Add fruit juice (berries, stone fruit) to your honey and water. Geterbrewed stocks excellent fruit extracts if you want consistency.
- Semi-sweet mead: Stop fermentation early by chilling and filtering, leaving residual sweetness. Requires more technique but utterly rewarding.
- Barrel-aged mead: A small oak barrel or oak chips aged mead is another level entirely. Complexity, depth, an almost brandy-like character.
Each variation teaches you something new about fermentation, patience, and what you prefer in a finished drink. This is where experimentation becomes the real joy.
Conclusion: The Meditative Practice of Mead
Making mead changed how I think about brewing. Beer demands precision, timing, multi-step processes. It’s science, craft, skill. Mead asks for something quieter: patience, observation, trust. You measure a few things, pitch yeast, and then step back. The fermentation happens on its own timeline, not yours.
That’s the mead lesson. Not everything needs to be optimised or controlled. Sometimes the best results come from simplicity, time, and getting out of the way. A jar of honey, water, yeast, and three months of waiting will yield something extraordinary. That’s not a shortcut; that’s honesty.
If you’ve been intimidated by fermentation, if you think brewing is too technical or complex, mead is your entry point. It’s forgiving, elegant, and deeply satisfying. Your first batch won’t be perfect. Your fifth will be better. Your tenth will be something you’re genuinely proud of, something you’ll want to share.
Grab some honey. Trust the process. Check back in a few months.
🍺 Join the Brotherhood — Monthly brews, stories & monk wisdom
Subscribe for exclusive recipes, early brew logs, and behind-the-scenes updates straight to your inbox.

