
Schwarzbier Mastery: Brewing the German Dark Lager at Home
Why Schwarzbier? The Dark Lager Comeback You Can’t Ignore
If you’d told me a year ago that dark lagers would reclaim the brewing spotlight, I’d have laughed. For years, we’ve obsessed over hop-forward pale ales, hazy IPAs, and everything sour. But here’s what I’ve learned from tasting notes across 2026: brewers are hungry for something cleaner, darker, and utterly unsentimental.
Schwarzbier — literally “black beer” in German — is having a moment. According to industry analysts tracking craft trends, German dark lagers are rising faster than any other category among specialty brewers. Unlike a heavy Imperial Stout or roasty Porter, a Schwarzbier is clean. It’s crisp. It’s got serious malt depth without the thickness. It’s a beer that demands precision brewing, respects lager fermentation, and rewards patience.
This isn’t trendy nostalgia. It’s a return to honest brewing. In fact, the craft lager renaissance of 2026 has shown us that drinkers crave complexity without aggression—exactly what Schwarzbier delivers.
I started exploring Schwarzbier last year out of curiosity — I’d tasted a few excellent examples at UK bottle shops and wanted to understand how that almost-black colour could deliver such subtle complexity. After three brews and countless notes, I’m convinced: this is the dark beer style every homebrewer should master at least once.
Ingredients & Equipment: Keeping It Bavarian

The beauty of Schwarzbier is restraint. This isn’t a style that shouts complexity through a hundred ingredients. You need four things, done right:
- Malt base (65-70%): Munich Pale Malt is the foundation — use German Munich malt if you can. It has a spicier, more refined profile than domestic versions. I typically use a 70:30 ratio of Munich Pale to Munich Dark malt (30 litres batch: 3.5 kg Munich Pale + 1.5 kg Munich Dark). Both must be fresh.
- Colour grain (5-10%): Munich Dark Malt gives you that signature brown-to-black appearance without roastiness. Some brewers add a touch of Carafa Special II or Debittered Black Malt (max 1%, 30-40g) if they want deeper colour without harsh burnt flavours.
- Noble hops (15-25 IBU): Hallertau, Tettnanger, or Spalt — all traditional Bavarian varieties. You’re not chasing bitterness; you’re looking for floral, herbal notes. Use a 60-minute boil addition (around 12g of 4% alpha-acid hops per 20 litre batch) and a small late addition for aroma (5g at 10 minutes).
- Lager yeast: This matters. Use a proper Bavarian lager strain — Wyeast 2308, White Labs WLP820, or Fermentis SafLager W-34/70. Don’t cheap out here.
One tip from my brewing notes: buy your malt from The Malt Miller or GetErbrewed and ask for pale Munich specifically marked as fresh. The difference between fresh and six-month-old Munich malt is obvious in the final beer.
Step-by-Step Brew Day
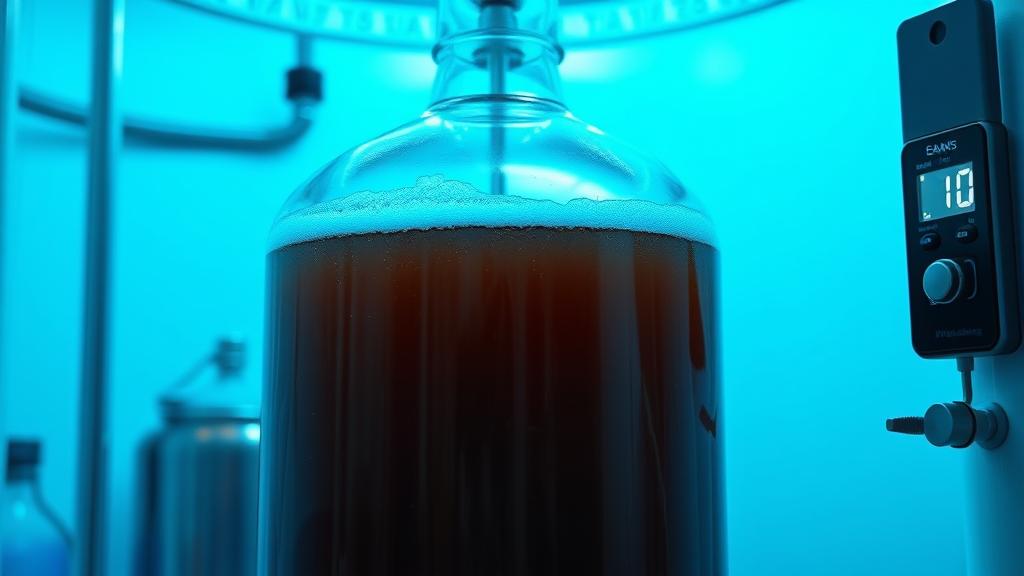
Schwarzbier follows a standard lager brew schedule. Here’s mine:
- Mash: Single infusion at 66°C (150°F) for 60 minutes. Your equipment — whether a BIAB system, cooler mash tun, or Grainfather — just needs to hold this temperature steady. Don’t overshoot. Aim for a final gravity around 1.048-1.052 for a 5% ABV beer.
- Sparge: If you’re batch sparging, use water at 76°C (170°F). If you’re fly sparging, maintain bed temperature at 68°C (154°F). Run-off should take 45 minutes. Target an Original Gravity of 1.048-1.052.
- Boil: 90 minutes total. Add your bittering hops at 60 minutes (they should deliver around 12-15 IBU). No late additions except a tiny floral touch at 10 minutes. Cut the boil short and get to the chiller — excessive boil time oxidises the wort and ruins Schwarzbier’s delicate malt character.
- Chill: Get to 18°C (64°F) as fast as possible. Use an immersion chiller or plate chiller. Every minute matters for head retention and clarity.
- Pitch: Once at 18°C, aerate the wort (I oxygenate for 60 seconds with a stone), then pitch a starter of lager yeast. Never pitch dry lager yeast directly — build a starter 24-48 hours beforehand.
Total brewday time for me: around 5 hours, including cleanup.
Fermentation & Conditioning: The Lager Requires Patience
This is where Schwarzbier stops being “just another beer” and becomes special. Lager fermentation demands discipline. Here’s the schedule I use:
- Primary fermentation (14 days at 10°C / 50°F): Keep the temperature rock-solid. Any fluctuation above 12°C introduces fusels and off-flavours. Your fridge, chest freezer with a controller, or dedicated fermentation chamber is non-negotiable. I use a small digital thermostat (Inkbird-style) controlling a heating pad and fridge combo.
- Diacetyl rest (optional but recommended, 2-3 days at 12-13°C): If you want to reduce any butter-like diacetyl (rare in modern lager yeasts but worth the precaution), raise temperature by 2°C for 2-3 days mid-ferment, then drop back to 10°C.
- Cold conditioning (10-14 days at 2-4°C): Once fermentation finishes (gravity stable for 3 days), drop to lagering temperature. This lager phase — the cold conditioning — clarifies the beer and polishes the flavour. Don’t skip it.
- Total time (fermentation + conditioning): 28-35 days. Yes, it’s longer than ale brewing. Yes, it’s worth it.
My key learning from HomeBrewTalk forums: log your fermentation temperatures daily. Plot them. A consistent 10°C curve tells you everything about your final beer. If you’re eager to work with lagers but time is tight, you might explore express fermentation techniques, though Schwarzbier truly benefits from the longer timeline for character development.
Tasting Notes & My Honest Review
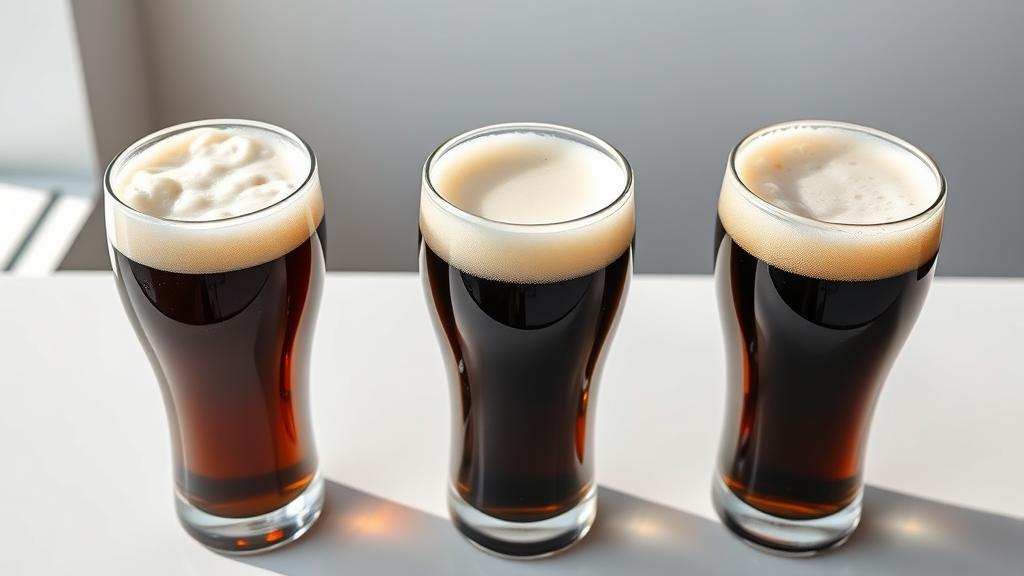
On first pour, a proper Schwarzbier shocks you. It’s nearly opaque in the glass—deep brown, almost black if backlit—but sip it and you realise it’s surprisingly transparent. The body is light to medium, crisp as a pilsner but with chocolate, bread crust, and subtle licorice notes from the Munich malts. Zero roastiness. Zero harshness.
My third batch (brewed in January, tasted in April) showed:
- Appearance: Deep brown, brilliant clarity, tight tan head that lasts 5 minutes
- Aroma: Bread crust, faint chocolate, barely detectable noble hop floral notes
- Flavour: Clean malt-forward, subtle caramel sweetness, no bitterness except a whisper at the finish. Finishes dry.
- Mouthfeel: Crisp, almost refreshing. Not heavy. You could have two.
- ABV: 5.2% (targeted 5.0%)
- Verdict: This is exactly what I wanted—a beer that respects the style, drinks beautifully, and proves that patient lager brewing pays off.
I served this at a tasting with some friends, including a CAMRA member. The response was unanimous: “This tastes professional.” That’s worth the 35 days of waiting.
Pro Tips & Common Mistakes
After three brews, I’ve learned what works and what derails Schwarzbier:
- Don’t overshoot mash temperature. Hitting 68°C (154°F) instead of 66°C will give you a thicker, sweeter beer. Schwarzbier should be crisp. Aim for 66°C exactly.
- Temperature fluctuations kill the style. A 2°C swing mid-ferment ruins clean lager character. Get a controller. Seriously.
- Yeast starters are mandatory. Lager yeast is vigorous but large pitches matter. A starter ensures proper attenuation and fewer sulfur compounds.
- Patience during lagering is non-negotiable. Bottling at day 20 results in phenolic off-flavours. The cold conditioning phase isn’t optional—it’s what separates good from excellent.
- Use only German noble hops. Hallertau from Baden beats any “noble hop substitute.” Taste the difference.
- Bottle or keg cold. Transfer at 4°C (39°F) to minimise oxidation and preserve that clean lager character.
Variations & Next-Level Experiments
Once you’ve nailed the classic, here are three directions to explore:
- Schwarzbier with a touch of smoke: Add 5% Beechwood-smoked malt to introduce subtle smokiness without overwhelming the style. Still malty, but with personality.
- Higher ABV version (Dunkel-style): Push OG to 1.060-1.065, extend fermentation by a week, and you get a richer, slightly warming version. Still clean, but luxurious. This overlaps territory explored in barrel-aging work, where Schwarzbier variants age beautifully in oak.
- Aged variant: After 3 months in the bottle, Schwarzbier develops subtle caramel and complexity. Store a few bottles cool and dark, revisit in 6 months. Remarkable transformation.
For deeper style exploration, the BJCP guidelines for Schwarzbier are your bible. Study them. They’re not rules—they’re wisdom.
Conclusion: The Return of Honest Brewing
Schwarzbier isn’t trendy because it’s new. It’s trending because brewers and drinkers are tired of hype and want something real. This is a beer style built on restraint, precision, and patience. Brewing it forces you to dial in temperature control, respect yeast biology, and trust the malt.
If you’re ready to step beyond ale brewing and embrace the discipline of lager work, Schwarzbier is the place to start. It’s forgiving enough for your first lager attempt but rewarding enough to teach you something about beer chemistry that’ll improve every beer you brew afterward.
My advice: brew one this season. Keep notes. Compare your batches. After three attempts, you’ll understand why Bavarian brewers have been perfecting this style for centuries.
🍺 Join the Brotherhood — Monthly brews, stories & monk wisdom
Subscribe for exclusive recipes, early brew logs, and behind-the-scenes updates straight to your inbox.

