
Crystal-clear ale isn’t just about looks. It’s about respect. In an era where hazy IPAs dominate the craft beer world, there’s something quietly subversive about a beer so transparent you can read a newspaper through it. This isn’t retro — it’s a return to mastery.
I’ve been brewing for seven years, and I’ll be honest: getting clarity right is harder than it looks. It’s the difference between a beer that feels rough and unrefined, and one that tastes intentional. This week, I chased clarity to its limits, and what I learned transformed how I approach every batch.
Why Clarity Matters in 2026

The trend right now isn’t really about haze or clarity—it’s about intentionality. Session beers and mid-strength brews are exploding because drinkers want drinkability. They want to see what they’re drinking. A cloudy beer feels accidental; a clear one feels planned.
There’s also a practical shift: home brewers are moving toward precision. We’re reading water chemistry reports, timing our mashes to the minute, controlling fermentation temperatures to within a degree. Clarity is the visible proof that all that effort paid off. According to BJCP style guidelines, clarity is a primary descriptor in beer evaluation across multiple categories.
From a technical standpoint, clarity correlates with stability. A crystal-clear ale is one where proteins, tannins, and other compounds have been managed properly. It’s less likely to throw a chill haze or oxidise quickly. It’s a beer built to last (and travel, if you’re sharing).
The Science of Clarity: What Creates Haze?

Three main culprits cloud your beer:
- Chill haze: Proteins and tannins that bond at cold temperatures. They drop out when the beer warms but return when it cools again.
- Yeast suspension: Floaties of yeast and grain particles that should have settled out during conditioning.
- Protein-polyphenol complexes: These form during the boil and need proper management from the hot side onwards.
The good news: none of these are permanent. They’re all preventable with the right techniques. Suppliers like The Malt Miller provide clarity agents (Whirlfloc, Irish moss) that are essential for every brew day.
My Clarity Blueprint: Step-by-Step

1. Malt Selection (Cold Side)
Start with well-modified malts—they break down more cleanly during the mash. Avoid undermodified or overly specialty grains in the grist. For this batch, I used 75% Maris Otter (a British pale malt known for clean brews) and 20% Munich to add body without cloudiness.
2. Mash Management
Protein rests used to be standard. Now most brewers skip them because modern malts are well-modified. I do a single 67°C (152°F) infusion mash for 60 minutes, then a quick sparge. The goal: break down proteins efficiently without creating fine particles that resist settling.
3. Hot-Side Clarity Agents
Irish moss (carrageenan) or Whirlfloc tablets in the last 15 minutes of the boil. They coagulate proteins and yeast during the boil, creating particles large enough to drop out in the kettle. I use one Whirlfloc tablet per 20L (5.3 US gallons) of wort.
4. Boil Clarity
A hard, rolling boil for 60 minutes is non-negotiable. It denatures proteins and drives off volatiles. Some brewers do 90-minute boils for deeper clarity—this batch was 70 minutes, a good middle ground for a pale ale.
5. Kettle Whirlpool
After the boil, I kill the heat and let the wort sit for 10 minutes while I stir it clockwise with a long spoon, creating a vortex. This pulls all the coagulated junk (trub) to the centre, leaving clearer wort at the edges. When I run off into the fermentor, I take it from the side, avoiding the trub pile.
6. Cold-Side Clarity Agents
Here’s where most home brewers miss out: post-fermentation fining. After the yeast has finished and dropped (usually 7–14 days), I add gelatin or isinglass:
- Gelatin: Catches yeast particles. 1 teaspoon per 20L, bloomed in cold water, then stirred in. Wait 3–5 days.
- Isinglass: Fish bladder protein. More aggressive than gelatin but less reliable. I reserve this for stubborn hazes.
Cold Conditioning: The Secret Weapon
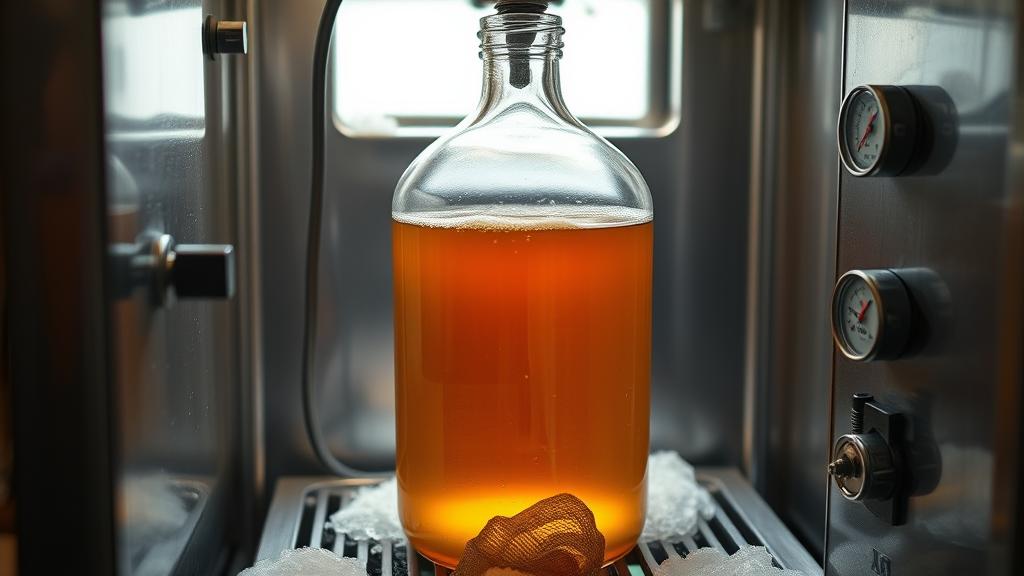
The final clarity step: time at cold temperatures. I wrote about cold conditioning for low-ABV beers, but it applies to all styles.
After fining, move your ale to a cold place (2–4°C, or 35–39°F) for at least 2 weeks. This triggers chill haze formation while the beer is stationary, allowing particles to settle. HomeBrewTalk forums often debate the merits of extended conditioning, and the consensus is clear: the longer you condition, the clearer your beer.
This batch spent 3 weeks in my garage fridge. The last week, I barely disturbed it. The result: liquid gold, completely transparent.
Tasting Notes: The Proof
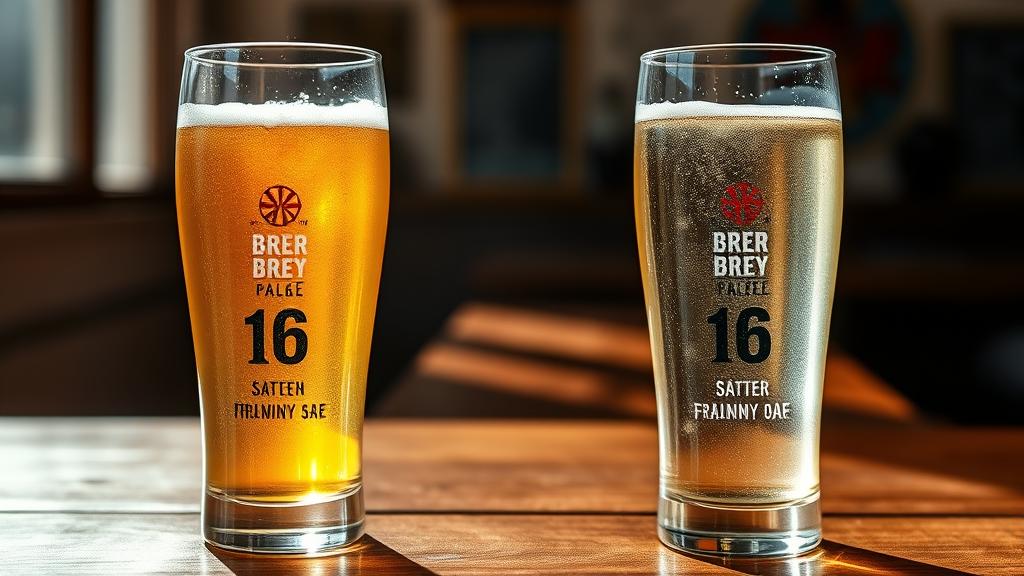
On the nose: clean and crisp. No esters muddying the perception. Noble hop character (Hallertau and Saaz, both UK-grown variants) comes through bright.
On the palate: this is where clarity shines. No lingering bitterness. The malt—that Maris Otter—presents as clean bread and biscuit, with a whisper of honey. It tastes intentional. It tastes finished.
Finish: dry and crisp. In a cloudy ale, you’d expect some vegetal or yeasty notes lingering. Here, nothing. Just the absence of roughness.
OG 1.048, FG 1.010, ABV 5.0%, 32 IBU—a textbook British pale. But the execution is where this beer earns its clarity.
Pro Tips & Common Mistakes
- Mistake: Rushing cold conditioning. I’ve seen brewers cold-condition for 3–4 days and call it done. Go for at least 2 weeks. The first week, particles drop. The second week, they really settle.
- Tip: Don’t fear gelatin. It’s unfashionable right now, but it works. One teaspoon, bloomed in cold water, stirred gently. Wait. Trust the process.
- Mistake: Over-stirring the kettle whirlpool. You want the vortex to pull trub inward, not disturb it. Gentle clockwise motion for 2 minutes max, then let gravity do the work.
- Tip: Use quality grain. Fresh, well-stored malt breaks down more cleanly. If your grain has been sitting in a hot garage for six months, clarity becomes an uphill battle.
- Mistake: Skipping the Whirlfloc tablet. It’s cheap (£1–2 per tablet). The ROI is massive. Add it every brew.
Variations & Next-Level Experiments
Once you’ve nailed the basics, clarity opens doors:
- Clarity in hazy styles: You can brew a New England IPA with absolutely transparent clarity by using a different yeast strain (Kviek ferments clean) and omitting oat/wheat additions. Heretical? Maybe. Interesting? Absolutely.
- Barrel-aged clarity: A clear ale aged in a spirit barrel picks up colour and complexity. The clarity lets those nuances shine.
- Blending for clarity: Some brewers blend a clear base ale with a tiny amount of a hazy ale to hit a specific visual target. It’s a technique borrowed from commercial breweries.
The Bigger Picture
Clarity isn’t about being trendy. It’s about control. It’s saying: I know my process well enough to make this beer exactly as I intend. No accidents. No excuses.
That’s the kind of brewing that matters now. Whether you’re exploring British golden ales or experimenting with Kveik yeast techniques, clarity is the mark of intention. It’s the visible signal that you’ve thought through every step.
And frankly, there’s something beautiful about holding a glass of crystal-clear ale up to the light and seeing exactly what you made.
🍺 Join the Brotherhood — Monthly brews, stories & monk wisdom
Subscribe for exclusive recipes, early brew logs, and behind-the-scenes updates straight to your inbox.

