
Why Blonde Lagers Matter in 2026
The craft beer renaissance is taking an unexpected turn in 2026, and I’m here for it. After years of hoppy IPAs and experimental sours dominating homebrewing conversations, lagers are having a genuine moment. And it’s not just the professional breweries getting in on it — home brewers like us are finally embracing what serious beer cultures have known for centuries: a truly excellent blonde lager is one of the most rewarding brews you can make.
The statistics back this up. The global craft lager segment is projected to grow at 8.5% annually through 2034, driven partly by premiumization trends and partly by brewers rediscovering the purity of clean, balanced fermentation. Unlike ales, which rely on yeast character and quick turnaround, lagers demand patience, precision, and respect. That’s partly why they intimidated me for years.
Here’s the honest truth: I avoided brewing lagers at home because I thought I needed climate-controlled equipment and chemistry-degree expertise. I was wrong. You just need understanding, a methodical approach, and ideally, some temperature control. Let me walk you through how to brew a stunning blonde lager that rivals commercial offerings.
What Makes a Blonde Lager Different
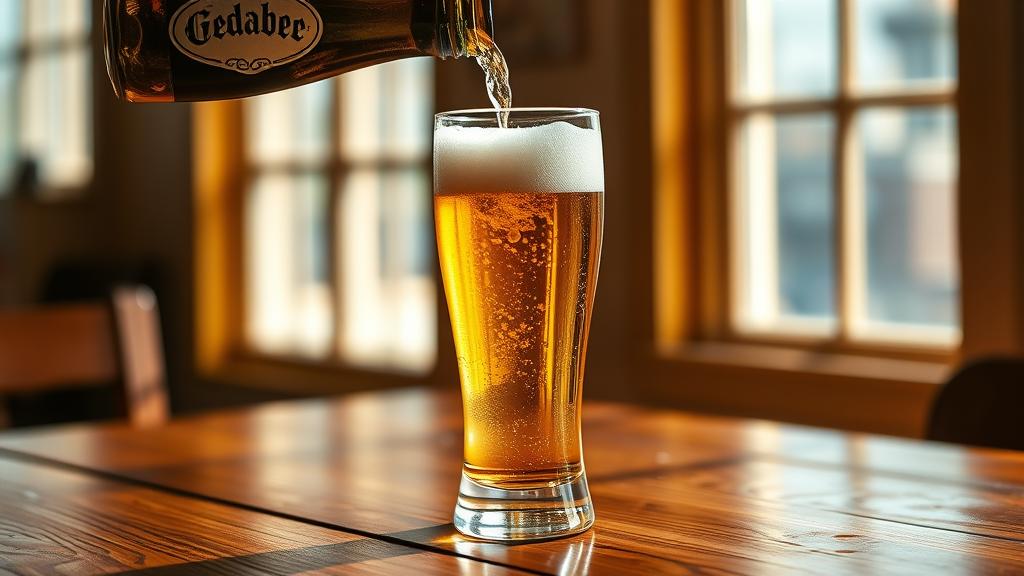
A blonde lager sits at a sweet spot in the beer world. It’s not a pilsner (though the techniques overlap), and it’s not a pale lager from Central Europe, though it borrows their DNA. Think of it as a beer designed for approachability: clean, crisp, subtle, and dangerously easy to drink. ABV typically runs 4.5–5.5%, perfect for summer garden sessions without knocking you sideways.
What defines it is the yeast character (or lack thereof). With ales, fermentation is almost theatrical — esters pop, fruity notes emerge, the yeast announces itself. With lagers, the yeast stays quiet. Your job is to provide the conditions that let it work cleanly and get out of the way. This is why, according to BJCP style guidelines, the the craft lager renaissance matters so much — it’s about recovering the fundamentals of good brewing.
The colour comes from pale malts — often just Pilsner or Pale malt, maybe a touch of Vienna malt for depth. Hopping is restrained: European noble hops like Hallertau, Saaz, or Tettnanger in the bittering charge, with a modest late addition for aroma. The focus is on balance, not intensity.

Ingredients & Equipment You’ll Need
For a 20-litre (5-gallon US) batch:
- Malt: 3.5 kg (7.7 lbs) Pilsner malt, 250g (0.55 lbs) Vienna malt for colour and depth
- Hops: 20g Hallertau (60 min), 10g Hallertau (15 min), 10g Saaz (5 min)
- Yeast: White Labs WLP840 (German Lager) or Wyeast 2124 (Bohemian Lager). Essential to use proper lager yeast.
- Water: 25 litres (6.6 US gal) of your tap water, or if you have very hard water, consider a slight profile adjustment
Equipment basics:
- 20-litre fermenter (ideally with a thermowell for temperature monitoring)
- Immersion chiller (for rapid wort cooling to lager-pitching temps)
- Temperature controller and heat belt or fridge modifier (crucial)
- Hydrometer and thermometer
- Standard brew-day kit (pot, paddle, siphon, etc.)
The biggest difference from ale brewing: you absolutely need temperature control to reach and maintain 10–13°C (50–55°F) during the primary fermentation. This is non-negotiable. Without it, your lager will ferment warm and taste like an ale, just slower.
Brew Day: Step-by-Step
1. Mash and Sparge (90–120 minutes)
Strike your water to 65°C (149°F) and add your crushed malts. Target a mash temperature of 63–64°C (145–147°F) for a crisp, dry finish — important for blonde lagers, where every element needs clarity. Rest for 60 minutes, then sparge with 75°C (167°F) water to rinse the sugars. Collect approximately 26–27 litres (6.9–7.1 US gal) of wort.
2. Boil (60 minutes)
Bring to a rolling boil and add your bittering charge (20g Hallertau) at 60 minutes remaining. At 15 minutes, add your second Hallertau addition. At 5 minutes, add the Saaz. This gives you roughly 30 IBUs — crisp but not aggressive. A good blonde lager sits around 25–35 IBUs.
At flameout, add Irish moss or whirlfloc if you want (optional but helps clarity). Chill your wort rapidly to below 15°C (59°F) using your immersion chiller and ice bath. Faster cooling reduces the risk of contamination and dimethyl sulphide (DMS), a corn-like off-flavour that can plague pale lagers.
3. Pitch
Once your wort reaches 10–12°C (50–54°F), aerate thoroughly (splash it around, use an oxygen stone if you have one), then pitch your yeast. You want a healthy pitch rate — ideally a starter culture or fresh smack pack, not a stale vial. Lagers demand more yeast cells than ales; don’t skimp.
4. Diacetyl Rest (optional but recommended)
After about 48–72 hours, when fermentation is visibly underway, allow the temperature to rise to 15–16°C (59–61°F) for 24–48 hours. This helps the yeast clean up diacetyl, a compound that tastes like buttered popcorn — not ideal in a clean blonde. Then drop the temp back to 10–13°C (50–55°F) for the rest of the fermentation.
Fermentation & Conditioning
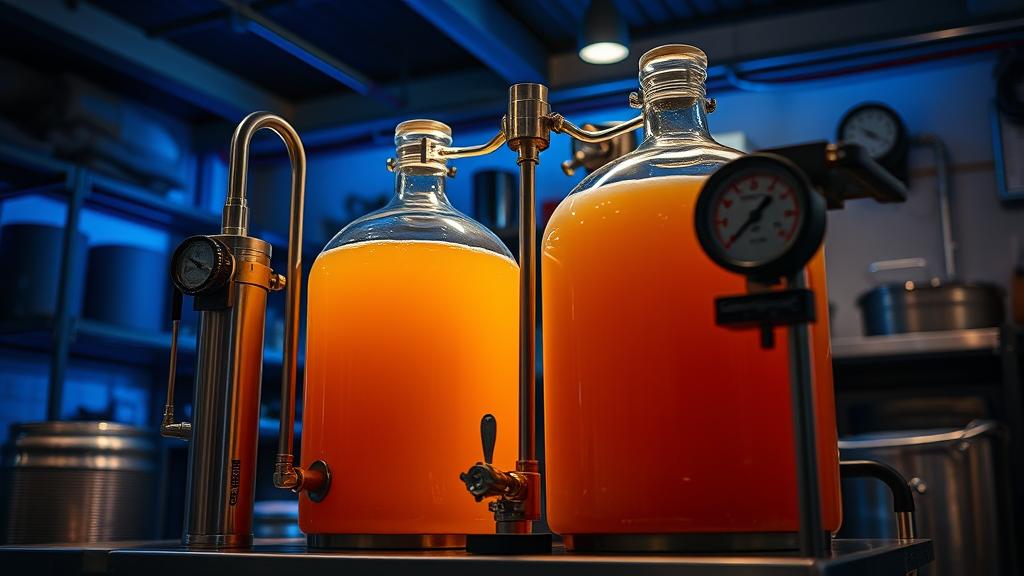
Here’s where patience becomes your greatest tool. Lager fermentation is slow. You might not see visible krausen (foaming) until day 2 or 3, and it will persist longer than an ale. Let gravity guide you, not time.
Check your gravity every few days starting around day 5. You’re targeting a drop from roughly 1.050 to 1.012 or lower. Once you hit around 1.020, reduce the temperature slightly to 9–10°C (48–50°F) and let it sit for another week or two until gravity stabilizes. This “cold conditioning” period is crucial — it’s when the yeast cleans up sulphur compounds and polishes the flavour.
Total fermentation time: 3–4 weeks at cool temperatures. If you’re curious about how other brewers handle lager fermentation, HomeBrewTalk’s lager forum has thousands of shared experiences. Yes, it’s long. That’s the point. This isn’t rushed beer.
Once gravity is stable (check three days apart; no movement = done), you have a choice: transfer to secondary for a warm diacetyl rest (if you didn’t do one earlier), or proceed straight to cold conditioning. I usually skip secondary and just let it sit on the yeast cake at 9°C (48°F) for an additional 2–3 weeks. This simplifies the process and risks minimal autolysis.
When ready to package, your beer should be crystal clear or nearly so. If it’s still hazy, wait longer — lagers drop bright slowly, but they do drop bright.
Tasting Notes & My Honest Review
The first time I nailed a blonde lager — clear, crisp, clean as a whistle — I genuinely felt like I’d unlocked something. It had taken two months from grain to glass, and my impatience had nearly killed me halfway through, but the result was worth it.
A well-made blonde lager tastes like this: crisp malt sweetness on the front, with subtle grainy depth from the Vienna malt. Noble hops provide a clean, slightly herbal bitterness in the finish — nothing aggressive. The body is lean but not thin. The mouthfeel is smooth, almost silky. There’s virtually no fruit character, no esters, no fusel notes. Just honest, clean beer.
It pairs beautifully with everything from fresh seafood to a summer barbecue. And cold, on a June evening in the garden? There’s almost nothing better.
Pro Tips & Common Mistakes
Temperature swings kill lagers. The number-one mistake I see (and have made) is temperature fluctuation. Your fermentation chamber needs to hold 10–13°C (50–55°F) consistently. Swings of more than 2°C (3.6°F) can cause off-flavours and stalling. Get a reliable controller; it’s an investment that pays for itself.
Don’t skip the immersion chiller. Cooling your wort quickly to pitching temperature reduces DMS and infection risk. A 40-litre pot of 68°C (154°F) wort sitting around cooling naturally is asking for trouble.
Use fresh yeast. Lager yeast is fussier about viability than ale yeast. A six-month-old smack pack on the shelf? No. A fresh pack or, better, a starter culture? Yes.
Patience is a virtue. I’ve seen people rack and bottle after three weeks because “fermentation looks done.” Check your gravity. Lagers need time to fully attenuate and condition. Bottle too early and you risk bottle bombs or overcarbonation.
Cold conditioning is not optional. That 2–3 week rest at 9°C (48°F) after primary fermentation is when the magic happens. The yeast settles, polishes flavours, and leaves you with crystal-clear beer.
Variations & Next-Level Experiments
Once you’ve nailed a classic blonde, there’s fun to be had with variations:
- Helles Lager: Increase pale malt to 4 kg (8.8 lbs) and reduce Vienna to 150g. Slightly lighter, crisper. A Bavarian classic.
- Dunkel (Dark Blonde Lager): Swap 250g of pale malt for Munich malt. Adds subtle bread and biscuit notes while keeping the clean lager character.
- Kellerbier/Zwickelbier: This is a traditionally unpasteurised, unfiltered pale lager served cool but not ice-cold. Same recipe, but you might skip the final 1–2 week polishing and serve fresher. Bold move, but delicious.
- Noble Hop Variation: Experiment with different combinations of Hallertau, Saaz, Tettnanger, or Spalt. Each adds subtle character — Tettnanger is slightly more floral, Saaz peppery and herbal. Exploring different hop profiles teaches you a lot about balance.
Conclusion: The Pleasure of Patience
Blonde lager brewing isn’t complicated, but it is exacting. You’re not trying to impress anyone with complexity or experimental hops. You’re trying to execute the fundamentals perfectly: clean fermentation, balanced hopping, pristine clarity, and crisp drinkability.
That’s harder than it sounds, but it’s worth it. The first time someone (or you) takes a sip of your blonde lager and says, “This is actually really good,” you’ll understand why brewers have been refining this style for 500 years.
Get your temperature control sorted, source good ingredients, be patient, and trust the process. You’ve got this.
🍺 Join the Brotherhood — Monthly brews, stories & monk wisdom
Subscribe for exclusive recipes, early brew logs, and behind-the-scenes updates straight to your inbox.

