
Why English Amber Ale Matters in 2026
English amber ale has quietly reclaimed its throne in British brewing culture, and there’s a beautiful reason why. After years of chasing the latest trends—tropical hazes, barrel-aged stouts, hybrid fermentations—homebrewers are rediscovering something profound: the honest, malt-driven character that made English ale legendary. It’s not about being retro for retro’s sake. It’s about understanding that when you nail the fundamentals—grain quality, hop balance, fermentation care—you don’t need gimmicks.
The Cambridge Beer Festival 2026 highlighted this shift perfectly. Modern English amber ales like “Winnie the Brew” (Bristol-brewed, 3.9% ABV) showcase biscuit malt meeting tropical citrus hops—a style that honours tradition whilst embracing contemporary brewing science. As a homebrewer, this is your moment. English amber ale rewards precision, patience, and respect for ingredient quality. That’s the kind of craft that sticks with you, pint after pint.
Ingredients & Equipment: Selecting Your Arsenal
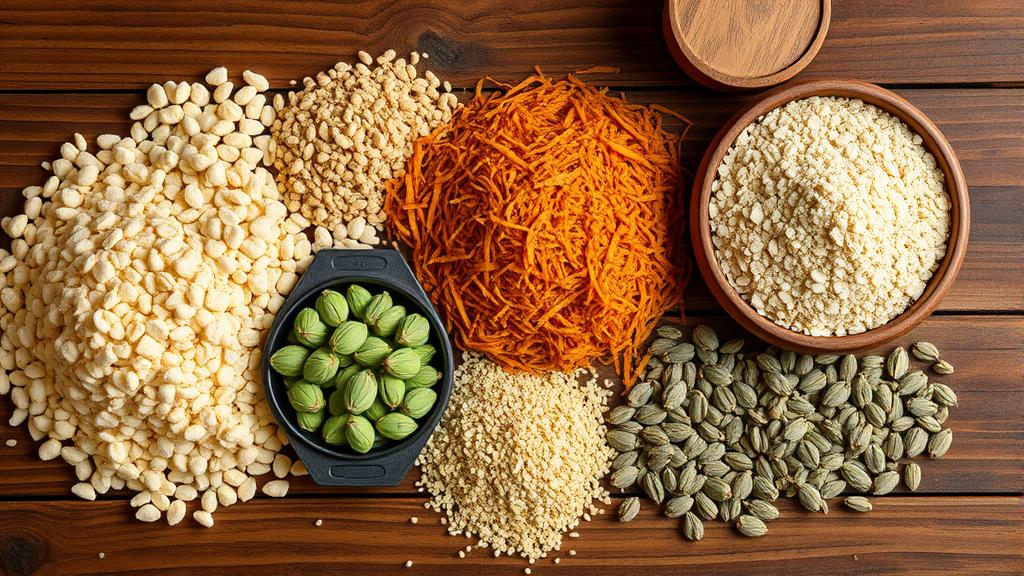
The magic of English amber ale lives in the grain bill. Unlike aggressive IPAs or adjunct lagers, every malt choice matters here because there’s nowhere to hide. You’re not drowning the beer in hops or fermentation complexity—you’re building with malt.
Start with a base of English pale ale malt (typically Maris Otter or Golden Promise). These aren’t pale lager malts; English pale malts have a slightly higher protein content and distinct biscuity character. You’ll typically use 70-80% of your grain bill here. Then add crystal malt (30L to 60L range, roughly 10-15% of the bill). This brings the amber colour and subtle caramel sweetness. Finally, include a small amount of chocolate or brown malt (2-5%) for depth and very slight roast complexity—it shouldn’t dominate, just whisper in the background.
For hops, tradition suggests East Kent Golding or Fuggles. These are your signature British noble hops—spicy, slightly floral, low alpha acids (around 4-6%). You can also explore newer varieties like Admiral for bittering if you want a cleaner edge. The key: use these hops for both bittering and finishing to maintain harmony. A typical recipe might see 30-40 IBU with a clean bittering addition, then a flavour addition at 10 minutes and a whirlpool charge for aroma.
For yeast, English ale yeast (like WLP002, Wyeast 1098, or SafeAle S-04) ferments warmly (18-22°C / 64-72°F) and produces subtle fruity esters that accent the malt without overpowering it. This is where you differentiate yourself from lager brewing. The yeast works with the malt, not against it.
On equipment, you don’t need cutting-edge gadgetry. A reliable thermometer, a hydrometer (to track fermentation progress), and consistent temperature control matter more than bells and whistles. Many homebrewers who’ve mastered hybrid fermentation techniques will tell you that simplicity often wins. Focus your investment on a good mash tun or cooler system (even a humble BIAB—brew-in-a-bag—setup works beautifully), and keep fermentation temperatures stable.
Step-by-Step Brew Day
Amber ale brewing is meditative. Embrace the rhythm.
- Mashing In — Heat your strike water to about 68°C (154°F) and aim for a mash temperature of 65°C (149°F) with your grains. This slightly lower mash temperature favours enzyme activity that produces fermentable sugars—you want a beer that finishes clean, not overly sweet. Stir gently, rest for 60-75 minutes.
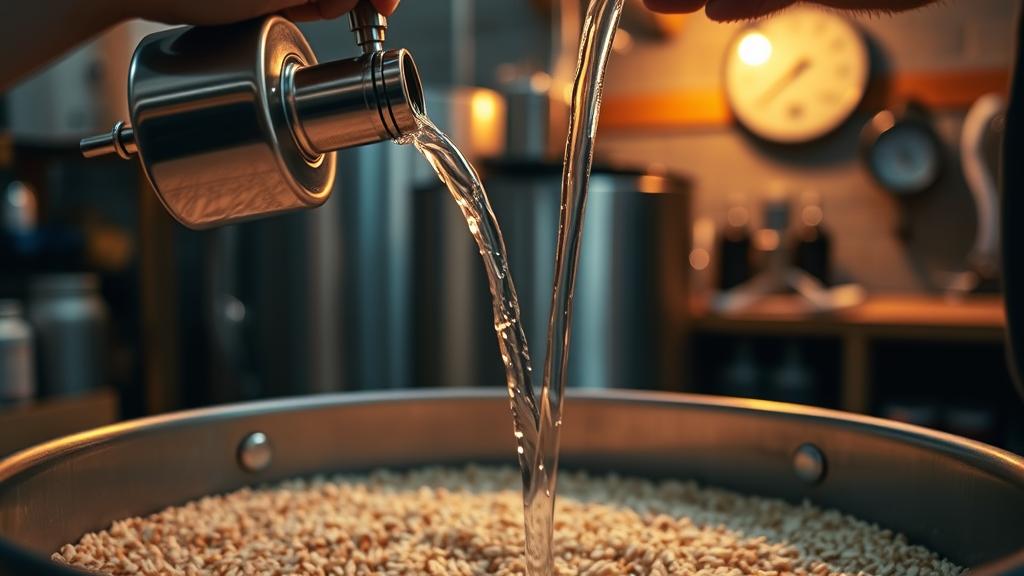
- Lautering — Slowly sparge with water at 76°C (168°F), collecting your wort until you reach your target volume. English amber ale typically sits in the 3.8-4.6% ABV range for session versions, or up to 5.5% for fuller expressions.
- The Boil — Bring to a rolling boil. Add bittering hops at 60 minutes. At 10 minutes remaining, add a flavour charge (half your total finishing hops). In the last minute, add your aroma hops. The whirlpool—that gentle, swirling motion after flame-out—is your friend here. It settles the hops and helps clarify the wort.
- Cooling & Pitching — Cool the wort to pitching temperature (around 20°C / 68°F). An immersion chiller works brilliantly for this. Pitch your yeast according to package instructions, typically at a rate of 100-200 billion cells per 19L (5 gallons).
Fermentation & Conditioning
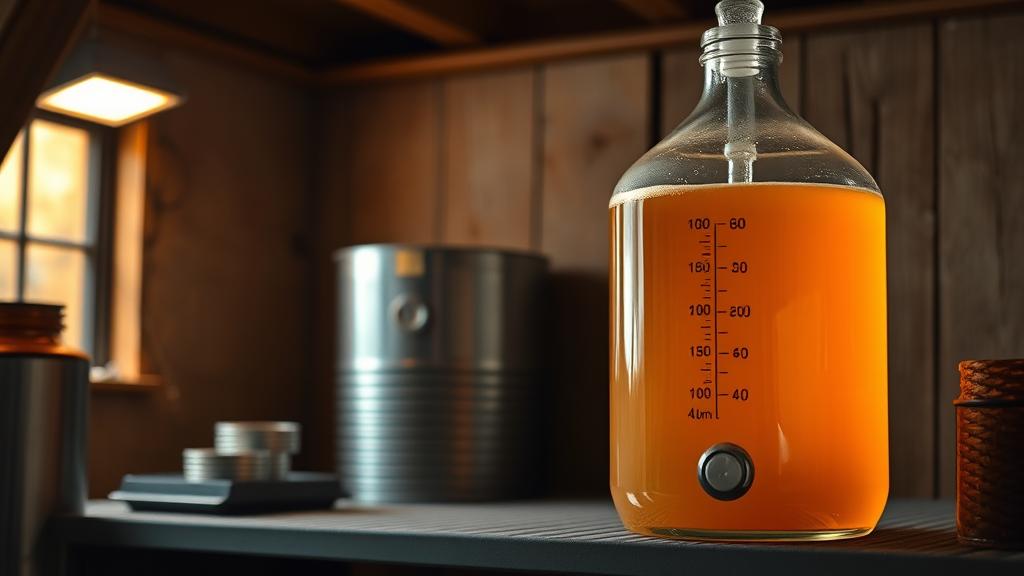
English ale yeast is forgiving but does appreciate consistency. Maintain fermentation temperature at 18-20°C (64-68°F) throughout. Warmer fermentation (closer to 21°C / 70°F) will produce more fruity esters; cooler fermentation will be cleaner and more malt-focused. Primary fermentation typically takes 5-7 days, though leaving it on yeast for 2 weeks does no harm and can improve flavour integration.
Gravity readings matter. Take a sample at day 3, day 5, and day 7. You’re looking for two readings 24 hours apart to be identical—that’s when fermentation is truly complete. English amber ales typically drop from an Original Gravity (OG) around 1.050-1.055 to a Final Gravity (FG) of 1.010-1.015.
Once primary fermentation is done, you have two paths. Some brewers prefer a secondary conditioning in a separate vessel for 1-2 weeks (old school, traditional). Others skip secondary and bottle or keg directly from primary, which is perfectly valid and reduces oxidation risk. Cold conditioning—sitting at 4-8°C (39-46°F) for 2-4 weeks before serving—rounds out flavours and promotes clarity.
For bottling: use standard 500ml bottles with proper bottle caps, or go kegging if you have a system. Prime with corn sugar (around 100g for a 19L batch) to generate carbonation (2.0-2.5 volumes of CO₂). The beer will improve for 2-4 weeks in the bottle as yeast residue settles and carbonation integrates.
Tasting Notes & My Honest Review
I brewed my first English amber ale in early 2026 using a simple recipe: 75% Maris Otter, 12% crystal 40L, 8% brown malt, 5% chocolate malt. East Kent Golding throughout—35 IBU clean, with late-boil and whirlpool additions. SafeAle S-04 yeast, fermented at 19°C.
The result? Brilliant copper-amber in the glass with a dense, creamy head. The nose is subtle but inviting—biscuit, toffee, gentle floral notes from the Goldings. On the palate, the malt dominates in the best way. Rich biscuit and soft caramel, balanced by restrained but present bittering (35 IBU is noticeable but not aggressive). The body sits between medium and full—not a light session beer, but not heavy. Finish is dry with lingering biscuit and a whisper of spice.
What struck me was the evolution. Fresh (2 weeks after bottling), it was good. At 4 weeks, the flavours had settled into true harmony. The rough edges—the slight yeastiness, any perceived alcohol heat—had faded. This beer was built to drink clean and improve over time. It’s the kind of beer that teaches you about craft not by being flashy, but by being honest.
This is how traditional British ale brewing works. It respects ingredient quality and fermentation character over experimentation.
Pro Tips & Common Mistakes
Mistake 1: Over-mashing. Beginners sometimes mash too warm or too long, creating an overly sweet, unfermentable beer. Stick to 65°C (149°F) and 75 minutes max. Remember: lower mash temps favour fermentable sugars; higher temps favour residual sweetness.
Mistake 2: Skimping on hop quality. You can’t hide behind aggressive bitterness here. Buy fresh hops—vacuum-sealed or frozen, not ancient pellets from last year’s clearance bin. Oxidised hops will taste like cardboard.
Mistake 3: Fermentation temperature swings. If your garage swings from 15°C at night to 24°C during the day, invest in a temperature-controlled box or brewing belt. Consistency matters.
Mistake 4: Rushing the conditioning.** Amber ales are not IPAs. Don’t expect greatness at 2 weeks. Give them time. 4-8 weeks in the bottle transforms a decent beer into something special.
Pro Tip: Keep a brewing log. Temperature curves, gravity readings, hop freshness dates, yeast batch numbers—all of it. English ale brewing rewards precision and repeatability. Your notes are gold.
Variations & Next-Level Experiments
Once you’ve nailed the classic version, the door opens. Try these variations:
Red Ale Version — Increase crystal malt to 18-20% and use a touch of red malt for deeper colour and jammy sweetness. Slightly higher ABV (5.2-5.8%) balances the sweetness.
Spiced Variation — Add 5-10g of English oak chips to the secondary, or dry-hop with a small amount of Challenger hops (black-pepper spice) for a herbal twist.
Higher-Gravity Expression — Push OG to 1.065-1.070 for a fuller-bodied, warming amber (5.8-6.8% ABV). This ages beautifully over a year or more, developing complex malt complexity. Similar techniques apply to what you might explore in barrel-aging for homebrewers, though oak should be subtle here.
Hybrid Route — Curious about hybrid fermentation? Start with an English ale fermentation at 18°C for 5 days, then cool to 12°C and let it rest for another week. The yeast transitions into a lager-like character, creating surprising complexity—clean ale base with crisp lager finish.
Conclusion: The Art of Simplicity
English amber ale is a masterclass in restraint. It doesn’t rely on adjuncts, extreme techniques, or fashionable ingredients. It relies on you—your understanding of grain, hops, yeast, and time. Every variable you control shapes the result. That’s why this style endures. That’s why it’s trending again in 2026.
Brew one. Pay attention. Take notes. Taste the difference between week 2 and week 8. You’ll understand why monks have been making ales like this for centuries, and why homebrewers keep coming home to this style.
The best beer you’ll ever brew is the one that teaches you something. This one will.
🍺 Join the Brotherhood — Monthly brews, stories & monk wisdom
Subscribe for exclusive recipes, early brew logs, and behind-the-scenes updates straight to your inbox.

