
Why Nitro Beer Is Having a Moment in 2026
If you’ve been down to your local pub lately, you’ve probably noticed something: Guinness is back. Not just back—it’s the UK’s favourite beer by value, and every craft brewery worth its salt is now experimenting with nitrogenated versions of their core styles. I didn’t see this trend coming until I pulled a pint at Full Circle Brew Co last month and felt that creamy, cascading cascade of bubbles. That’s when it clicked. Nitrogenation isn’t just marketing—it’s genuinely changing how beer feels, tastes, and looks. And the brilliant part? You can do it at home.
The internet’s been buzzing about premium lagers and craft techniques for months, but nitro is the quiet revolution happening now. CAMRA just covered Ossett Brewery’s new nitrogenated golden ale, breweries are pivoting whole tap lists to nitrogen, and there’s genuine interest in whether this technique works beyond stouts. Spoiler: it does.
Understanding Nitrogen vs CO2
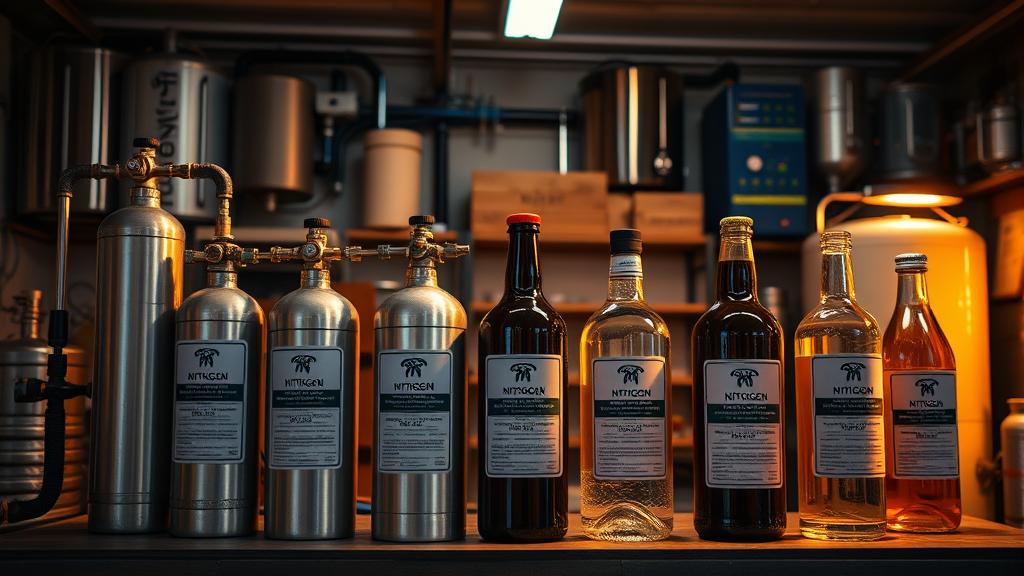
Let’s start with the fundamentals. Traditional beer carbonation uses CO2—it’s cheaper, easier, and dissolves quickly into the beer. Nitrogen is different. It’s nearly insoluble in beer, which means it creates smaller, finer bubbles that hold together longer, forming that signature creamy head. When you pour a nitrogenated stout, you see those cascading bubbles, that dense foam cap, and a completely different mouthfeel compared to a standard pint.
The stuff you actually use is called “beer gas,” which is 75% nitrogen and 25% CO2. That splash of CO2 is crucial—it gives the beer just enough carbonation for flavour and slight prickling sensation, whilst the nitrogen handles the texture. The ratio matters, too. Get it wrong and you’ll end up with flat, lifeless beer or something that overcarbs and loses the creamy effect.
One critical thing I learned early: nitrogen is never added during fermentation. The yeast will literally strip it out of the beer. It only goes in during kegging, after fermentation’s complete. This is fundamentally different from CO2 carbonation, which can be forced in earlier if you’re impatient.
Which Beer Styles Actually Work With Nitro?
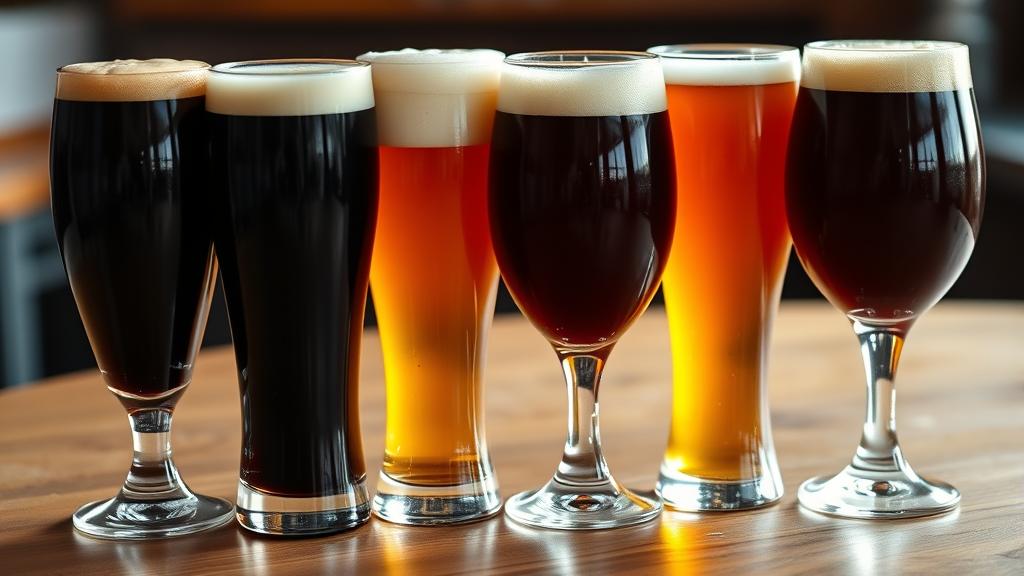
You might think nitro is only for stouts—Guinness, milk stouts, that thick creamy aesthetic. Truth is, it works beautifully across far more styles than you’d expect. The best styles I’ve tested so far:
- Stouts and porters (the obvious choice—chocolate, roasted malt characters sing under nitrogen)
- Dunkels and dark lagers (Kinslahger’s nitro dunkel is genuinely brilliant; the nitrogen emphasises chocolate malt)
- Milk stouts (creamy on creamy; it’s indulgent but works)
- Golden ales (lighter beers with nitro? Ossett’s experiment proves it can work—you get a different kind of elegance)
- English ales (brown ales, bitters, especially fuller-bodied ones)
Avoid:
- Highly hopped IPAs (the fine bubbles can muddy those delicate hop aromatics)
- Wheat beers (the nitrogen interferes with the yeasty, phenolic character)
- Low-gravity session beers (unless they’ve got real body—thin beers get lost under nitrogen)
The pattern I’m seeing: nitrogen works best with beers that have depth. Malt character, body, complexity. It enhances those things, smooths rough edges, and adds visual drama. It doesn’t make bad beer good, but it makes good beer feel premium.
Equipment You’ll Actually Need
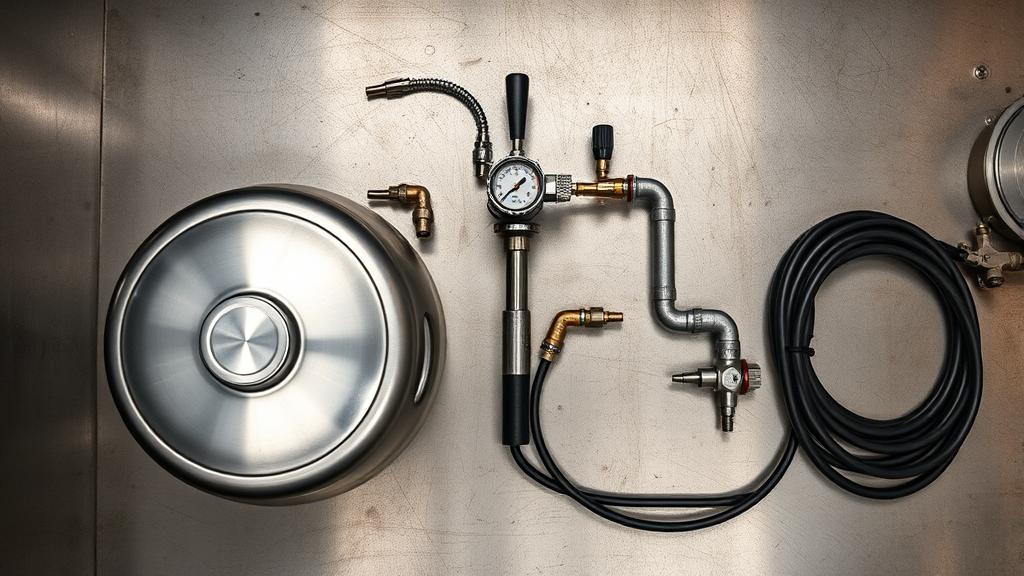
Here’s where nitro gets real. You can’t just grab a regular CO2 regulator and call it a day. You need specific equipment:
- A nitrogen source (beer gas cylinders; you can buy small homebrew-friendly sizes from Geterbrewed or specialist homebrew shops. Cost: £30–50 for a small cylinder)
- A dual-gauge regulator (shows you both tank pressure and serving pressure)
- Beer gas–specific tubing (stainless steel, rated for nitrogen pressure)
- A nitro tap or widget-equipped tap (this is the key difference; you need a tap that creates the right turbulence for those cascading bubbles—or a beer widget inside the keg itself)
- Kegging equipment (corny keg or Cornelius keg, disconnects, etc.)
For homebrewers, systems like the “Nitro Tapp” or “Royal Brew” setups are the sweet spot. They handle nitrogen infusion cleanly and give you tap-like pouring results without needing full bar equipment. Budget: £150–300 for a complete starter setup, less if you already keg.
Step-by-Step: How to Keg and Serve Nitro Beer
- Brew normally. Ferment your chosen style exactly as you would for regular carbonated beer. No special yeast, no ingredient changes.
- Rack to keg. When fermentation’s done, rack to your keg as usual (5 US gallons / 19 litres is standard for a corny keg).
- Chill the keg. Get it down to about 2–4°C (35–39°F). Cold beer holds nitrogen better.
- Set your regulator. Nitrogen serving pressure is typically 30–35 PSI (207–241 kPa), depending on your tap type. Start at 30 PSI and adjust.
- Connect the gas. Attach your beer gas cylinder to the keg’s gas post, open the cylinder valve slowly.
- Let it carbonate. Unlike CO2, nitrogen doesn’t carbonate the beer—it just adds head. You’ll want to let it sit under gas for 24–48 hours for the best cascading effect.
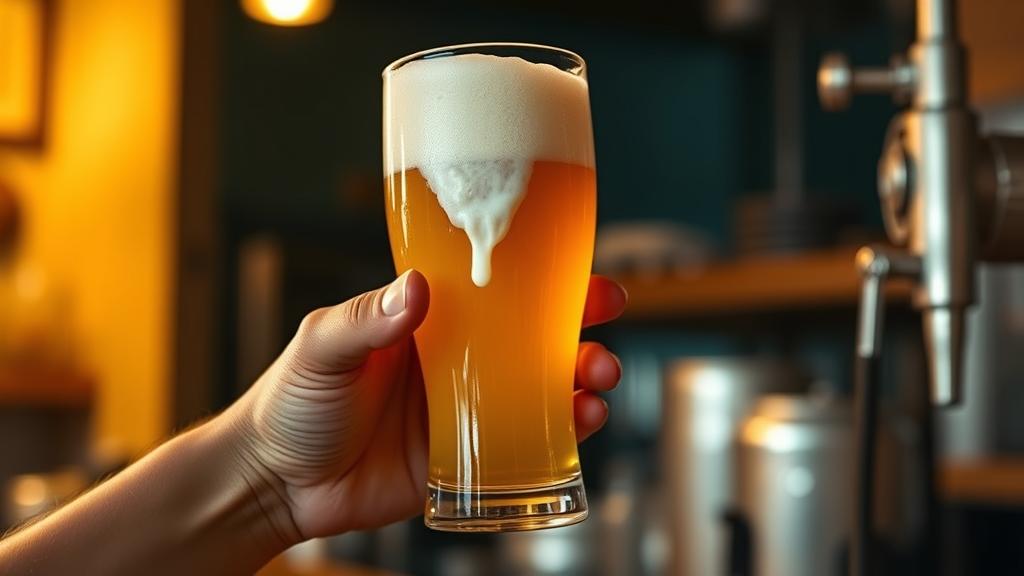
- Pour and observe. Use your nitro tap and watch the magic: those tight, cascading bubbles should form a thick, creamy head in seconds.
One thing I wish I’d known earlier: the first pour or two might be gassy or foamy whilst everything settles. Don’t panic. By the third or fourth pint, it’ll be perfect.

Tasting My First Batch
I brewed a simple milk stout—2 row malt, brown malt, oats, a touch of lactose—and put half on regular CO2, half on nitro. The difference was immediate. The nitro version poured with this gorgeous tan cap that persisted for the entire session. Sipping it, the mouthfeel was silkier, creamier. The chocolate notes lingered longer. The regular CO2 version tasted sharper, more carbonated, less smooth. Both were good beers, but the nitro felt more refined, more complete.
I then tried a dark mild—a classic British style—on nitro and was genuinely surprised. Dark milds aren’t particularly heavy (usually 3–4% ABV), but the nitrogen gave it an unexpected sophistication. The slight sweetness came through cleaner. The finish was smoother.
The real lesson: nitrogenation isn’t just for stouts. It’s a technique that rewards thoughtful brewing. Pick the right style, execute cleanly, and you’ll make beer that tastes and feels premium. That’s not marketing talk. That’s what I’ve experienced.
Common Mistakes and How to Avoid Them
From my experiments and from talking to other homebrewers, here are the pitfalls:
- Wrong pressure: Too high and your beer overshoots; too low and you won’t get the cascade. Start at 30 PSI and nudge it up if needed.
- Dirty tap or lines: Nitrogen systems are sensitive to debris. Clean everything meticulously before your first pour.
- Adding nitrogen too early: If you do this before fermentation’s fully complete, the yeast will consume it. Always wait until it’s done.
- Using CO2 instead of beer gas: Pure nitrogen is too insoluble; you need that 25% CO2 to maintain even slight carbonation. Don’t cheap out on the wrong gas mix.
- Expecting it to improve bad beer: A poorly fermented or off-flavour beer will taste worse under nitrogen, not better. The creamy mouthfeel amplifies any flaws.
The setup I use now—a small 2 kg (4.4 lb) beer gas cylinder, dual-gauge regulator, and a proper widget tap—has cost me about £200 total, and I’ve already nitrogenated maybe eight kegs. At roughly £10 per cylinder refill, it’s genuinely economical if you’re planning to do this regularly.
Next-Level Experiments
Once you’ve nailed the basics, there’s room to play. I’m currently experimenting with:
- Hop-forward golden ales on low-nitrogen settings: Can I preserve hop character whilst adding creaminess? Early results: maybe, but you need restraint.
- Blended pours: Nitro and CO2 on different taps, blending the two for custom mouthfeel. Fun, but probably overthinking it.
- Barrel-aged stouts on nitro: The smoothness of nitrogen + the complexity of wood aging. This one’s next on my list.
The beauty of homebrewing is experimenting without the commercial pressure. Nitro has opened up a whole new avenue for making beers that feel different, taste different, and surprise people. Even mates who think they know what beer should taste like get taken aback when they try a well-executed nitro pour.
Is Nitro Brewing Worth It?
Short answer: if you keg, yes. It’s not revolutionary—your beer won’t taste fundamentally different—but it *feels* premium. It looks restaurant-quality. And for certain styles (stouts, dark ales, full-bodied lagers), it genuinely enhances the drinking experience.
You don’t need to commit to it immediately. Try one batch on nitro, compare it side-by-side with the same recipe on CO2, and decide. I reckon you’ll be surprised by how much difference a creamy head and silky mouthfeel make.
The 2026 brewing trend isn’t about chasing novelty. It’s about brewers—commercial and home—realising that sometimes the simplest techniques are the ones that get overlooked. Nitrogen’s been used in breweries for decades. We’re just catching up at home, one pint at a time.
Next brew day, maybe grab a beer gas cylinder and give it a shot. Your stout deserves the proper pour.
🍺 Join the Brotherhood — Monthly brews, stories & monk wisdom
Subscribe for exclusive recipes, early brew logs, and behind-the-scenes updates straight to your inbox.

