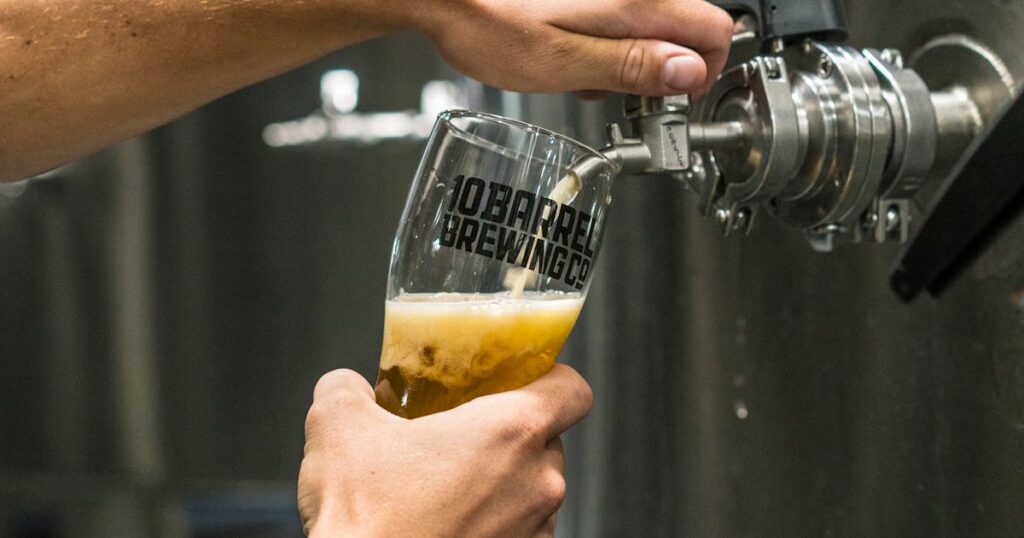
Why Forced Carbonation Is the Upgrade Your Homebrew Deserves
There’s a moment every homebrewer hits — you’ve nailed your recipe, your fermentation was clean, your gravity readings were spot on… and then you open a bottle three weeks later to a flat, lifeless pint. Or worse, a geyser of foam that redecorates your kitchen ceiling. Natural bottle conditioning is beautiful in theory. In practice, it’s a roll of the dice.
That’s exactly where I found myself last autumn. I’d just brewed what I thought was a cracking English brown ale, only to discover half the batch was under-carbonated and the other half was borderline explosive. The Benedictine monks who inspired this whole journey would probably tell me patience is a virtue. Fair enough — but they also had centuries to perfect their methods. I’ve got a garage in the Midlands and a CO₂ cylinder. Forced carbonation it is.

Forced carbonation has been gaining serious traction in the UK homebrewing community through 2026. Forums like Jim’s Beer Kit and the UK Homebrew subreddit are buzzing with kegging conversions, and it’s not hard to see why. With the cost of quality corny kegs dropping and CO₂ supply becoming more accessible, more home brewers than ever are making the switch from bottles to draught. And once you taste the difference — consistent, silky, perfectly carbonated beer every single time — there’s no going back.
What Exactly Is Forced Carbonation?
Let’s strip it back to basics. Traditional carbonation (bottle conditioning) works by adding a small amount of sugar to your finished beer, sealing it in a bottle, and letting residual yeast eat that sugar and produce CO₂ naturally. It works, but you’re at the mercy of temperature, yeast health, and your priming sugar measurements.
Forced carbonation skips the biology entirely. You seal your finished beer in a pressurised vessel — typically a Cornelius (corny) keg — connect it to a CO₂ gas cylinder via a regulator, and literally push carbon dioxide into the liquid under pressure. The beer absorbs the gas, and within 24 to 48 hours you’ve got perfectly carbonated beer ready to pour.

Think of it like this: bottle conditioning is hoping the yeast does its job. Forced carbonation is telling the beer exactly how fizzy to be. It’s the difference between suggestion and instruction. The monks understood discipline — forced carbonation is discipline applied to bubbles.
The Equipment You’ll Need (and What It Costs)
Here’s the honest breakdown. Forced carbonation isn’t free to set up, but it’s not the fortune some forums would have you believe either. Here’s what you need:
- Cornelius keg (19L / 5 US gallons) — £30–£60 second-hand, £80–£120 new. Ball-lock is the UK standard. Pin-lock works too but fittings are less common here.
- CO₂ gas cylinder — A 2.6kg (6.5lb) cylinder runs about £60–£80 and will carbonate roughly 8–10 batches before needing a refill. Refills are around £15–£25 at most CAMRA-affiliated homebrew shops or welding supply stores.
- Dual-gauge regulator — £35–£55. The dual gauge shows both cylinder pressure (how much gas you’ve got left) and working pressure (what you’re pushing into the keg). Don’t cheap out here — a dodgy regulator is a recipe for disaster.
- Gas and liquid disconnect set — £8–£15 for a pair. Ball-lock disconnects snap onto the keg posts.
- Beer line and gas line — £5–£10 for a few metres. Food-grade tubing, typically 3/16″ (5mm) ID for beer line.
- Picnic tap or beer font — £5 for a basic picnic tap, £30+ for a proper font if you’re building a kegerator.
Total outlay for a basic setup: roughly £140–£250. Sounds steep, but consider this — you’ll never buy another bag of priming sugar, never sanitise another 40 bottles per batch, and never wonder whether your carbonation is going to be right. The time savings alone make it worthwhile. I reckon I save about 90 minutes per batch just on bottling day. That’s 90 minutes I spend actually drinking beer instead of cleaning bottles.
UK suppliers like The Malt Miller and Geterbrewed stock everything you need, and both offer starter keg kits that bundle the essentials together at a decent saving.
Step-by-Step: How to Force Carbonate Your Beer
Right, here’s the process. I’ve refined this over about fifteen batches now, and it works every time. No guesswork, no prayers to the yeast gods.
- Chill your beer. Get it as cold as possible — ideally 2–4°C (36–39°F). Cold liquid absorbs CO₂ far more efficiently than warm liquid. This is non-negotiable. If your beer is at room temperature, you’ll be waiting days longer and using more gas.
- Transfer to a sanitised corny keg. Close the lid and make sure the O-ring is seated properly. A dodgy seal means leaked gas and flat beer.
- Purge the headspace. Connect your gas line, set the regulator to about 30 PSI, and hit the pressure relief valve on the keg lid 4–5 times. Each purge replaces oxygen with CO₂. Oxygen is the enemy of finished beer — it causes oxidation and stale flavours.
- Set your target pressure. This is where the carbonation table comes in (more on that below). For most British ales, you want around 2.0–2.4 volumes of CO₂. At 3°C (38°F), that means setting your regulator to about 8–12 PSI.
- Connect and wait (the “set and forget” method). Leave the gas connected at your target pressure for 5–7 days. The CO₂ will slowly dissolve into the beer until it reaches equilibrium. This is the gentlest method and gives the most consistent results.
- Or shake it (the “burst carbonation” method). If you’re impatient — and honestly, who isn’t — set the regulator to 30 PSI, lay the keg on its side, and rock it back and forth for 2–3 minutes. You’ll hear the gas being absorbed (a rushing sound that gradually quiets). Then disconnect, drop the pressure to your serving PSI, reconnect, and leave it overnight. You’ll have carbonated beer in about 24 hours.
- Test pour. After your chosen waiting period, pour a small glass using your picnic tap. Check the carbonation level. Too flat? Leave it another day or two. Too fizzy? Pull the pressure relief valve to bleed off excess CO₂, then reconnect at a lower PSI.
If you’ve been doing small batch brewing, forced carbonation scales beautifully — even a 9.5L mini keg works with this exact process.
Understanding Carbonation Volumes and the PSI Maths
This is the bit that scares people off, but it’s genuinely simple once you get your head round it. “Volumes of CO₂” is just a measurement of how much gas is dissolved in the beer. One volume means for every litre of beer, there’s one litre of CO₂ dissolved in it (at standard temperature and pressure).

Different styles want different carbonation levels:
- British cask ales: 1.5–2.0 volumes — gentle, subtle carbonation
- Most ales and IPAs: 2.0–2.5 volumes — moderate, balanced fizz
- Lagers and pilsners: 2.4–2.8 volumes — crisp, lively carbonation
- Belgian ales and wheat beers: 2.8–3.5 volumes — highly carbonated, effervescent
- British bitters: 1.5–2.2 volumes — low and sessionable
The formula relating pressure, temperature, and carbonation volume is based on Henry’s Law — the amount of gas dissolved in a liquid is proportional to the pressure of that gas above the liquid. In practical terms: colder beer + higher pressure = more carbonation.
Here’s a quick reference for common scenarios at fridge temperature (3°C / 38°F):
- 2.0 volumes → ~8 PSI (0.55 bar)
- 2.2 volumes → ~10 PSI (0.69 bar)
- 2.4 volumes → ~12 PSI (0.83 bar)
- 2.6 volumes → ~14 PSI (0.97 bar)
- 2.8 volumes → ~16 PSI (1.10 bar)
At room temperature (20°C / 68°F), you’d need roughly double the pressure for the same carbonation level. This is precisely why chilling your beer first makes such a massive difference — you use less gas and get faster, more predictable results.
Troubleshooting: When Forced Carbonation Goes Wrong
It’s not completely foolproof. Here are the most common problems I’ve encountered (and yes, I’ve made every one of these mistakes so you don’t have to):
Beer Is Still Flat After a Week
Check your seals. Seriously. The number one cause of failed forced carbonation is a leaking keg lid O-ring or a dodgy post seal. Spray soapy water on every connection point and watch for bubbles. Replace any O-rings that look worn or cracked — they cost pennies.
Beer Is Over-Carbonated and Foamy
You’ve set the pressure too high or left it at burst carbonation pressure for too long. Pull the pressure relief valve several times to bleed off excess CO₂, then reconnect at your correct serving pressure. Leave it for 24 hours to rebalance. Patience, grasshopper.
First Pint Is All Foam
This is usually a serving issue, not a carbonation issue. Your beer line might be too short (causing turbulence), your glass might be warm, or your serving pressure is too high. A general rule: use about 1.5–2 metres (5–6 feet) of 3/16″ beer line for a balanced pour at 10–12 PSI. If you’ve been experimenting with wild fermentation, those beers often need even more careful pressure management due to their higher natural carbonation.
Inconsistent Carbonation Between Pints
The keg hasn’t reached equilibrium yet. If you used burst carbonation, give it another 24–48 hours at serving pressure to even out. If you used set-and-forget, check that your regulator hasn’t drifted — cheap regulators are notorious for this.
Pro Tips from Fifteen Batches of Trial and Error
After a fair few batches — some brilliant, some humbling — here’s what I wish someone had told me from day one:
- Always chill first, carbonate second. I cannot stress this enough. Room-temperature forced carbonation wastes gas and takes forever. Get that beer to 2–4°C before you even think about connecting the gas.
- Buy a spare set of O-rings. You will need them. Keep them lubricated with food-grade silicone. A 10p O-ring failure can ruin an entire batch.
- Label your kegs. Once you’ve got two or three going, you will forget which is which. Chalk markers on stainless steel work brilliantly.
- Invest in a dual-gauge regulator from day one. Single-gauge regulators only show working pressure. You need to know how much gas is left in the cylinder — running out mid-carbonation is incredibly annoying.
- The “set and forget” method produces better results than burst carbonation. Yes, it takes longer. But the carbonation is more evenly distributed and the beer tastes smoother. Burst carbonation can sometimes create a slightly harsh, aggressive fizz that takes time to mellow out.
- Keep a carbonation log. Write down the style, target volumes, PSI, temperature, and method for every batch. Future you will be grateful. I keep mine in a simple notebook next to the kegerator.
- Clean your gas-side posts. Beer can creep up through liquid posts into gas disconnects, especially if you over-pressurise. Disassemble and clean everything between batches. A clogged gas post is a slow leak waiting to happen.
If you’re already comfortable with precision fermentation techniques, forced carbonation is the natural next step — it’s the same philosophy of measurement and control applied to a different part of the process.
Building Your First Kegerator: Worth the Effort
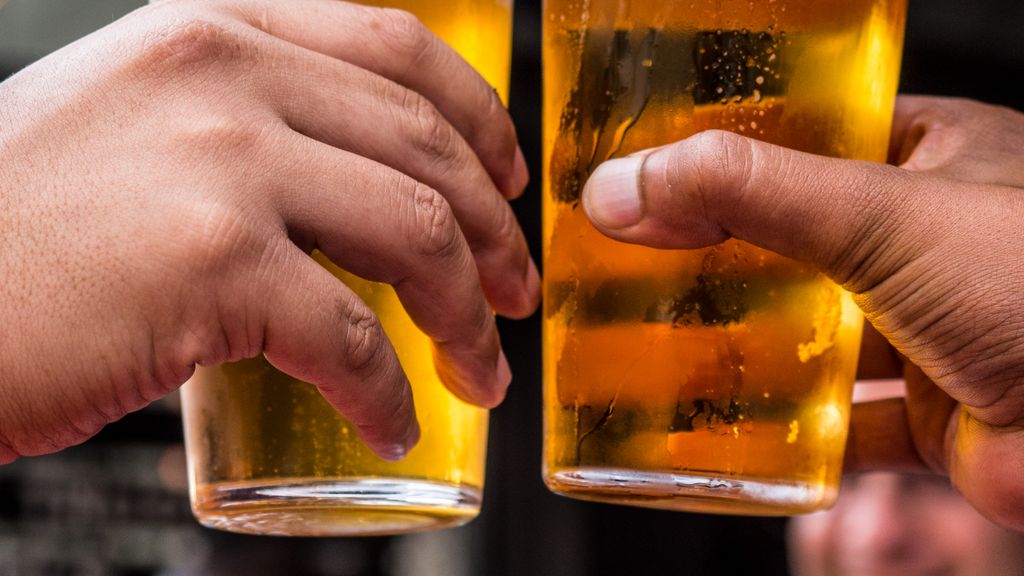
Once you’ve gone down the forced carbonation rabbit hole, a kegerator is the inevitable next project. The most popular UK approach is converting a chest freezer with an Inkbird temperature controller — total cost around £100–£150 for the freezer (Facebook Marketplace is your friend) plus £30 for the controller. You get precise temperature control for both fermentation and serving, and most chest freezers fit two to three corny kegs comfortably.
Set your serving temperature between 2–5°C (36–41°F) for ales and 1–3°C (34–37°F) for lagers. Mount your CO₂ cylinder outside the freezer to keep it at room temperature — regulators perform more consistently when they’re not freezing cold. Run your gas line through a small hole drilled in the side, seal it with silicone, and you’re sorted.
The beauty of this setup is that carbonation and serving happen in the same vessel. No transfers, no oxidation risk, no faff. Your beer goes from fermenter to keg to glass with minimal handling. It’s the kind of elegant simplicity that would make the Trappist brothers smile — fewer steps, better results, more time for contemplation (or, in my case, more time for the next brew day).
The Verdict: Is Forced Carbonation Right for You?
If you’re still bottling and you’re happy with it — genuinely happy, not just tolerating it — then carry on. Bottle conditioning has its own charm, and there’s a monastic satisfaction in the patience it demands.
But if you’ve ever opened a flat bottle and sworn at the ceiling, or if you’re tired of spending an hour sanitising and filling 40-odd bottles every brew day, or if you simply want consistent, reliable, adjustable carbonation every single time — forced carbonation is the answer. It was the single biggest quality upgrade I’ve made to my brewing, and I don’t say that lightly.
The initial investment pays for itself in time saved, consistency gained, and — let’s be honest — the sheer joy of pouring yourself a proper draught pint from your own kegerator on a Thursday evening. That’s not just homebrewing. That’s living.
Now if you’ll excuse me, I’ve got a dark mild that’s been on gas for three days and it’s calling my name.
🍺 Join the Brotherhood — Monthly brews, stories & monk wisdom
Subscribe for exclusive recipes, early brew logs, and behind-the-scenes updates straight to your inbox.