
Why Gluten-Free Brewing Matters in 2026
There’s a quiet revolution happening in homebrewing, and it’s not about bigger ABVs or wilder hops. It’s about inclusivity. Thirty-five percent of consumers now want to brew their own gluten-free beer at home — that’s not just trend noise, that’s a genuine shift in how people approach craft beer. Whether you’re dealing with coeliac disease, non-coeliac gluten sensitivity, or simply prefer GF options, the craft beer world has been slow to catch up to homebrewers. Now’s your chance to lead.
I started exploring gluten-free brewing after a mate with coeliac disease complained that every “GF beer” in the shops tasted like a sad wheat ale masquerading as health food. So I did what any curious homebrewer does — I grabbed a recipe and failed spectacularly. Twice. But the third batch? It was brilliant. Fuller bodied than traditional GF commercial stuff, genuinely complex, and he came back asking for more. That’s when I realised: gluten-free brewing isn’t about substitution, it’s about reimagining what good beer can be.
The science is straightforward but unforgiving. Most commercial beers are brewed from barley, wheat, or rye — all containing gluten. For GF homebrewing, you’re working with sorghum, millet, teff, buckwheat, and speciality grains that behave differently at every stage. Mash temps, enzyme activity, fermentation profiles — everything shifts. But that’s what makes it interesting. You’re not just brewing beer; you’re problem-solving with flavour.
Understanding Gluten-Free Grains & Malts
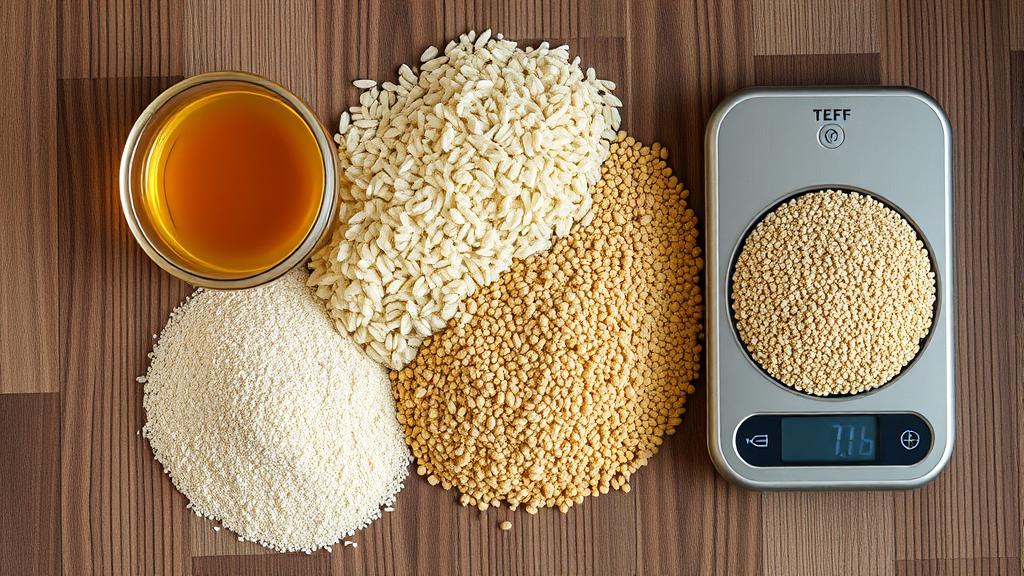
Sorghum Malt is your workhorse. It’s the closest thing to barley in terms of fermentability and body, though it tends to produce a slightly grainy, sometimes drier finish than traditional base malts. A 2-row sorghum malt will give you decent extraction (around 75–80% of barley’s yield) and a solid foundation for most styles.
Rice Malt adds refinement. Where sorghum can feel a bit heavy-handed, rice malt is crisp, clean, and ferments dry. It’s brilliant for pale ales and lagers because it doesn’t muddy the hop character. Use it at 20–30% of your grist to lift a sorghum-heavy bill.
Millet Malt is the underdog. Subtle, slightly sweet, with a touch of nuttiness. Only a handful of UK suppliers stock it, but if you can source it, millet at 10–15% adds real character without overpowering. For sourcing, I’ve worked with suppliers who handle specialty ingredients for advanced brewing.
Teff is newer to homebrewing but worth exploring. It’s high in fibre, adds body, and brings a subtle earthiness. Use sparingly (5–10%) because it can dominate quickly.
Buckwheat is technically not a grain (it’s a pseudocereal), but it’s gluten-free and adds structure. Roasted buckwheat brings spice; pale buckwheat brings smoothness. Again, restraint is key — 5–10% maximum.
The catch? Most GF grains are enzymatically weak compared to barley. You’ll likely need to add exogenous enzymes during the mash — specifically alpha and beta amylase — to break down starches properly. It’s not complicated, but it’s a step traditional brewers skip. This is actually closer to controlling your fermentation variables than you might think — precise enzyme addition is just another control lever.
Essential Equipment & Ingredients for Your First Gluten-Free Brew

Your standard homebrewing kit works fine, but you’ll need a few extras:
- Enzyme powder (alpha and beta amylase blend) — crucial for starch conversion
- A reliable thermometer — mash temperatures matter even more with GF grains
- A finer mesh screen or grain bag — GF grains can compact and stick more easily than barley
- pH strips or meter — optional but helpful; GF grains sometimes behave differently in the mash
For hops, any variety works, though I’ve found that traditional bittering hops like Goldings pair beautifully with sorghum’s clean backbone. Stick with established varieties unless you’re experienced — modern equipment makes consistency easier, but ingredient chaos makes it harder.
Yeast? Use your favourites. Ale yeast (US-05, S-04) is forgiving. Lager yeast (W34/70, S-23) works brilliantly but demands temperature control. I’ve had great results with standard suppliers who now stock GF-specific pitching guides.
Step-by-Step Gluten-Free Brew Day: My Process
Here’s what actually happens when you brew GF beer. I’m using a simple pale ale recipe here (about 4% ABV, UK-focused):
- Crush your grain (1.5 kg / 3.3 lb sorghum, 0.5 kg / 1.1 lb rice malt). Don’t crush too fine — GF grains release their starches more readily, and you risk a stuck mash. Coarser is better.
- Heat your water to 67–68°C (152–154°F). This is your strike temperature. GF mashing prefers slightly warmer than barley to encourage enzyme activity.
- Add enzymes to your water before mashing in — follow the powder’s instructions, but typically 0.5–1 tsp per 10 litres (2.6 gallons). Let it dissolve for a minute.
- Mash in and let it rest for 10 minutes at 67°C, then raise to 68°C for 60 minutes. Don’t over-think the temperature — GF grains are forgiving, but consistency matters.
- Perform an iodine test at 45 minutes (optional). Drop a tiny bit of wort on a white plate, add iodine. If it goes blue-black, starch is still there; stay at 68°C longer. If it stays brown, conversion is complete.
- Mash out to 75–76°C (167–169°F) for 10 minutes, then sparge with water at that same temperature. You’ll get slightly lower efficiency than barley — expect 70–75% instead of 80%. Plan accordingly.
- Boil for 60 minutes, as normal. Bittering hops at the start (30 IBUs from 20g Goldings, 60 min). Flavour hops at 15 minutes (15g Cascade). Aroma hops at flame-out (10g Cascade). Again, nothing special — just classic timing.
- Cool to 20°C (68°F), pitch your yeast (e.g., Safale US-05 at recommended rate), and let it do its thing.
The fermentation timeline mimics traditional ale: vigorous activity by 12 hours, calming down by day 3–4. Let it ride for 7–10 days total before cold-crashing or transferring to a secondary.
Fermentation & Conditioning: The Waiting Game
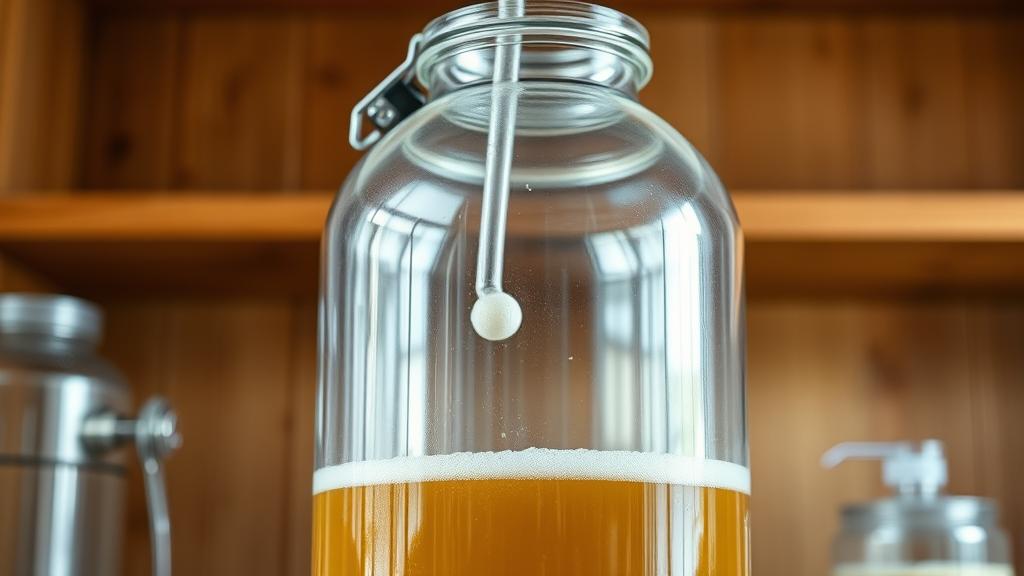
Here’s where patience separates good GF beer from mediocre. Because your grain bill is enzymatically different, fermentation can be slightly slower. Expect 10–12 days for full attenuation rather than 7–9. Check your gravity — when it stabilises (same reading for two days running), you’re done fermenting, not when some recipe says so.
Cold-crash to 2°C (36°F) for 48 hours if you have a temp-controlled fridge. GF beers tend to hold a bit more haze without this step, and clearing helps the finished product’s appearance. If you’re interested in the broader fermentation strategy, I’ve found blending different fermentation approaches opens up new flavour possibilities.
Bottling: Prime as usual (2–2.5 volumes of CO₂ for ales, 2.5–3 for lagers). Gluten-free beers condition slightly faster — expect carbonation in 1–2 weeks rather than 3–4. Package in clean bottles, and for god’s sake, label them clearly “GLUTEN-FREE” if you’re sharing with anyone who needs to know.
Kegging works identically. I’ve had no issues with pressure stability or carbonation loss with GF beers.
Honest Tasting Notes & My Results

My first proper sorghum/rice pale ale tasted earthy, slightly thin, and honestly a bit dull. I’d nailed the process but misjudged the grain balance. Too much sorghum, not enough character from hops or yeast.
Second attempt: I dropped sorghum to 60%, bumped rice to 30%, and added 10% buckwheat. Brewed the same schedule, same hops, same yeast. The difference was night and day. Fuller mouthfeel, slightly spicier finish, the hops sang rather than whispered. My mate with coeliac disease said it was “actually good, not just good for gluten-free.”
By batch three, I was confident enough to push it — 70% sorghum, 20% rice, 10% millet. Bolder malt character, a hint of nuttiness, slightly more body. This one developed better with age; at six weeks, it was noticeably smoother than at two weeks.
The pattern I’ve noticed: GF beers age differently. They don’t flatten like some barley ales, but they do mellow slightly. At 2–3 weeks they’re bright and edgy; at 5–8 weeks they’re more integrated. Plan for a 4-week drinking window, not 2 weeks like you might with a light, sessionable ale.
Pro Tips, Common Mistakes & Solutions
Mistake 1: Forgetting the enzymes. I did this on batch two. I used a supplier’s “enzyme-adjusted” sorghum malt and skipped adding extra. The result was a thin, under-fermented beer that got stuck at 1.020 gravity. Don’t assume the grain supplier did the work — add enzymes yourself and know it’s done.
Solution: Keep enzyme powder on hand. Two pounds lasts for dozens of brews and costs less than £15.
Mistake 2: Mashing too cold. Sorghum’s enzymatic weakness means that cooler mashes (like 65°C) lead to slow conversion. You’ll end up lautering for an hour and still not get clean efficiency.
Solution: Mash hot — 68–69°C — and stay there for 70 minutes minimum. Patience pays off.
Mistake 3: Crushing the grain too finely. GF grains are soft and pack tightly. A fine crush leads to a doughy mash and potential stuck runoff.
Solution: Crush coarser than you would barley. Even whole kernels mixed in is fine — the enzymes will handle them.
Mistake 4: Ignoring water chemistry. GF grains are slightly less forgiving than barley if your water is too alkaline. A pH between 5.2–5.4 during the mash is ideal.
Solution: Use a simple pH meter (under £30 online) or at minimum, treat soft water with a touch of lactic acid if you live in a hard-water area. The BJCP style guidelines have excellent water chemistry resources if you want to dive deeper.
Tip: Start simple. Your first GF beer should be straightforward — sorghum base, simple bittering, clean yeast. Save the 7-grain experimental batches for when you’ve nailed the fundamentals.
Tip: Weigh your GF grains on brew day. Suppliers sometimes vary the moisture content, which affects how much you need. Weighing eliminates guesswork.
Tip: Join a homebrewing community that’s experimenting with GF. HomeBrewTalk has a growing GF section, and dedicated UK brewing forums have passionate experimenters. You’ll avoid a lot of dead ends just by asking people who’ve already made the mistakes.
Looking Ahead: The Future of Gluten-Free Homebrewing
In five years, I reckon GF homebrewing will be as normal as brewing any other style. Suppliers are catching up — more GF malts, better enzymes, kit manufacturers designing equipment with GF in mind. The barrier isn’t knowledge anymore; it’s just starting.
And here’s the thing: brewing gluten-free beer isn’t a sacrifice. It’s an invitation to reimagine what beer can be. Most home brewers are chasing bigger, bolder, hoppier. You get to chase something different — clean, integrated, nuanced. That’s rare in beer. That’s worth pursuing.
🍺 Join the Brotherhood — Monthly brews, stories & monk wisdom
Subscribe for exclusive recipes, early brew logs, and behind-the-scenes updates straight to your inbox.

