
Why Kölsch Is Having Its Moment in 2026
For the better part of a decade, the hazy IPA owned the taproom. Bold, fruit-forward, unapologetically American—it had everything the craft beer revolution taught us to want. But after ten years of the same flavour profile, even the most loyal hop heads are exhausted. Meanwhile, traditional lager styles have roared back into fashion, and suddenly, the clean, crisp beers our grandparents drank are interesting again.
That’s where Kölsch comes in. Originating in Cologne, Germany, this hybrid style sits at the sweet spot between ale and lager: fermented warm like an ale, then cold-conditioned like a lager. The result? A beer that’s perfectly balanced—light, refreshing, subtle, and devastatingly drinkable. For 2026, beer experts and homebrewers alike are waking up to what German brewers have known for centuries: Kölsch is the thinking person’s summer ale.
And the best part? It’s easier to brew than you’d think. This post walks you through everything you need to know to craft an authentic Kölsch in your own home, from grain to glass.
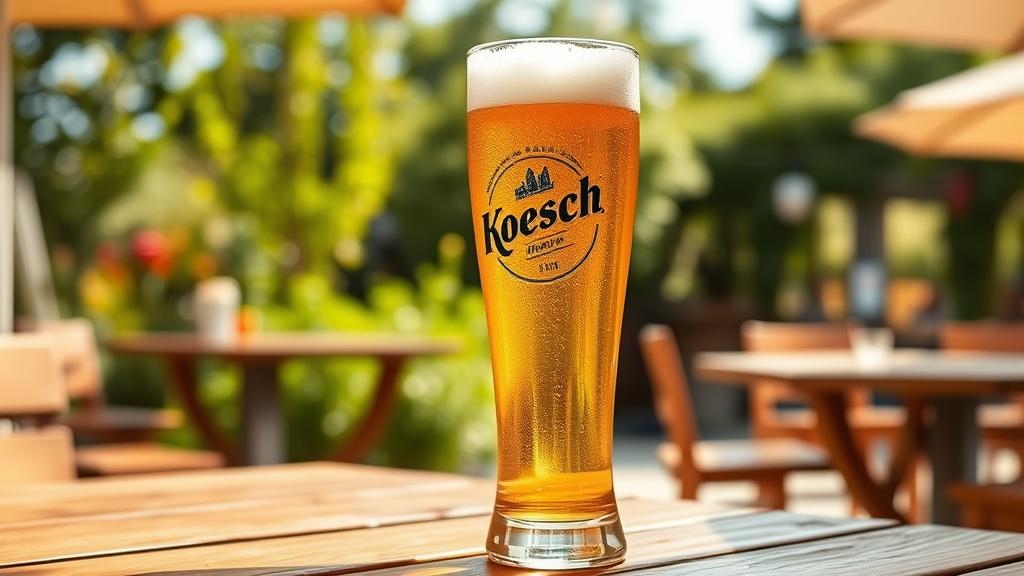
What Exactly Is Kölsch?
Kölsch is a Protected Designation of Origin (PDO) in the European Union—meaning authentic Kölsch can only be brewed in Cologne. That said, home brewers and craft breweries worldwide produce excellent Kölsch-style beers that honour the original tradition.
Here’s what defines the style: pale golden colour (4–6 SRM), low to moderate IBUs (18–32), a crisp finish, and a distinctive fruitiness from its unique fermentation profile. At around 4.8–5.4% ABV, it’s sessionable without being watery. The key to Kölsch’s appeal is its balance—it’s not aggressively hopped like a West Coast IPA, nor is it sweet like a cream ale. It’s clean, mineral, slightly fruity, and endlessly refreshing.
Unlike most ales, Kölsch is fermented at warmer temperatures (around 16–20°C / 61–68°F) but then cold-conditioned for weeks, which strips away harsh yeast esters and creates that lager-like smoothness. It’s this hybrid approach that makes brewing Kölsch at home both approachable and challenging—you get to leverage ale fermentation (easier temperature control) while achieving lager-like clarity and clean flavour.
Ingredients & Equipment
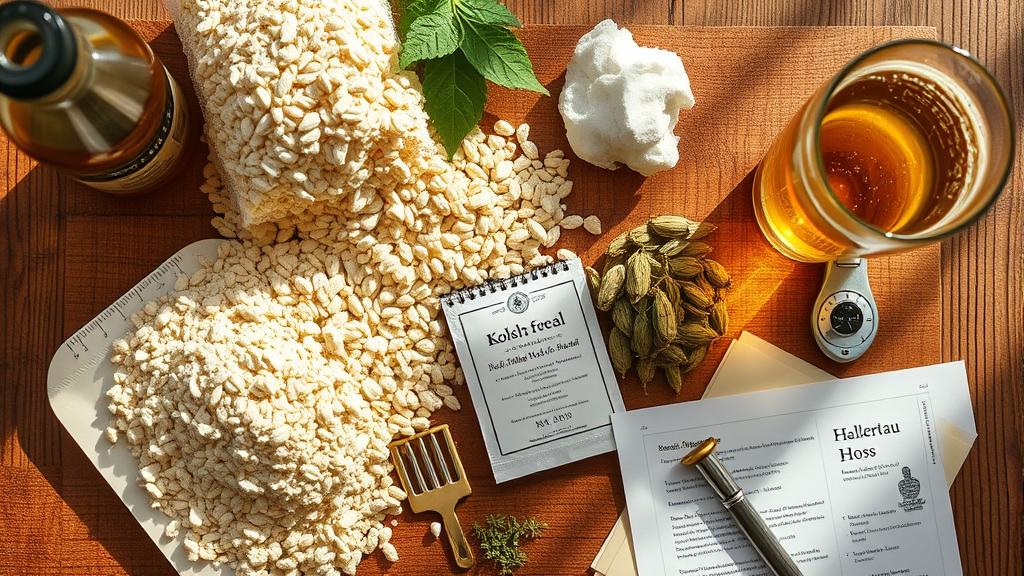
Grains
Kölsch’s simplicity is its strength. A traditional Kölsch relies on a malt bill that’s 90% pale Pilsner malt, with just 5–10% Munich malt for subtle depth. That’s it. No roasted malts, no wheat, no adjuncts. The quality of your malt matters here—poor-quality Pilsner will reveal itself immediately. Source from a specialist supplier like The Malt Miller or Get Er Brewed.
For a 20-litre (5-gallon) batch:
- 3.5 kg (7.7 lbs) pale Pilsner malt
- 400 g (0.9 lbs) Munich malt (6 EBC)
Hops
Noble hops are the traditional choice: Hallertau, Tettnang, Spalt, or Saaz. They’re subtly floral and herbal, with very low alpha acids (3–5% AA). For a 20-litre batch, aim for 15–20 IBUs total—the beer should never taste aggressively bitter. A single 60-minute bittering charge of 20 g of Hallertau (at 4% AA) is perfect; skip the late-boil aromatics. The beer’s subtle hop character comes from its yeast and fermentation, not from added aroma hops.
Yeast
This is critical. Use Kölsch-specific yeast strains: White Labs WLP029 (German Ale/Kölsch) or Wyeast 2565 (Kölsch). Both are true ale yeasts that ferment cleanly at warm temperatures. Do not use standard ale yeasts—they’ll produce too much fruitiness and won’t give you that lager-like character.
Water
Kölsch suits soft to moderately hard water. If your tap water is very hard, consider a small reverse-osmosis adjustment or blend with distilled water. The mineral profile shouldn’t overwhelm the delicate malt and hop balance.
Equipment
Standard all-grain or extract + specialty grain setup:
- Brew kettle (25-30 litres / 6.5–8 gallons minimum)
- Mash tun or insulated cooler
- Thermometer (essential for Kölsch fermentation)
- Fermentation vessel (glass carboy or PET plastic)
- Airlock and bung
- Hydrometer
- Bottles and capper (or kegging setup)
Step-by-Step Brew Day
This is where the magic happens. Kölsch requires patience and precision, but the method is straightforward.
1. Mashing (Infusion Mash)
Heat strike water to 67°C (152°F) for a single-step infusion. Aim for a mash ratio of 2.5:1 (water:grain by weight). For 3.9 kg of grain, you’ll need roughly 9.75 litres of water.
Mix grains at target mash temperature of 65°C (149°F). Hold for 60 minutes, stirring every 15 minutes to prevent channeling. The enzymes in Pilsner malt work slowly at this cooler temperature, but that’s fine—you’ll get excellent fermentability.
2. Sparge and Lauter
Raise the mash to 76°C (170°F) over 15 minutes (a mash-off). Hold for 5 minutes, then run off to your kettle. Sparge with 76°C water until you’ve collected approximately 25 litres of wort at 1.045–1.048 OG (Original Gravity).
3. The Boil
This is critical for Kölsch. A vigorous, rolling boil for 90 minutes is standard, and it prevents DMS (dimethyl sulphide)—a compound that gives Pilsner malt a corn-like character if not boiled off. Kölsch needs to taste clean, not cosy.
Add your single bittering charge of noble hops at 60 minutes. Skip flavour and aroma additions—let the yeast and conditioning create the subtle character. Chill to 65°C before running into your fermentor.
4. Pitch and Ferment
Cool the wort to 18°C (64°F) in your fermentor using an immersion chiller or ice bath. Oxygenate the wort (shaking or aquarium pump for 10 minutes). Pitch a healthy yeast starter at 1–2 million cells per millilitre.
Place your fermentor in a temperature-controlled space (or use a modified refrigerator) set to 16–17°C (61–63°F). The fermentation will kick off in 12–24 hours and should complete in 5–7 days, dropping from 1.048 OG to roughly 1.008 FG (Final Gravity).
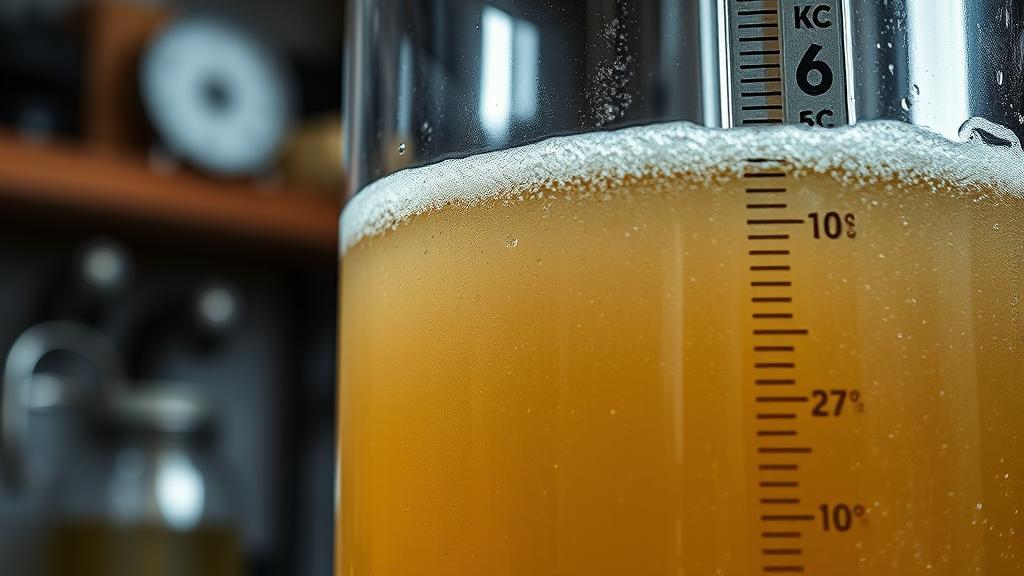
Cold Conditioning (Lagering)
Once fermentation is complete (check gravity two days in a row for no movement), drop the temperature gradually to 4–8°C (39–46°F) over 2–3 days. This is the diacetyl rest—allow the yeast one final day at warmer temperature (around 18°C) to clean up any undesired compounds.
Then cold-condition for 2–4 weeks at 4–8°C. This is where Kölsch becomes distinctly Kölsch: the cold temperature strips away any remaining esters, tightens the flavour, and creates crystal clarity.
For more details on fermentation science, see our guide to hybrid fermentation techniques and precision fermentation.
Packaging & Carbonation
Kölsch is traditionally force-carbonated to 2.5–2.7 volumes of CO₂. If you’re bottle-conditioning, add 3–4 grams of priming sugar per litre. Bottle-conditioned Kölsch carbonates slowly and gently—keep bottles at cellar temperature (10–12°C / 50–54°F) for 3–4 weeks before chilling and serving.
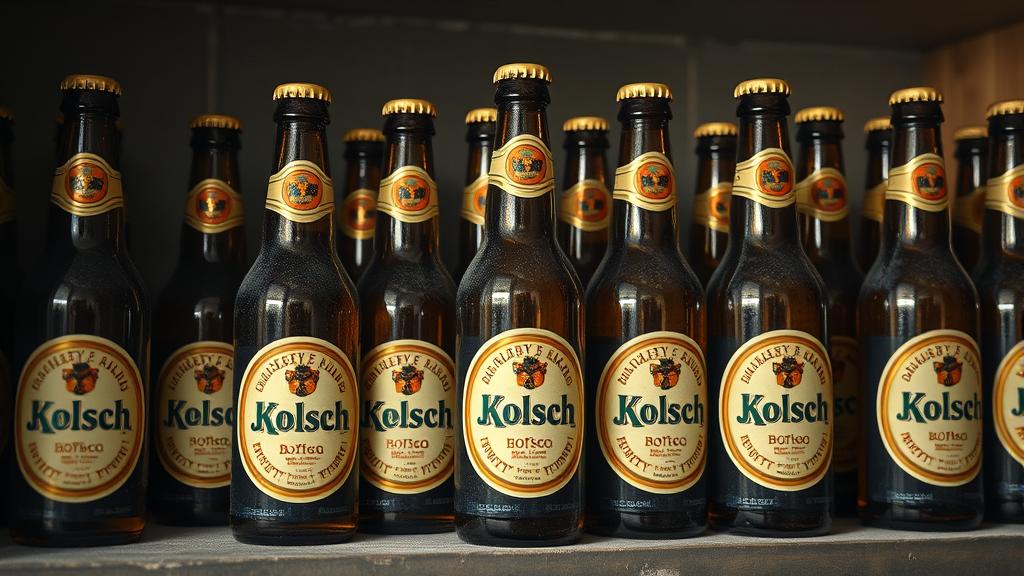
Tasting Notes & My Honest Review
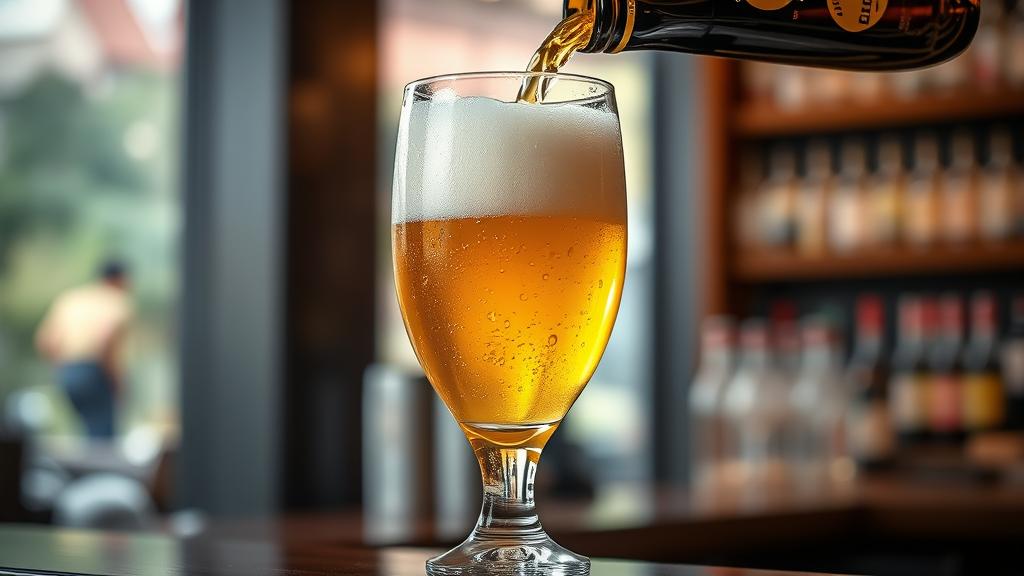
What does a well-executed Kölsch taste like? Mine arrived at a perfect pale golden hue, with a dense white head that clung to the Stange glass for the entire tasting. The aroma was subtle: light wheat, mineral notes, a whisper of stone fruit from the yeast.
The first sip was where it clicked. Crisp, clean, almost champagne-like on the palate. A gentle sweetness from the malt, balanced by that 25 IBU bitterness, finishing dry with a mineral, slightly herbal aftertaste. At 5.1% ABV, it’s easy to forget you’re drinking actual beer—it goes down like water at a summer garden party, which is precisely the point.
I noticed the head retention was exceptional—the head lasted the entire 200ml glass. This comes from proper mashing, a vigorous boil, and clean fermentation. It’s a small detail, but it’s everything to Kölsch drinkers.
Pro Tips & Common Mistakes
Don’t skimp on temperature control. Kölsch fermented at 20°C will be fruity and unbalanced. A cheap temperature-control setup (modified fridge + thermostat) is worth every penny.
Don’t use corn syrup or maize adjuncts. Full stop. They’ll muddy the clean profile. Pilsner + Munich malt, nothing else.
Protect against DMS. Use a vigorous 90-minute boil with a good rolling boil throughout. A 60-minute boil will result in a corn-like off-flavour.
Don’t short the cold conditioning. It’s tempting to bottle after fermentation, but Kölsch needs 2–4 weeks at cold temperature to become itself. This is where it develops its signature smoothness and clarity.
Consider a yeast starter. Fresh yeast, pitched at proper cell density, means faster fermentation and fewer off-flavours. For Kölsch-specific strains, a 2-litre starter is ideal.
Variations & Next-Level Experiments
Once you’ve nailed a classic Kölsch, you can explore variations:
Pale Kölsch: Drop the Munich malt entirely—use only Pilsner. The result is even crisper and more delicate.
Honey Kölsch: Add 250–500g of honey in the final 10 minutes of the boil. It ferments clean and dries the finish while adding subtle floral notes.
Spiced Kölsch: A small amount of coriander (5g) or a touch of chamomile (10g) in the final 5 minutes of the boil creates a gentle, herbal twist. Restraint is key—Kölsch must remain balanced.
If you’re interested in herb-forward brewing, check out our Gruit guide or explore BJCP style guidelines for official framework.
Conclusion
Kölsch is having its moment in 2026 because it represents a quiet rebellion against complexity for complexity’s sake. It’s a beer that reminds us: sometimes, the best brewing is about restraint, balance, and respect for a centuries-old tradition. It’s a style that rewards patience, technique, and quality ingredients—and it’s utterly achievable at home.
Brewing your first Kölsch might feel audacious. You’re stepping away from the big hop bombs and pastry-packed sours that dominate craft beer culture right now. But once you taste that first pour—crystal-clear, silky-smooth, endlessly refreshing—you’ll understand why German brewers have been refining this style for 600 years.
The question isn’t whether you can brew Kölsch. It’s whether you’re ready to slow down, dial in your fermentation, and trust the process. I reckon you are.
🍺 Join the Brotherhood — Monthly brews, stories & monk wisdom
Subscribe for exclusive recipes, early brew logs, and behind-the-scenes updates straight to your inbox.

