
Sour Beer Brewing Mastery: Craft Tart, Fruit-Forward Ales at Home
There’s something deeply honest about a sour beer. It doesn’t hide behind hype or adjuncts — instead, it lets wild yeast and bacteria do what they’ve been doing for centuries: transform simple grain and water into something surprising, complex, and unapologetically alive.
For the first time in my brewing career, I’m seeing home brewers across the UK embrace sour beer not as a novelty, but as a craft discipline. The SIBA competition this spring crowned a 3.2% Agua Fresca Sour as a champion in the bottle category. Homebrewing forums buzz with wild fermentation setups and fruit-forward experimentation. And when I ask other brewers what they’re bottling this season, the answer increasingly is: “Going sour.”
This guide is rooted in practical experience — my failures and happy accidents — with sour beer brewing at home. Whether you’re a novice brewer curious about wild fermentation or someone ready to experiment with Berliner Weisse and lambic-inspired ales, this is your honest introduction to the craft.
Why Sour Beer Is the 2026 Brewing Trend You Should Know About
Sour beers represent a rebellion against the hype cycle. While the industry chases extreme IPAs and pastry stouts, consumers and craft brewers are quietly rediscovering barrel-aged techniques and historical brewing methods. Sour beer fits both trends: it’s nostalgic and experimental at the same time.
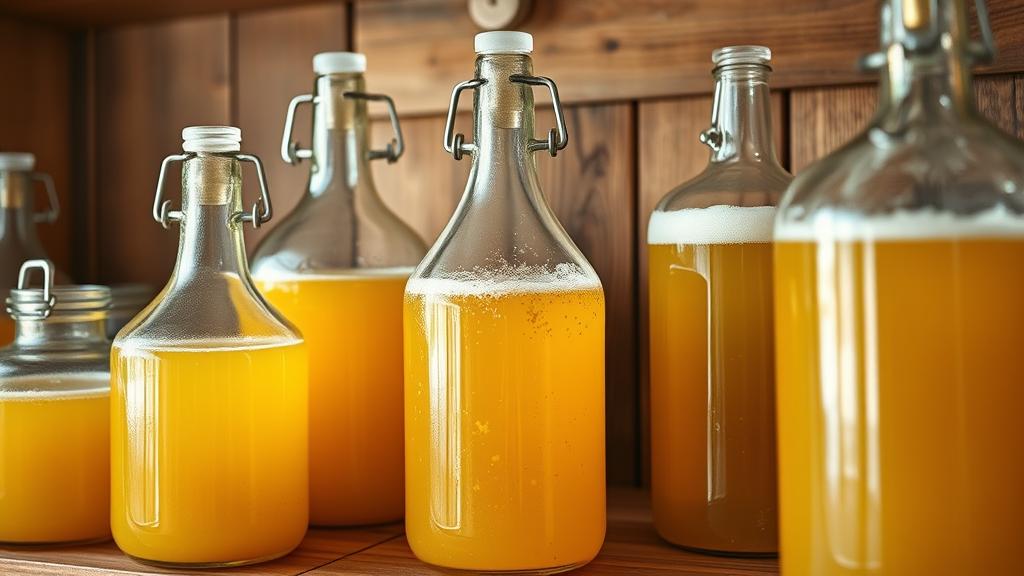
On a practical level, sour brewing offers home brewers something precious: permission to slow down. Traditional ales ferment in weeks. Sours demand months, sometimes years. There’s monk wisdom in that enforced patience — a reminder that good things can’t be rushed.
The health trend doesn’t hurt either. Consumers increasingly see sour beers as lower in sugar, naturally preserved by acidity, and aligned with the broader interest in functional fermentation and gut-friendly beverages. From a homebrewer’s perspective, that means your experiments have both cultural and commercial relevance.
Ingredients & Equipment for Sour Beer Brewing
The beautiful part: sour brewing doesn’t require exotic gear. You likely already have everything you need.
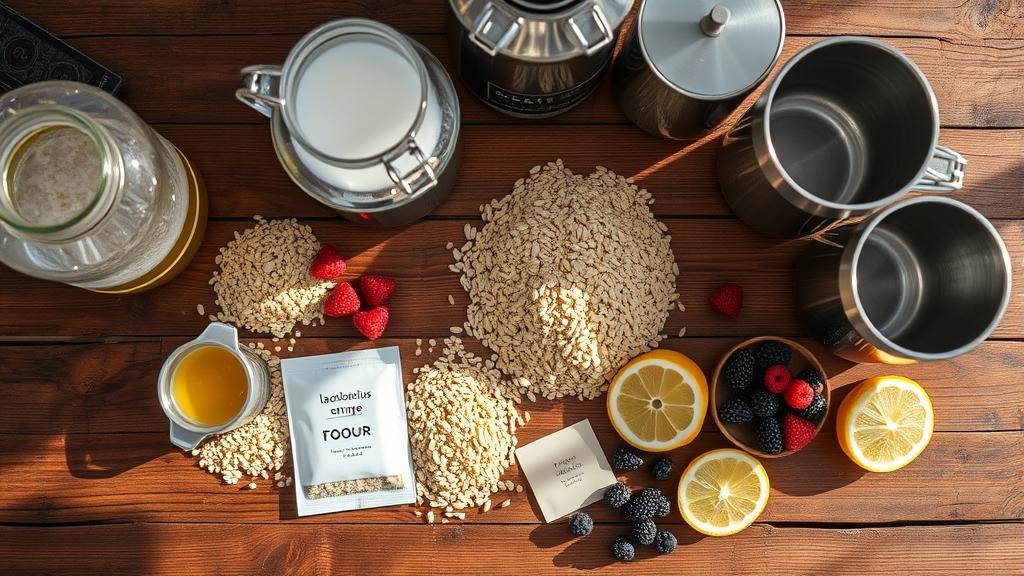
Grains and malts: Start simple. Pale malt (50-60%) provides a neutral canvas. Add a touch of wheat malt (20-30%) for body and head retention. Acidulated malt (10%) helps lower pH, mimicking traditional sour mashes. Avoid heavy crystal malts initially — they muddy the tartness.
Cultures and wild microbes: This is where things get interesting. Geterbrewed and The Malt Miller stock packaged Lactobacillus and Pediococcus cultures. I prefer mixed cultures from specialist breweries — they introduce the unpredictability that makes sours rewarding. Alternatively, wild fermentation (using ambient yeasts) works brilliantly if you’re patient and have a cool garage (55-65°F / 13-18°C is ideal).
Fruit (optional but recommended): Raspberries, blackberries, cherries, and even stone fruits shine in sours. Buy frozen (cheaper, already pasteurised) or fresh. Aim for 1-2 pounds per gallon (225-450g per litre).
Equipment: Glass carboys or PET plastic demijohns work perfectly. I prefer glass for visibility — watching the pellicle (white film) form on top is part of the meditation. One airlock, a floating thermometer, and patience. That’s it.
Step-by-Step Brew Day: A Simple Fruit Sour Recipe
Here’s my go-to recipe for a 5-gallon (23-litre) batch, brewed and ready in about 4-6 months:
Grain Bill (OG 1.045-1.050):
- 3.5 kg Pale Malt
- 1 kg Wheat Malt
- 500g Acidulated Malt
Other ingredients:
- 1 packet mixed Lactobacillus / wild yeast culture (or 5-10 days room-temperature co-pitch with standard ale yeast)
- 1-2 kg frozen raspberries or mixed berries (added at 2-week mark)
- 10g Sea salt (optional, adds complexity)
Method:
- Mash: Strike at 65°C (150°F). Hold 60 minutes. Aim for 1.5-1.6 pH using acidulated malt and water chemistry. This is crucial — low pH favours lactobacillus.
- Sparge & Boil: Sparge to 23 litres. Boil for 60 minutes. Add zero hops (or just 5g of noble hops for aroma). Boiling kills wild cultures, so you want minimal boil time. Cool to 20-22°C (68-72°F).
- Pitch: Pitch your mixed culture or co-pitch Lactobacillus with a standard ale yeast. Stir well. Cover loosely (use a cloth or paper towel, not an airlock yet).
- Wait (Days 1-14): The magic begins. Leave it alone. Resist the urge to peek obsessively. Acidity develops over 2 weeks as Lactobacillus works. You’ll smell vinegar notes — that’s success, not infection.
- Add Fruit (Day 14-21): Thaw and add your berries. Stir gently. Cap with an airlock loosely (CO₂ escapes, outside air stays out).
- Wait Again (Months 2-4): This is the hard part. Sour development accelerates in month 2-3. Taste occasionally (use a thief to steal a small sample). You’re looking for a pleasant tartness without vinegar sharpness.
- Bottle (Month 4-5): When tartness satisfies you, rack into bottles. Sours naturally carbonate through residual yeast; bottle conditioning takes 2-3 weeks at room temperature (18-20°C).
Fermentation & Conditioning: Patience as Craft
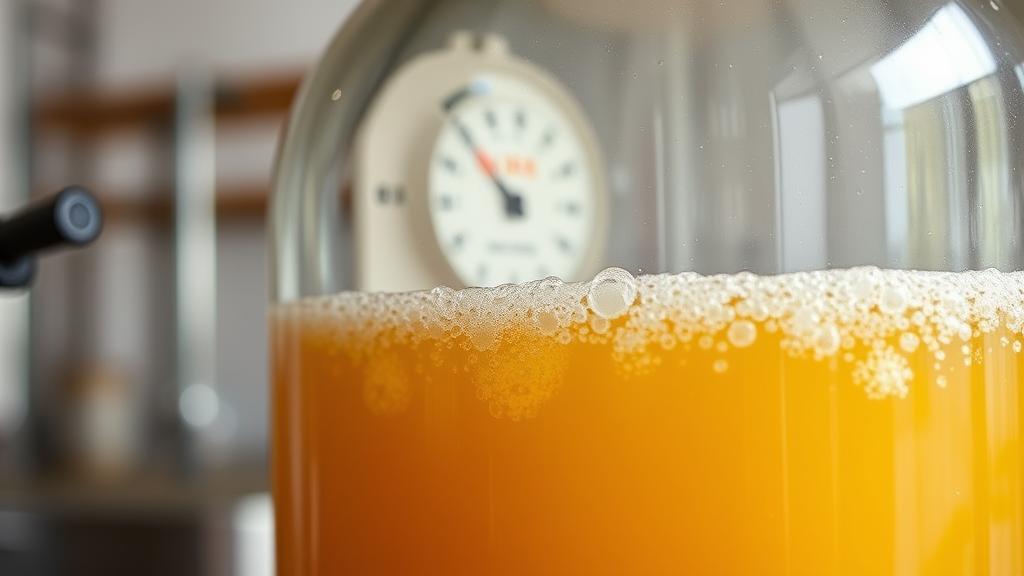
The sour fermentation differs fundamentally from ale or lager brewing. You’re not just managing one organism; you’re orchestrating a microbial ecosystem.
Weeks 1-2: Standard ale yeast ferments quickly. You’ll see vigorous activity. Lactobacillus works in parallel, producing lactic acid. The aroma shifts from fruity to sour to slightly vinegary. This is normal. Temperature stability (18-20°C / 64-68°F) matters more than precision. Avoid temperature swings.
Weeks 2-6: Activity slows. A white or light-coloured pellicle (a biofilm of Pediococcus or wild bacteria) forms on the surface. Don’t skim it off; it’s protecting your beer from oxidation. If mould (fuzzy, dark spots) appears, that’s infection — discard.
Months 2-4: This is where time becomes the ingredient. Acidity continues developing. Fruit integrates. The beer clarifies. Taste biweekly with a turkey baster or wine thief. You’re tasting for balance: tartness without harsh vinegar, fruit without cloy.
Key checkpoint: At month 3, if your beer tastes overly vinegary (acetate character), it’s oxidising. Ensure your airlock is filled and sealed. If it tastes right, it’s ready to bottle.
Tasting Notes & My Honest Review
My first attempt at a raspberry sour was nearly a disaster. I pitched too warm (24°C), fretted constantly, and bottled at month 2 thinking something had gone wrong. The result? Sharp, vinegary, almost undrinkable.
But something changed in the bottles. Over 6 months in cool storage, the vinegar mellowed into a subtle tartness. The raspberry came through. By month 10, it was genuinely pleasant — a tart, refreshing ale I’d serve to friends.
The lesson: sour beers evolve. Patience compounds. A “failed” batch at month 3 might be sublime at month 10. Document everything. Note the aroma, pH if you measure it, taste at intervals. Compare batches. This is where honesty meets craft.
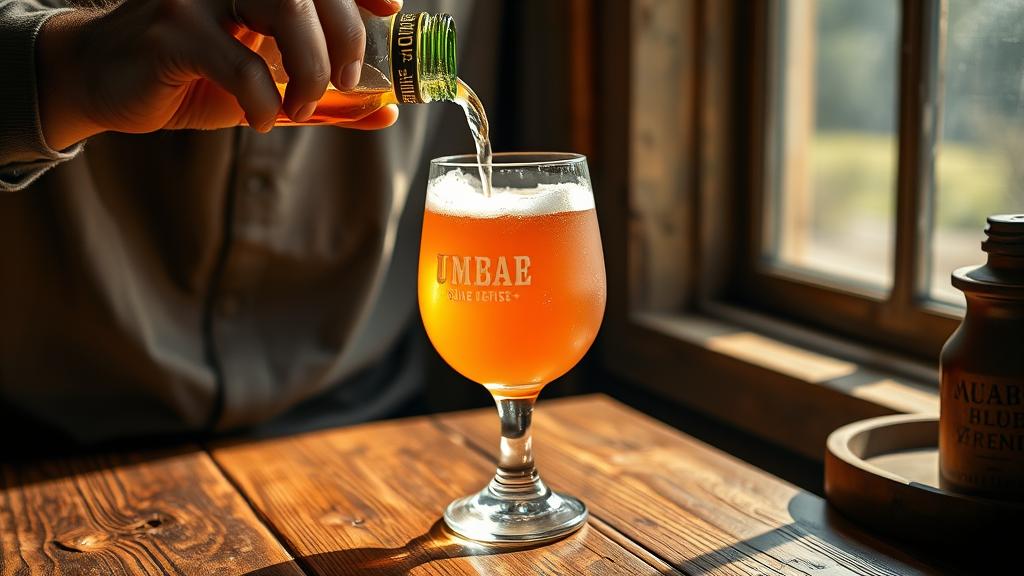
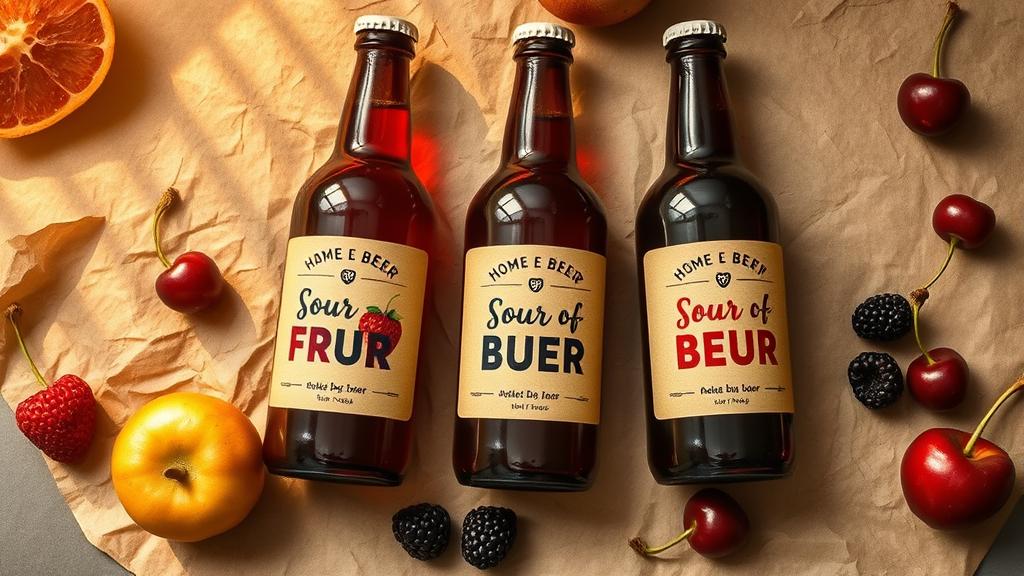
For tasting sours, use a wine glass or snifter. Look for clarity (it should be clear to slightly hazy, not cloudy). Colour ranges from pale golden (Berliner Weisse) to deep red (fruit sours). Aroma should be fruity and tart, never musty or off-vinegar. Taste: bright acidity, subtle sweetness from residual sugar and fruit, balanced bitterness (minimal), and a dry finish.
Pro Tips & Common Mistakes
Tip 1: Temperature control matters more than precision. Sours ferment between 18-22°C (64-72°F). Wild cultures and Lactobacillus prefer the lower end. A stable 19°C beats fluctuating between 18-25°C.
Tip 2: Keep equipment separate. Lactobacillus lives on wood and plastic crevices. Use dedicated buckets, airlocks, and tubing for sour brewing. Cross-contamination isn’t always bad (sours thrive on mixed cultures), but isolating batches gives you control.
Tip 3: Skip hops or use them sparingly. Hops don’t pair well with sour complexity. If you want aroma, use noble hops at flame-out or dry hop post-fermentation. Most sours shine without them.
Tip 4: Monitor acidity, not specific gravity. Traditional homebrewers obsess over gravity. Sours care about pH and tartness. If you can afford a cheap pH meter, use it. Aim for pH 3.5-4.0 by month 3. Otherwise, taste regularly and trust your palate.
Common mistake 1: Bottling too early. Impatience ruins sours. If it’s still sharp and vinegary at month 2, wait. Month 4 onwards is safer. Bottled sours continue to age and improve for months.
Common mistake 2: Oxidation. Sours are sensitive to oxygen once bottled. Use proper caps and store upright in cool, dark conditions. Unlike wine, sour beer doesn’t improve laid on its side.
Common mistake 3: Over-explaining the pellicle. That white film isn’t mould; it’s a normal, protective biofilm. New brewers see it and panic. Don’t.
Variations & Next-Level Experiments
Once you’ve mastered a basic fruit sour, the creativity expands. Here are directions I’m exploring:
- Berliner Weisse: A traditional tart wheat ale from Berlin. Lower ABV (3-4%), intensely sour, often served with fruit syrups. Ferment fast (2-3 weeks), bottle, and let bottle conditioning provide the tartness boost.
- Gose: A heritage German style with salt and coriander. Not sour in the same way (less fermentation time), but salty and slightly tart. Great summer alternative.
- Barrel-aged sours: Once you’ve nailed non-barrel sours, try a 6-month stint in an oak barrel. Oak adds depth and rounds out sharp acidity. Forums have excellent guides on sourcing barrels.
- Fruit blends: Mix berries. Try stone fruits like apricot or peach. Experiment with citrus zest added at bottling. Sour beer is the most forgiving platform for creativity.
Conclusion: The Craft of Living Beer
Sour beer brewing asks something different of you as a brewer: surrender. You’re not controlling fermentation; you’re partnering with it. The Benedictine tradition has always understood this — monasteries ferment beer as an act of faith, letting time and microbial life do the real work.
That’s what drew me to sours. After years of chasing precision and hitting gravity targets, there’s profound honesty in a batch that ferments for six months, tasting different each month, arriving at complexity you couldn’t have predicted or planned.
This is the trend for 2026 because it’s not really a trend at all. It’s a return to brewing roots, a slow countermovement to rushed consumption, and a reminder that the best beer isn’t the most extreme — it’s the one that makes you pause, taste carefully, and appreciate the work of time.
Your first sour batch will teach you more than ten standard ales. It will humble you, surprise you, and if you’re patient, deliver something genuinely original — a beer that tastes like your garage, your water, your wild yeast. That’s craft.
🍺 Join the Brotherhood — Monthly brews, stories & monk wisdom
Subscribe for exclusive recipes, early brew logs, and behind-the-scenes updates straight to your inbox.

