
It started with a chocolate cake I was supposed to be eating, not brewing. But that’s how these things go sometimes — you’re sitting in your kitchen, eyeballing a slice of Black Forest gateau, and you think: “What if I could capture this in beer?”
Dessert beers, or pastry stouts as they’re often called, have quietly become one of 2026’s most exciting brewing trends. These aren’t delicate experiments. They’re bold, unapologetic beers that unashamedly steal the show from actual desserts. Coffee, chocolate, vanilla, caramel, cinnamon — brewers are throwing the playbook out the window and having a laugh in the process.
And here’s the good news: if you can make a base stout, you can make a dessert beer. The technique isn’t complicated. The fun is in the fearlessness.
Why Dessert Beer Is Having a Moment
The dessert beer craze isn’t new — breweries like Mikkeller pioneered it a decade ago with their “Beer Geek” series. But what’s changed is accessibility. Home brewers now have better adjuncts, more confident recipes, and frankly, less shame about making something that tastes like a melted chocolate bar. That’s freedom.
The trend taps into something deeper too: in a world obsessed with health-optimisation and restraint, dessert beer is an act of pure indulgence. It’s delicious rebellion. And it pairs beautifully with savoury depth brewing explorations, where you’re experimenting with umami and bold flavour profiles across the spectrum.
What makes dessert beer different from a regular stout? Precision. You’re not hiding flavours behind roast and alcohol. You’re showcasing them. Lactose stays smooth. Vanilla hits clean. Chocolate doesn’t turn bitter. It’s a masterclass in restraint within indulgence.
The Ingredients & Equipment You’ll Need
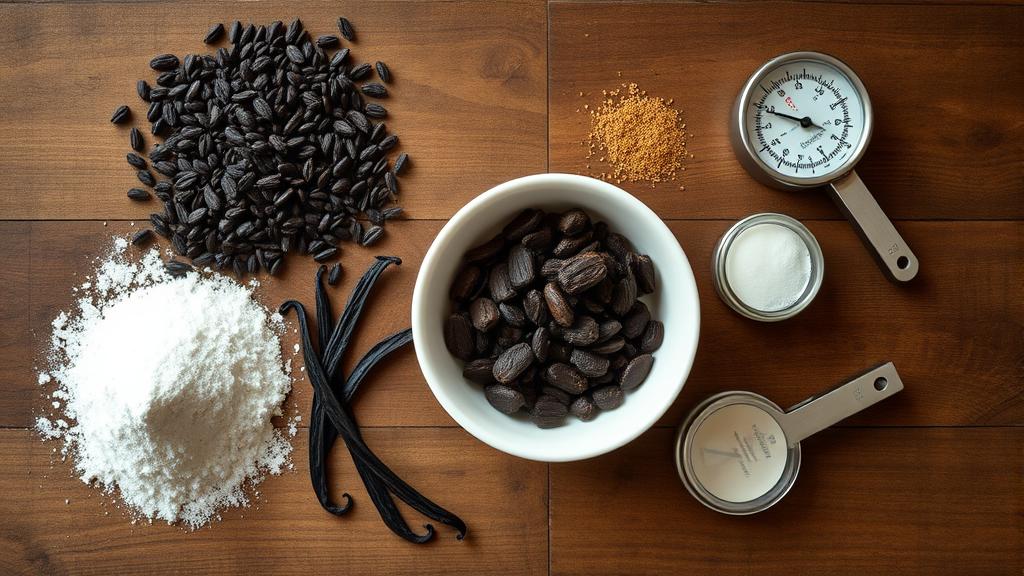
Your base should be clean and supportive. Here’s what I use:
- Malt: Pale malt (60–70%), roasted barley (10–15%), chocolate malt (5–10%), crystal/caramel 120L (5–10%). The roast gives you body and those subtle coffee notes without overpowering the adjuncts.
- Hops: Minimal. Just enough bittering to balance the lactose sweetness. I use a low IBU target: 20–30 IBUs. This isn’t a bold hop showcase.
- Yeast: A reliable ale yeast like US-05 or English Ale. You want clean fermentation so the adjuncts shine.
- Adjuncts — the stars of the show:
- Lactose: 100–200g (3.5–7 oz) in the kettle at knockout. This stays unfermentable and adds creaminess and residual sweetness. Non-negotiable.
- Cacao nibs or cocoa powder: 50–150g (1.75–5.3 oz), added to secondary or dry-cocoa style during conditioning. Start low; chocolate is easy to overdo.
- Vanilla: 2–4 vanilla beans, split and scraped, added to secondary. If using extract, go light — 1–2 teaspoons. Real beans are worth it.
- Optional boosters: A touch of flaked oats (5%) for mouthfeel. A vanilla-forward honey if you want subtle honey character.
Storage and sourcing matter. Get your lactose from a homebrewing supplier like The Malt Miller or BrewUK — it’s food-grade and costs pennies. Cacao nibs from brewing suppliers too; they’re already treated for fermentation. Vanilla beans from a good spice merchant, or online from places that specialise in baking.
The Brew Day: Mastering the Base

Nothing fancy here. Standard all-grain or extract-based stout process.
- Mash: If all-grain, mash at 66°C (150°F) for 60 minutes. This creates fermentable sugars but leaves room for residual sweetness — crucial for dessert beer.
- Sparge and runoff: Keep it clean. No stuck sparge; you want good conversion.
- Boil: 60 minutes total.
- At 60 minutes: bittering hops (20–30 IBUs). That’s it.
- At 15 minutes: add half your lactose. The other half at knockout. This ensures full dissolution and prevents clumping.
- At knockout: cool to 18°C (64°F), pitch your yeast.
- Critical step: Do not add chocolate or vanilla during the boil. Heat will volatilise the delicate flavours. Save them for secondary.
Aim for an OG of 1.060–1.075 (dependent on your recipe), and a final gravity around 1.015–1.020. This gives you 5.5–7% ABV — strong enough to feel indulgent, not so high it overpowers the adjuncts.
Fermentation & Adjunct Integration
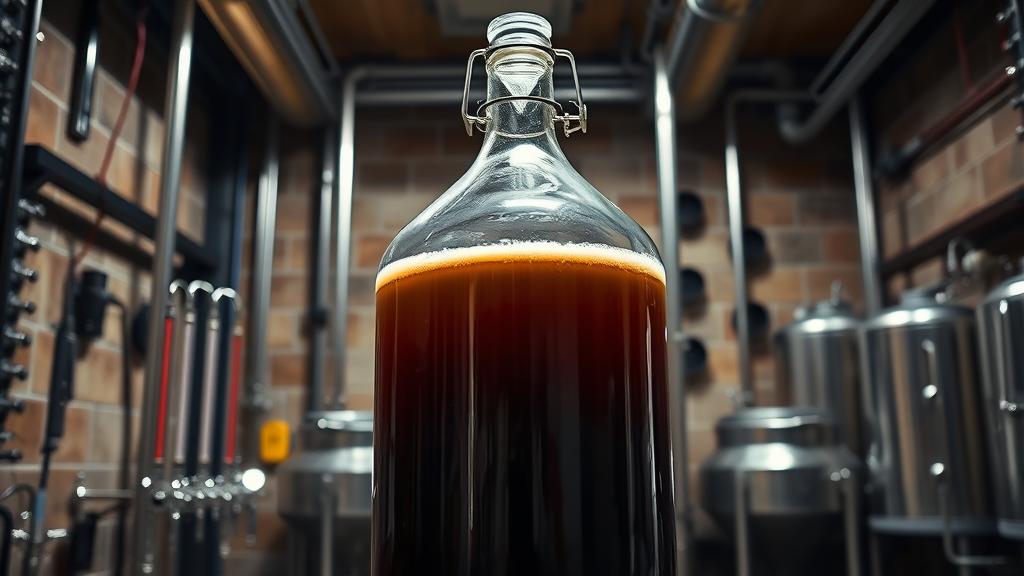
Let primary run for 7–10 days at 18–20°C (64–68°F). When gravity stabilises around 1.015–1.020 and yeast is clearing, move to secondary.
Secondary addition protocol:
- Rack to secondary carboy.
- Add your cacao nibs in a nylon bag (or loose, but you’ll be straining). 7–14 days for subtle chocolate. Up to 21 days if you want it forward.
- After cacao settles, add vanilla. Split 2–3 vanilla beans lengthwise, scrape the seeds into the secondary, and drop in the pods too. 5–10 days is usually enough for extraction — taste at day 5.
- Optional: if adding coffee, cold-brew a concentrate separately and add at bottling to control strength.
This staggered approach lets you monitor and adjust. You can always pull vanilla early if it tastes right, but you can’t un-add it.
Condition in secondary for a total of 3–4 weeks before bottling. This gives you a clear, stable beer with integrated flavours.
Bottling & Carbonation
Bottle as you would any ale: prime with 4.5g/litre (2.25 tsp per 500ml bottle) of dextrose. Aim for 2.5 volumes of CO₂ — enough to give a nice head without making it gushy. Dessert beers benefit from a creamy, thick head, so consider slightly higher carbonation if your bottle pressure tolerates it.
Condition at 18–20°C (64–68°F) for 2–3 weeks. The beer will continue to integrate and smooth out.
Tasting Notes & Honest Reflection
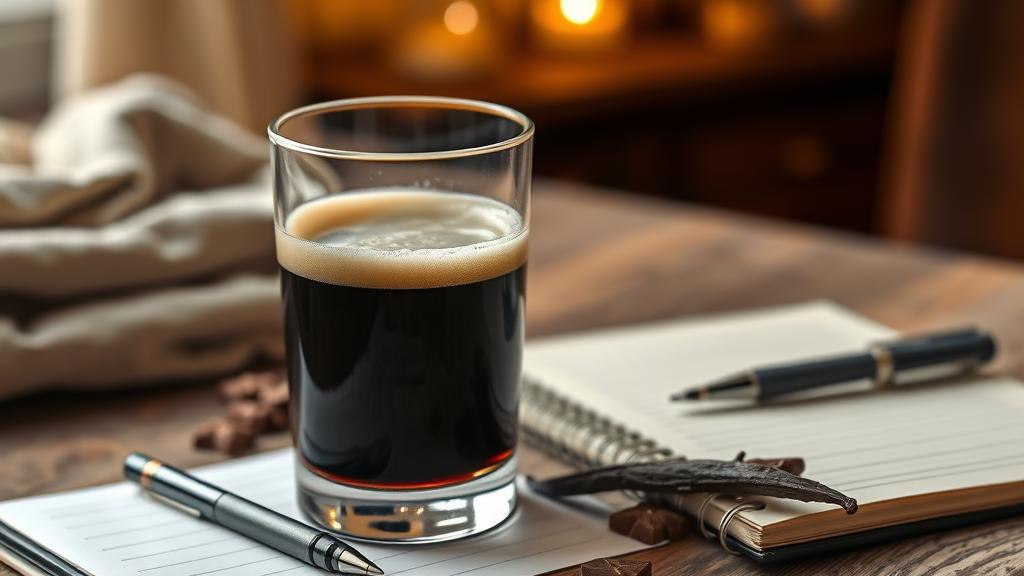
I first brewed this style in January. My tasting notes from that batch read like a diary of obsession: “Day 1: too forward. Day 8: balanced. Day 14: almost there. Day 21: this is it.“
My chocolate-vanilla stout — 1.068 OG, 6.2% ABV, with 75g cacao nibs and 3 vanilla beans — came out complex. The vanilla didn’t read as artificial or perfume-y. The chocolate was rich but not cloying, supported by the roasted malt backbone and lactose creaminess. The finish was dry — the pale malt and bittering hops cut through the sweetness just enough to make you want another sip instead of reaching for an actual dessert.
That’s the goal: complementary indulgence, not replacement decadence.
This style pairs brilliantly with farmhouse brewing traditions, where you’re respecting the craft and the ingredients. Dessert beer is farmhouse sensibility meets modern indulgence.
Pro Tips & Common Mistakes
Don’t:
- Overload the adjuncts. More isn’t better. Chocolate can turn to bitter dirt. Vanilla can become soapy or medicinal. Start conservative — you can always brew again with more.
- Skip the lactose. It’s not about sweetness per se; it’s about mouthfeel. Lactose is creamy, smooth, and gives you that dessert texture.
- Boil your adjuncts. Heat destroys delicate flavours. Secondary is your friend.
- Forget sanitation in secondary. Any oxidation or infection will turn your carefully crafted adjuncts into something unpleasant.
- Brew this if you don’t actually like sweet beers. Be honest with yourself. This isn’t a versatile style for dry palates.
Do:
- Taste along the way. Take a gravity sample at each stage. Note the progression. This teaches you more than any recipe.
- Consider a small trial batch first. Before committing 20 litres (5.3 US gallons), brew 5 litres (1.3 US gallons) with half the adjuncts. See if you even like the style at your own taste threshold.
- Pair your beer properly. Dessert beer with cheesecake. Dessert beer with dark chocolate mousse. Dessert beer with nothing — just you and contemplation. It’s good.
- Document everything. Brew dates, adjunct amounts, timings, tasting notes, bottling dates. This is how you refine your process.
I spoke with a brewer at CAMRA who reminded me that dessert beer sits in that fascinating space between craft tradition and playful innovation. “It’s allowed to be fun,” he said. And that’s the permission slip you need.
Variations & Next-Level Experiments
Once you’ve nailed the base chocolate-vanilla version, the world opens up.
- Salted caramel: Add 100g caramel malt to your grist, 50g lactose, and a pinch of sea salt at bottling. Start with 1/4 tsp and work up.
- Coffee & chocolate: Cold-brew 30g of espresso-grind coffee separately, add 10ml per bottle at bottling. The cold brew prevents bitterness.
- Fruit forward: Cherry or raspberry in secondary. 200–300g fresh fruit, puréed. Let it sit for 5–7 days, then taste and adjust. This is how modern fruit beer mastery evolved.
- Spiced: Cinnamon, cardamom, a whisper of clove. Add ground spices in a bag to secondary, 3–5 days only. Spice inflation is real.
- Barrel-aged iteration: Once you’ve brewed this a few times, try barrel-aging your dessert stout. 4–6 months in a used bourbon barrel transforms the complexity entirely.
Each variation teaches you about balance, adjunct integration, and your own palate. That’s the real mastery.
Conclusion: Indulgence as Craft
Dessert beer doesn’t get serious recognition in some circles. I get it — there’s a snobbery around anything that tastes like dessert when you’re supposed to be tasting beer. But I’d argue that making a chocolate-vanilla stout that’s actually delicious — not cloying, not artificial, but integrated and complex — is just as much craft as brewing a Pilsner or a Wild Ale.
It requires precision. Restraint. Knowledge of your ingredients. Respect for the process. And a willingness to shoot for something indulgent without apology.
The moment my dessert stout came into balance, about three weeks into conditioning, I poured a glass and just sat with it. No tasting notes. No brewery pretension. Just the simple thought: “I made this. And it’s exactly what I wanted.”
That’s the real trend in 2026. Not chasing flavours for their own sake, but brewing with intention. Building beers that fit your life, your taste, your joy.
Now get brewing.
🍺 Join the Brotherhood — Monthly brews, stories & monk wisdom
Subscribe for exclusive recipes, early brew logs, and behind-the-scenes updates straight to your inbox.

