
Sour beer brewing has exploded in popularity over the last few years, but most homebrewers think you need months—sometimes years—of patience and oak barrels to get there. That’s not entirely true anymore. Kettle souring has revolutionised how we approach tart, funky ales at home. In just 24 to 72 hours, you can produce a genuinely sour beer that rivals anything aged in wood, and you don’t need a cellar full of barrels to do it. If you’re eventually interested in barrel-aging techniques, kettle sours offer a fast starting point.
I first tried kettle souring about eight months ago, absolutely convinced it would either taste thin or somehow “fake.” I was wrong. What I got was a crisp, clean tartness with complex undertones that made me rethink what homebrewing speed actually means. This is the 2026 fast-track to sour beer mastery.
Why Kettle Souring is the 2026 Game-Changer
Traditional wild fermentation requires patience that borders on monastic devotion. You inoculate your wort with open-air microorganisms, seal it in a vessel for months, hope the right bacteria colonise your beer, and then wait for the magic to happen—sometimes for years. It’s beautiful, it’s honest, but it’s slow.
Kettle souring flips this on its head. Instead of relying on spontaneous fermentation in the fermenter, you sour the wort before boiling—using Lactobacillus bacteria to lower the pH and develop tartness in a matter of days. This isn’t a shortcut that compromises quality; it’s a method that’s been used by Belgian breweries for decades, and it’s finally accessible to home brewers.
Here’s why it matters for your brew day: speed, predictability, and scale. You can produce reliably tart beer without the space requirements of a coolship setup. No spontaneous fermentation means no guessing game. And you can turn around a batch every month instead of nursing a single wild ale for three years.
Google Trends data from across the UK shows rising interest in fast-fermentation techniques and experimental brewing methods throughout 2026. Homebrewers are asking: “How do I make sour beer quickly?” Kettle souring is the answer.
Ingredients & Equipment You’ll Actually Need
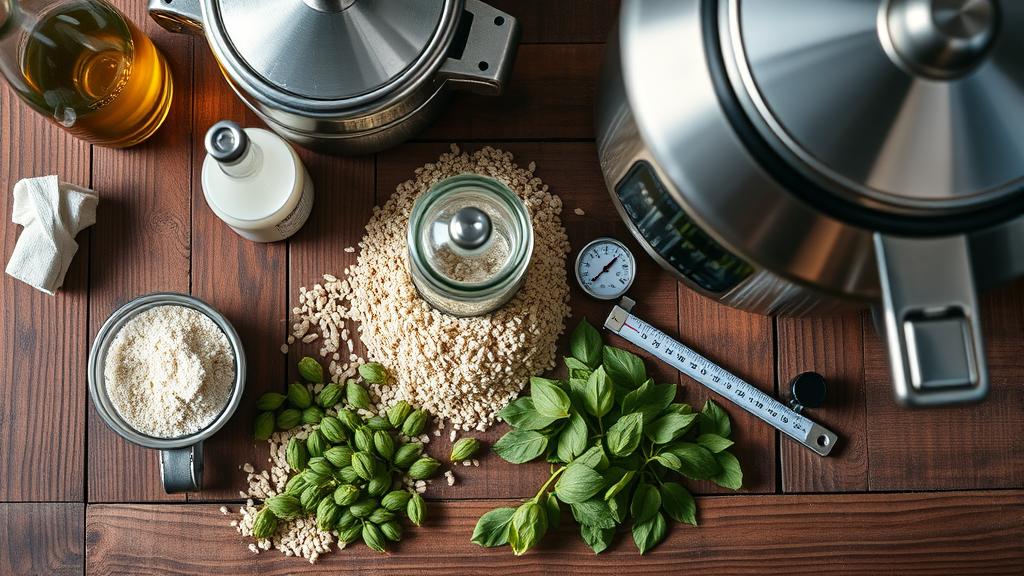
The beauty of kettle souring is that your ingredient list is minimal—and most of it you probably already have.
The Must-Haves
- Pale malt base: Use a good quality pale ale malt (like Crisp Maris Otter or Simpsons Golden Promise). 2 kg (4.4 lbs) works well for a 20-litre (5-gallon) batch.
- Lactobacillus culture: This is your secret weapon. Buy a pure culture (not brewer’s yeast) from authoritative suppliers like The Malt Miller or Geterbrewed. You want Lactobacillus plantarum or L. delbrueckii—reliable, predictable strains. Around £8–12 per vial.
- Low alpha-acid hops: Save the aggressive bittering hops for later. Use something soft: Hallertau, Noble, or even a touch of Goldings (15–20 IBUs max).
- Water: You can start simple with tap water if it’s reasonably soft. I use a basic carbon filter for chlorine removal.
- Yeast: Any clean ale yeast will work. I favour a saison strain (like Wyeast 3711 or SafAle S-05) because it brings subtle complexity to the tartness.
Equipment Checklist
- Brewing kettle: Standard 30-litre (8-gallon) capacity, stainless steel. Nothing fancy needed.
- Thermometer: Accurate to ±1°C. This is non-negotiable—you need to maintain 37–45°C (98–113°F) during souring.
- Insulation: A blanket, towels, or a simple cooler box to wrap around your kettle and hold temperature.
- Hydrometer: To check gravity before and after souring.
- Fermenter: A standard 25-litre (6.5-gallon) carboy or FermZilla All-Rounder. Clean plastic or glass—both work.
- pH strips or meter: Optional but helpful. You’re aiming for pH 3.5–3.8 before boiling.
The biggest surprise for most brewers is how simple the equipment list is. You’re not investing in oak barrels or coolship setups. This is elegant, minimal-gear brewing. If you’re exploring other trending brewing styles, low-ABV brewing mastery offers another fascinating avenue.
The Kettle Souring Process: Step-by-Step

Here’s where kettle souring becomes almost meditative. Unlike all-grain brewing with its precise step mashes and complex timing, this process is refreshingly straightforward.
Day 1: Mash and Saccharification
Morning (7:00 AM): Prepare your mash as normal. I use a single infusion at 65°C (149°F) for 60 minutes with 1 kg of pale malt per litre of strike water. Sparge at 75°C (167°F) until you’ve collected roughly 25 litres (6.6 gallons) of wort. You should end up with a gravity around 1.040–1.045 for a 20-litre batch. For style-specific guidance, the BJCP style guidelines are invaluable.
Mid-morning (9:00 AM): Chill your wort to 37–40°C (98–104°F). This is critical—Precision fermentation methods require careful temperature management; Lactobacillus is particularly sensitive. Too cold and it won’t grow; too hot and you’ll kill it. Use an immersion chiller or simply let it cool naturally if you’re not in a rush (which you aren’t, since you have two days).
Late morning (10:00 AM): Once your wort is at the right temperature, pitch your Lactobacillus culture directly into the kettle. If you’re using a dry culture, rehydrate it first in 25 ml of boiled water (at 37°C) for 15 minutes, then pitch. For liquid cultures, just pour it straight in.
10:00 AM onwards: Cover your kettle loosely (with a cloth, not the lid—Lactobacillus is aerobic and needs oxygen). Wrap the kettle in blankets or place it in an insulated box to hold temperature. Check every 6–8 hours. The wort should stay between 37–45°C (98–113°F). Most home kitchens naturally stay in this range; if yours is cooler, use a brewing belt or place the kettle near a radiator.
Day 2: The Waiting Game
This is where patience pays dividends, but the good kind—patient waiting, not monastic years-long waiting.
Morning (7:00 AM): Check your pH. It should be dropping. A hydrometer gravity check will show no movement yet (still around 1.040–1.045). You’ll likely notice a faint yoghurt-like aroma. This is Lactobacillus doing its work. Don’t panic—this is normal.
Afternoon and evening (continuing maintenance): Keep the temperature stable. Check pH every 12 hours if you have a meter. You’re aiming for pH 3.5–3.8. Most brewers hit this around 36–48 hours.
Day 3: Boil and Pasteurisation
Morning (7:00 AM): After approximately 48 hours, your wort should taste distinctly sour and should have dropped to pH 3.5–3.8. This is your green light to boil.
Heat the kettle to a boil. This boil is crucial—it pasteurises your wort, killing off the Lactobacillus and halting the souring process. You want a full, vigorous rolling boil for at least 10 minutes. The tartness won’t change after this point; you’ve locked in your sourness.
Once boiling, add your hops. Keep bittering additions minimal—20 IBUs or less. I use a 60-minute charge of Hallertau (about 12–15g per 20 litres). Save flavour and aroma hops for the last 15 minutes if you want them, but honestly, kettle sours shine with minimal hops. The tartness is the star.
Late morning (10:00 AM): Cool the wort to 20°C (68°F) using your immersion chiller. This should take 20–30 minutes. Once cooled, transfer to your fermenter, aerate well (shake it like you mean it, or use an aeration stone), and pitch your chosen yeast. I favour a neutral ale strain or a saison strain.
Fermentation and Conditioning
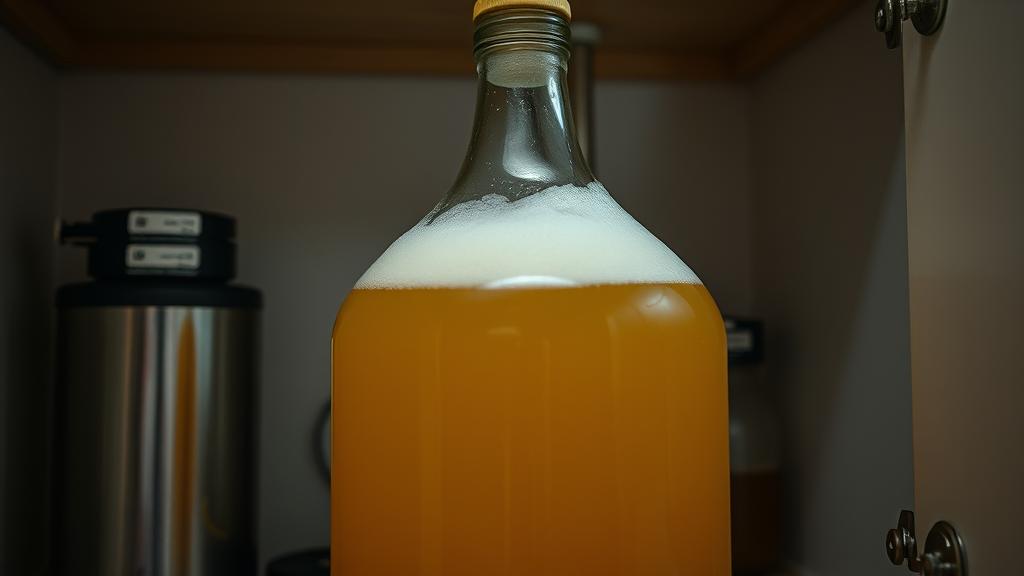
From here, kettle sours ferment like any standard ale. No special tricks needed.
Temperature: Maintain 18–22°C (64–72°F) for a clean, crisp result. I use a temperature-controlled cupboard in my garage, with a basic thermostat heater if needed.
Timeline: Expect vigorous fermentation for 5–7 days. The gravity will drop from roughly 1.040 to around 1.008–1.012 (depending on your yeast). You should see visible foam, bubbling airlocks, and the telltale fruity aroma of ale fermentation. After 7 days, things slow down. Let it rest for another 5–10 days for final conditioning and clarification.
Bottling (Day 14–16): Once the hydrometer reads stable gravity for three days in a row, you’re ready to bottle. Use standard carbonation levels: 2.0–2.5 volumes of CO2 for a crisp, clean finish. This typically translates to 4–5 grams of priming sugar per litre.
At this point, you’re just 14–16 days away from a finished, delicious, genuinely sour beer. Compare that to wild fermentation’s 6-month-to-3-year timeline. It’s a different league entirely.
Tasting Notes and My Honest Review
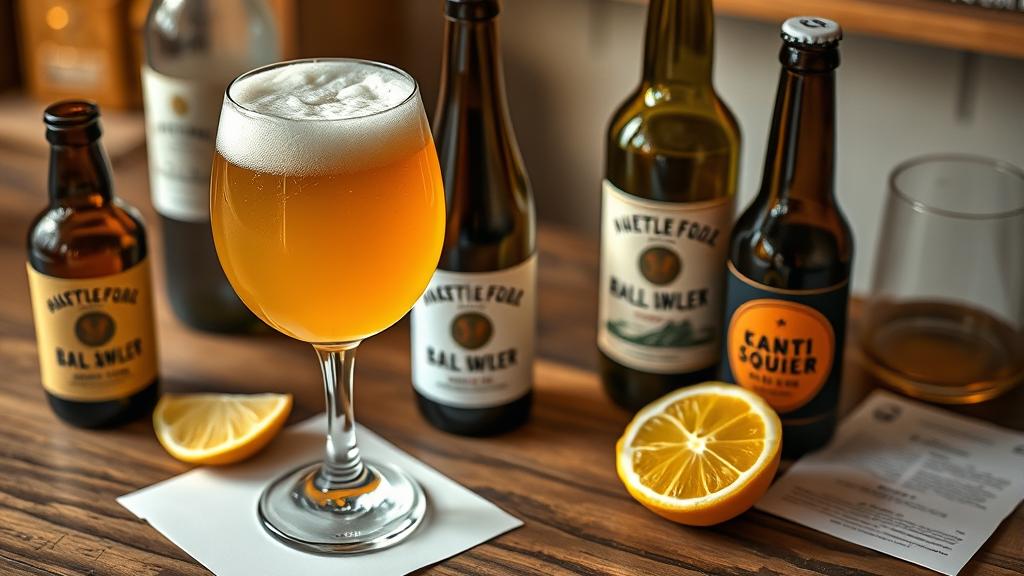
Let me be honest: my first kettle sour was delicious. It was bright, clean, and properly sour—pH-measured tartness, no guessing. But it lacked the complexity of a six-month-old wild fermentation. There’s no deep funk, no mysterious barnyard notes, no layered oak. That’s not a flaw; it’s just a different beer.
What you do get is control. Repeatability. Speed. And for homebrewers who want to explore the sour spectrum without dedicating barrel space to a multi-year project, that’s revolutionary.
Flavour profile: Crisp acidity (like Greek yoghurt or lemon), subtle grain sweetness, and if using saison yeast, gentle spice. Clean finish with lingering tartness. Predominantly citrus and grain aromas with no vinegar bite—more Berliner Weisse than lambic. Expect a slight haze from proteins, which signals authenticity.
Pro Tips, Variations, and Common Mistakes
The Mistakes I’ve Made (So You Don’t Have To)
Temperature swings: Temperature swings kill fermentation. Insulation is non-negotiable—keep your kettle warm and stable.
Skipping the boil: A full rolling boil for 10+ minutes is critical—it pasteurises and stops souring. Skip this and you’ll get continued souring and vinegary results.
Wrong Lactobacillus strain: Not all lab cultures behave the same. Some are sluggish; some are aggressive. Reliable suppliers like Geterbrewed and The Malt Miller stock proven strains. Lactobacillus plantarum is the workhorse—predictable and robust.
Clever Variations Worth Exploring
Fruit additions: After boiling, before pitching yeast, add fruit puree or juice (roughly 10% by volume). Raspberry, cherry, or even peach work beautifully with the tartness. The Lactobacillus doesn’t ferment the fruit; your ale yeast does, creating layered complexity.
Hoppy kettle sours: Use 30–40 IBUs of a citrus-forward hop (Citra, Mosaic, or even a touch of Nelson Sauvin). The bitterness plays against the tartness like lemon against sugar. It’s sophisticated stuff.
Co-souring with Brett: Once your kettle sour is 6 months old, pitch Brettanomyces into the secondary. Let it sit for another 3–6 months. You’ll develop the funky, complex notes that wild fermentation naturally brings, but with the speed and control of kettle souring upfront. Best of both worlds.
Scaling Up
Want to brew 40 litres (10.5 gallons) instead of 20? The method doesn’t change—everything scales linearly. Use twice the culture, maintain the same temperature, follow the same timeline. The only challenge is insulation. A bigger kettle loses heat more slowly, which is actually an advantage. I’ve successfully scaled to 50 litres using a simple camping blanket wrapped around the kettle.
Why This Matters Right Now
Wild fermentation techniques are having their moment, and kettle souring is the pragmatic companion—faster, more predictable, perfectly suited to modern homebrewers. Kettle souring proved to me it’s accessible, forgiving, and genuinely fun. You can iterate quickly and build real skill without tying up barrel space or counting years. Start tomorrow and in three weeks you’ll have finished beer.
Conclusion
Kettle souring isn’t a shortcut that sacrifices quality—discussions on HomeBrewTalk and other brewing communities confirm this consistently—it’s a method that respects your time. You’ll produce genuinely sour beer in 14–21 days instead of months or years. Your ingredients are simple, your equipment list is short, and your failure modes are few. This is modern homebrewing at its best: effective, elegant, and within reach of any brewer willing to learn.
The 2026 homebrewing landscape is all about speed and creativity without losing authenticity. Kettle souring sits right at that intersection. Embrace it, refine it, and build your own sour signature.
🍺 Join the Brotherhood — Monthly brews, stories & monk wisdom
Subscribe for exclusive recipes, early brew logs, and behind-the-scenes updates straight to your inbox.

